
superj
Well-Known Member
- First Name
- Jason
- Joined
- Feb 8, 2025
- Threads
- 42
- Messages
- 3,690
- Reaction score
- 3,483
- Location
- Corpus christi texas
- Vehicle(s)
- 2024 ford ranger, 2019 wrangler, 2018 mazda3
- Occupation
- Retired
- Thread starter
- #1
I recieved a hood guard / bug deflector from @TripleAliners today. So, since i was already in the driveway helping a buddy install a small leveling kit on his two day old tacoma trd offroad hybrid, i figured i may as well also try out this new rock guard too.
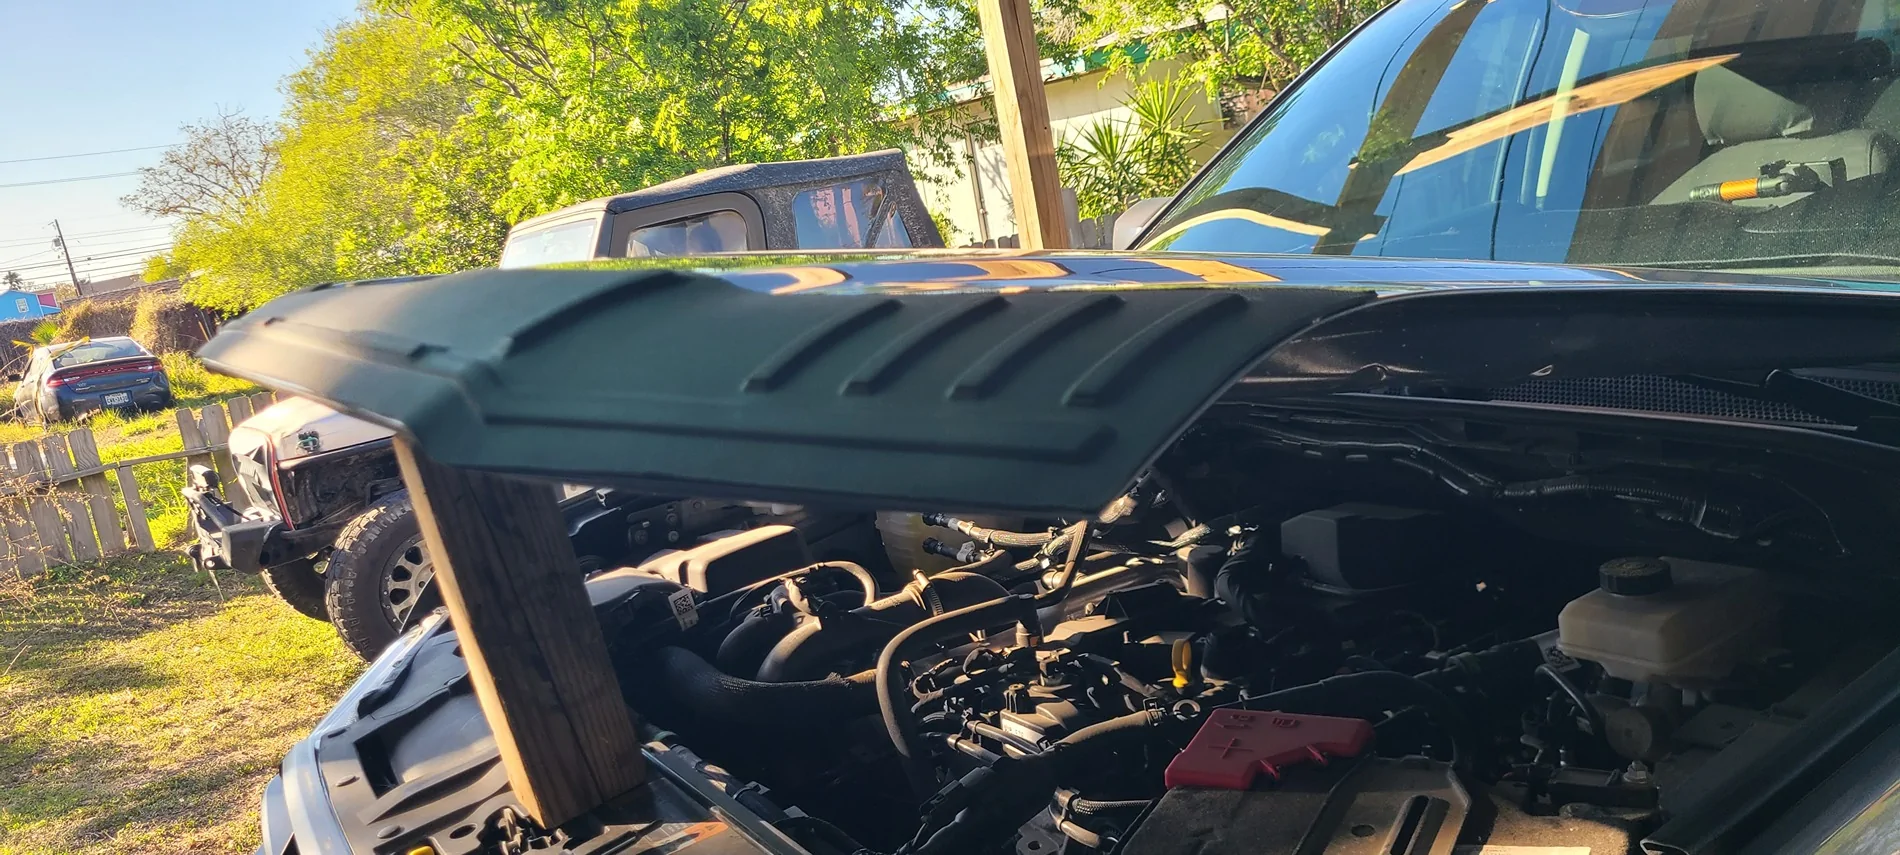
I already had a bug guard though. One that stands off the hood using brackets a.d little rubber snubber looking deals at the corners so i had to remove that first. Luckily i got this and took the other off because one of the clamps had worn through the clear tape stuff you hsve to out down before mounting the clamp and was wearing through the paint. Also, the rubber bumper snubbers were also not sticking anymore and were loose so they would have started vibrating through the paint at some point, too.

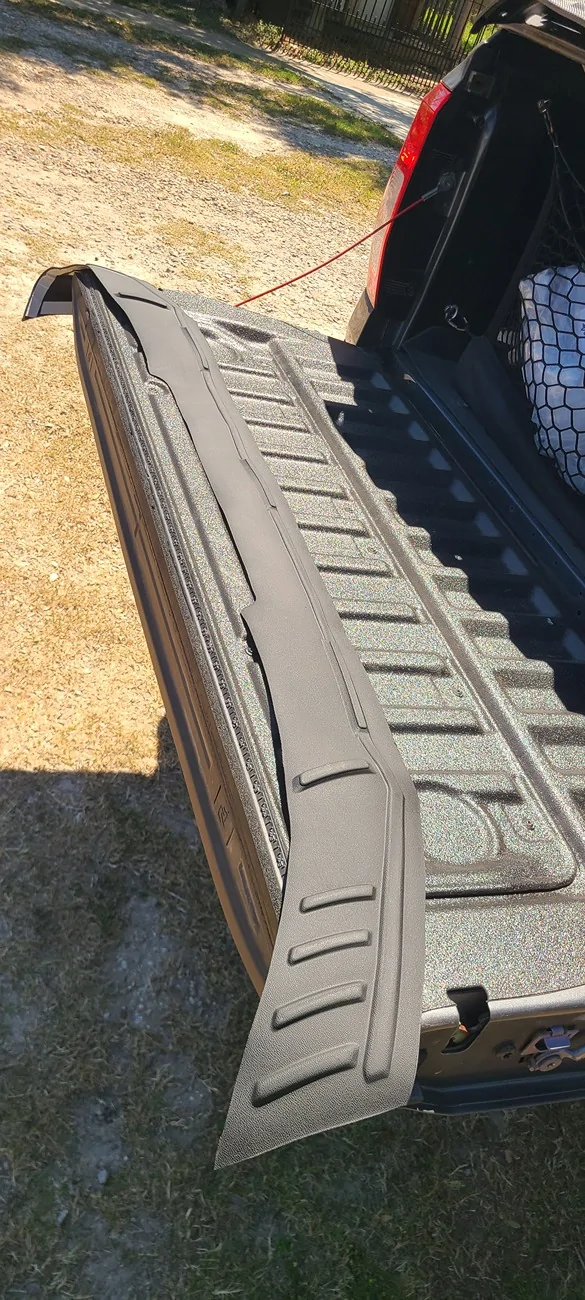
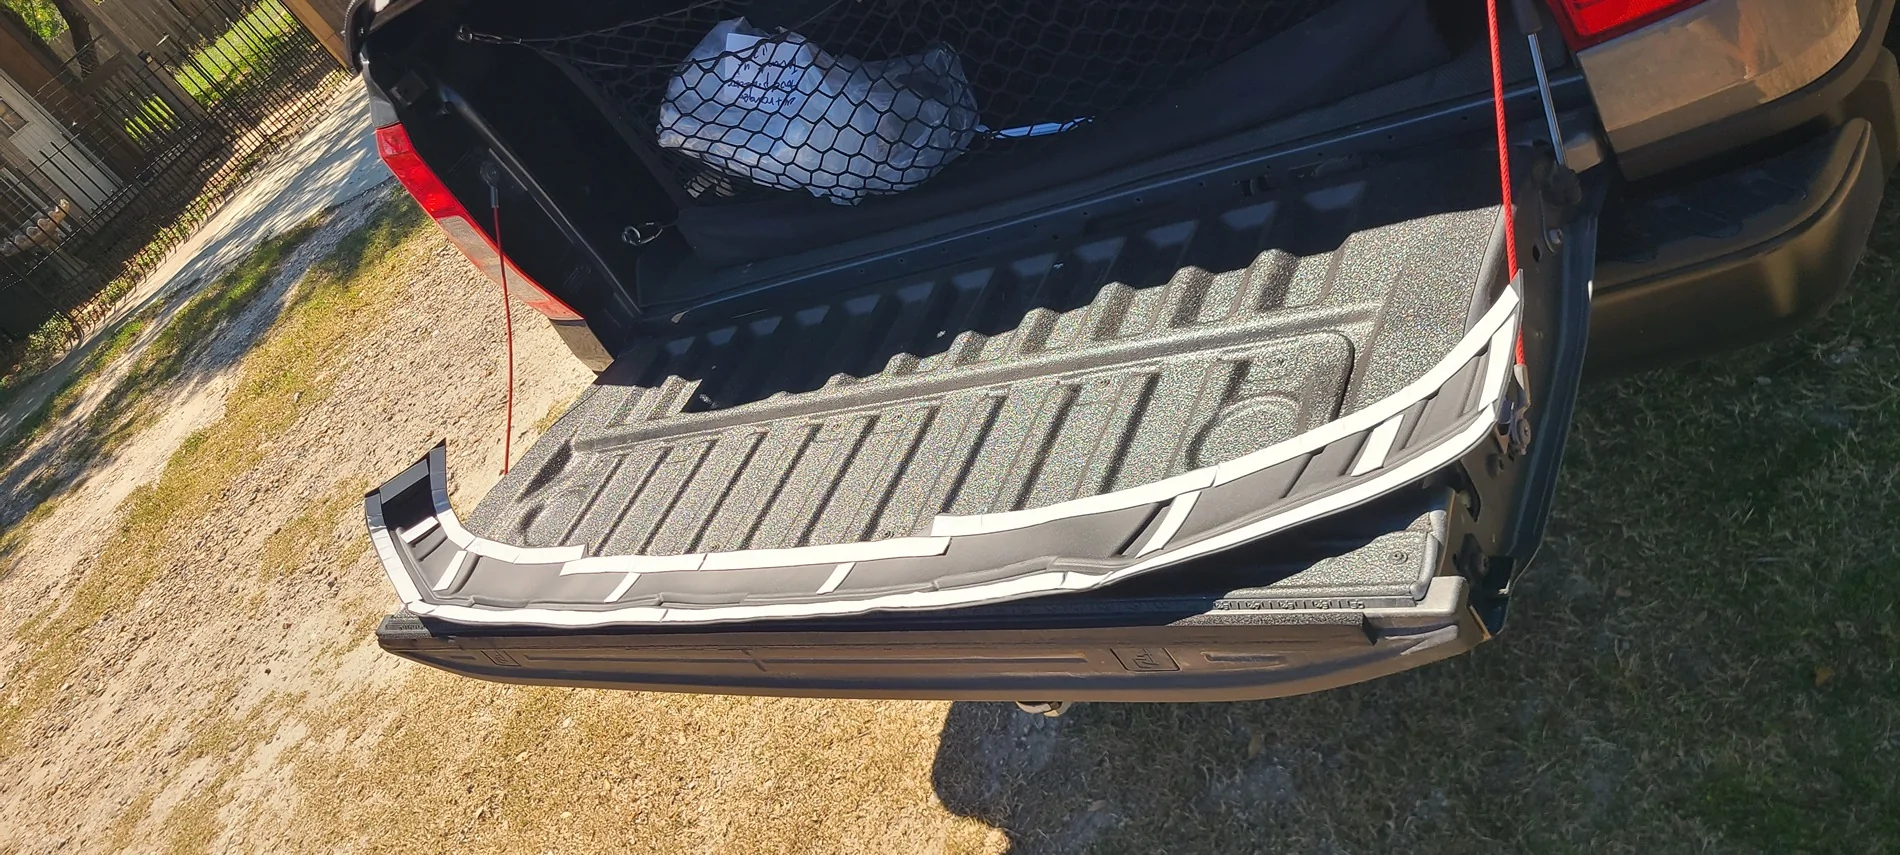
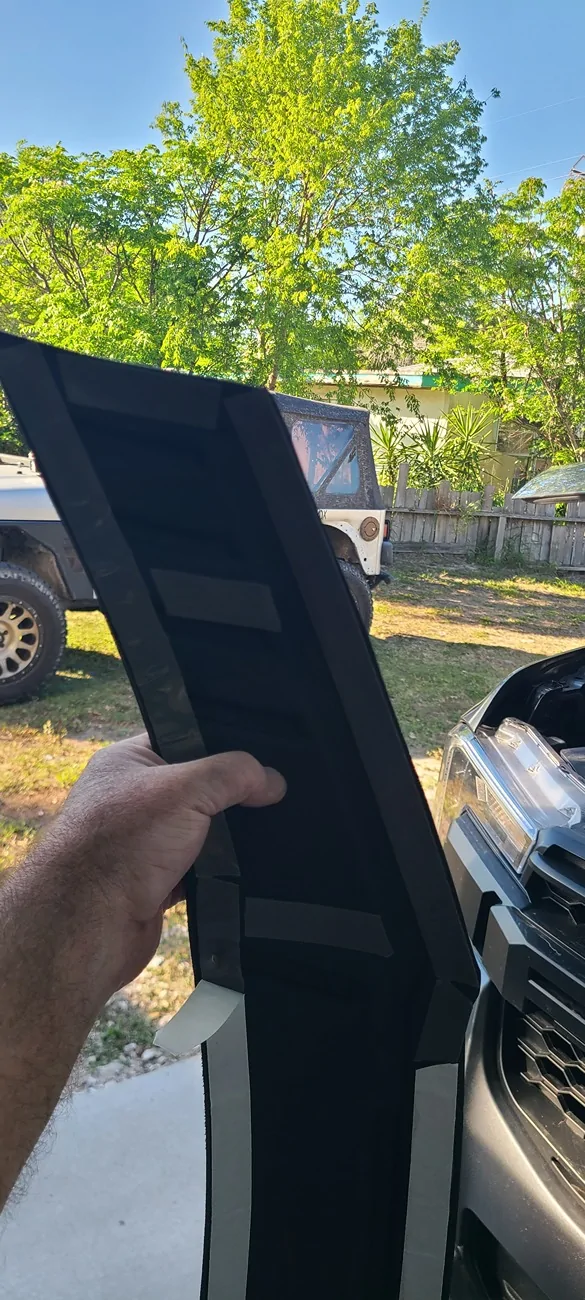
So here is the new part. Its laying the sun because it was rolled up in the box.

This is a different type of tape used for attching that i have not seen in a bit of time. I had a buddy that attached fog lights to his car using this same style of automotive double sided tape way back in the 90s. I was sure they weren't going to make it off base bu they stayed on for a few months. I was super surprised. So i am not a bit worried that this will come off while driving since thos foglights stayed on for so long. This tape will always have the wind pushing against it to hold the guard in place.
Test fit this once or twice so you know where its gping to line up. Maybe out sone tape down as a guide. I failed to do that and now i have a very well attached bug guard that is not exactly straight.
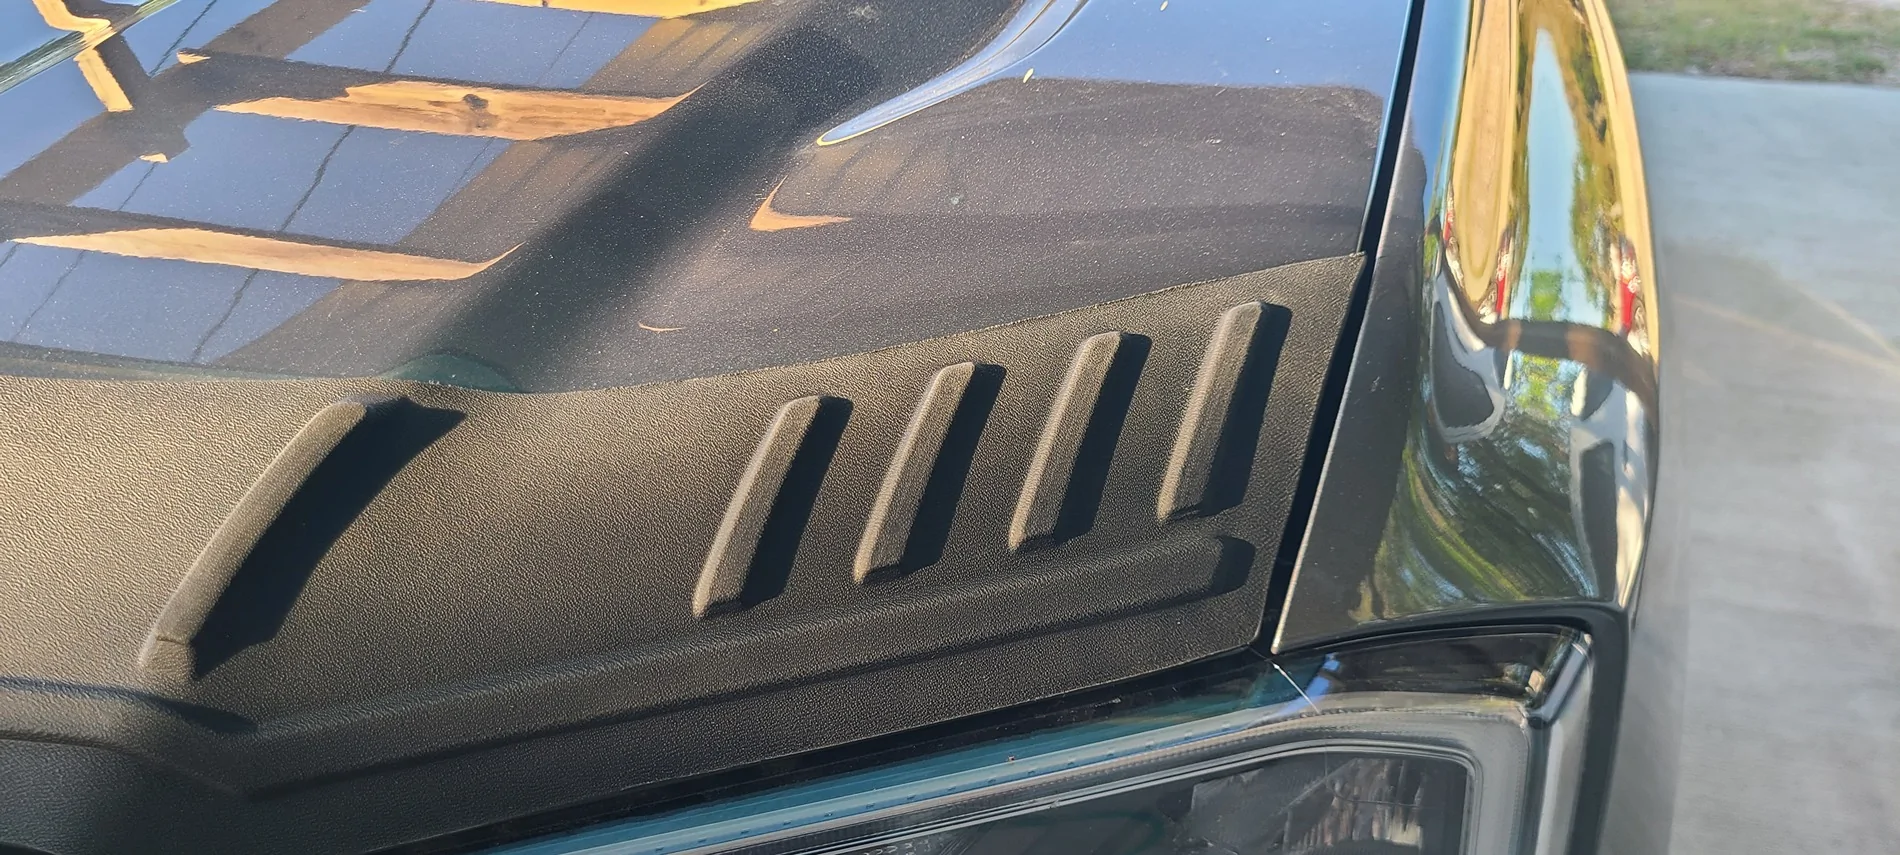
Start peeling the tape and laying it on the hood. The size and shape of this guard are actually very very good. If you lay it on straight, it will fit perectly along the edges of the hood across the bottom and sides.
It lays nicely by yourself but having two people would make it easier.
Fits the edges nicely.
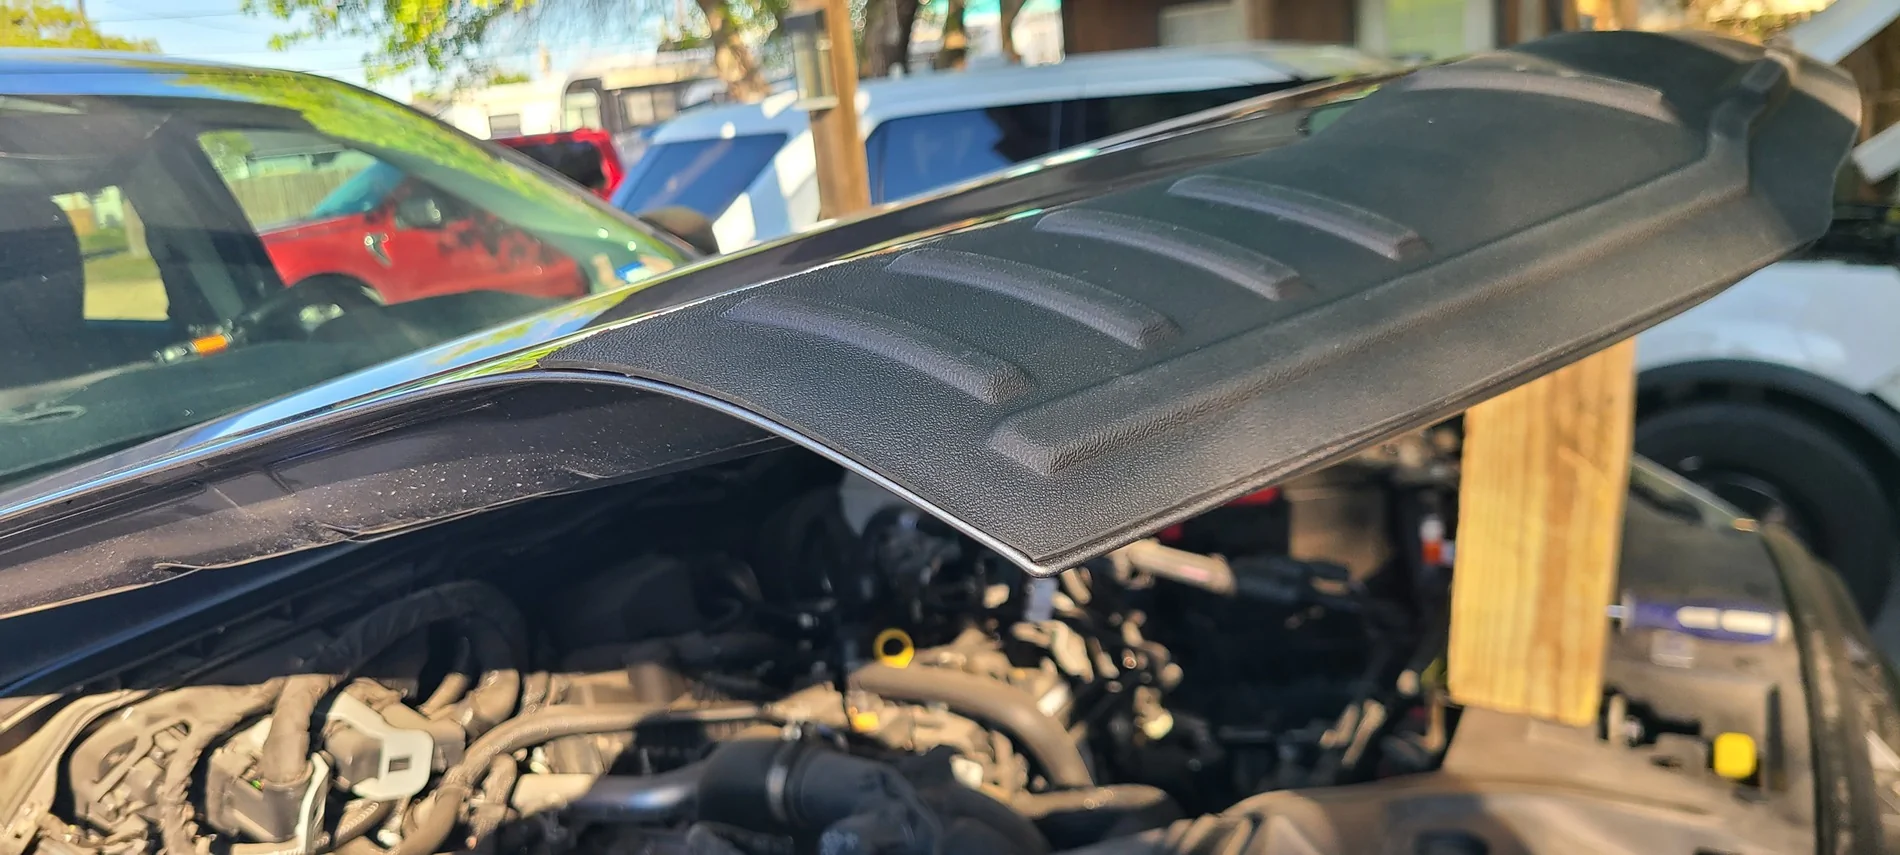
Fits the hood curve great.
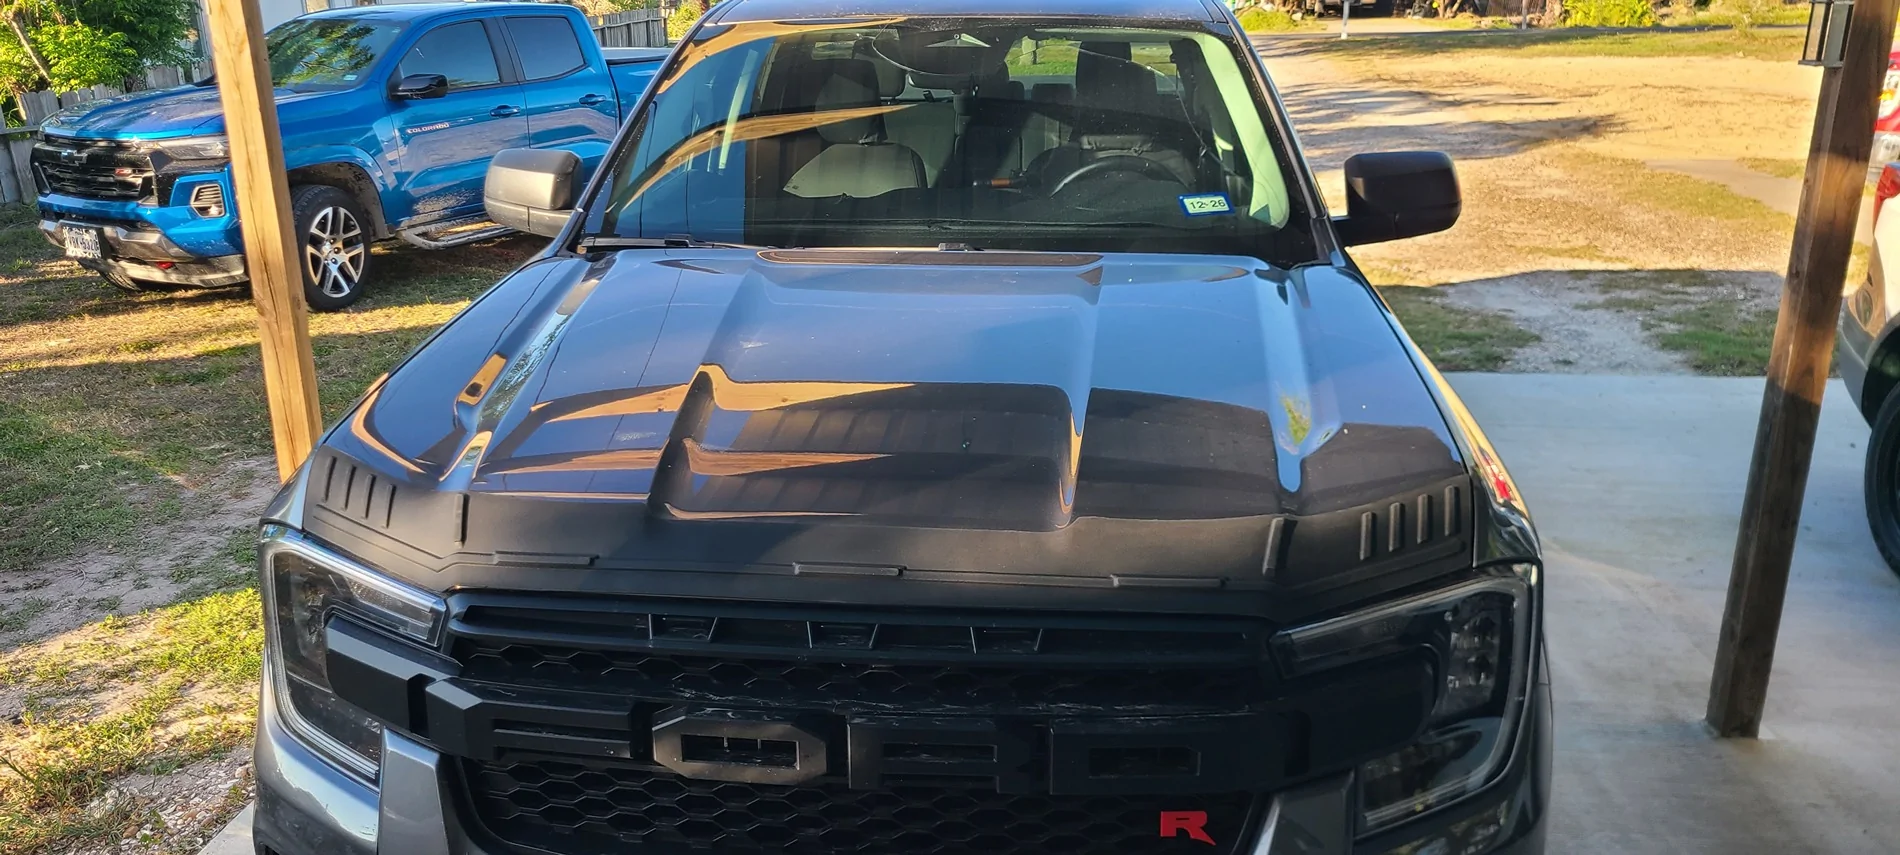
And here is where you will see i didnt align properly. I stsrted on one side and smoohed the guard across the hood, pushing with the palm of my hand. I shpuld have laid both edges and pushed to the middle so it fit the center equally. See the curve is off compared to the previous picture?
Work either from the center out, or each side in, equally, and you wont be off a hair. Installer error but now you guys know what to do to not make the same mistake.
So i am going to run this in place of my previous stand off model. A nice thing about these stick on lay flat parts is you dont have to worry about them breaking, or a screw coming out on the highway, like what happened to mine about 10 or 12 days ago.
Thanks to @TripleAliners for sending this to me. I think it looks good and is nice and thick the stop rock hits while driving.
I already had a bug guard though. One that stands off the hood using brackets a.d little rubber snubber looking deals at the corners so i had to remove that first. Luckily i got this and took the other off because one of the clamps had worn through the clear tape stuff you hsve to out down before mounting the clamp and was wearing through the paint. Also, the rubber bumper snubbers were also not sticking anymore and were loose so they would have started vibrating through the paint at some point, too.
So here is the new part. Its laying the sun because it was rolled up in the box.
This is a different type of tape used for attching that i have not seen in a bit of time. I had a buddy that attached fog lights to his car using this same style of automotive double sided tape way back in the 90s. I was sure they weren't going to make it off base bu they stayed on for a few months. I was super surprised. So i am not a bit worried that this will come off while driving since thos foglights stayed on for so long. This tape will always have the wind pushing against it to hold the guard in place.
Test fit this once or twice so you know where its gping to line up. Maybe out sone tape down as a guide. I failed to do that and now i have a very well attached bug guard that is not exactly straight.
Start peeling the tape and laying it on the hood. The size and shape of this guard are actually very very good. If you lay it on straight, it will fit perectly along the edges of the hood across the bottom and sides.
It lays nicely by yourself but having two people would make it easier.
Fits the edges nicely.
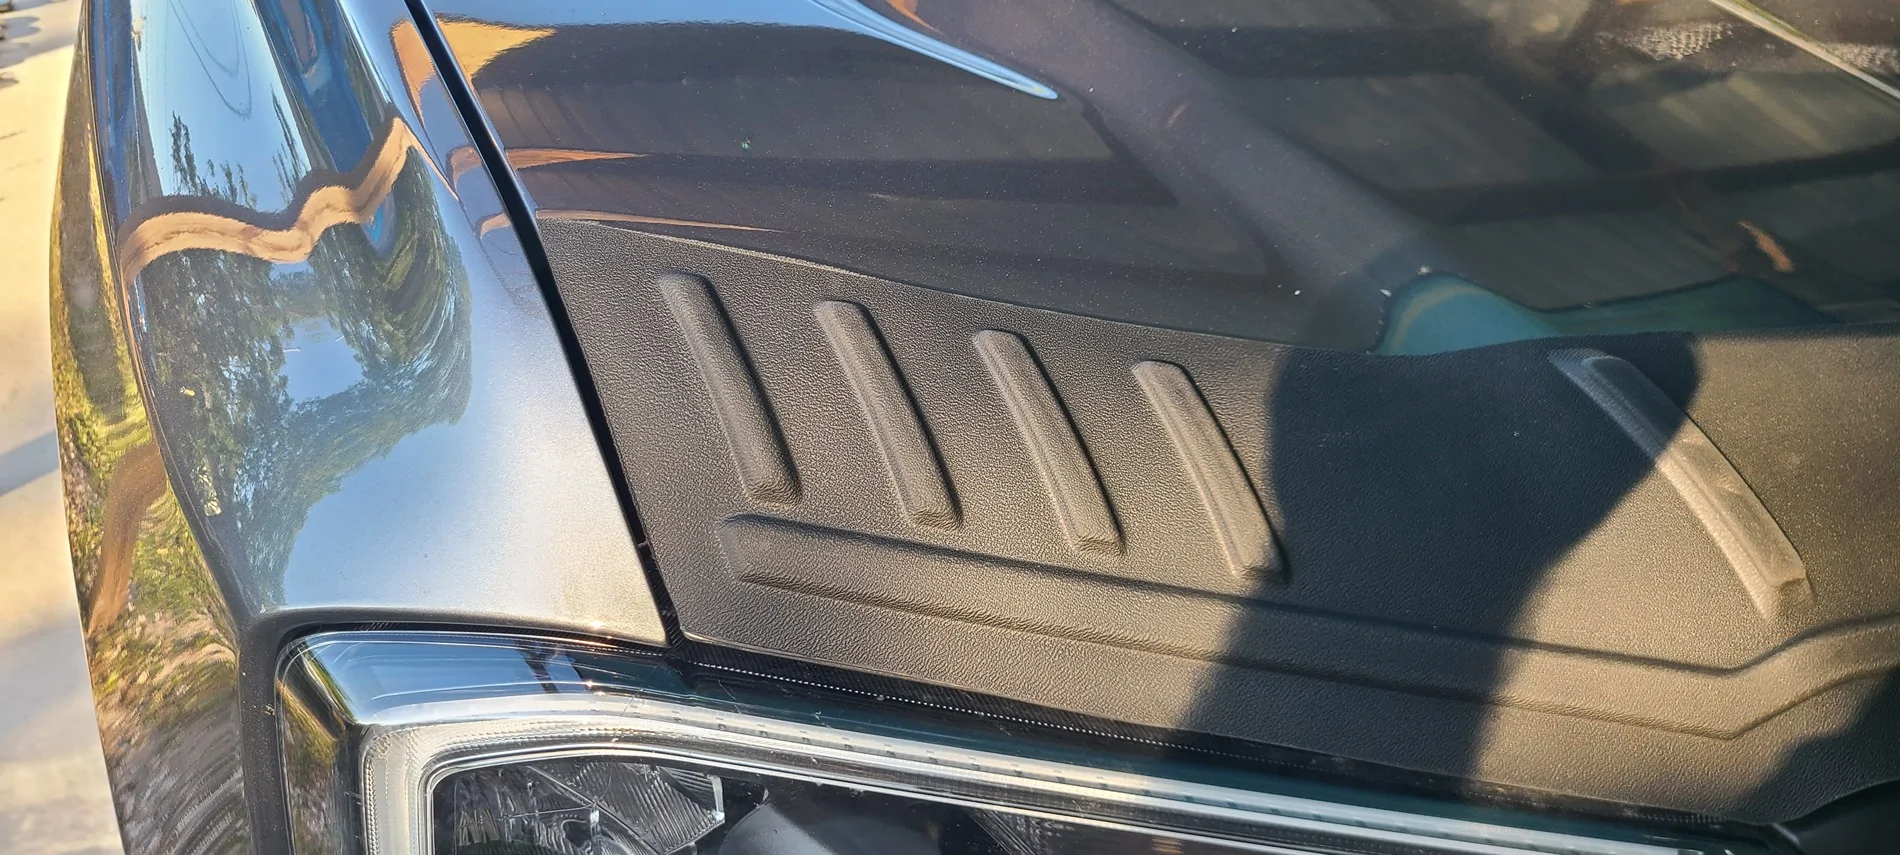
Fits the hood curve great.
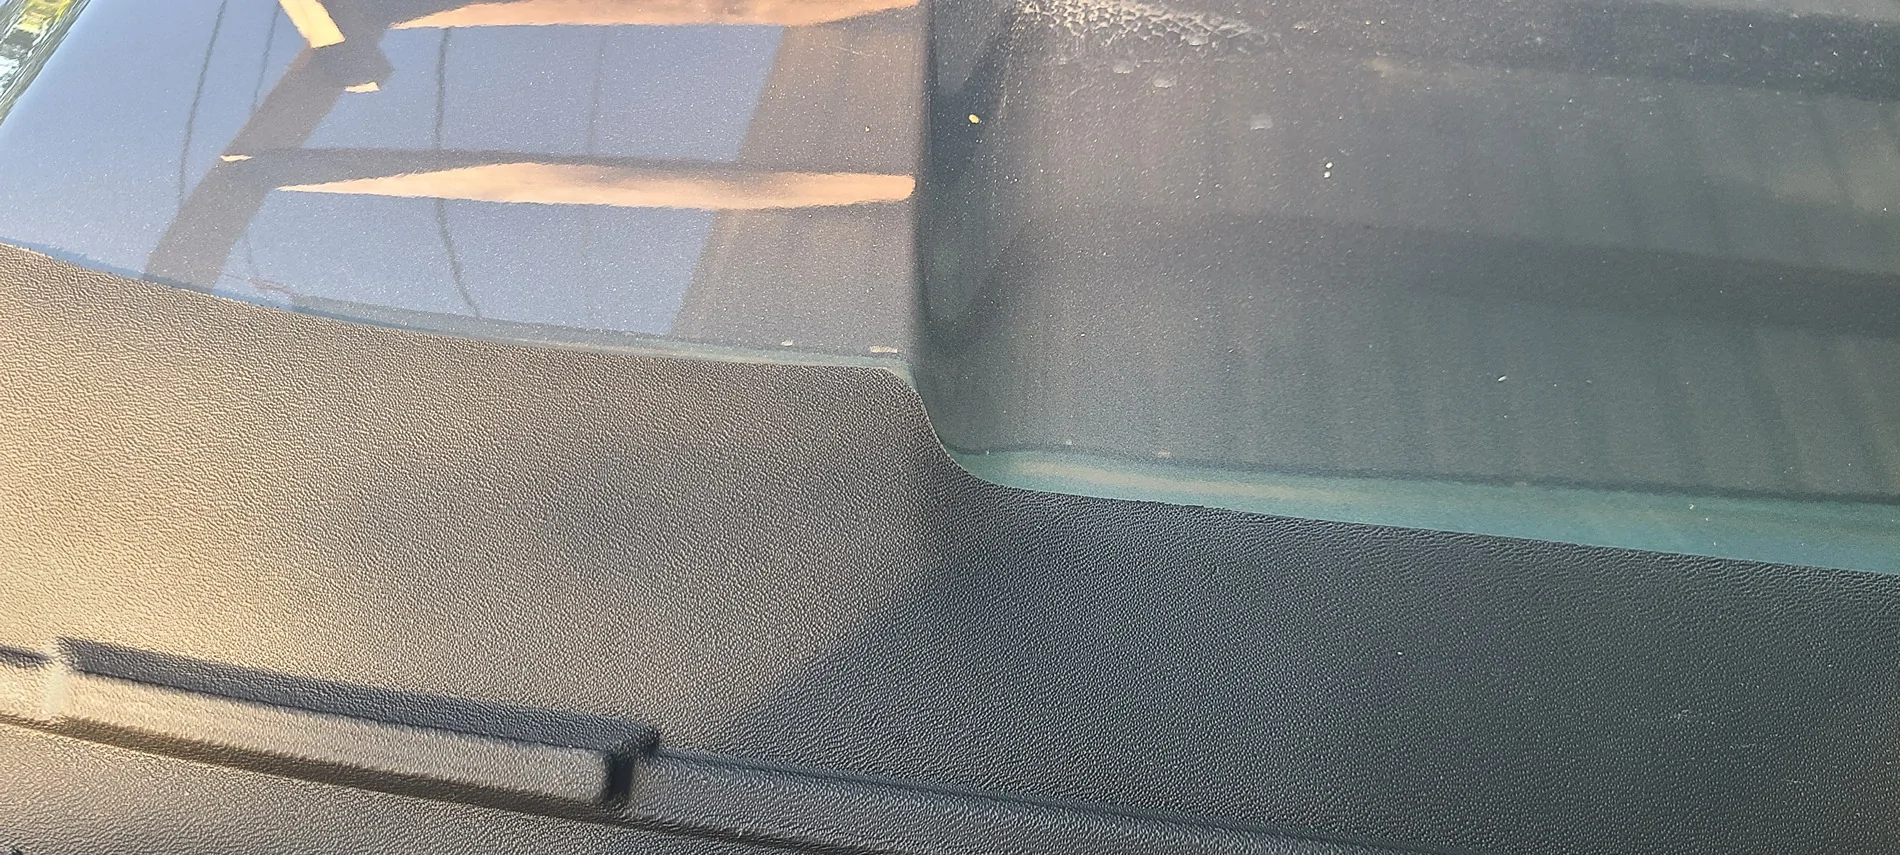
And here is where you will see i didnt align properly. I stsrted on one side and smoohed the guard across the hood, pushing with the palm of my hand. I shpuld have laid both edges and pushed to the middle so it fit the center equally. See the curve is off compared to the previous picture?

Work either from the center out, or each side in, equally, and you wont be off a hair. Installer error but now you guys know what to do to not make the same mistake.
So i am going to run this in place of my previous stand off model. A nice thing about these stick on lay flat parts is you dont have to worry about them breaking, or a screw coming out on the highway, like what happened to mine about 10 or 12 days ago.
Thanks to @TripleAliners for sending this to me. I think it looks good and is nice and thick the stop rock hits while driving.
Sponsored
Last edited: