daedalus
Active Member
- Joined
- Apr 29, 2025
- Threads
- 3
- Messages
- 41
- Reaction score
- 60
- Location
- Bay Area California
- Vehicle(s)
- Santa Cruz soon to be Ranger XLT
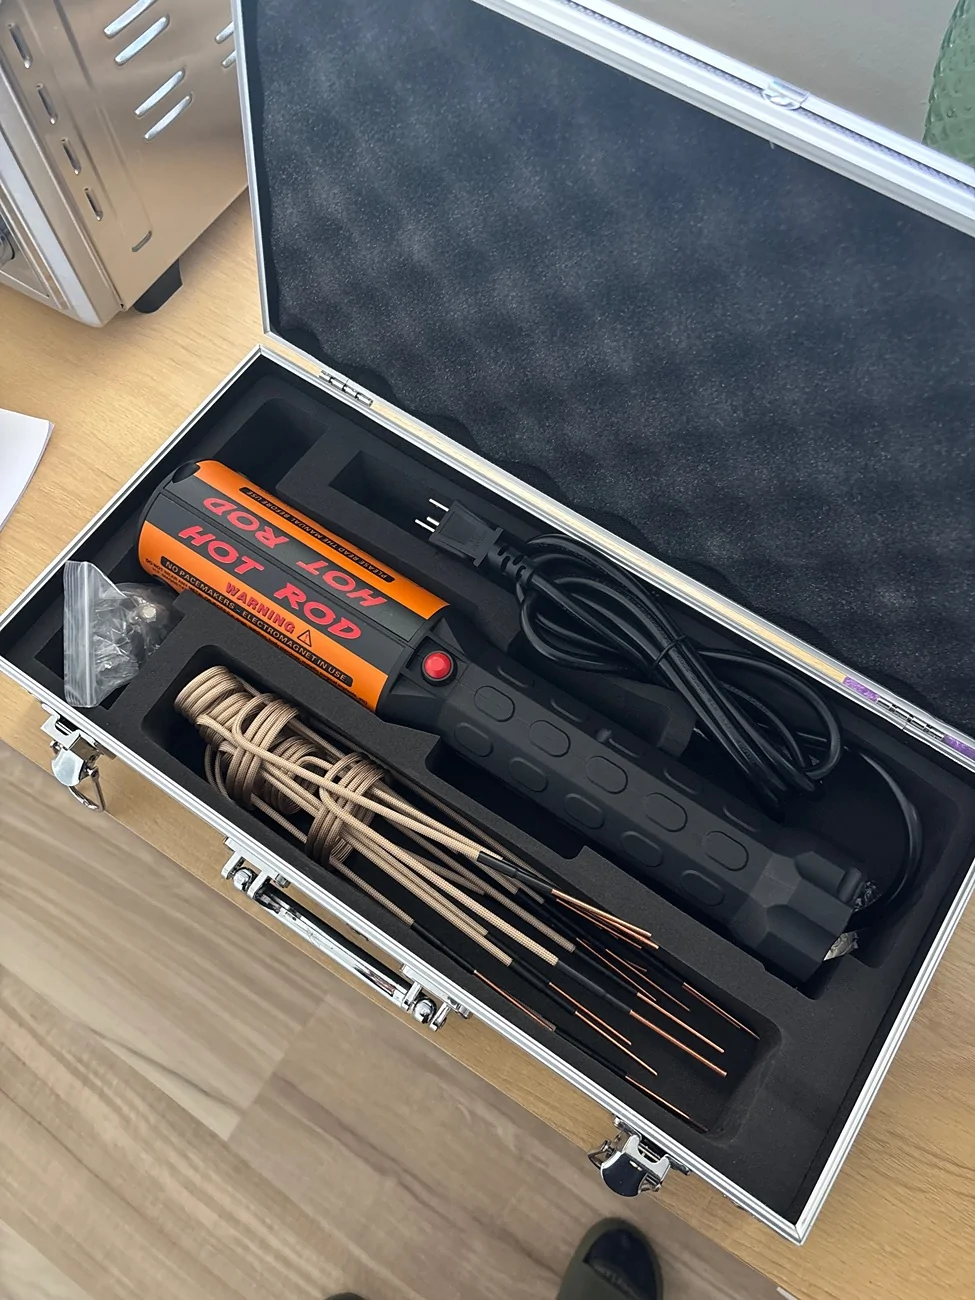
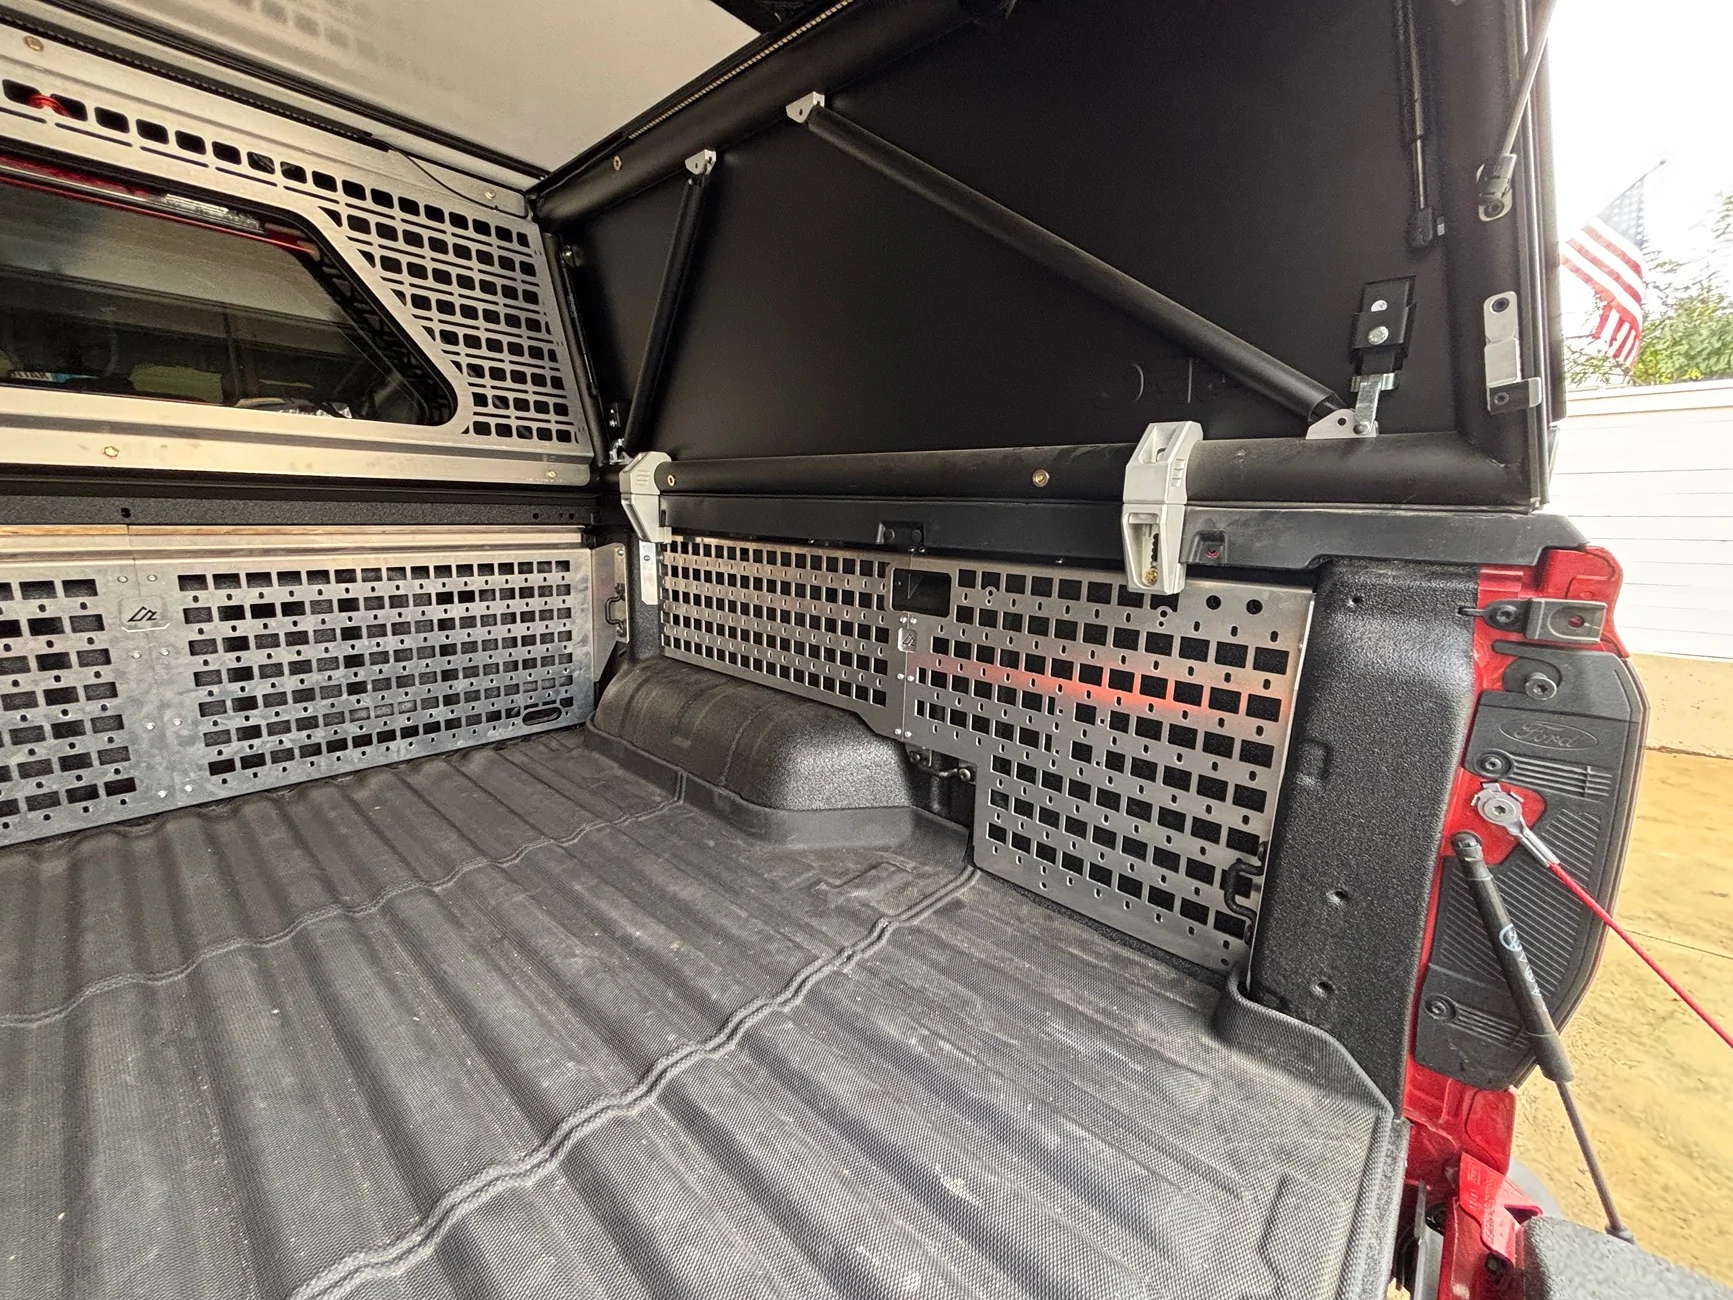
No corrosion, just a ton of Red Locktite. Where I am, we are dry and do not get the sea air. I will send the Order number over. Not sure if you have Parts Gnomes or Parts Trolls but have fun with the "re-education"First off, thank you for the business!
Dang. Hate to hear that about the bolt. I'm curious, was there any corrosion on it when you got it out? I see that you may be near some salty air. The bolts in our truck came right out first try, but we're in a dry climate. I would love to find some type of pattern with the people who have had issues with them so we could have a plan of attack for these situations.
Sorry to hear about the missing bolts. That type of thing drive me absolutely nuts (no hardware pun intended). Our entire team puts in a ton of effort to get these out with the most perfect customer experience possible. Can you share the order number so I can do some research into that hardware pack? May be time for some "re-education".
Sponsored