OP
OP
AdventureLab
Diamond Sponsor
- First Name
- Brit
- Joined
- Mar 14, 2025
- Threads
- 49
- Messages
- 872
- Reaction score
- 1,252
- Location
- St George, UT
- Vehicle(s)
- '24 RR
- Thread starter
- #166
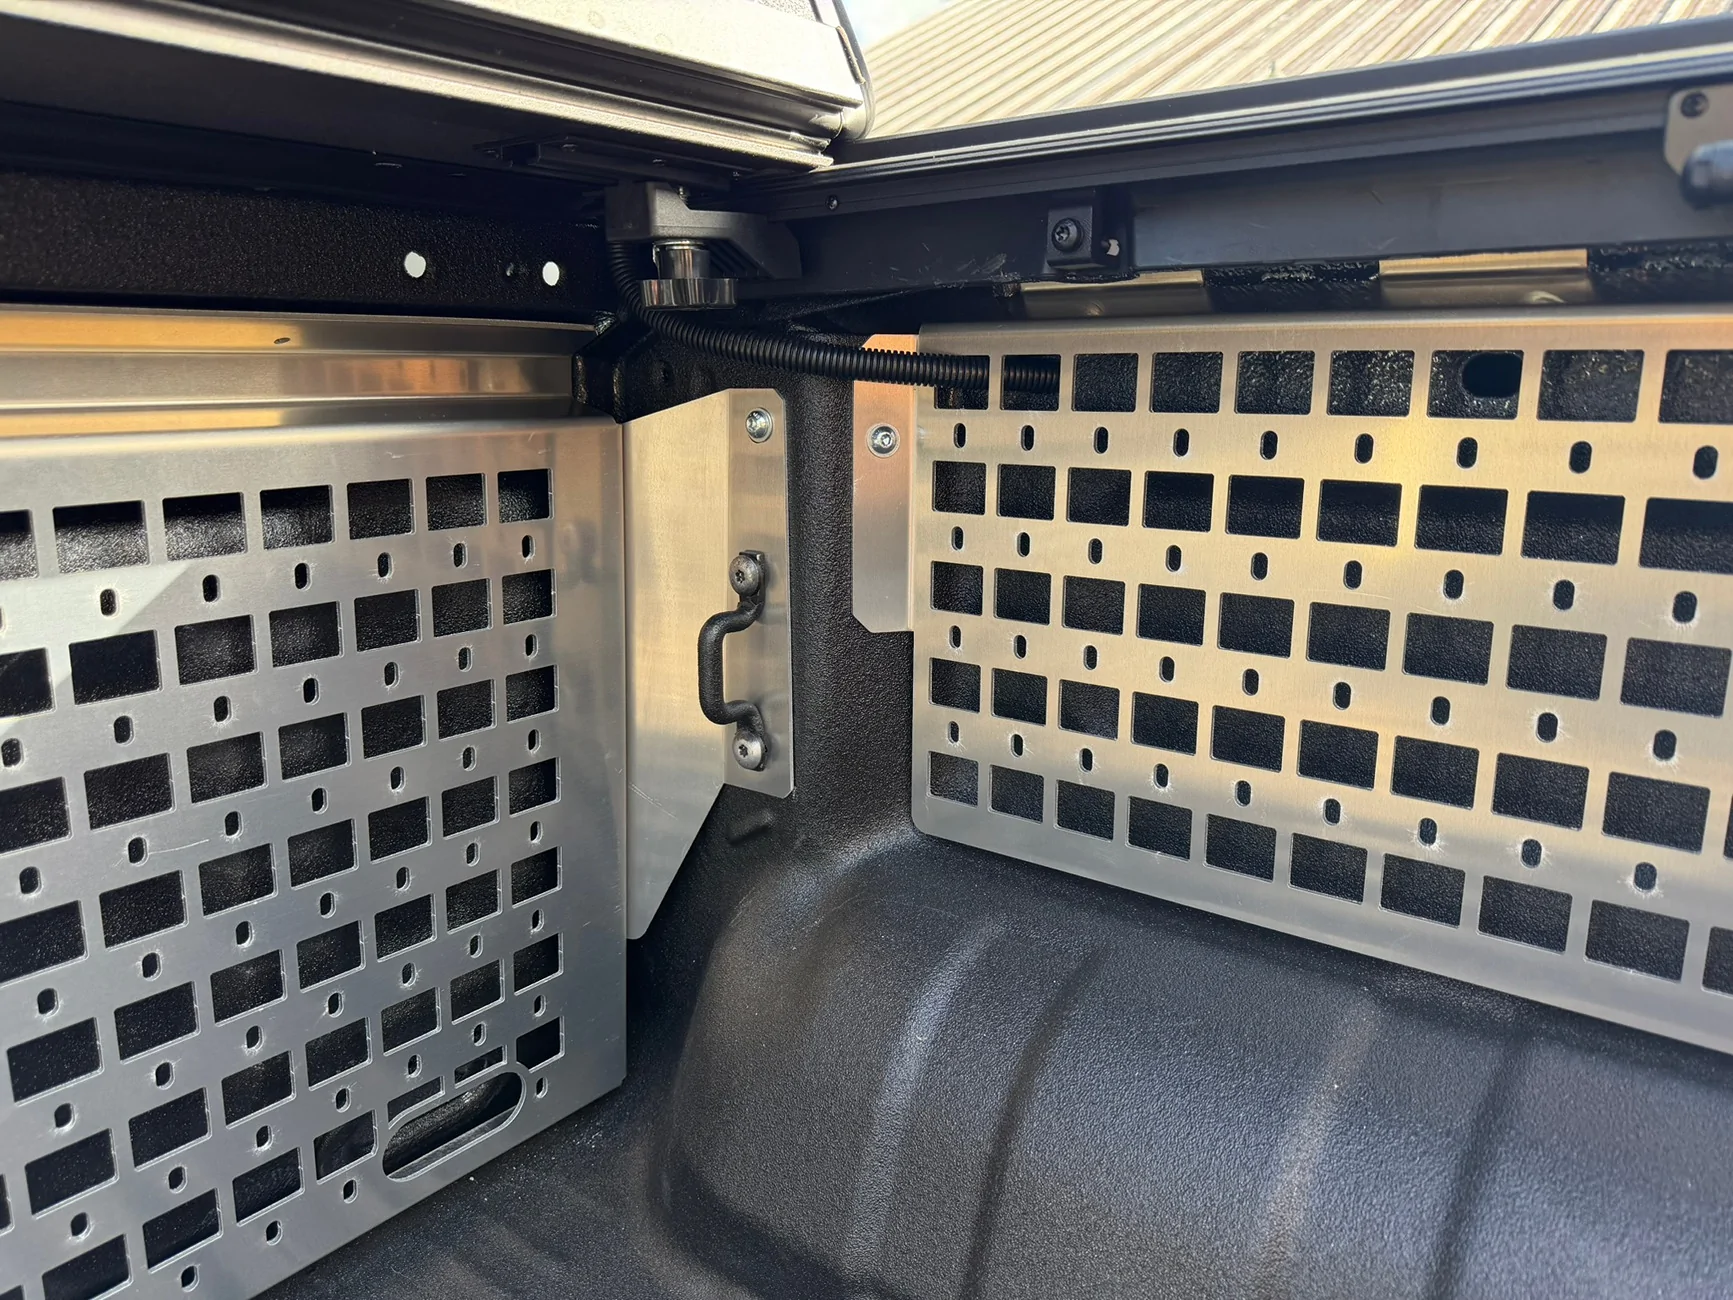
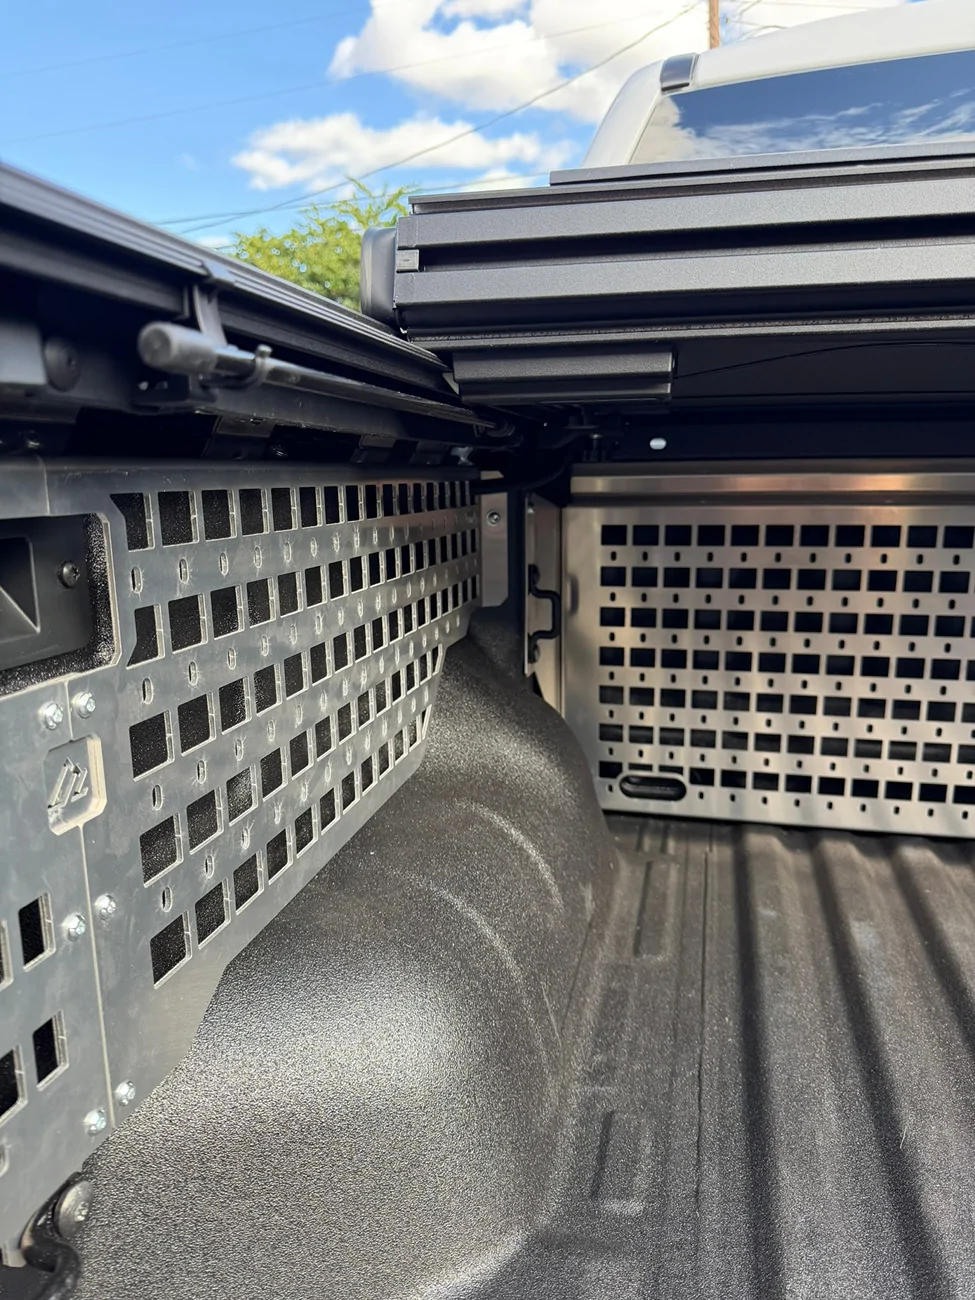
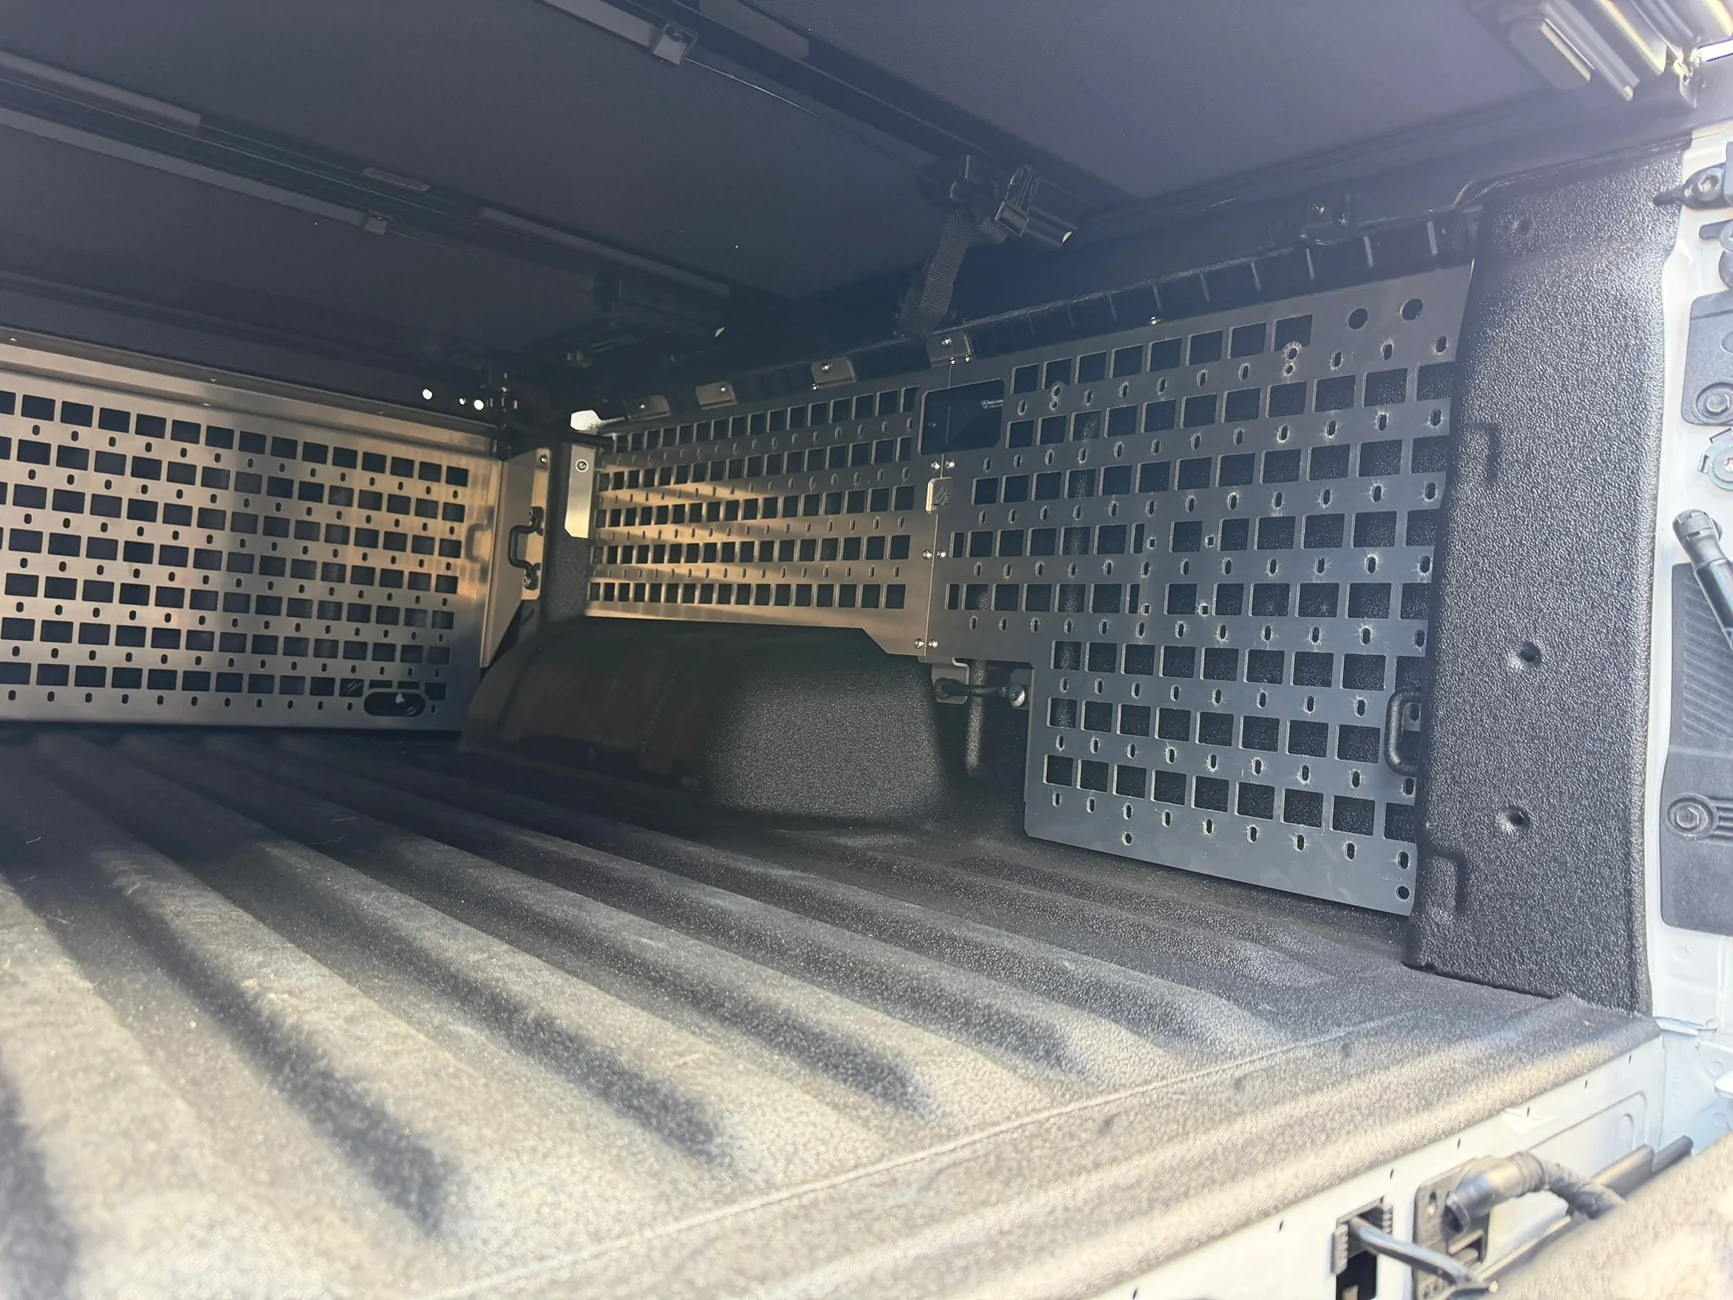
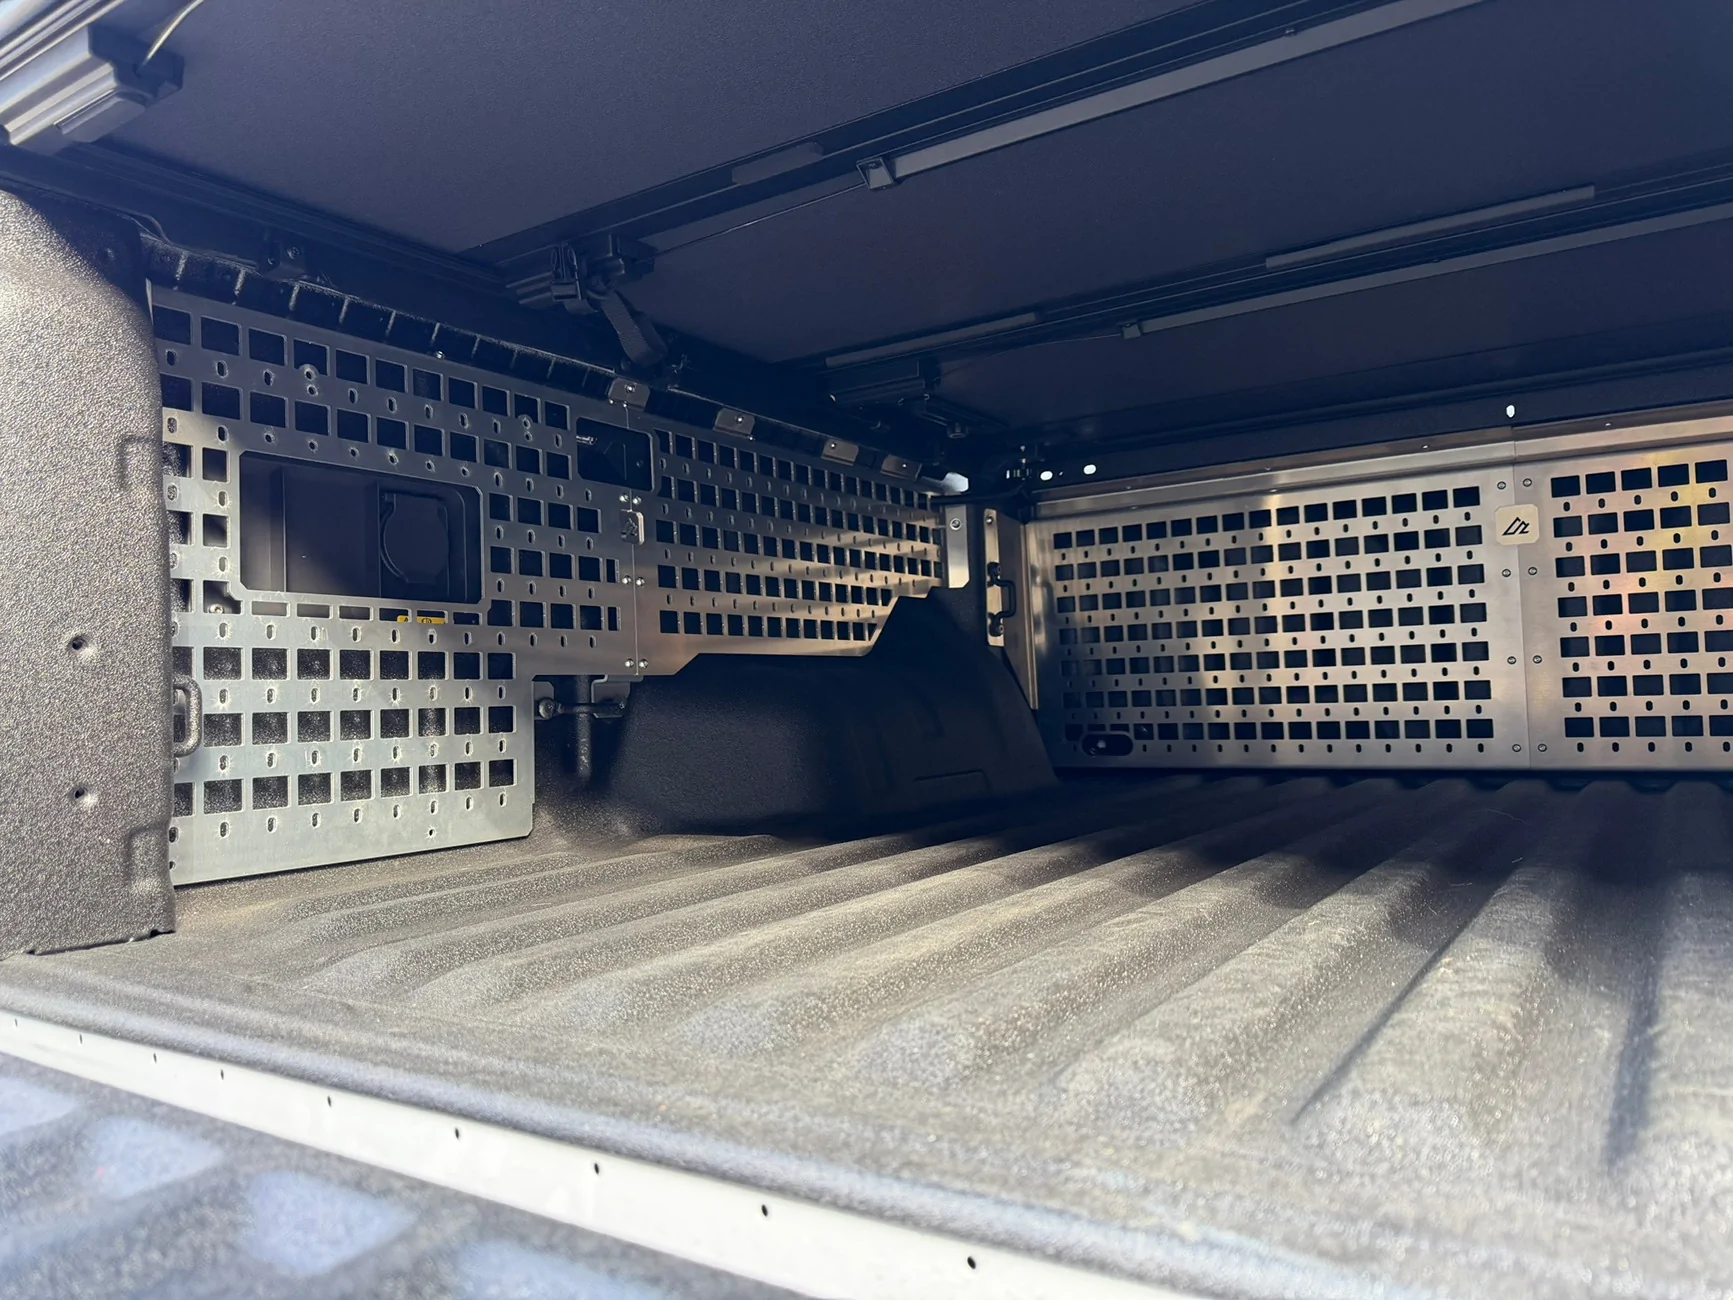
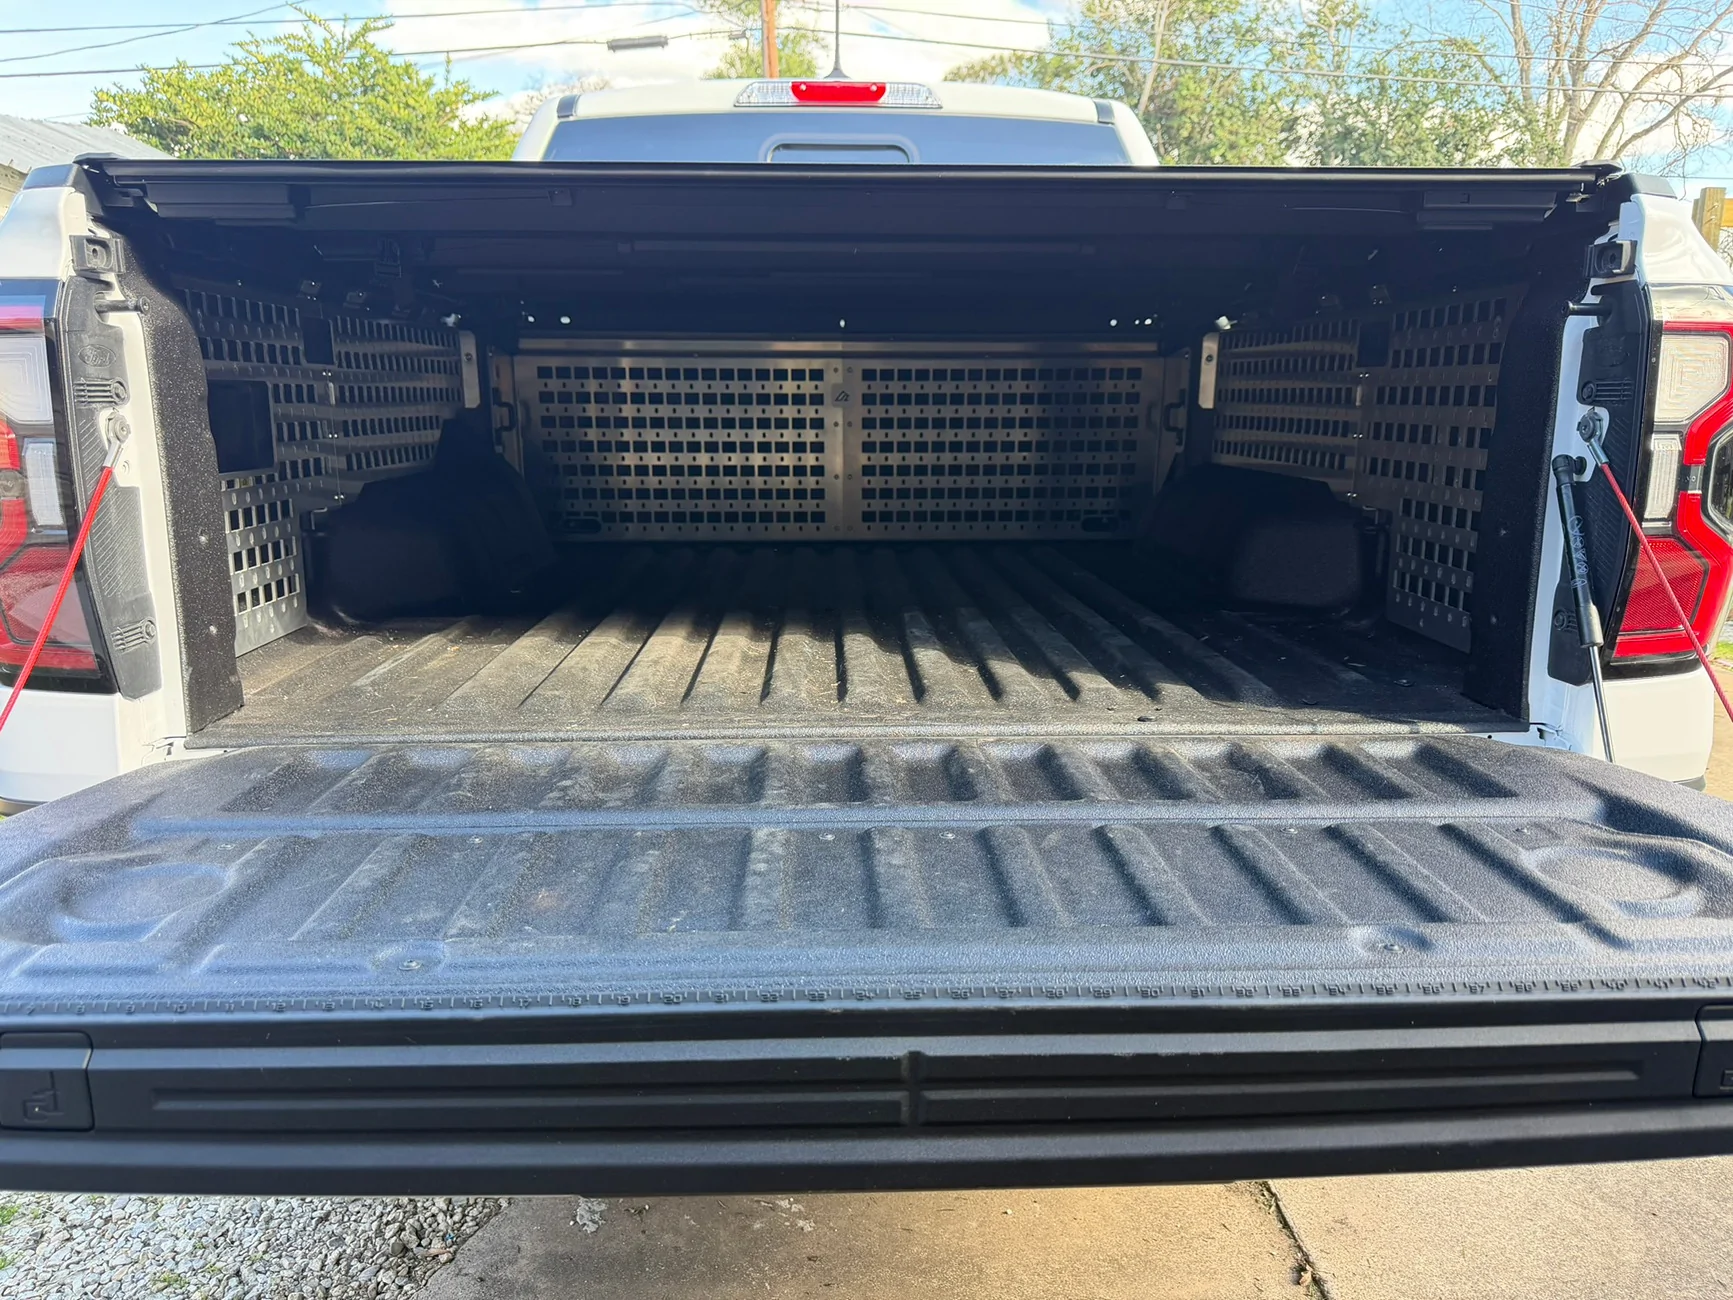
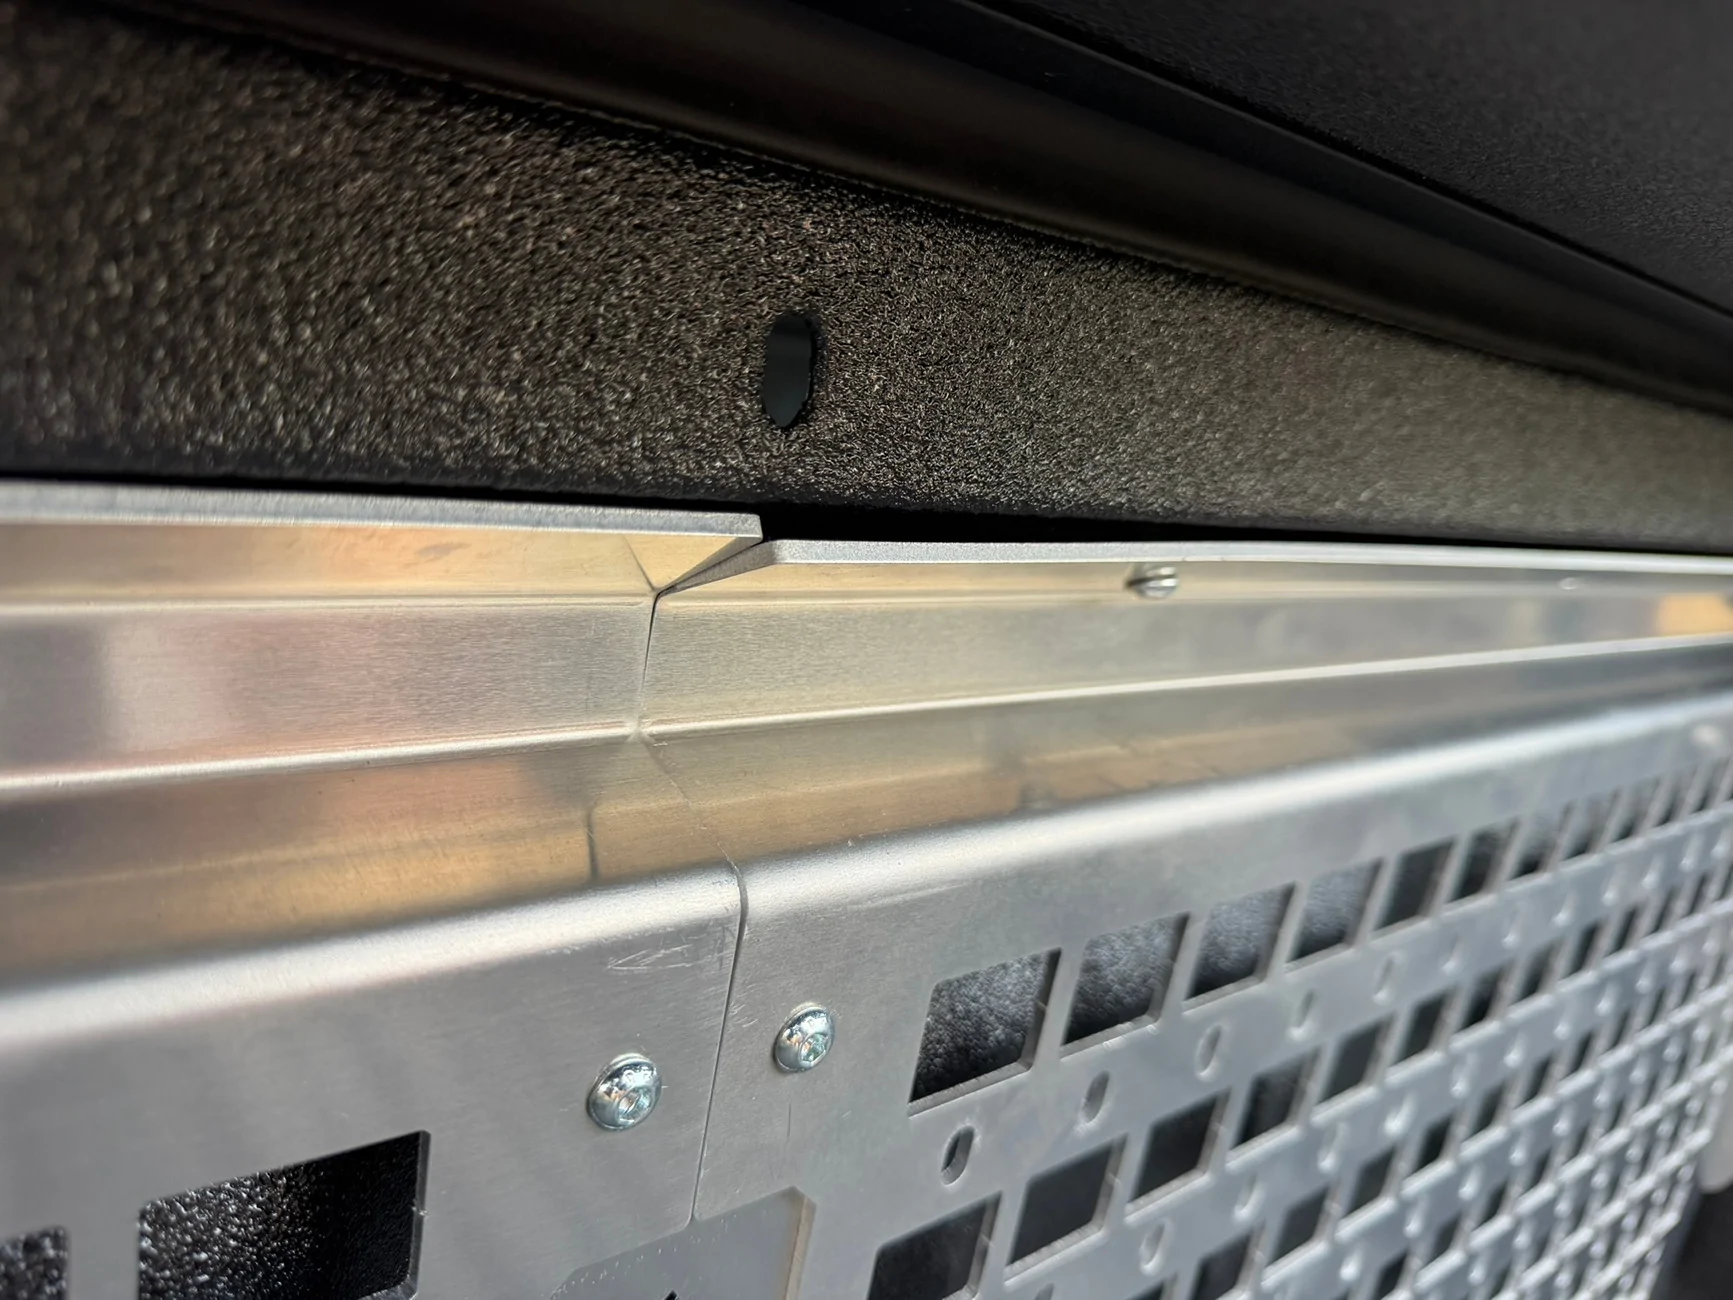
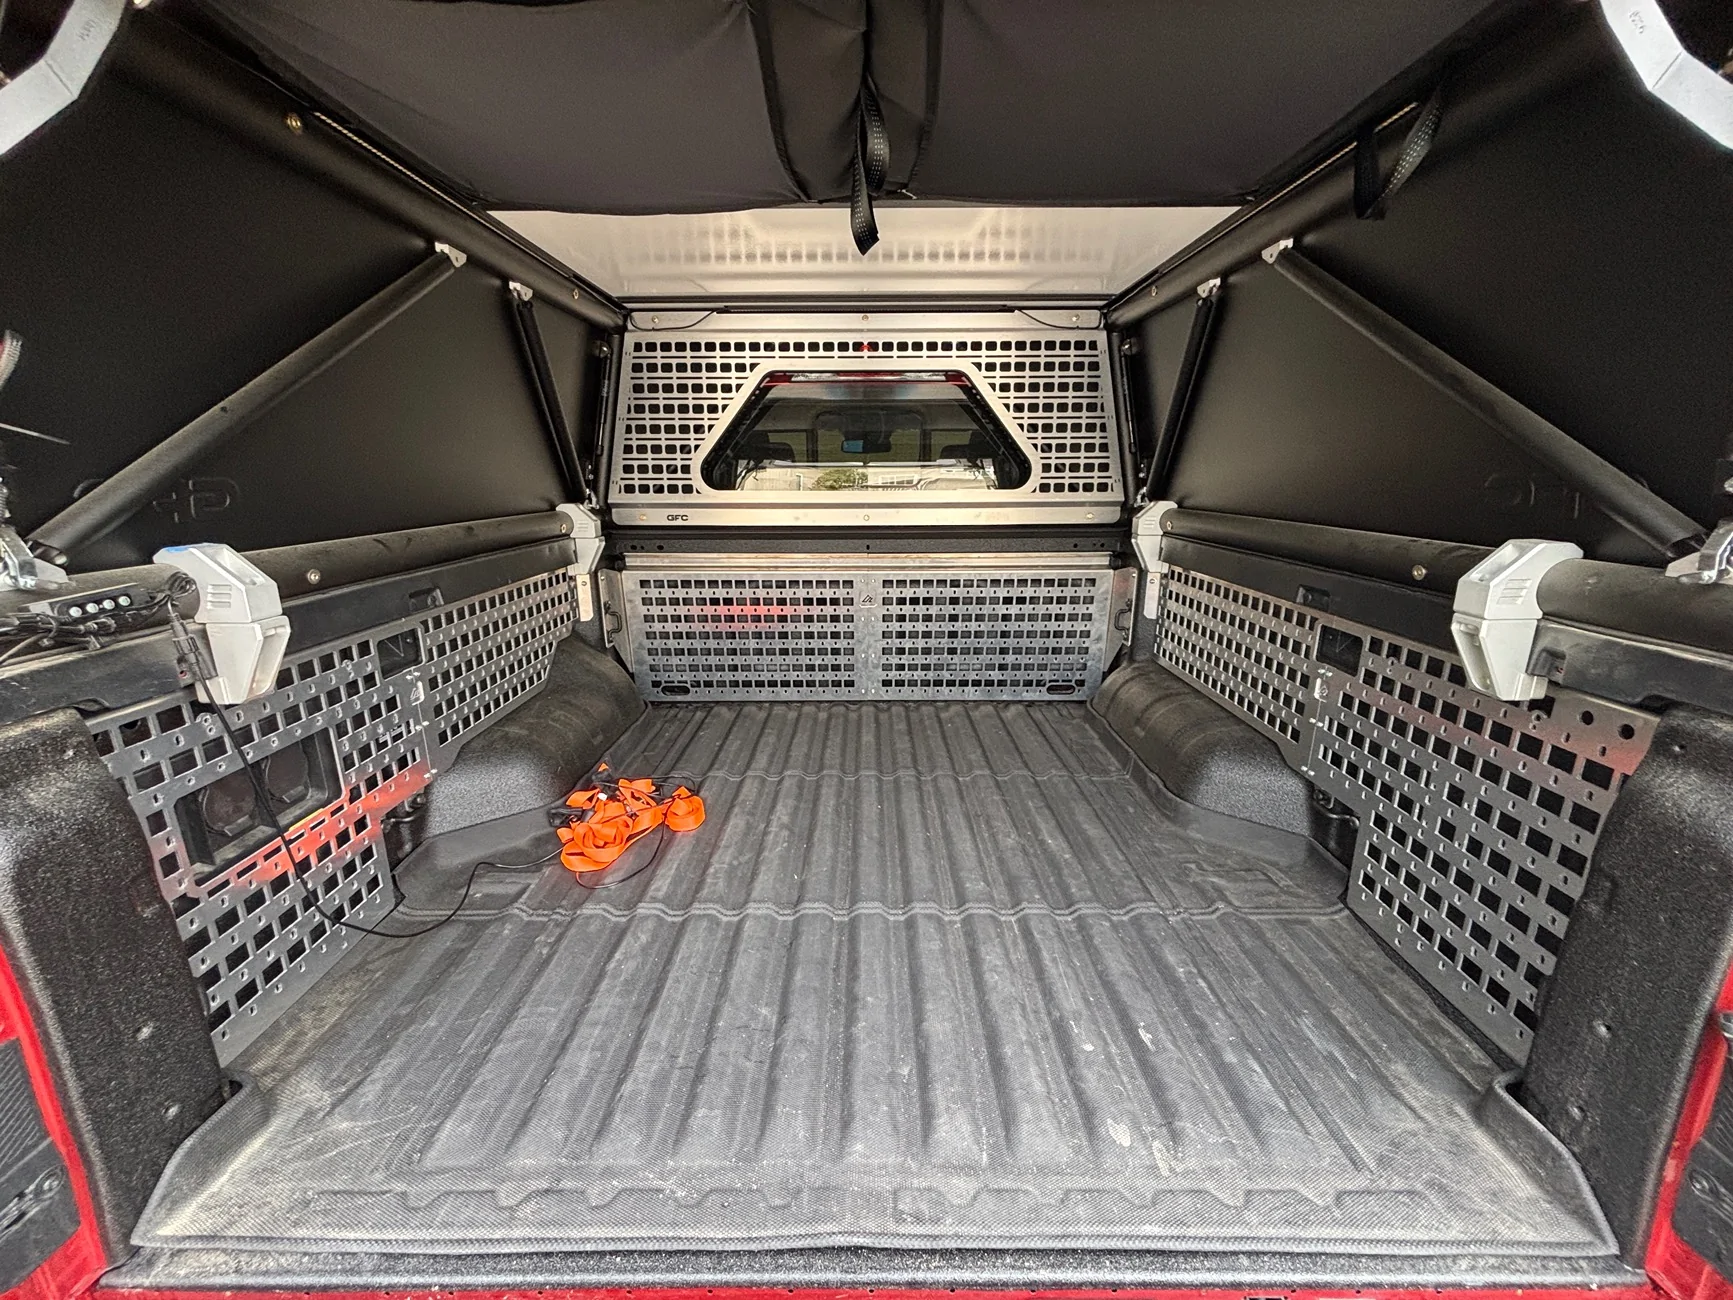
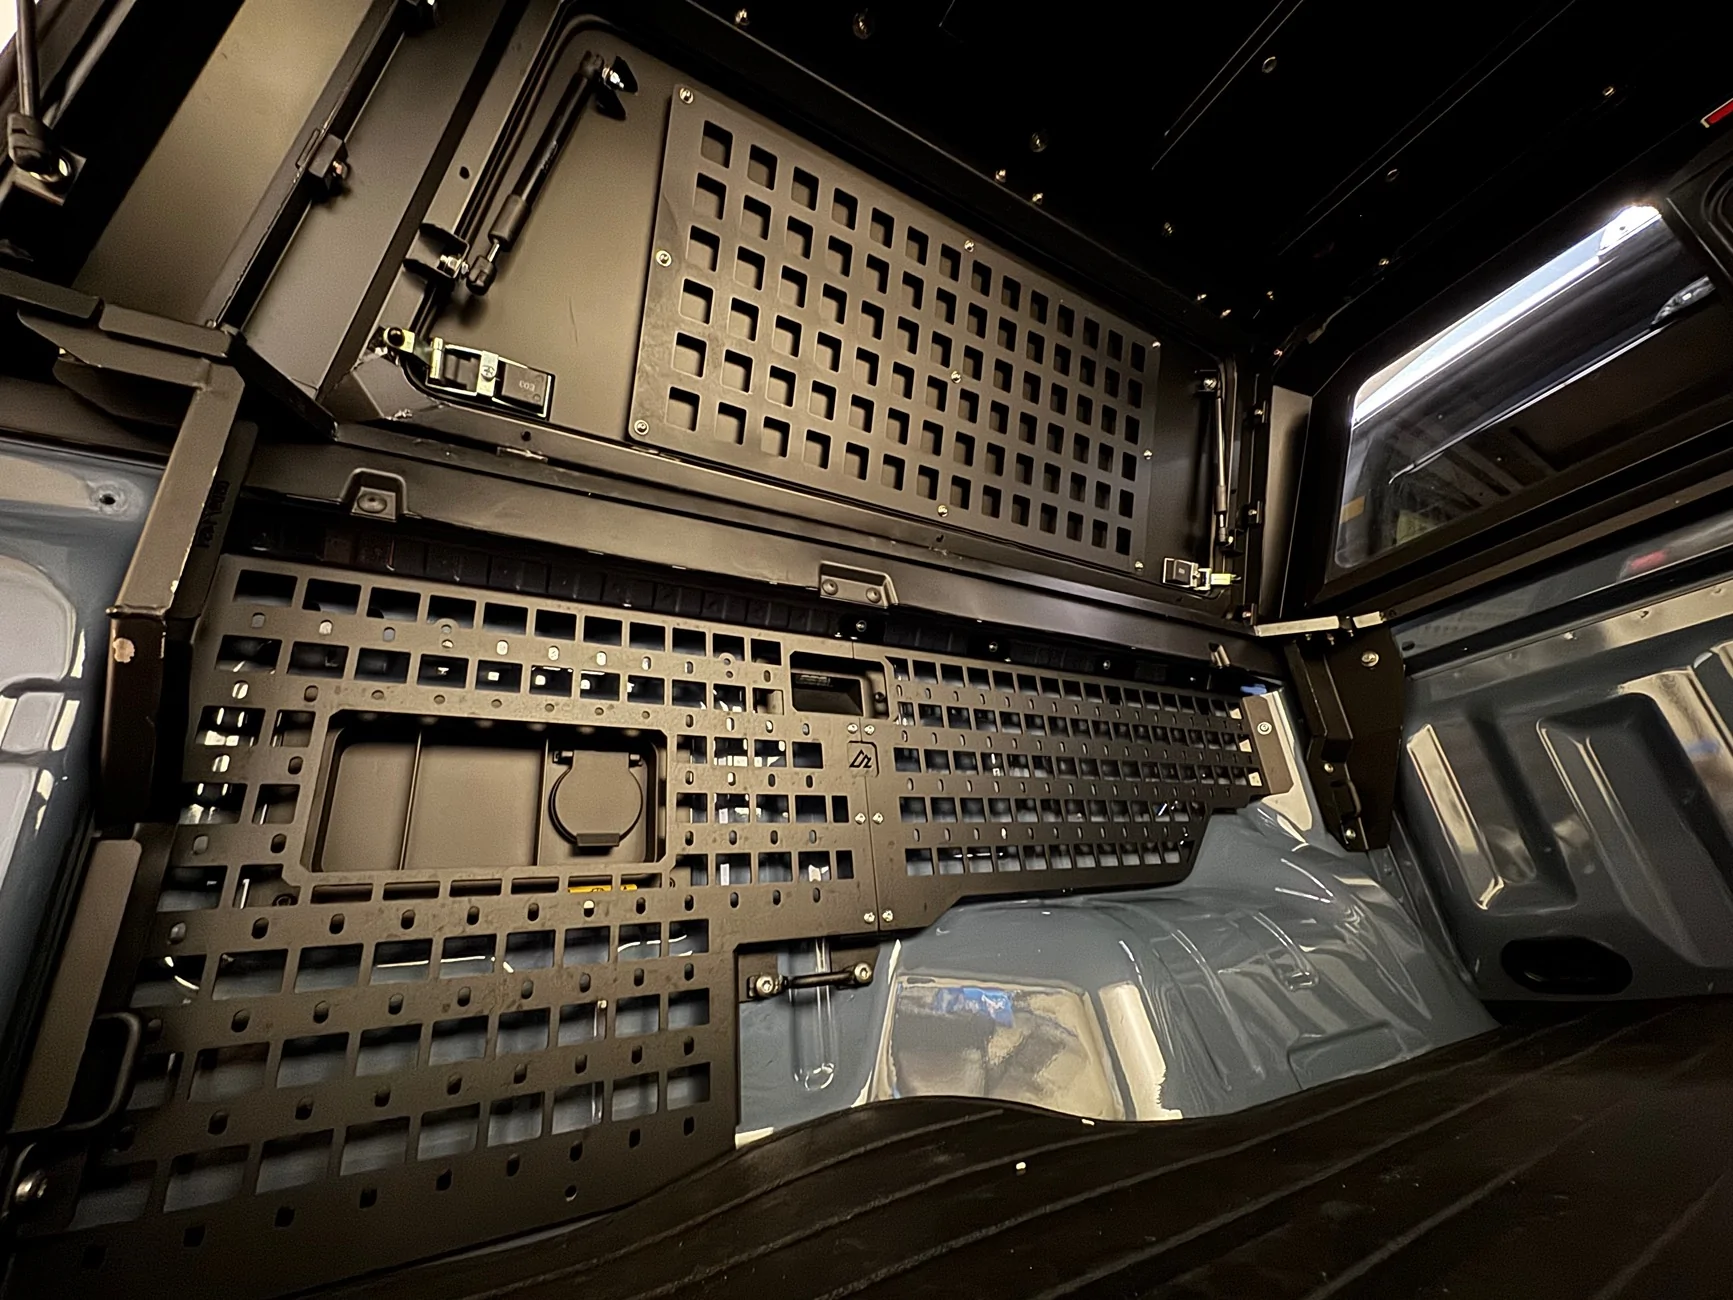
Oh man! That looks amazing! I love the raw aluminum look. Thank you very much for sharing those photos! I will get them added to the product page.
Did you end up using the rivet nuts on the bulkhead panels?
Did you end up using the rivet nuts on the bulkhead panels?
Sponsored