Sponsored

ShadowDragon24

Well-Known Member
First Name
Tyler
Joined
Apr 20, 2025
Threads
6
Messages
567
Reaction score
526
Location
Newfoundland and Labrador, Canada
Vehicle(s)
2025 Ranger XLT Fx4
Occupation
Heavy Equipment Operator
I really don’t like the idea of repeatedly beating on an aluminum nutsert welded on an unsupported aluminum body panel (which is basically what the inside of our beds are).
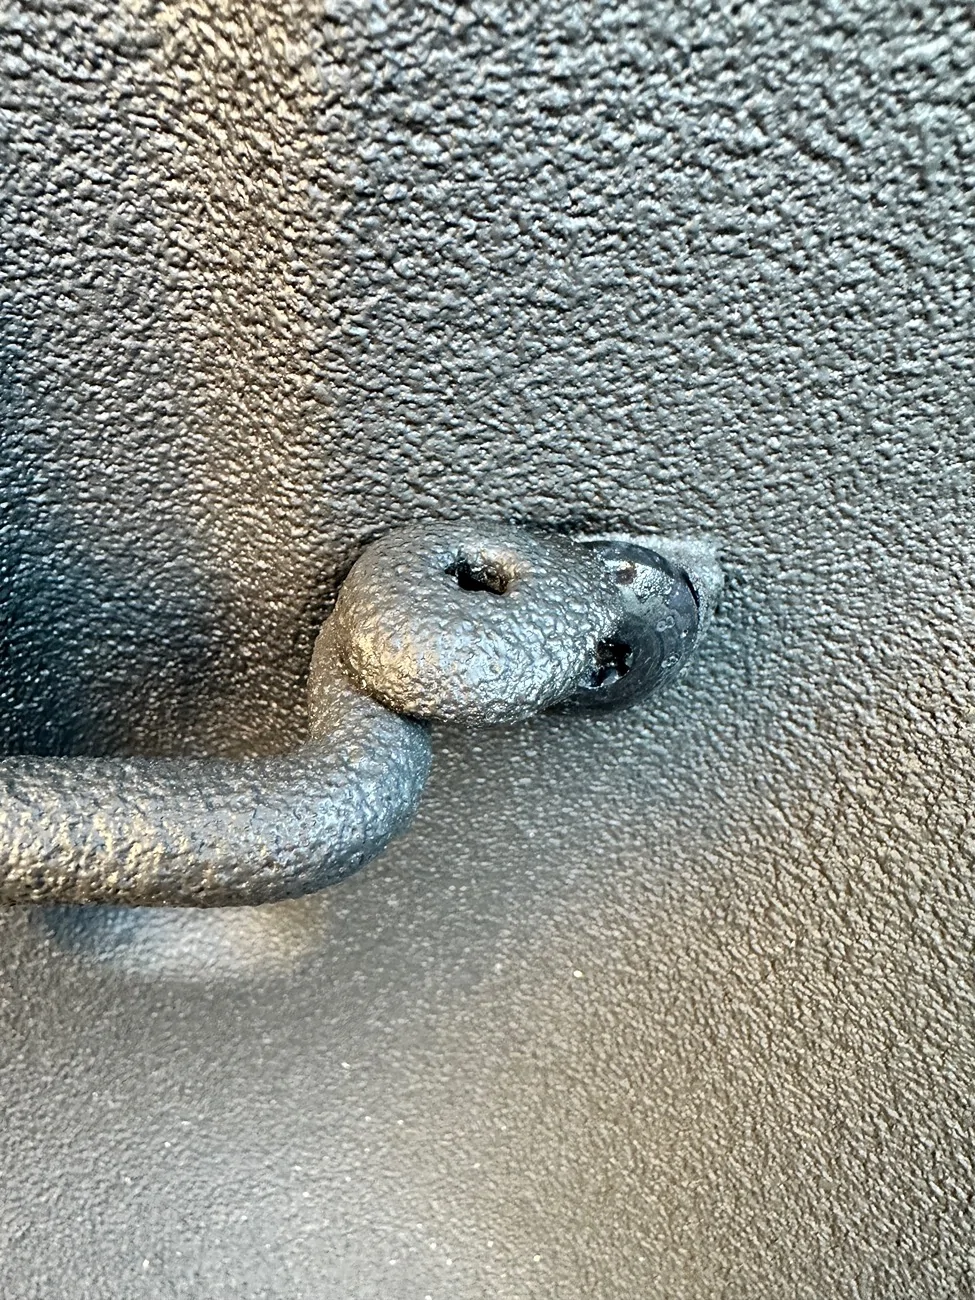
We have steel beds. not aluminum, magents stick to the inside of my bed. I was surprised when my magnetic 17" warning lightbar stuck to the roof when I was test fitting the location and to get measurements when I got the 3rd brake light mount for it to see if it would clear my cap... and it went "thunk" I thought it was aluminum roof like the f150's. then I stuck it to the fenders, and the inside of the bed.

In the past, I’ve used oxy/acetylene torches, what we used to call “the blue wrench”
We calls that the liquid wrench in my area of canada. lol "cant be tight if its a liquid" ahahah


These are only grade 8.8 bolts—that are only rated for about 30 lbs of force to break
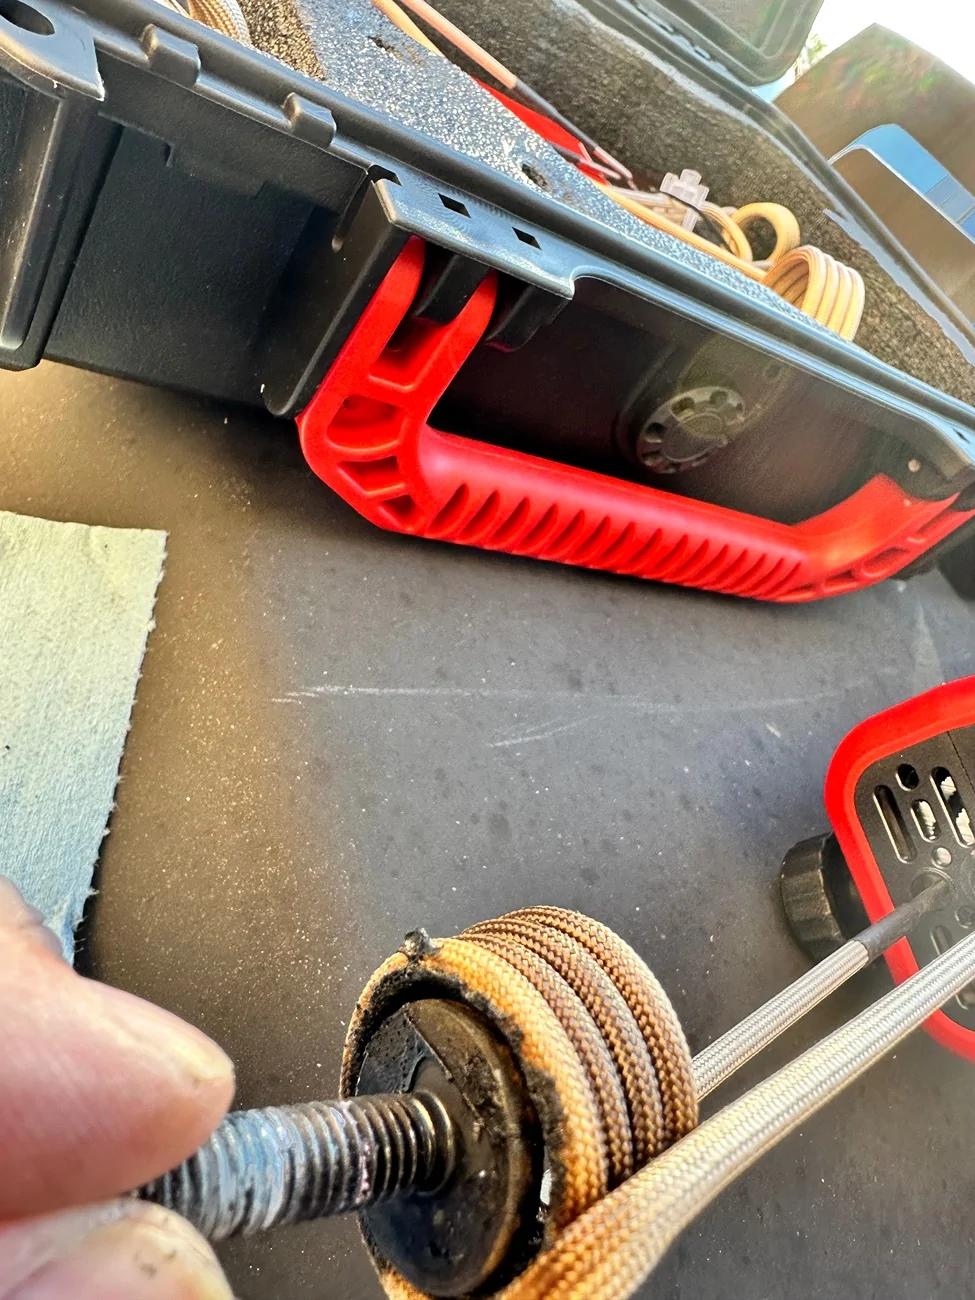
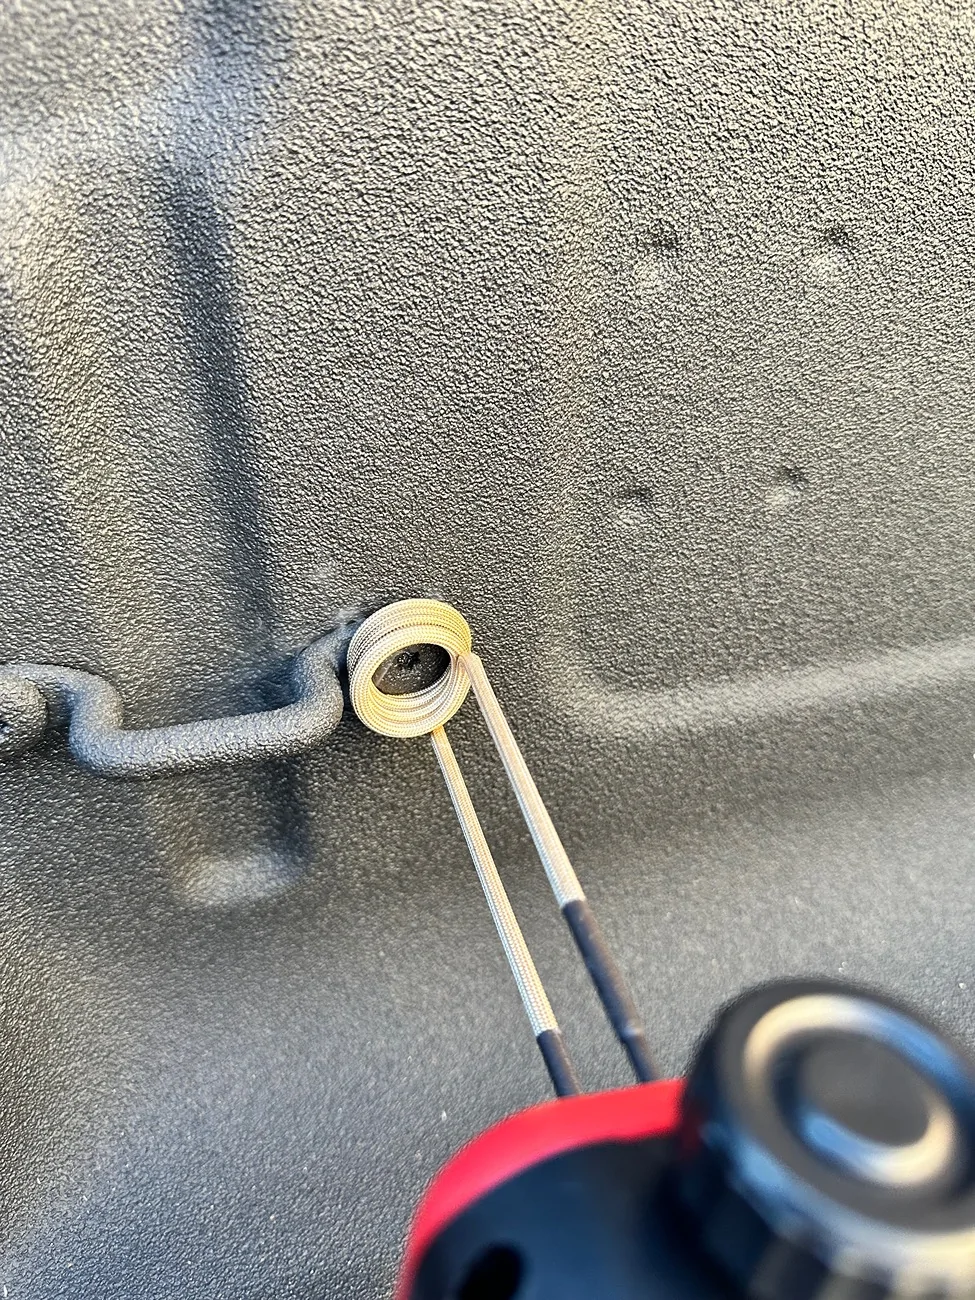
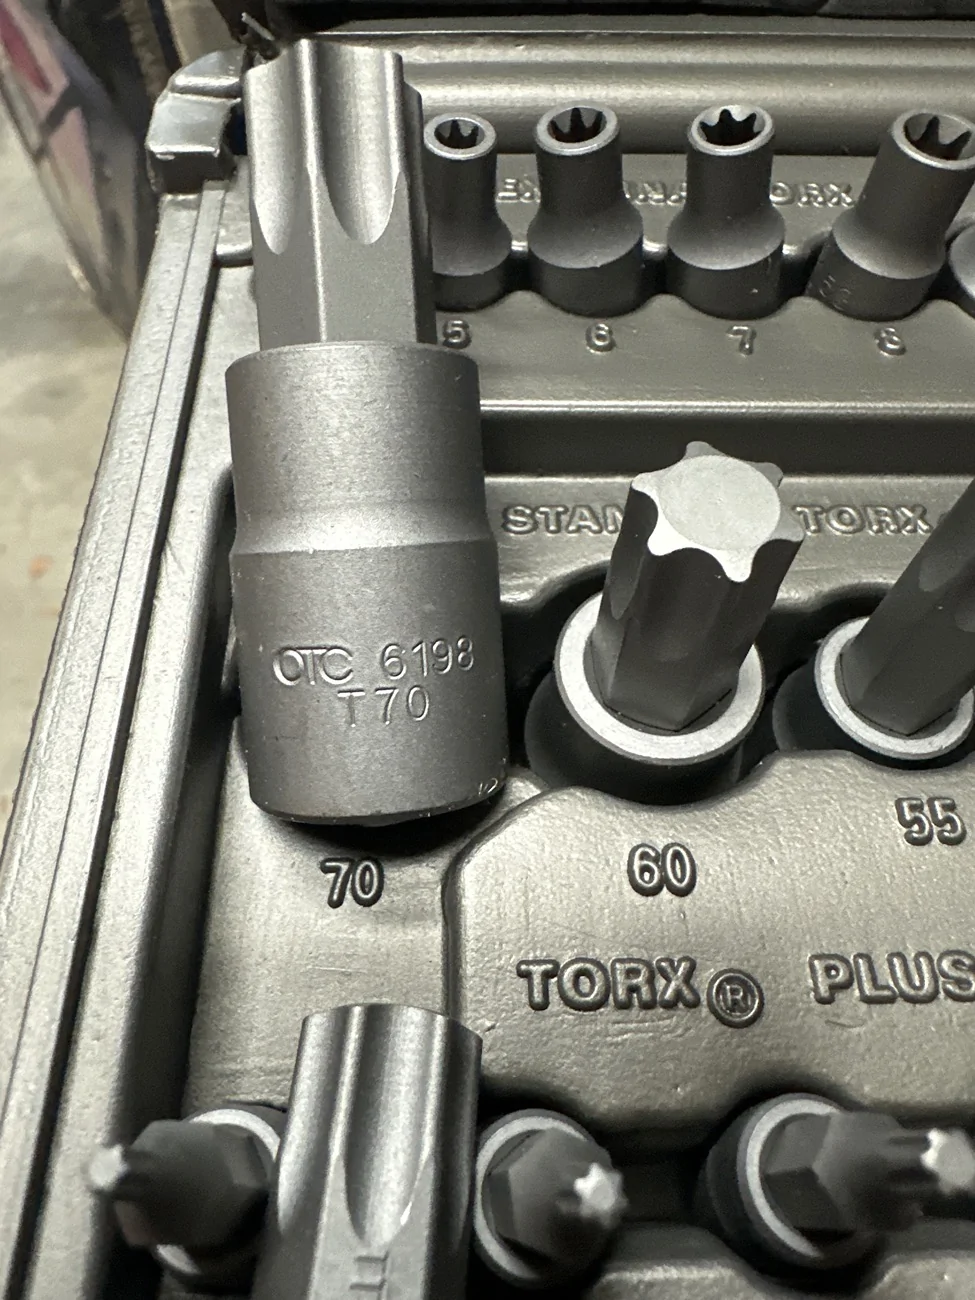
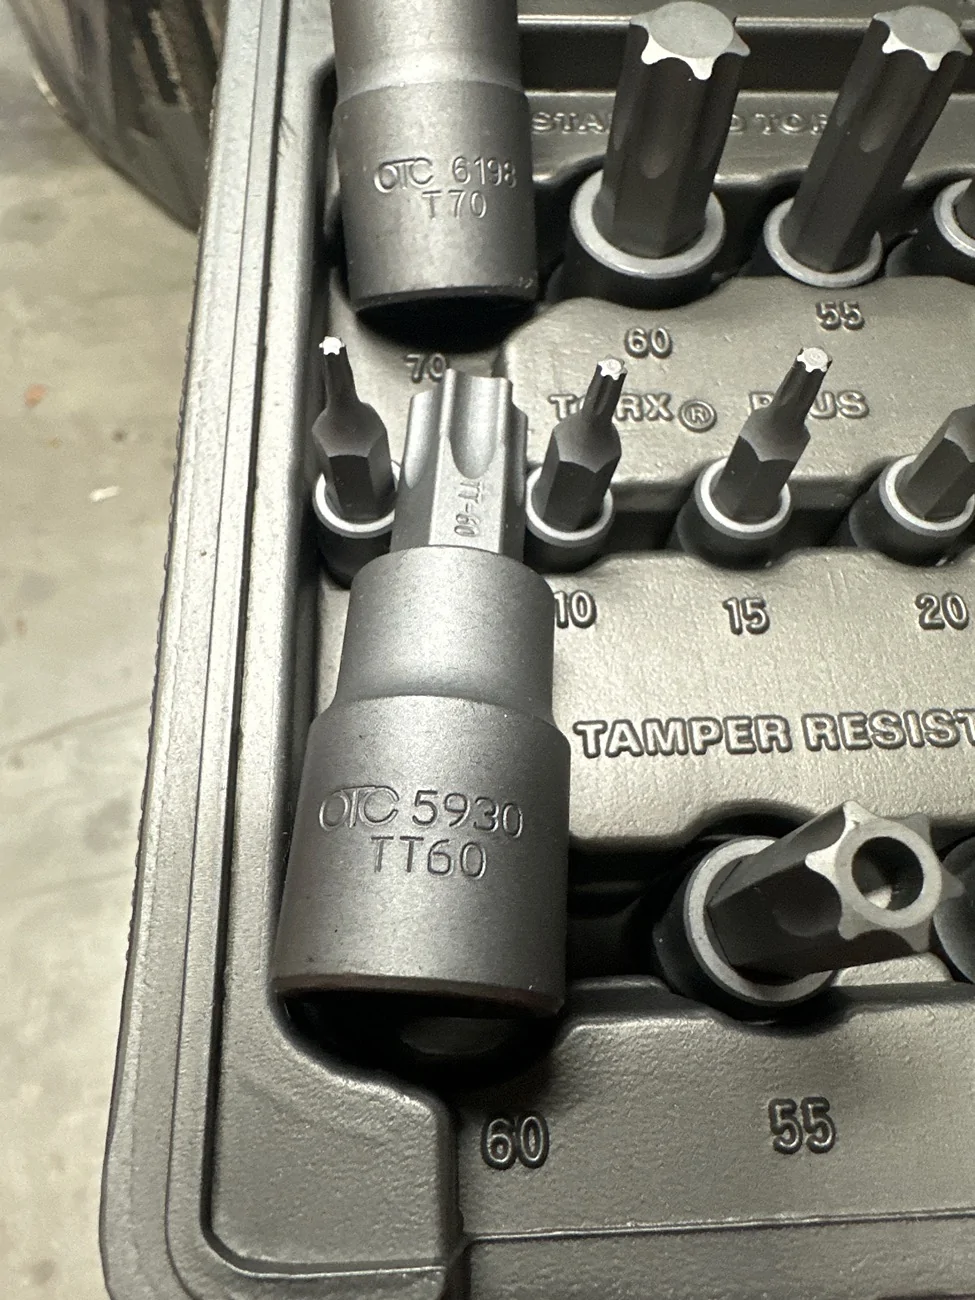
I had over 30Lbs of force on mine but I was shoving in on my ratchet aswell. but when the bolt would start squeaking, and start getting stiff like it would twist, I stop and run it all the way back in, before comming out. rinse and repeat

The cheapest I saw on Amazon for one of these was about $135.
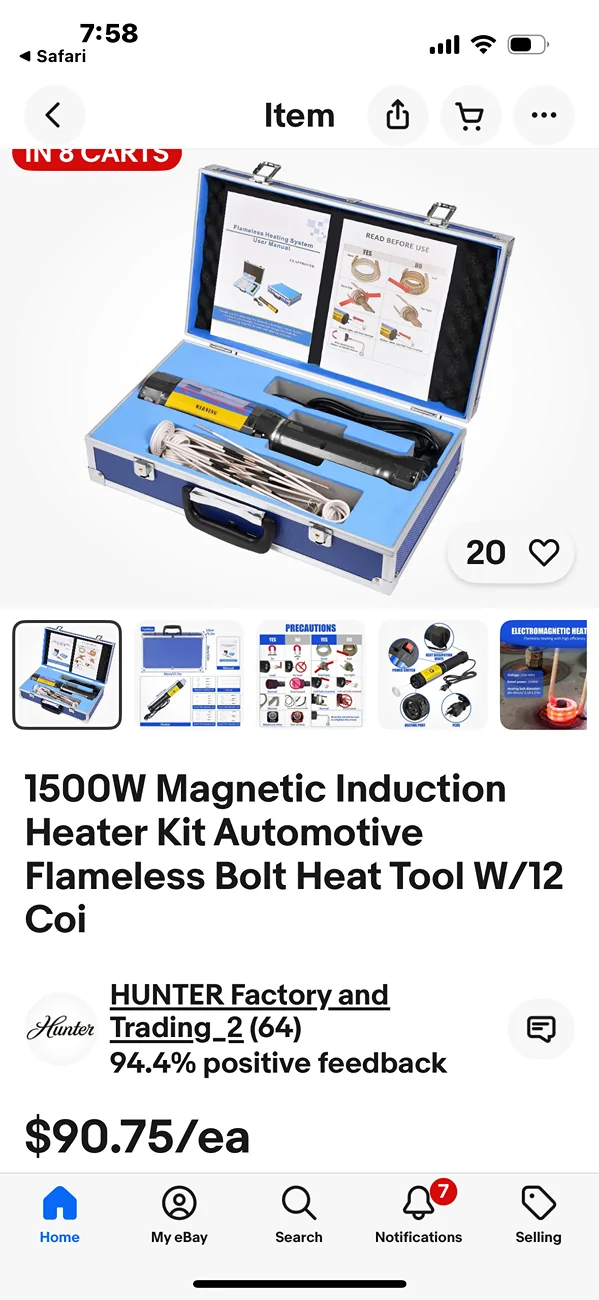
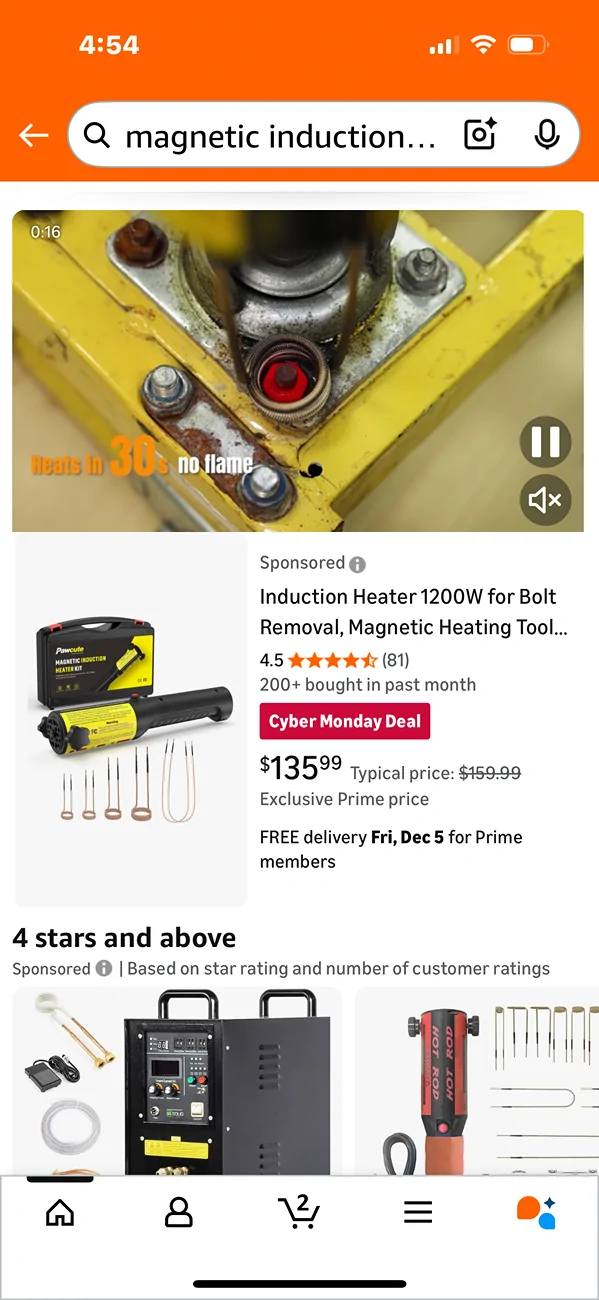
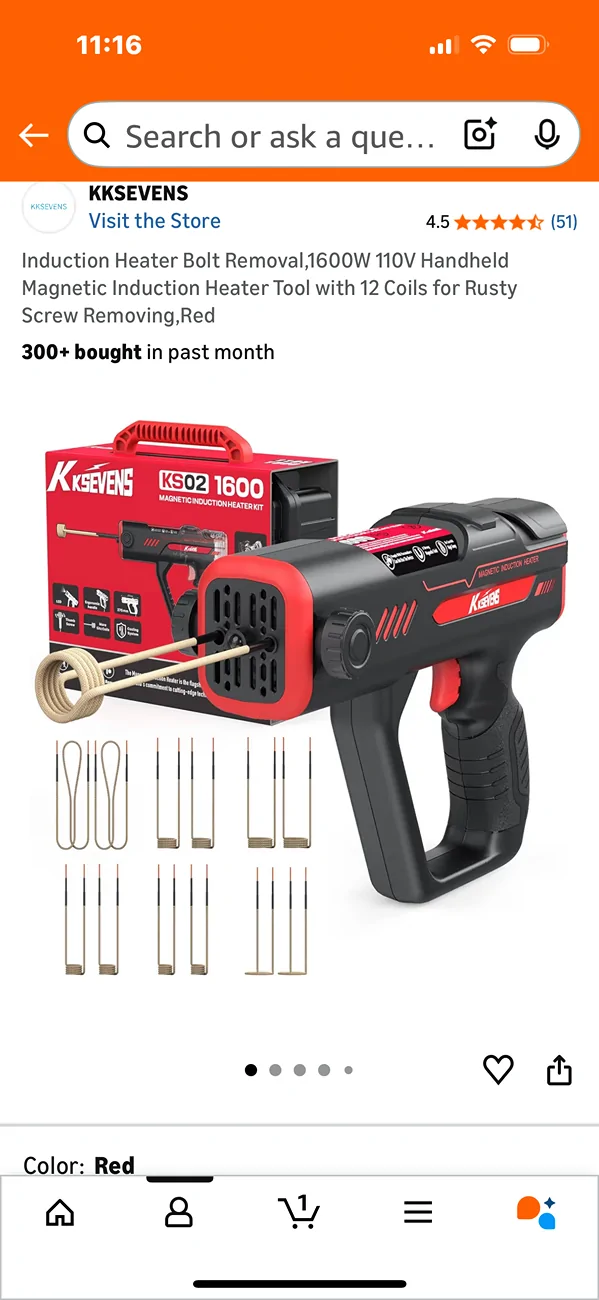
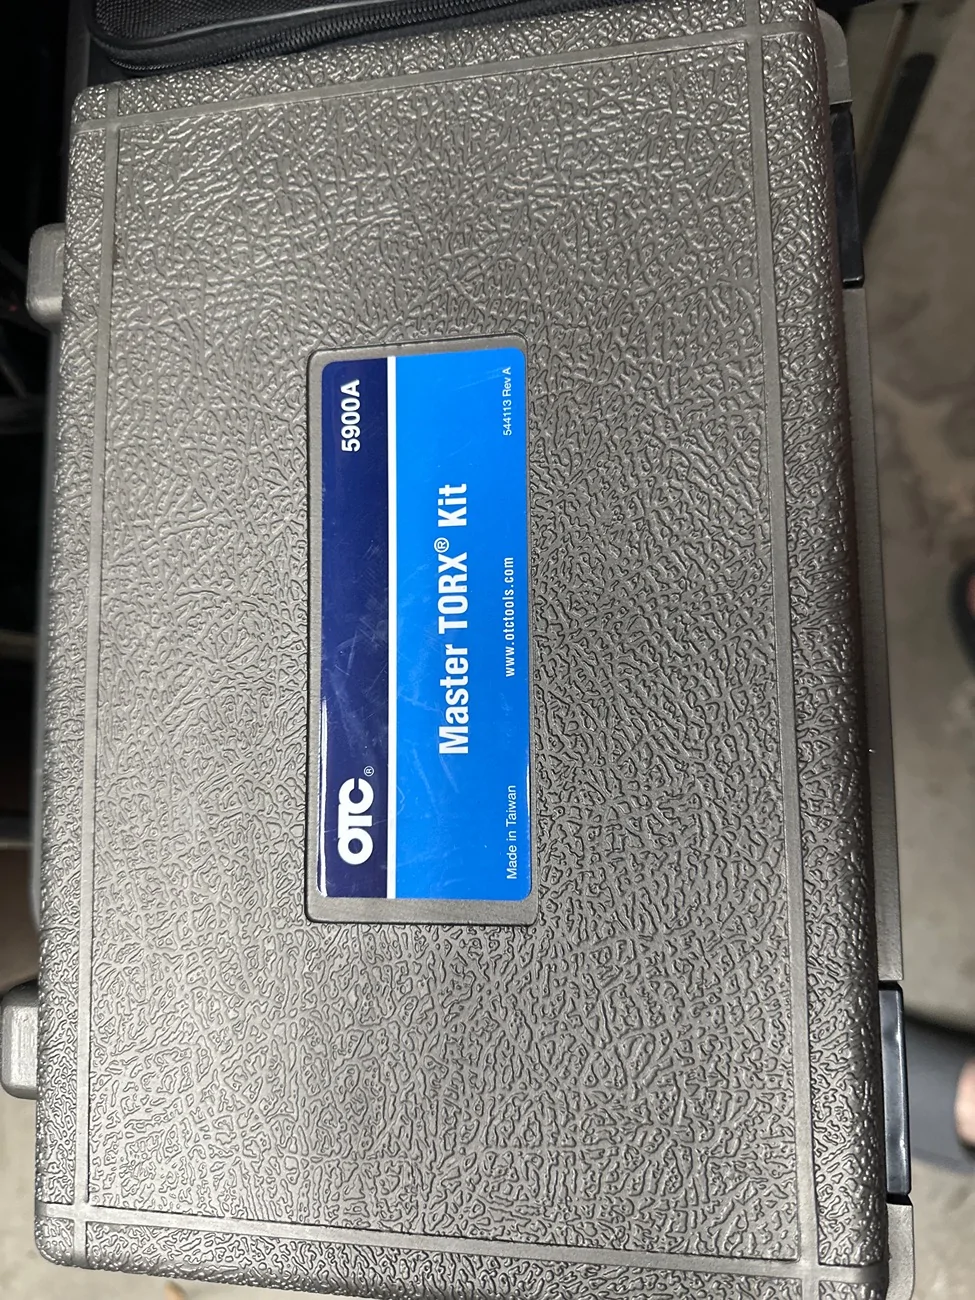
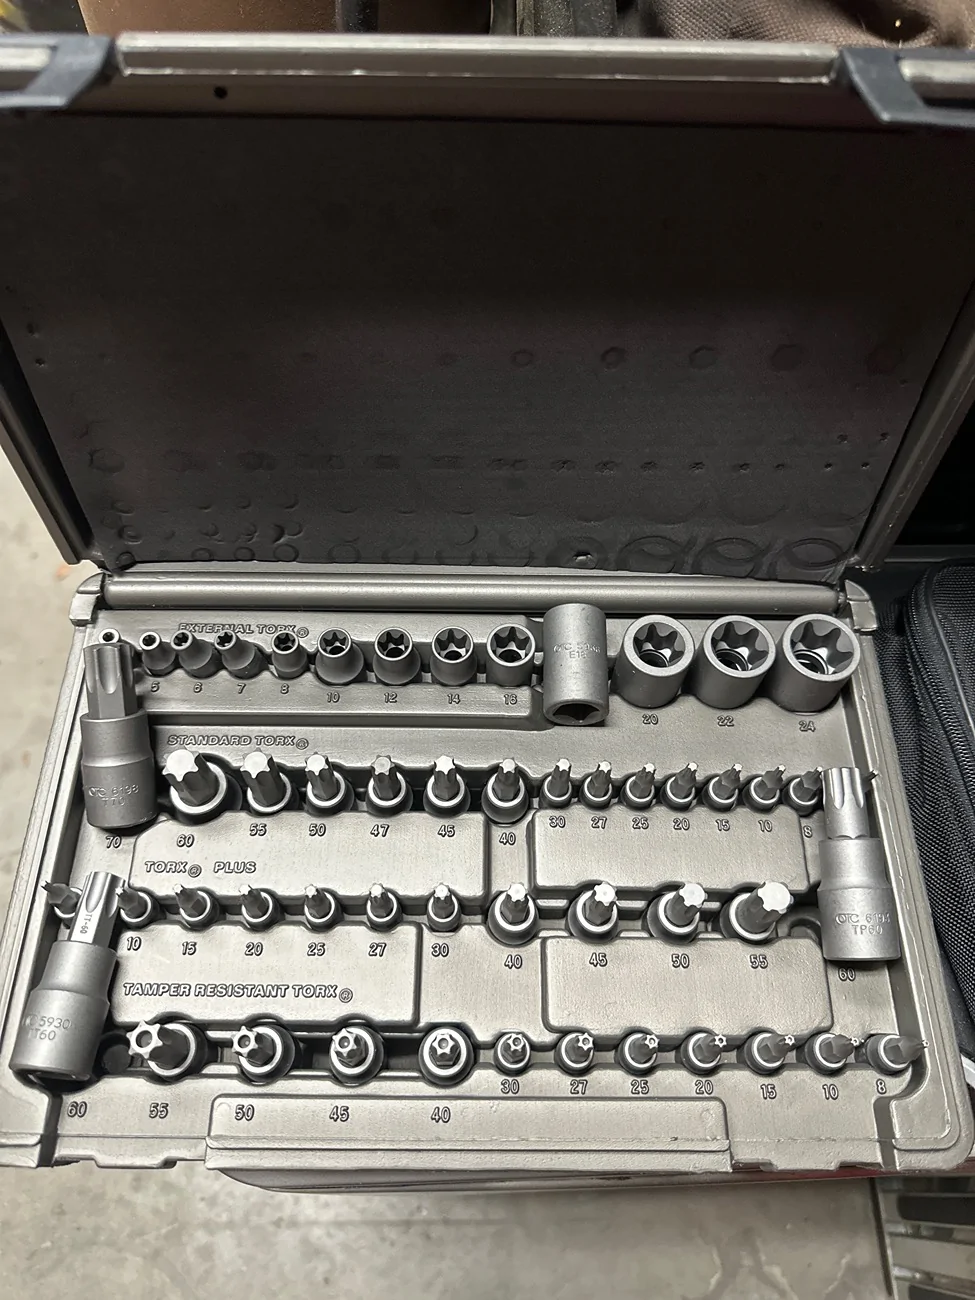
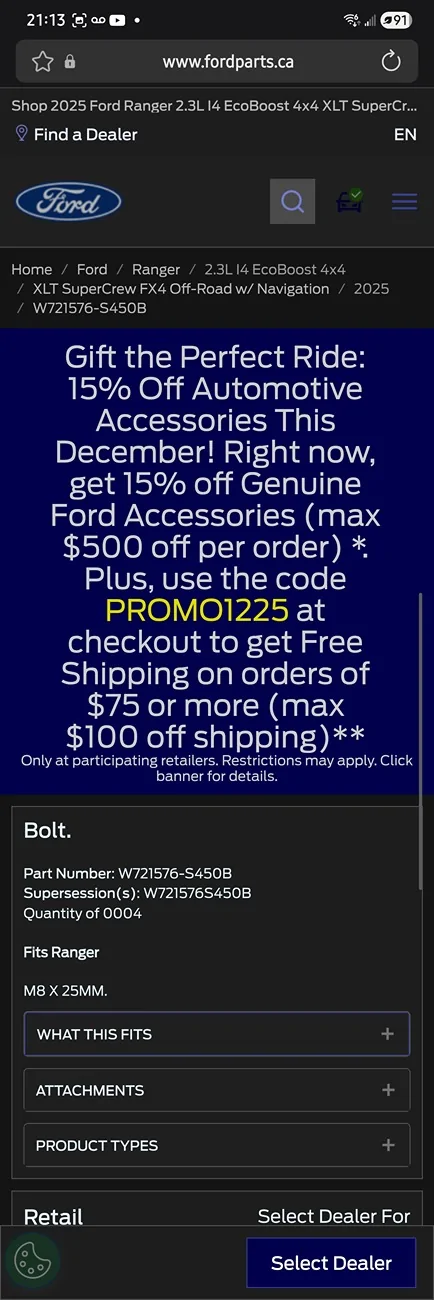
cheapst I could find Canadian on amazon was 300 bucks. 135 usd is not 300cad. lol
Sponsored


ShanesRanger

New Member
First Name
Shane
Joined
Nov 29, 2025
Threads
0
Messages
1
Reaction score
0
Location
Los Angeles
Vehicle(s)
2024 Ranger XLT FX4 2.7, 2004 Mitsubishi Lancer Evolution
I wish I had known about the TP40 Screws being Red Loctited in prior to snapping one off, I can't believe they'd do that knowing people would want to install the modular bedliners.
 
OP
OP
Raptor Family

Raptor Family

Well-Known Member
First Name
Jeff
Joined
Apr 2, 2025
Threads
5
Messages
113
Reaction score
220
Location
Dallas, Texas
Vehicle(s)
‘25 Ranger Raptor, ‘97 Jeep Cherokee, ‘24 Lexus NX450h+
Occupation
retired
Shadow Dragon—you are right. After I read your reply, I ran out to my driveway and proceeded to test all the panels on the Ranger with a big speaker magnet—only the hood is aluminum. I’m shocked. I tested the F150 right next to it and every panel seems to be aluminum. Learn something new everyday. I remember the advertising Ford did about 15 years ago for their trucks being made out of aluminum and saving like 700-800lbs. Now, I’m kind of pissed—i thought when i bought it that it was made out of aluminum. If my 5k lb truck was 700lbs lighter—it would be fast as hell, and less prone to rust.

Gotta give props for your dual battery conversion—and getting the ARB/Ford parts in North America even with the way they seem to restrict them.

I tried to get the ARB/Ford air compressor kit for inside the passenger side rear quarter panel. I got the Ford part number, but it didn’t work at Ford dealer—I called a Ford dealer in Australia that had the kit listed on their website—and was told those kits are restricted from the U.S. I contacted ARB and they don’t sell those kits in iNorth America—no answer why. I have friends in Korea, Philippines, and Germany. I did ask a friend in Philippines to get estimate—and it was available, it was just too expensive with all of the shipping

I bought the Ausmotion compressor bracket and made a hybrid system with an airtank bracket and a bunch of other parts from Pirate Camp co. I also wanted to change to a different kind of tie-down. And, all of this goes back to them damned TP40 screws. The first one I cleaned out and tried to remove almost snapped the head off—I felt it give, and stopped. I could see the head uneven and almost broke off.

That was 4 months ago—don’t think I wasn’t doing nothing—my truck was getting ceramic coated/PPF, bigger turbos/cats/pipes, etc, extended fuel tank, dyno/tuned. But I still had those damned screws to contend with. At first, I didn’t even consider one of those inductive heaters, as years ago, when I first used them, they used to be over $1500. A couple of months ago, I saw some cheap kits on Amazon—and got me thinking if it would work. On Black Friday they went on sale and I bought one.

Now to finish the story. You would think I would have that compressor mounted—nope. ARB made a new twin compressor—the Brushless, almost twice the air, half the current. Quieter, etc—-of course I had to have “That” one. I ordered it while my truck was still being built. Nowhere did I read the mounting bolt holes aren’t the same between the two compressor versions. While I was figuring out a new plan. Ausmotion made a new bracket for the brushless Suppose I could just drill new holes in the old bracket—but that is tacky—I’m kind of wondering if Pirate Camp co will make a new bracket for the brushless as well, if they do, maybe I’ll just go with them.

You mentioned the cost of the tool was high in Canadian dollars—isn’t rate about U.S. 75 cents to Canadian dollar? Maybe your Amazon is different, I quickly found the USD $135 kit I had mentioned, and found an even cheaper one on eBay for USD $90 either should be about half of the 300 Canadian—I think.
IMG_2814.webp
IMG_2813.webp
 

momodog

Well-Known Member
First Name
Everett
Joined
Nov 6, 2025
Threads
3
Messages
69
Reaction score
84
Location
Socal
Vehicle(s)
Ranger Raptor Carbonized Grey 2025
Occupation
Financial Advisor
IMG_2787.webp


I have seen multiple pictures of torched bedliners, heat bubbled paint, various scratch marks from vise grips and pliers. Broken screws drilled off-center and basically, just a waste of time and destruction of our trucks to get the thread-locked TP40 screws off our tie-downs. My truck has factory bedliner that completely cover the screw heads almost gluing them to the tie-down bracket and filling the Torx opening. I spent 30 minutes trying to get the bedliner out of the hole of one screw and did a horrible job—-NO MORE—

This is an easy method of removing those horrible tie-down screws. No cleaning the screw heads at all—heat the screw head, and the bedliner pops of the screw like a little mushroom head of bedliner.

This method involves the use of a Magnetic Induction Heater Tool—which is specifically designed for removing rusty and stuck Nuts, Bolts, and Screws. These tools are on sale at Amazon from $140-$240.. The tool I used was a KKSEVEN 1600watt, pistol grip, which was delivered overnight from Amazon ($240). I think this is a bargain. If you are a DIYer and snap off a couple of screws, you are going to pay a professional twice as much as this tool costs, and probably still have a burned and heat bubbled finish if a torch or open flame is used.

Induction heating rapidly applies extremely high heat in a precise location. It doesn’t heat aluminum (what our truck beds are made out of), or paint, bedliner, etc—and only heats the steel screw head inside the heating coil—in this application, just the head of the TP40 screw is heated and the heat flows down length of the screw and softens the thread locker. Minimal heat transfers to the tie-down or the bed.

Just a note: if you watch the manufacturer’s video on how to use the tool, they show applying heat for 25 seconds on an extremely stuck rusty nut—the nut turns red hot after about 20 seconds—don’t do that. I did a trial test on a 1/4x20 brand new zinc plated bolt. It went red—and almost white hot in 25 seconds. It burned all the zinc plating off and destroyed the grade 8 hardening of the bolt turning it to junk.


This is the unit I bought

IMG_2778.webp


Select a slightly larger heating coil. I had to slightly unwind this one to fit.

IMG_2802.webp


Place the heater coil over the screw head with power on for about 10 seconds, wait about 10-15 seconds for the heat to flow down the screw and soften the thread locker. Apply heat for another 10 seconds and when you remove the heat, the bedliner on the head of the screw will just pop off the head—perfectly clean little mushroom head of headliner. That is the bedliner pop-off on the tie-down below—it looks like the head of the screw—and it has the liner that was inside the Torx hole removed.


IMG_2784.webp


Bedliner from head of screw—when you heat it just right—it just pops off as a single piece with little to no residue.


IMG_2780.webp


It took less than 20 minutes to remove all of the tie-downs. I placed them in a can of lacquer thinner overnight to remove all remnants of bedliner. Some of the black oxide heads were rusted under the bedliner. I think I will powder coat the heads before reinstallation.


Absolutely great thread. I had same problem and I gave up installing the molle panels.


IMG_2804.webp


I found the 10 seconds pause, 10 second to work almost perfect—but I went through about half of them before I figured it out. Once the screw starts coming out. It should be easy—if it starts to get tight again. Just apply heat for another 10 seconds. You should only have a small amount of smoke—mainly from the bedliner on the head—a whole lot of smoke indicates you did it too long.

hope this helps

IMG_2781.webp
 

dbhagen

Member
First Name
Daniel
Joined
Nov 10, 2025
Threads
1
Messages
14
Reaction score
6
Location
Austin, TX
Vehicle(s)
2024 Ford Ranger Lariat
Alright, just in from getting the bolts out. I bought my 2024 truck used, I’m a little suspicious the bolts had been pulled before, because most came out easy. 4 did not. 3 I used the magnetic heater on and they came out just fine. The other… I had stripped the head before I heated it and learned my lesson.

Anyway, thanks for the tip on the magnetic induction tool. That thing is going to be nice when working on my other cars too.
 

Sponsored
OP
OP
Raptor Family

Raptor Family

Well-Known Member
First Name
Jeff
Joined
Apr 2, 2025
Threads
5
Messages
113
Reaction score
220
Location
Dallas, Texas
Vehicle(s)
‘25 Ranger Raptor, ‘97 Jeep Cherokee, ‘24 Lexus NX450h+
Occupation
retired
lesson.

Anyway, thanks for the tip on the magnetic induction tool. That thing is going to be nice when working on my other cars too.
Since I bought mine, I’ve been digging around the junk pile trying to find old rusty bolts and nuts to remove. I wish I had one of these years ago. I am having a flashback of when I caught an oil pressure garage line on fire and melted a fuel injector wire harness while I was trying to put the torch flame exactly on the rear header/manifold stud of an old jeep. This tool was have made that job easy.
 

ATestBishop

Well-Known Member
First Name
Alex
Joined
Apr 14, 2025
Threads
21
Messages
408
Reaction score
482
Location
Walnut Creek, CA
Vehicle(s)
2024 Ford Ranger XL
When I removed mine I almost broke bits and 1/4" drive ratchet wrenches, extreme inward pressure along with extreme application of controlled rotational force along with luck and patience got mine out. It was very fatiguing and although I've looked at bolt heaters in past I wanted to put the budget towards more brackets. The OEM brackets are extremely expensive for what they are and it's really amazing that I saw 3 different types/colors of thread locker absolutely coated all over these bolts. I said before they must go thru gallons of the solution per day and source it from multiple suppliers. There is a story behind all of this which would be interesting to know...
 

SDRangerRaptor

New Member
First Name
Ryan
Joined
Nov 21, 2025
Threads
0
Messages
4
Reaction score
5
Location
San Diego
Vehicle(s)
2025 Ranger Raptor
Nice. I used a utility blade, went around the bolt head at the tie down, and used an 90° oring pick and the whole linger head popped off the same as that. for thr budget person that cant drop on one thise atm.

I will say for those going st this. PICK UP A TORX PLUS BIT!!!! I stripped out the torx on 4 bolts... 3 of them where reinstalling them... with a regular t40. then using the tp40 I didnt strip a one.
Did you replace the stripped ones with factory hardware? If so do you know the part number? I just stripped one of mine and am trying to find a replacement..
 

got3fords

Well-Known Member
First Name
James
Joined
Jan 30, 2025
Threads
15
Messages
268
Reaction score
239
Location
Central Va.
Vehicle(s)
2026 Ranger Raptor
Actually, I think the proper name is IP40. (IP stands for Internal Plus)
  • Standard Torx (T-series): The points of the star are pointy. The star shape looks sharp.
  • Torx Plus (IP-series): The points of the star are flattened and squarer. The lobes are thicker. This design allows for higher torque without stripping.
  • 1765560600148-95.webp
 
OP
OP
Raptor Family

Raptor Family

Well-Known Member
First Name
Jeff
Joined
Apr 2, 2025
Threads
5
Messages
113
Reaction score
220
Location
Dallas, Texas
Vehicle(s)
‘25 Ranger Raptor, ‘97 Jeep Cherokee, ‘24 Lexus NX450h+
Occupation
retired
You are correct on the licensed and proper name/abbreviation (IP)I have been guilty of mis-naming the fastener—but it’s not entirely our faults. Tool manufacturers that both pay and do not pay licensing fees and call the fastener TP instead of the correct name IP. These are pics from a master set I have. They are licensed. Regular Torx are (T), Torx Plus are (TP), and tamper resistant are (TT). Hope this can settle some of the confusion.
image.webp
image.webp
image.webp
image.webp
image.webp


This is from google:

Trademarks and Licensing: Torx® and Torx Plus® are registered trademarks of Acument Global Technologies. To use these specific names and manufacture tools to their precise specifications, a company must obtain a license and adhere to strict quality control. Unlicensed manufacturers generally use generic, descriptive names like "star bits" or "six-lobe wrenches" to avoid legal action.
Official Naming: The official, industry-standard designation for an internal Torx Plus driver is IP (Internal Plus).
Ambiguous "TP" Usage: The "TP" abbreviation is informal and ambiguous:
Some users and manufacturers use "TP" as a simple, informal shorthand for "Torx Plus".
In other contexts, "TP" can informally refer to Tamper Proof (or Tamper Resistant) Torx bits (which feature a center hole), a different bit style entirely. The formal abbreviation for Tamper Resistant Torx is typically TR or TT.
"Knockoff" Products: The primary way manufacturers avoid royalties is by producing non-standard, generic bits that do not meet the precise geometric specifications of the genuine product. These generic bits often lead to poor fit, cam-out, and damage to fasteners, and are usually branded with non-trademarked names.
In summary, a tool marked "IP" is made to the official Torx Plus standard by a licensed manufacturer. A tool marked "TP" is likely using an informal abbreviation, but its compliance with the genuine Torx Plus specification (0-degree drive angle, etc.) depends entirely on whether the manufacturer is licensed, which you usually have to verify independently.
 

ShadowDragon24

Well-Known Member
First Name
Tyler
Joined
Apr 20, 2025
Threads
6
Messages
567
Reaction score
526
Location
Newfoundland and Labrador, Canada
Vehicle(s)
2025 Ranger XLT Fx4
Occupation
Heavy Equipment Operator
Did you replace the stripped ones with factory hardware? If so do you know the part number? I just stripped one of mine and am trying to find a replacement..
I did use OEM. called my cousin in the parts dept at my dealer, and told him I needed the bed tie down anchor bolts. They were like a buck or 2 each or so. and they had like 300 in stock as the f150 use them too.

The part # I just got off www.fordparts.ca is listed as a ranger only part, and the website says this part # is for a pack of 4. the 12 next to it is how many is needed for full replacement. but here it is off the website, and the site only lists it as ranger. but like I said my cousin in the parts dept said all the trucks use the one bolt.

Screenshot_20251212_211338_Samsung Internet.webp


Screenshot_20251212_211945_Samsung Internet.webp
Sponsored


Top