Sponsored

PCDan1

Member
First Name
Dan
Joined
Jun 8, 2026
Threads
1
Messages
11
Reaction score
16
Location
Park City
Vehicle(s)
2026 Ranger Raptor
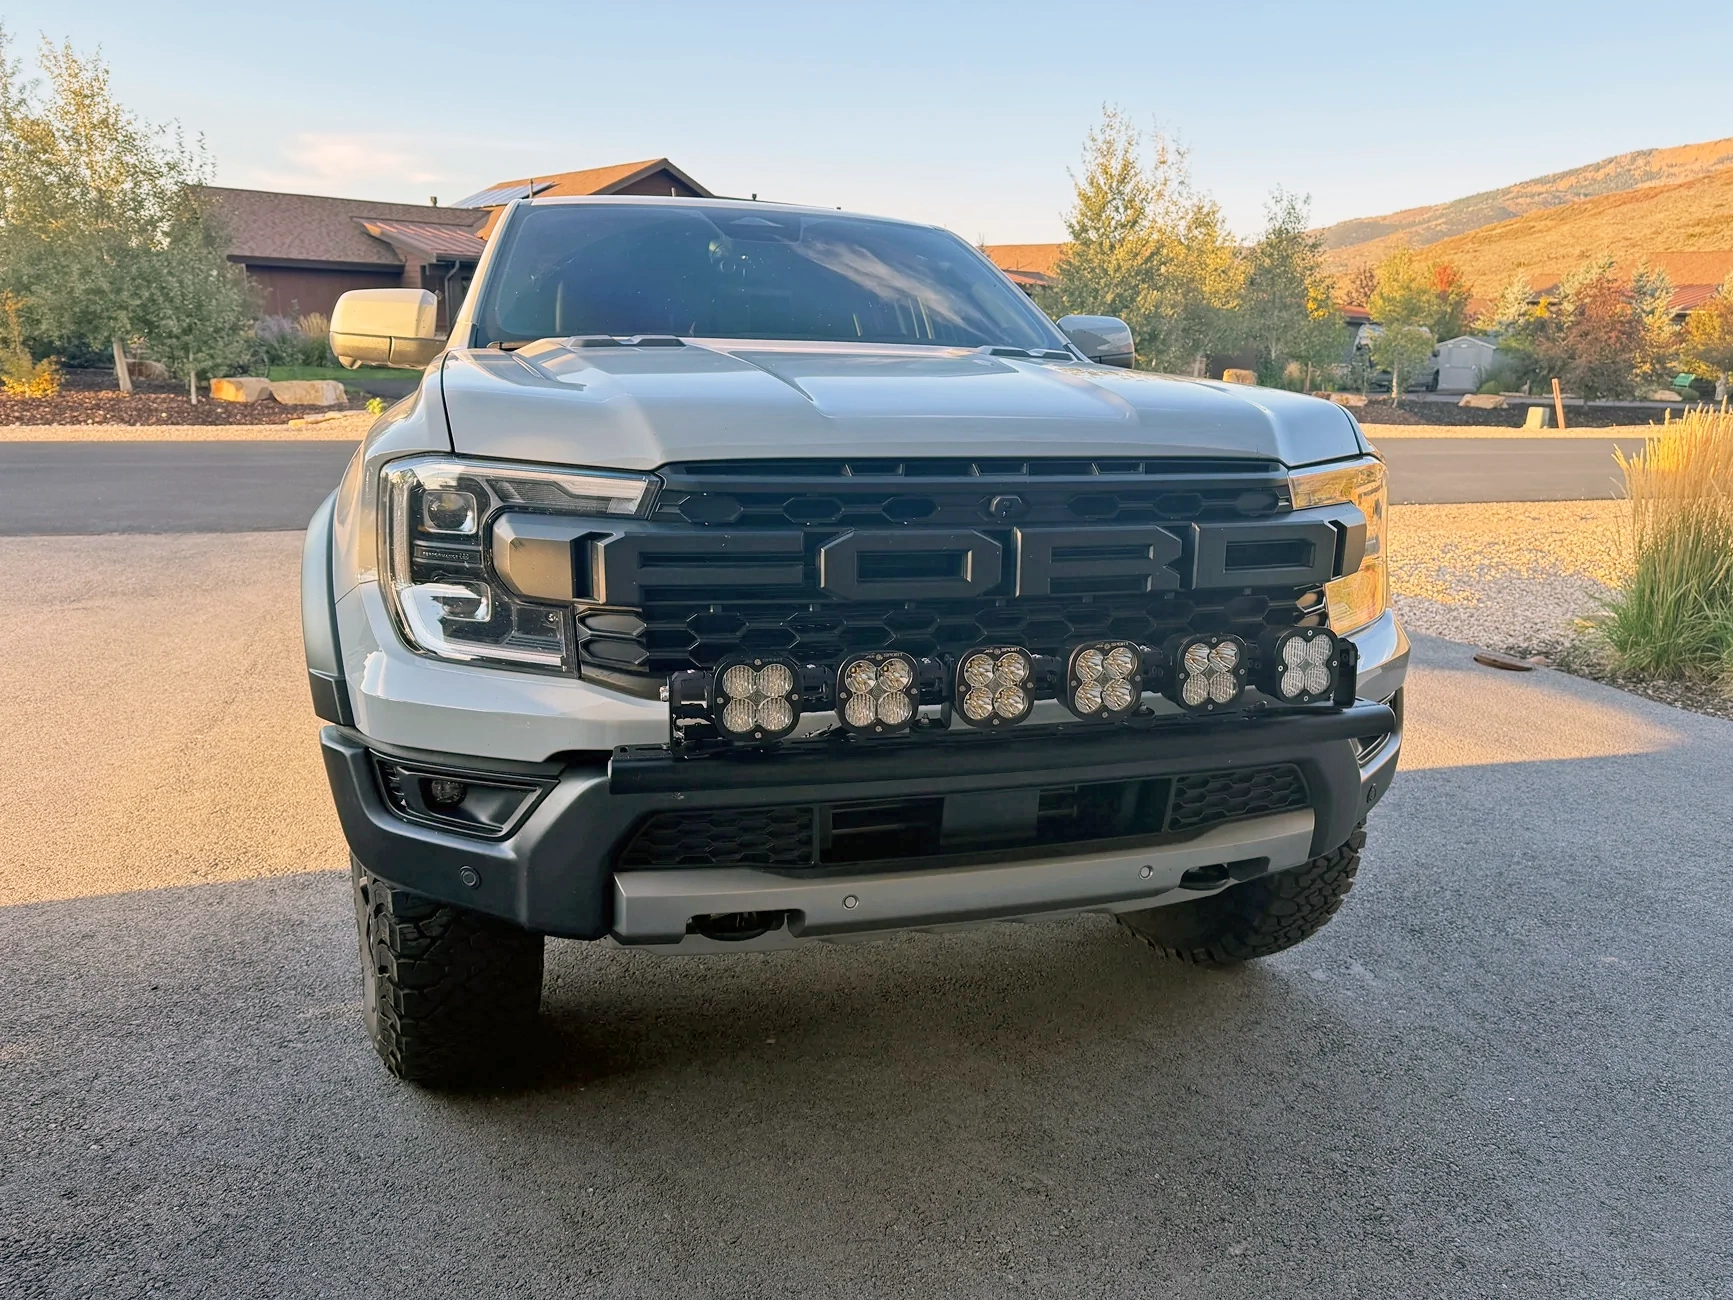
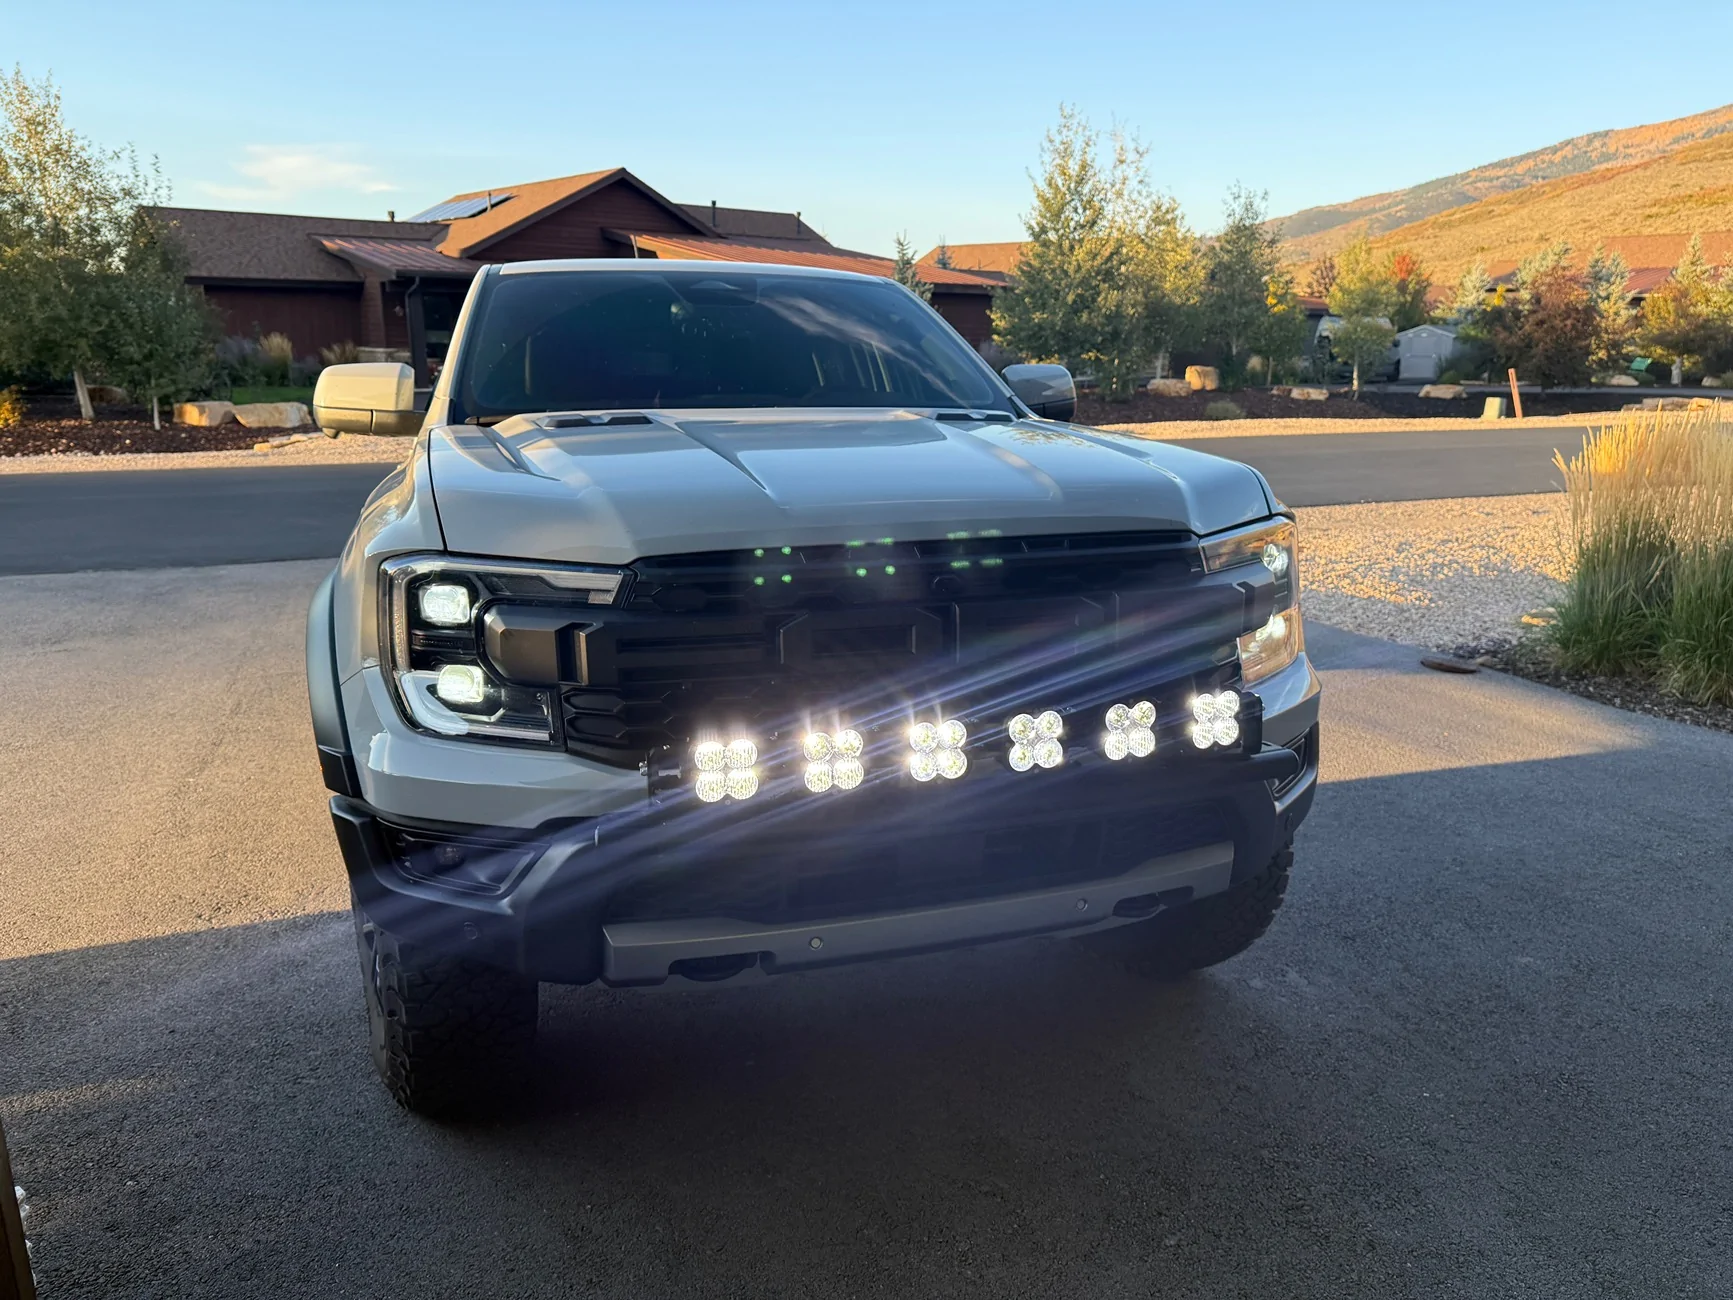
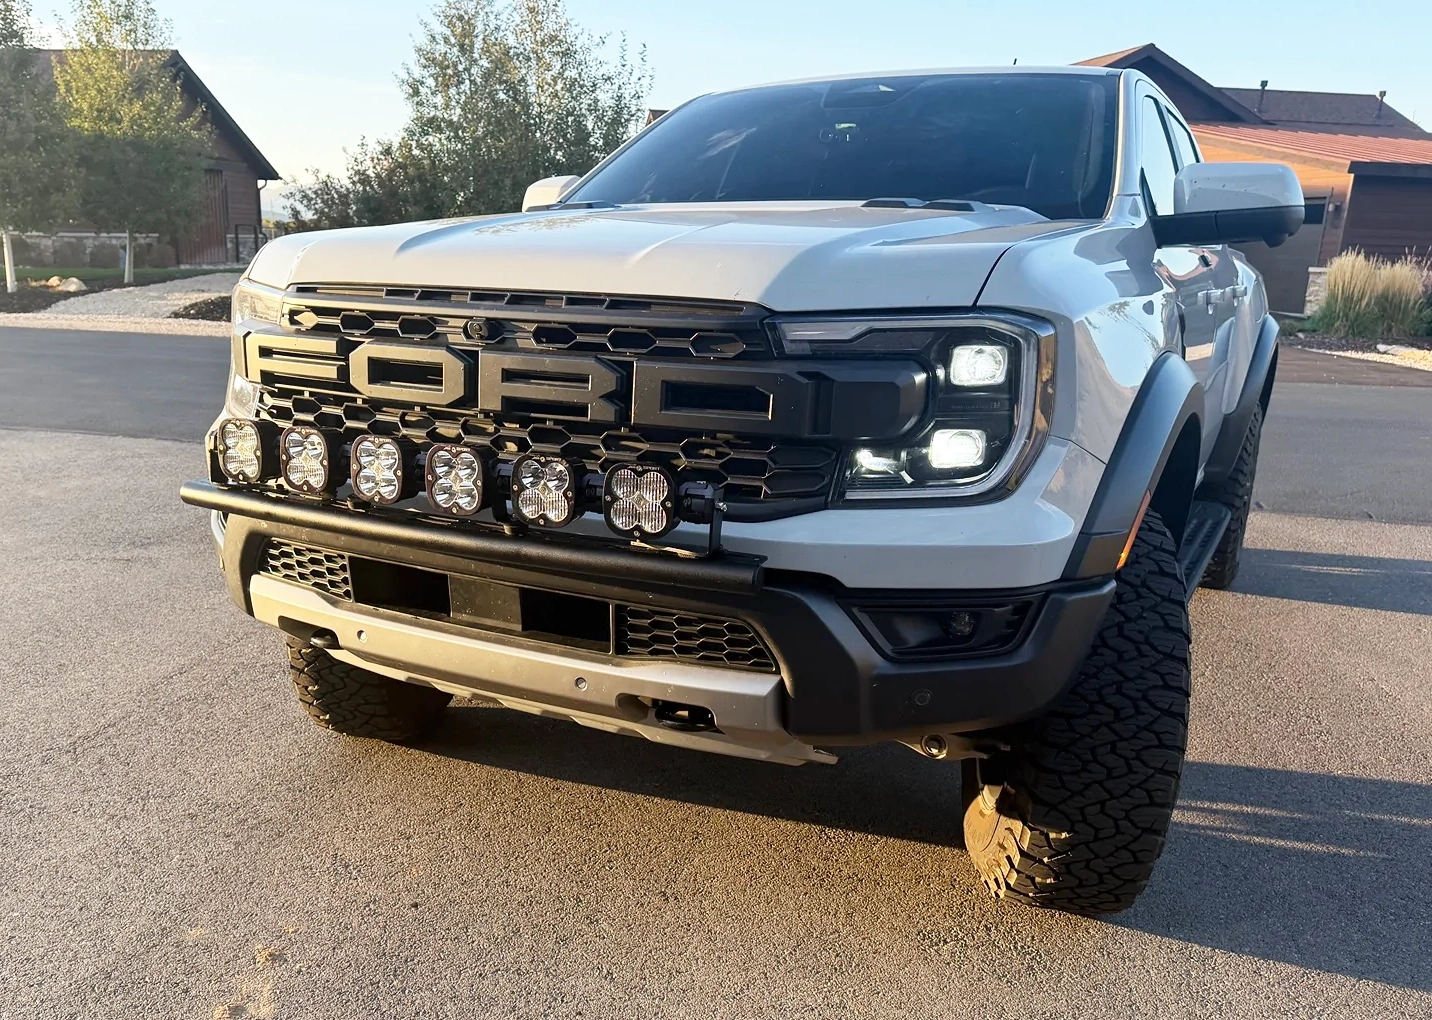
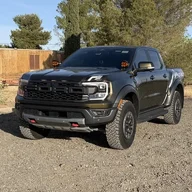
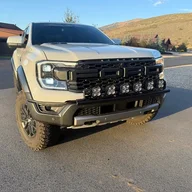
I traded in my crappy 21 First Edition Bronco for my 26 RR. I kept the Baja Designs XL Linkable bumper light kit. I had to do some adjustments to the curve, but fully adjustable and it fits perfectly with the Foutz bumper light mount (by @GregFoutz). I’ll probably add another XL since there is room for it.

I’ll add some additional insight/steps with installing the Foutz bar that will save time if you’re installing one. Their instructions should be better!

Ford Ranger Foutz RR bumper light mount with Baja Designs XL linkable bumper light kit 96652-3cdb8d5b7647ccb754266dd36b52a6a1


Ford Ranger Foutz RR bumper light mount with Baja Designs XL linkable bumper light kit IMG_0288


Ford Ranger Foutz RR bumper light mount with Baja Designs XL linkable bumper light kit 96654-6456429faa366ff9787108adf38ae2c7
Sponsored

 
Last edited:
OP
OP
PCDan1

PCDan1

Member
First Name
Dan
Joined
Jun 8, 2026
Threads
1
Messages
11
Reaction score
16
Location
Park City
Vehicle(s)
2026 Ranger Raptor
My additions to the Foutz installation guide

Step 3 says -> “Gently pull the bumper from
the center hole”. There is NO gentle way of removing the PLASTIC bumper insert. Yank on it and use plastic trim tools to pry it out. Then disconnect the sensors connector.

The second part of step 3 should actually be in Step 4, after the step of removing the 6 bolts to remove the STEEL bumper. 🤷🏼‍♂️

Step 6 : you need to trim the outer layer of the rubber back one inch, so only one layer is between the bumper and Foutz bar.

Step 9 says -> “ Reinstall the (2)
T-40 bolts”. Well, don’t do this without first lining up the bumper bolt holes with the holes in the Foutz plate. I dropped the bolts into the holes but it requires some force pushing the Foutz bar in to align the holes. Almost impossible to do if you don’t trim the rubber to one layer as stated above.

Step 10 says -> “Place bumper back in place & use factory bolts to reinstall bumper”. What the instruction doesn’t say is you need one person to pull up hard on the bumper to get it in the right position before tightening the bolts, other wise it will be a half an inch too low.

Step 12: Take the little metal clips out of the holes in the metal bumper (needle nose pliers). and slide (hammer) them onto the plastic tabs on the Plastic bumper insert. It’s a pain but makes snapping the insert into place so much easier.

Seems like a great quality product but how hard is it to write complete installation instructions. Anyway hope this helps someone.
 
Last edited:

scuba mike

Well-Known Member
First Name
Mike
Joined
Feb 7, 2026
Threads
6
Messages
134
Reaction score
98
Location
Southern Calif
Vehicle(s)
2025 Ranger Raptor
Occupation
Hvac Job Foreman
ya when i installed mine i thought the instructions were just a little off.. recomend two people to reinstall.. the light mount adds a few pounds and was very worried about scratching paint... im running two lps 6 pros no prob with bounce need to add the other two.. didnt install l brackets..
 

Sponsored
OP
OP
PCDan1

PCDan1

Member
First Name
Dan
Joined
Jun 8, 2026
Threads
1
Messages
11
Reaction score
16
Location
Park City
Vehicle(s)
2026 Ranger Raptor
Did you install the two L shaped brackets with your install?
I didn’t yet. Still need to do an offroad night drive to see if I need them. I doubt I will, it’s a quite rigid mount.
 

Shrek The Raptor

Well-Known Member
First Name
George
Joined
Apr 5, 2026
Threads
5
Messages
117
Reaction score
121
Location
atlanta
Vehicle(s)
2024 Ranger Raptor
I didn’t yet. Still need to do an offroad night drive to see if I need them. I doubt I will, it’s a quite rigid mount.
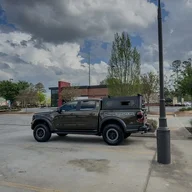
With just my two DD SS5’s, road driving is fine,l with no vibration. Once you leave the road there’s some vibration but it’s nothing huge. I’ll eventually install the L Brackets as I add more lights


Top