Raptor Family
Well-Known Member
- First Name
- Jeff
- Joined
- Apr 2, 2025
- Threads
- 5
- Messages
- 137
- Reaction score
- 251
- Location
- Dallas, Texas
- Vehicle(s)
- ‘25 Ranger Raptor, ‘97 Jeep Cherokee, ‘24 Lexus NX450h+
- Occupation
- retired
- Thread starter
- #1

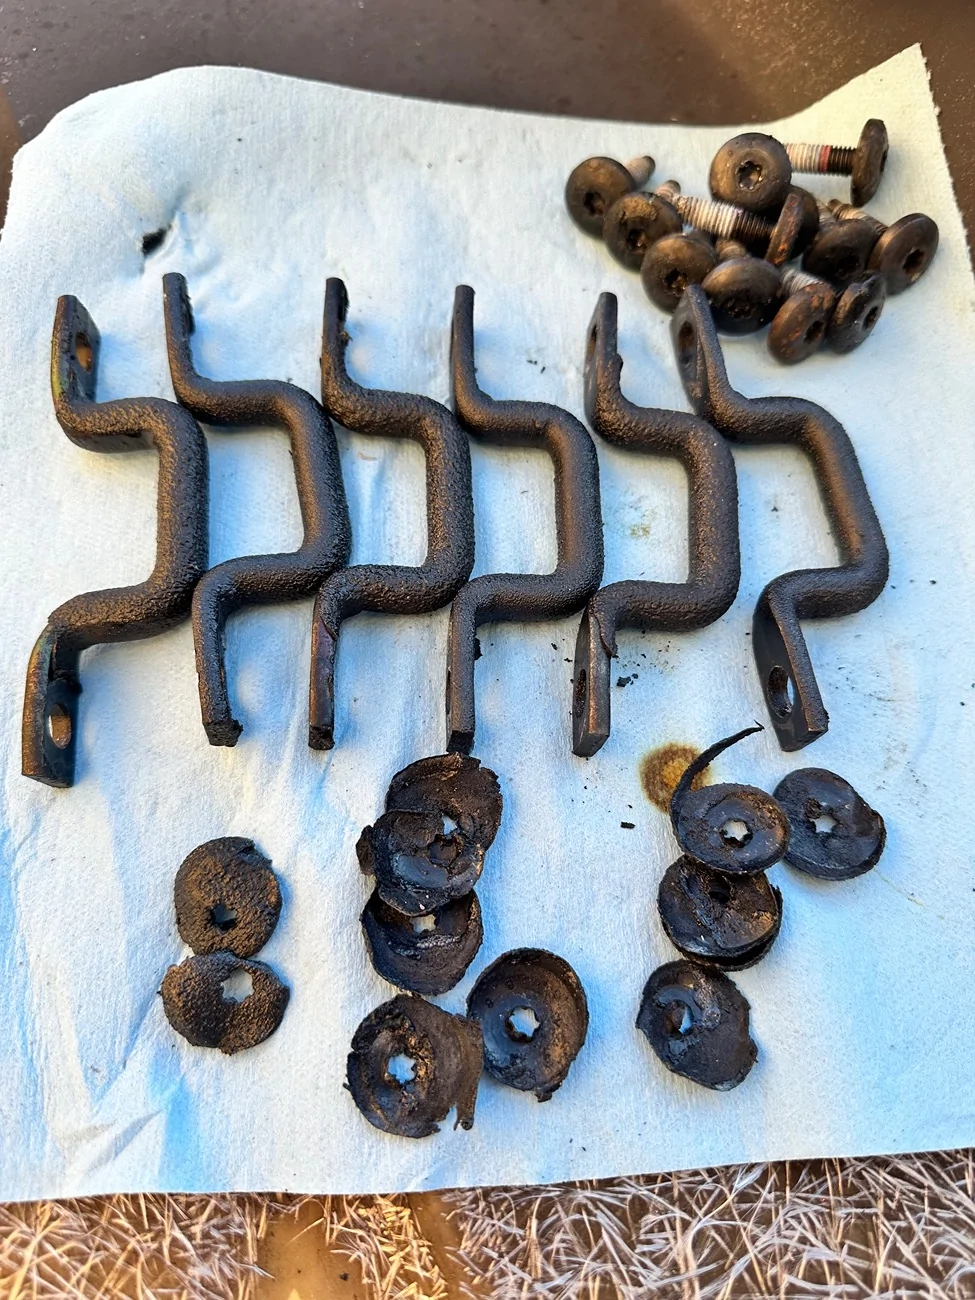
I have seen multiple pictures of torched bedliners, heat bubbled paint, various scratch marks from vise grips and pliers. Broken screws drilled off-center and basically, just a waste of time and destruction of our trucks to get the thread-locked TP40 screws off our tie-downs. My truck has factory bedliner that completely cover the screw heads almost gluing them to the tie-down bracket and filling the Torx opening. I spent 30 minutes trying to get the bedliner out of the hole of one screw and did a horrible job—-NO MORE—
This is an easy method of removing those horrible tie-down screws. No cleaning the screw heads at all—heat the screw head, and the bedliner pops of the screw like a little mushroom head of bedliner.
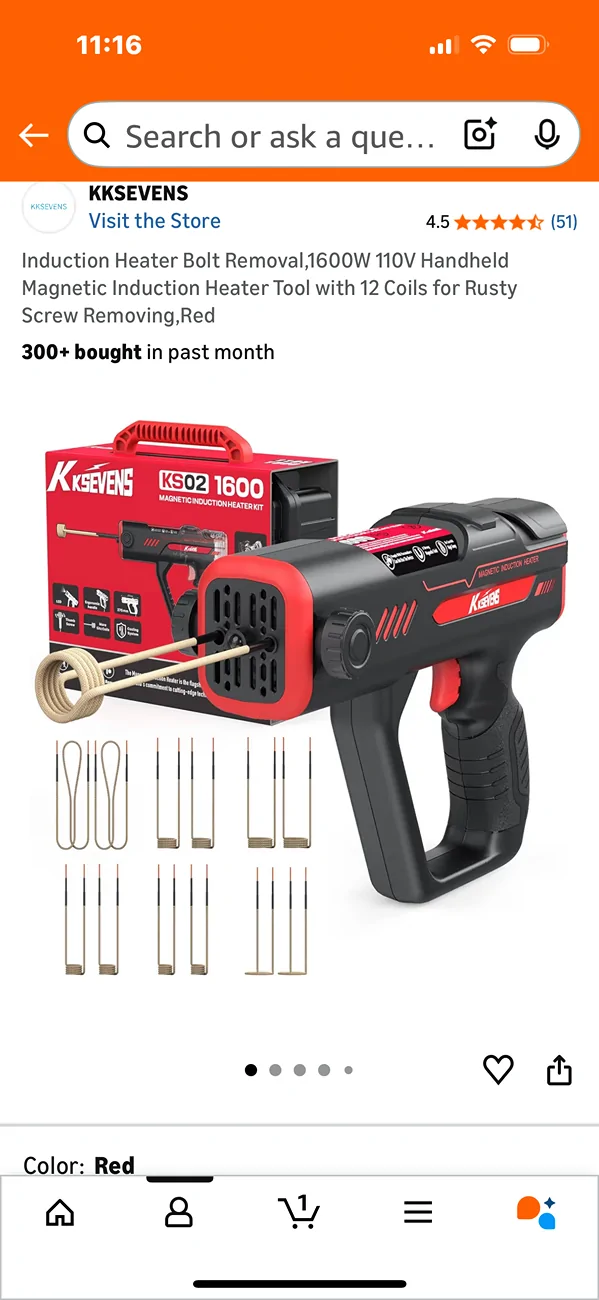
This method involves the use of a Magnetic Induction Heater Tool—which is specifically designed for removing rusty and stuck Nuts, Bolts, and Screws. These tools are on sale at Amazon from $140-$240.. The tool I used was a KKSEVEN 1600watt, pistol grip, which was delivered overnight from Amazon ($240). I think this is a bargain. If you are a DIYer and snap off a couple of screws, you are going to pay a professional twice as much as this tool costs, and probably still have a burned and heat bubbled finish if a torch or open flame is used.
Induction heating rapidly applies extremely high heat in a precise location. It doesn’t heat aluminum (what our truck beds are made out of), or paint, bedliner, etc—and only heats the steel screw head inside the heating coil—in this application, just the head of the TP40 screw is heated and the heat flows down length of the screw and softens the thread locker. Minimal heat transfers to the tie-down or the bed.
Just a note: if you watch the manufacturer’s video on how to use the tool, they show applying heat for 25 seconds on an extremely stuck rusty nut—the nut turns red hot after about 20 seconds—don’t do that. I did a trial test on a 1/4x20 brand new zinc plated bolt. It went red—and almost white hot in 25 seconds. It burned all the zinc plating off and destroyed the grade 8 hardening of the bolt turning it to junk.
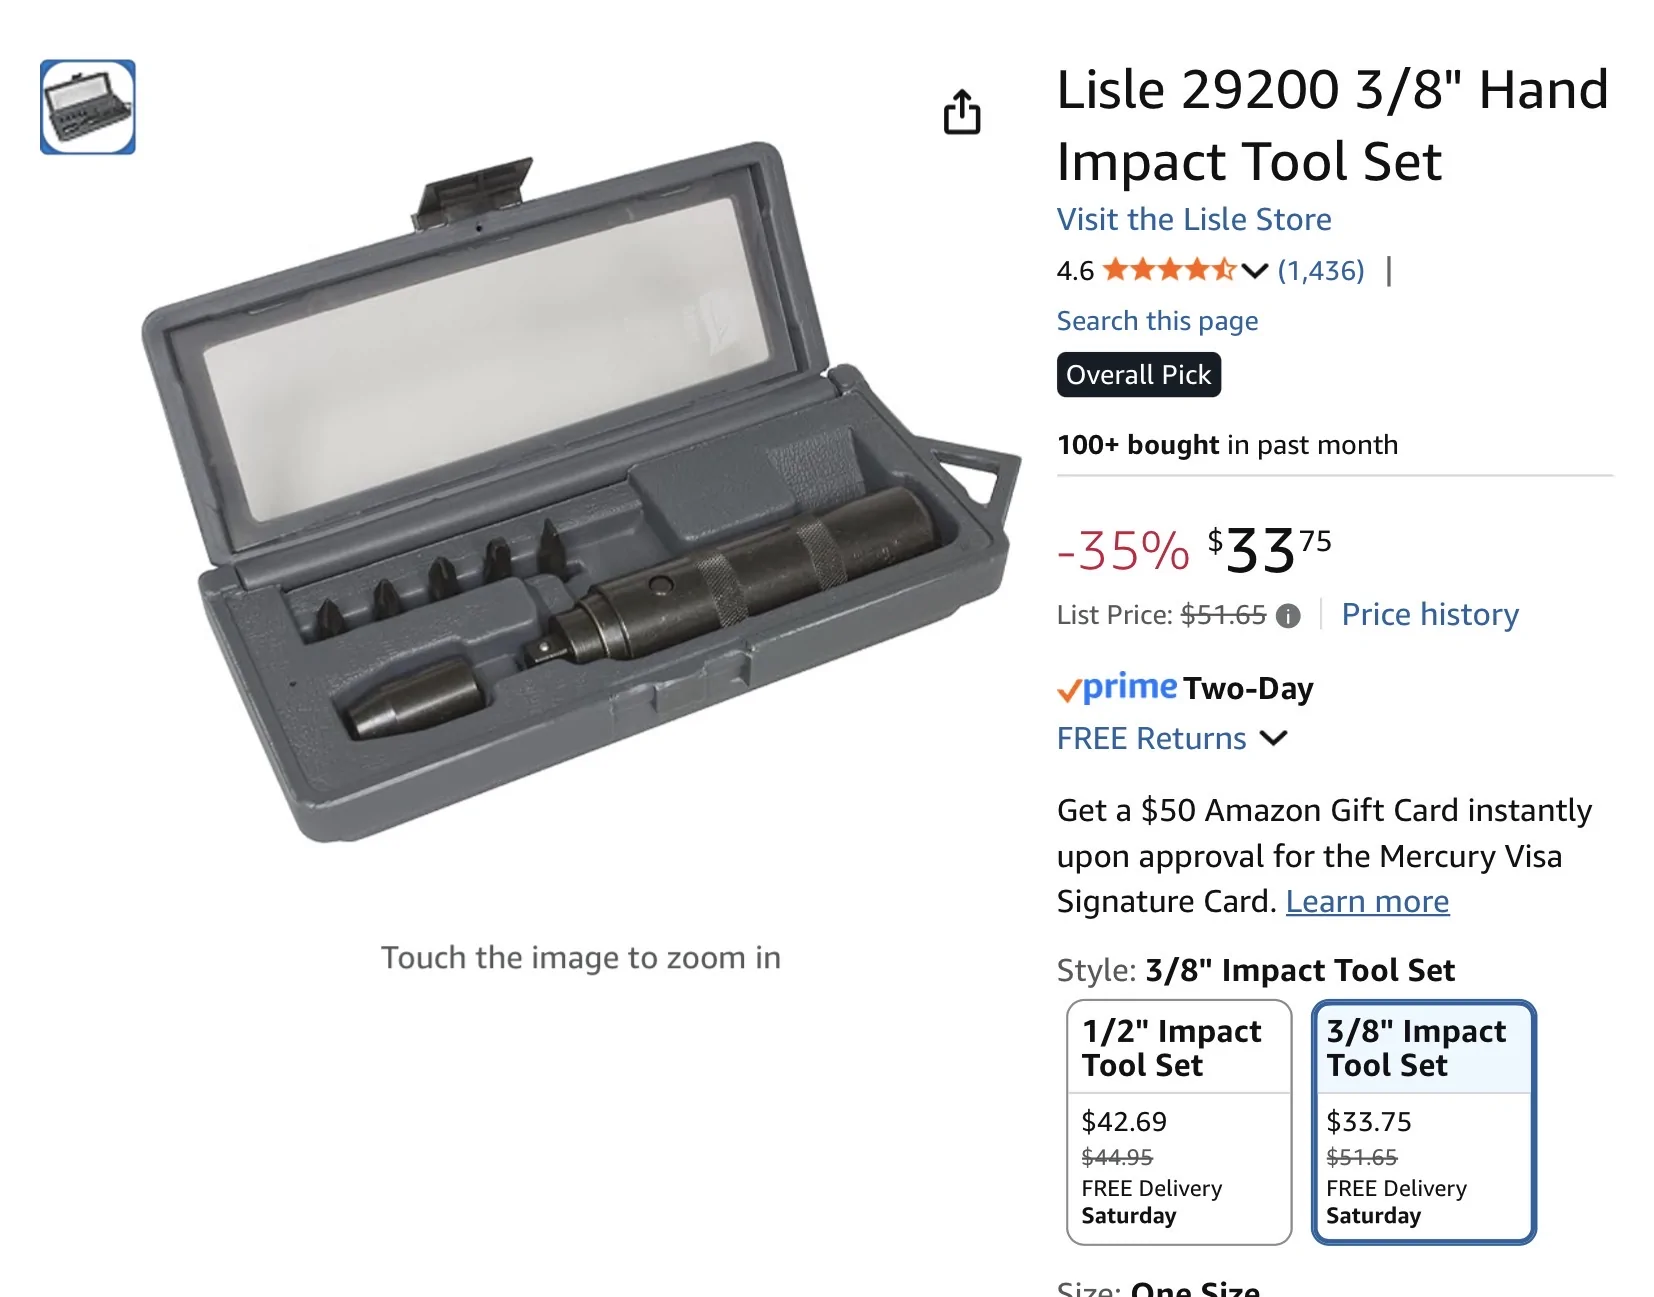
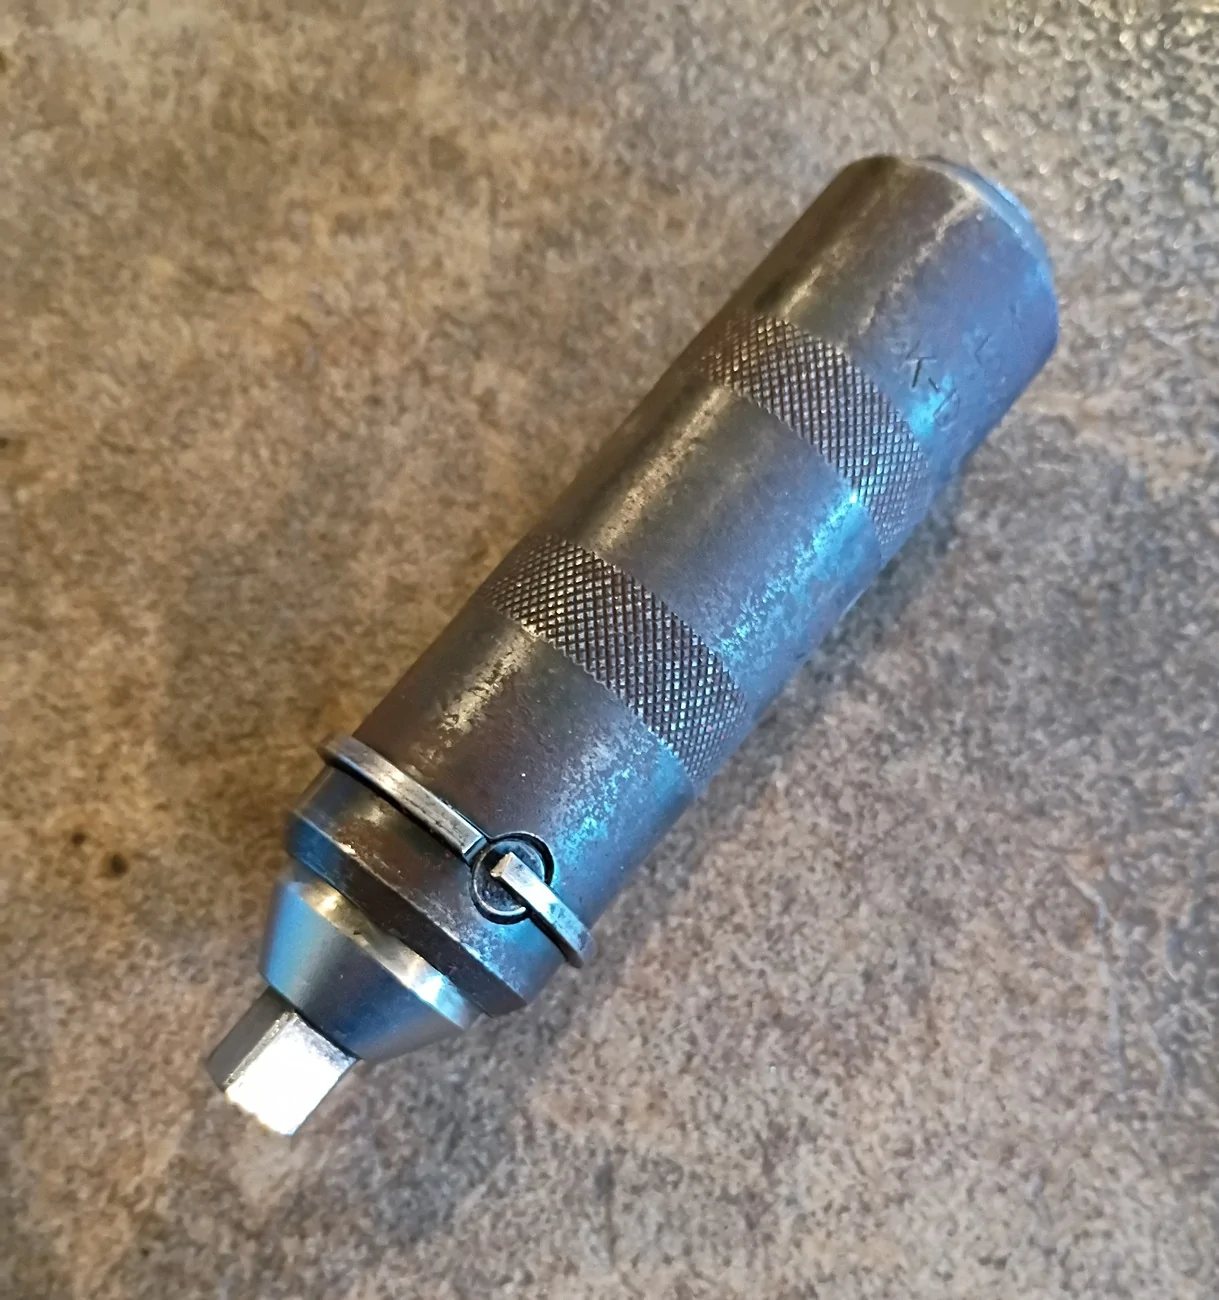
This is the unit I bought
Select a slightly larger heating coil. I had to slightly unwind this one to fit.
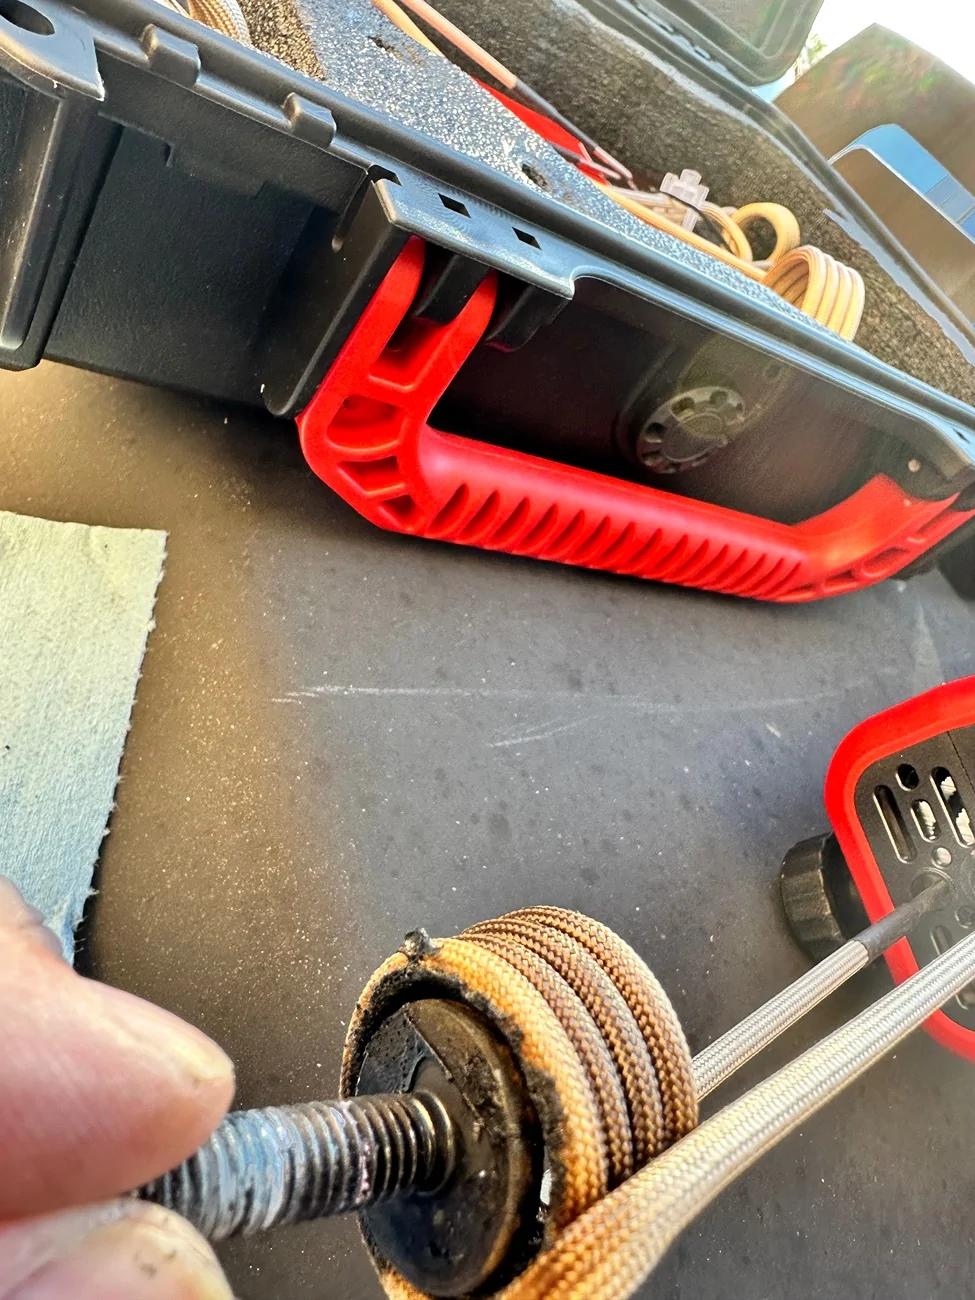
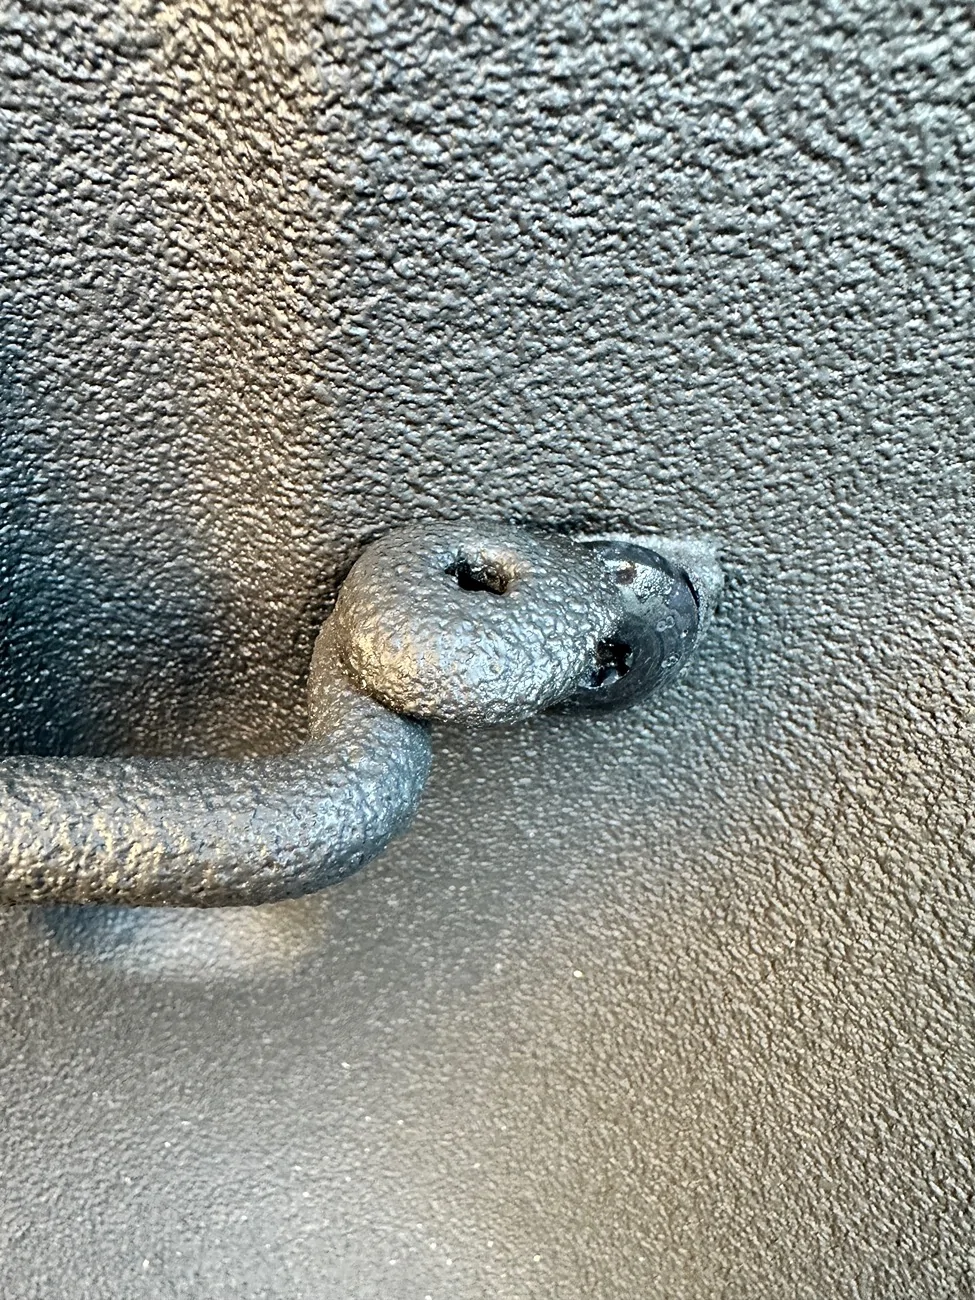
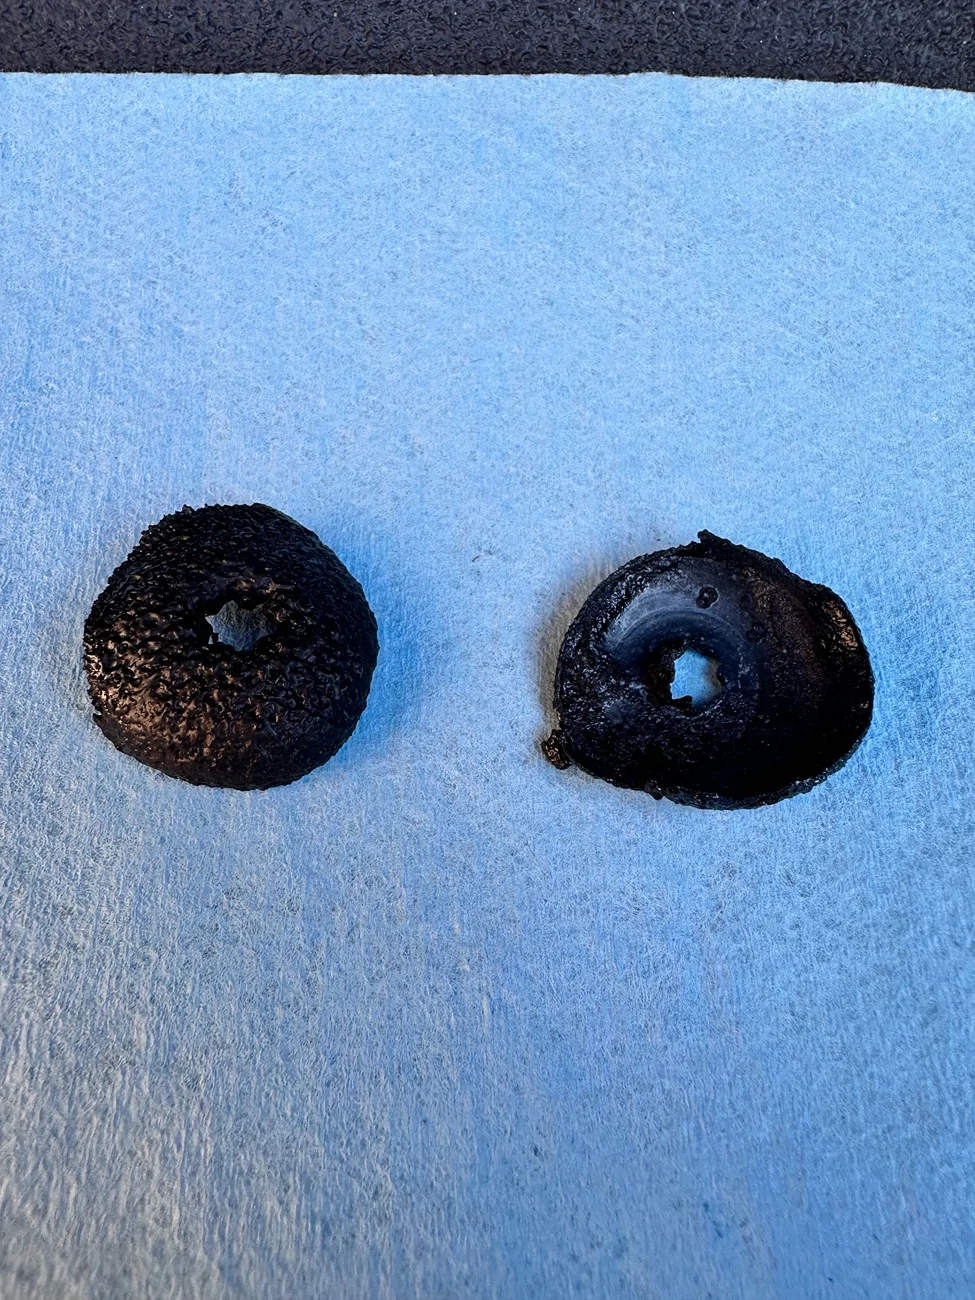
Place the heater coil over the screw head with power on for about 10 seconds, wait about 10-15 seconds for the heat to flow down the screw and soften the thread locker. Apply heat for another 10 seconds and when you remove the heat, the bedliner on the head of the screw will just pop off the head—perfectly clean little mushroom head of headliner. That is the bedliner pop-off on the tie-down below—it looks like the head of the screw—and it has the liner that was inside the Torx hole removed.
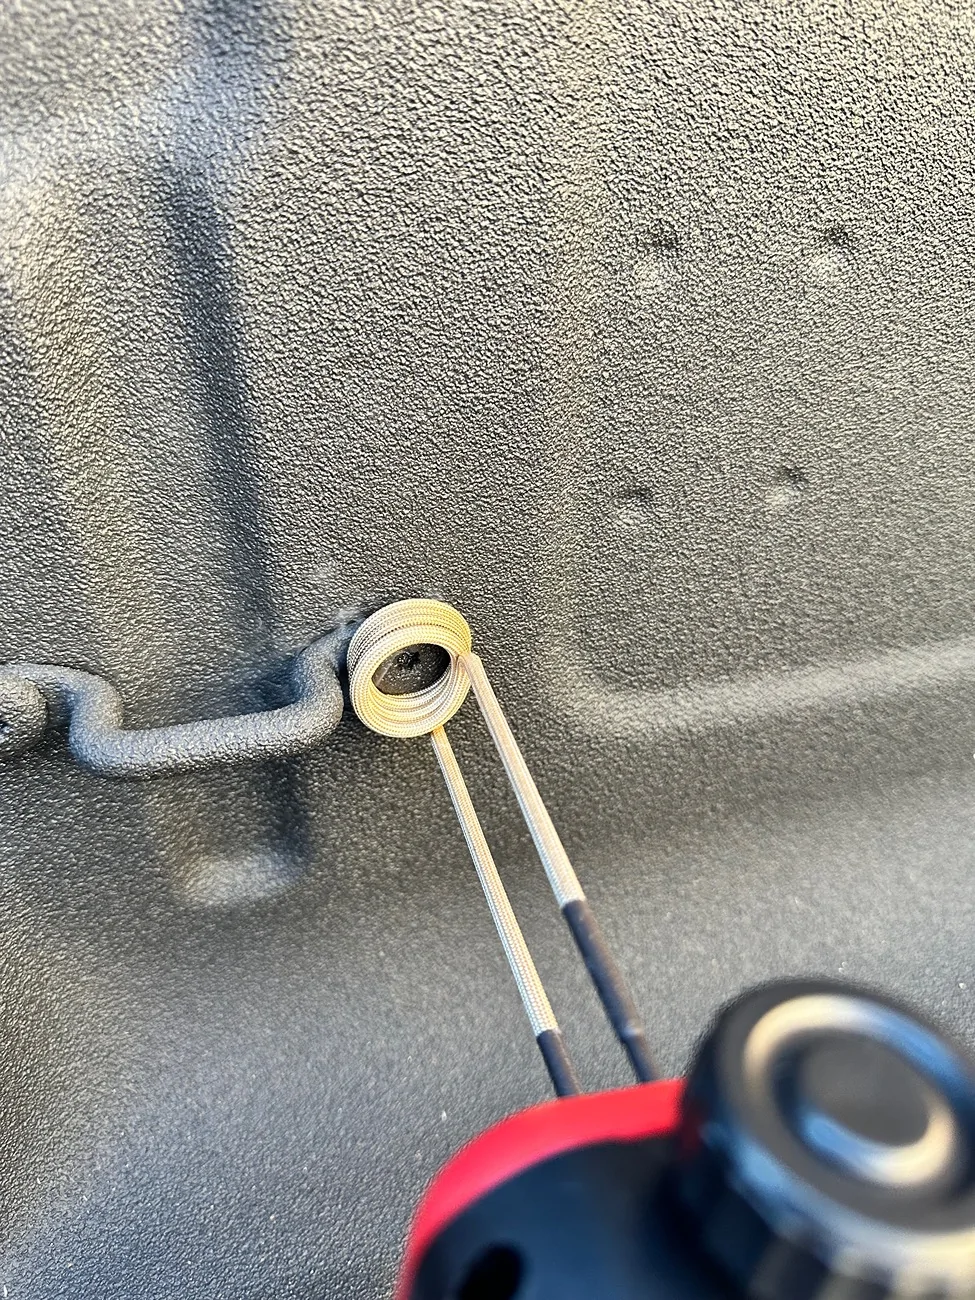
Bedliner from head of screw—when you heat it just right—it just pops off as a single piece with little to no residue.
It took less than 20 minutes to remove all of the tie-downs. I placed them in a can of lacquer thinner overnight to remove all remnants of bedliner. Some of the black oxide heads were rusted under the bedliner. I think I will powder coat the heads before reinstallation.
I found the 10 seconds pause, 10 second to work almost perfect—but I went through about half of them before I figured it out. Once the screw starts coming out. It should be easy—if it starts to get tight again. Just apply heat for another 10 seconds. You should only have a small amount of smoke—mainly from the bedliner on the head—a whole lot of smoke indicates you did it too long.
hope this helps
Sponsored
Last edited by a moderator: