
Rda2w
Well-Known Member
- First Name
- Robert
- Joined
- Oct 18, 2023
- Threads
- 8
- Messages
- 189
- Reaction score
- 254
- Location
- Upstate NY
- Vehicle(s)
- 2024 Ranger Raptor, 2019 BMW X3 M40i
- Occupation
- Engineer
- Thread starter
- #1
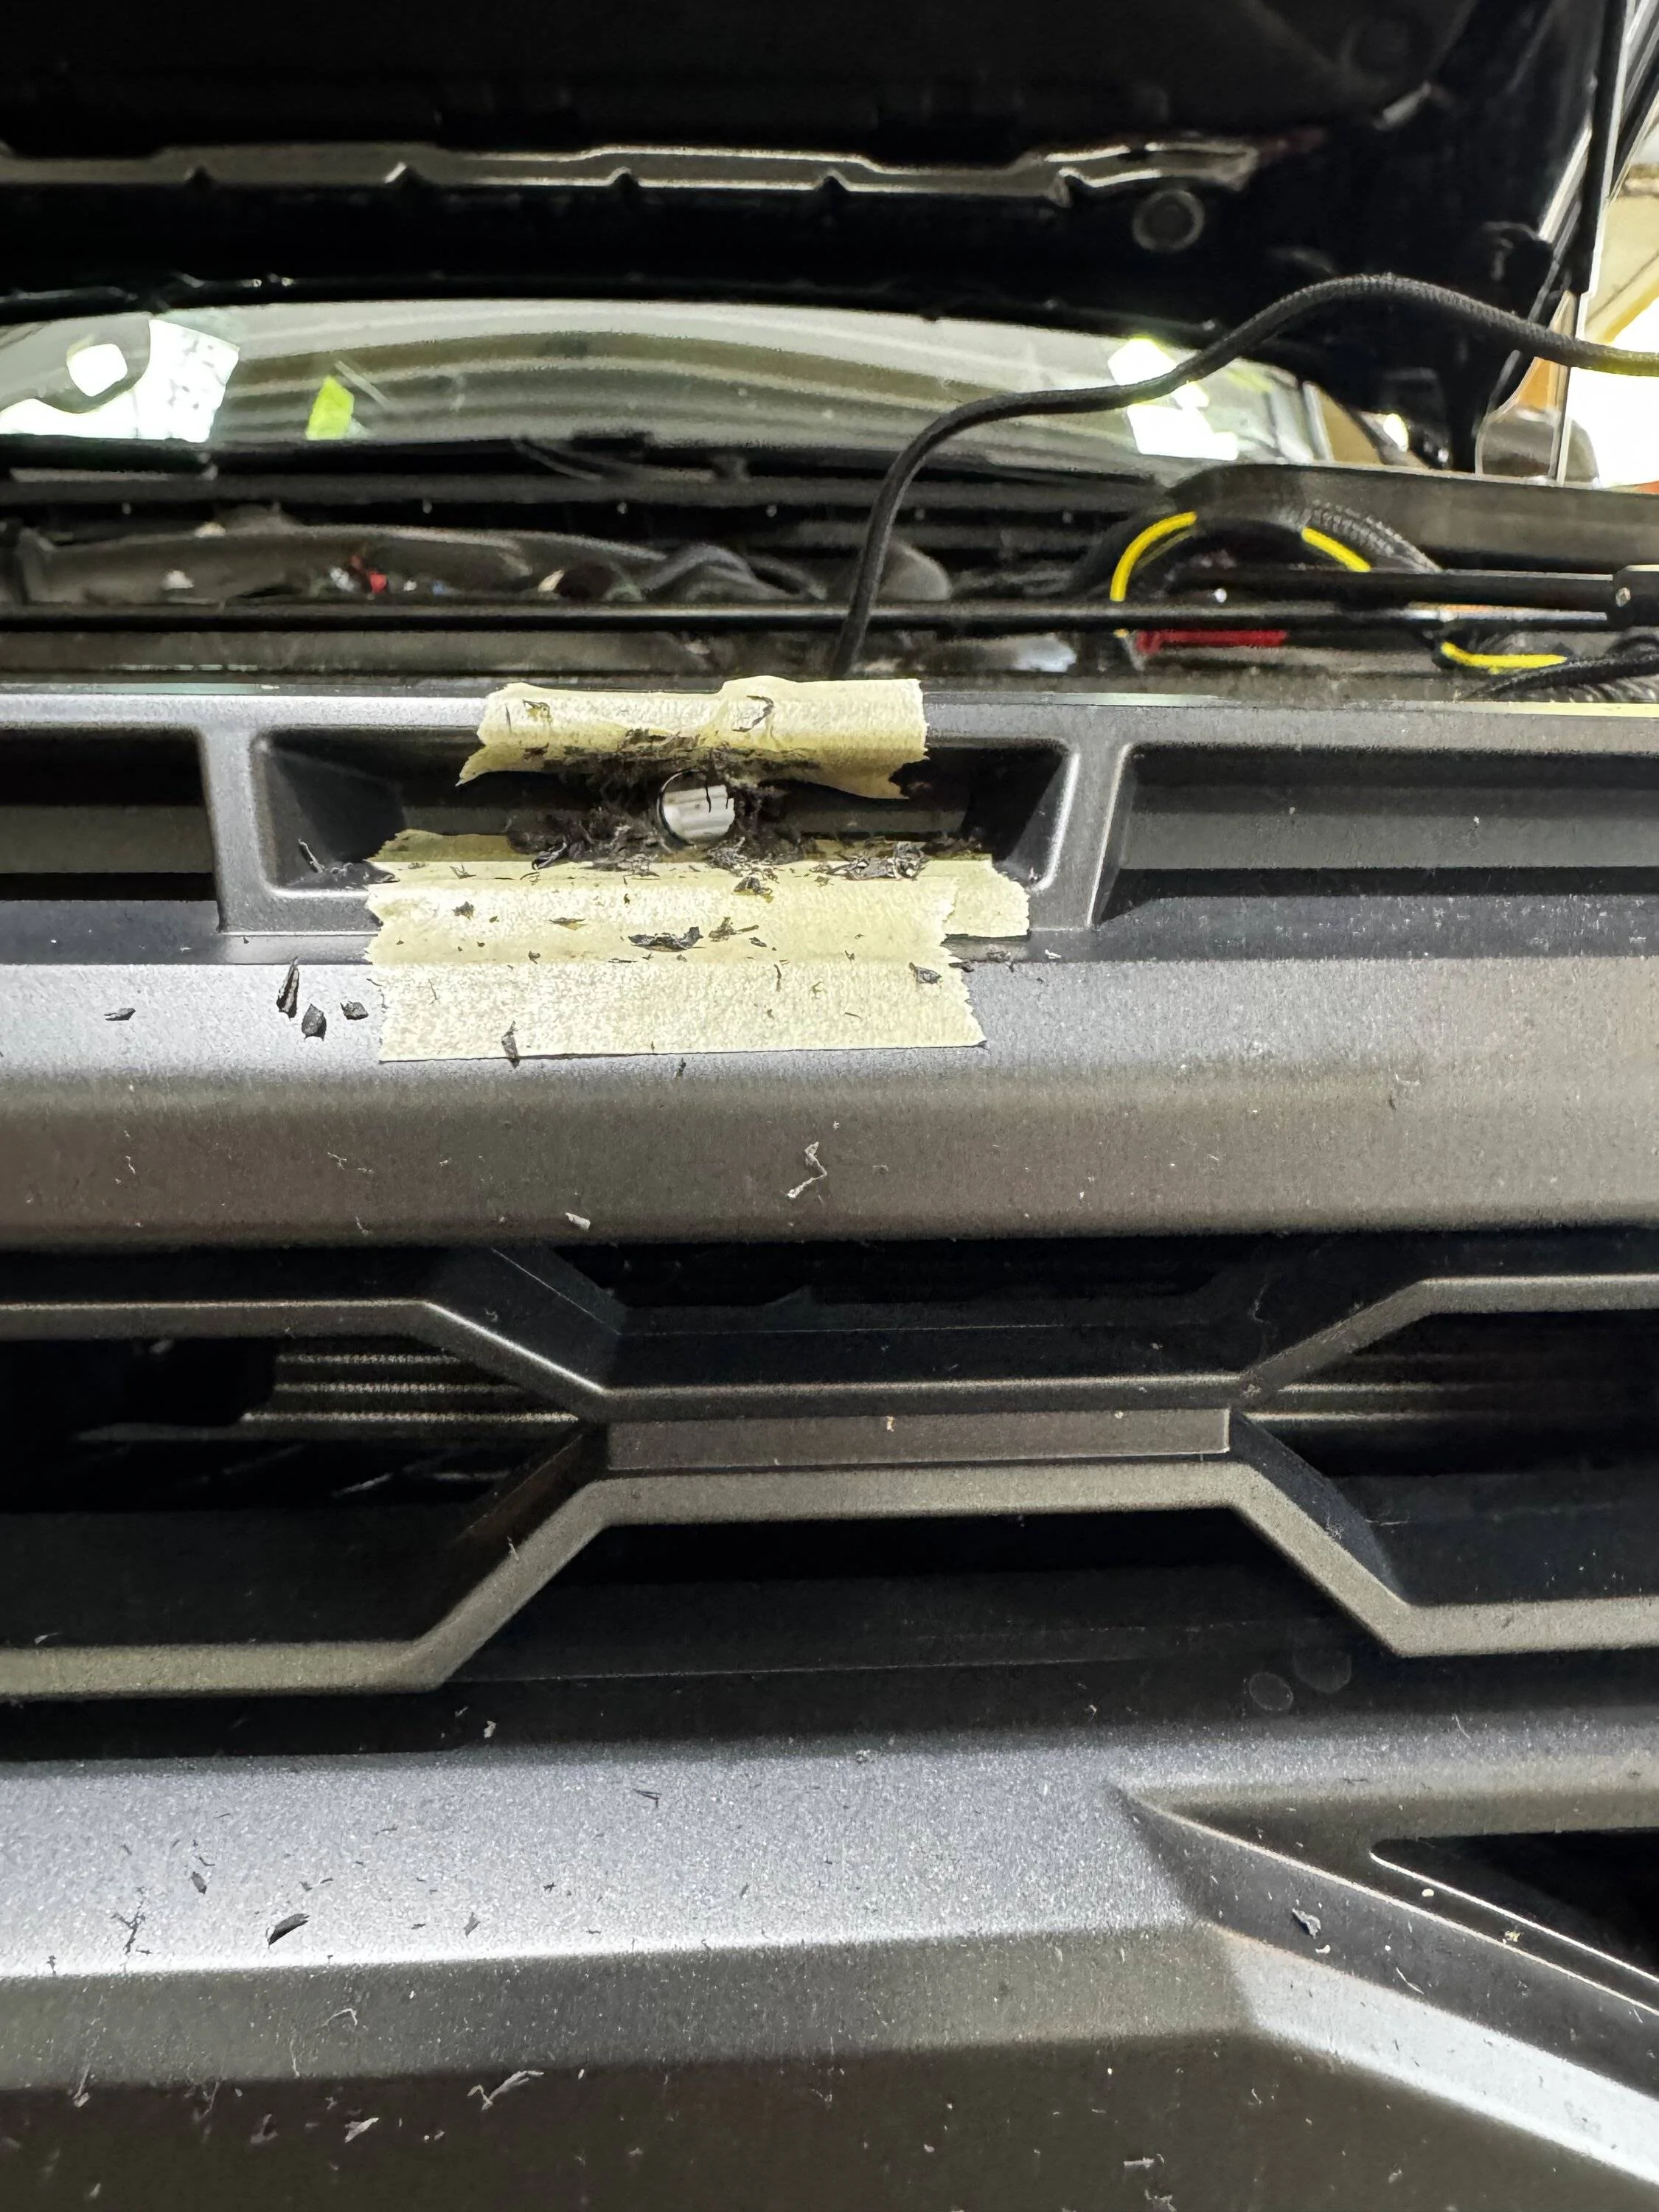
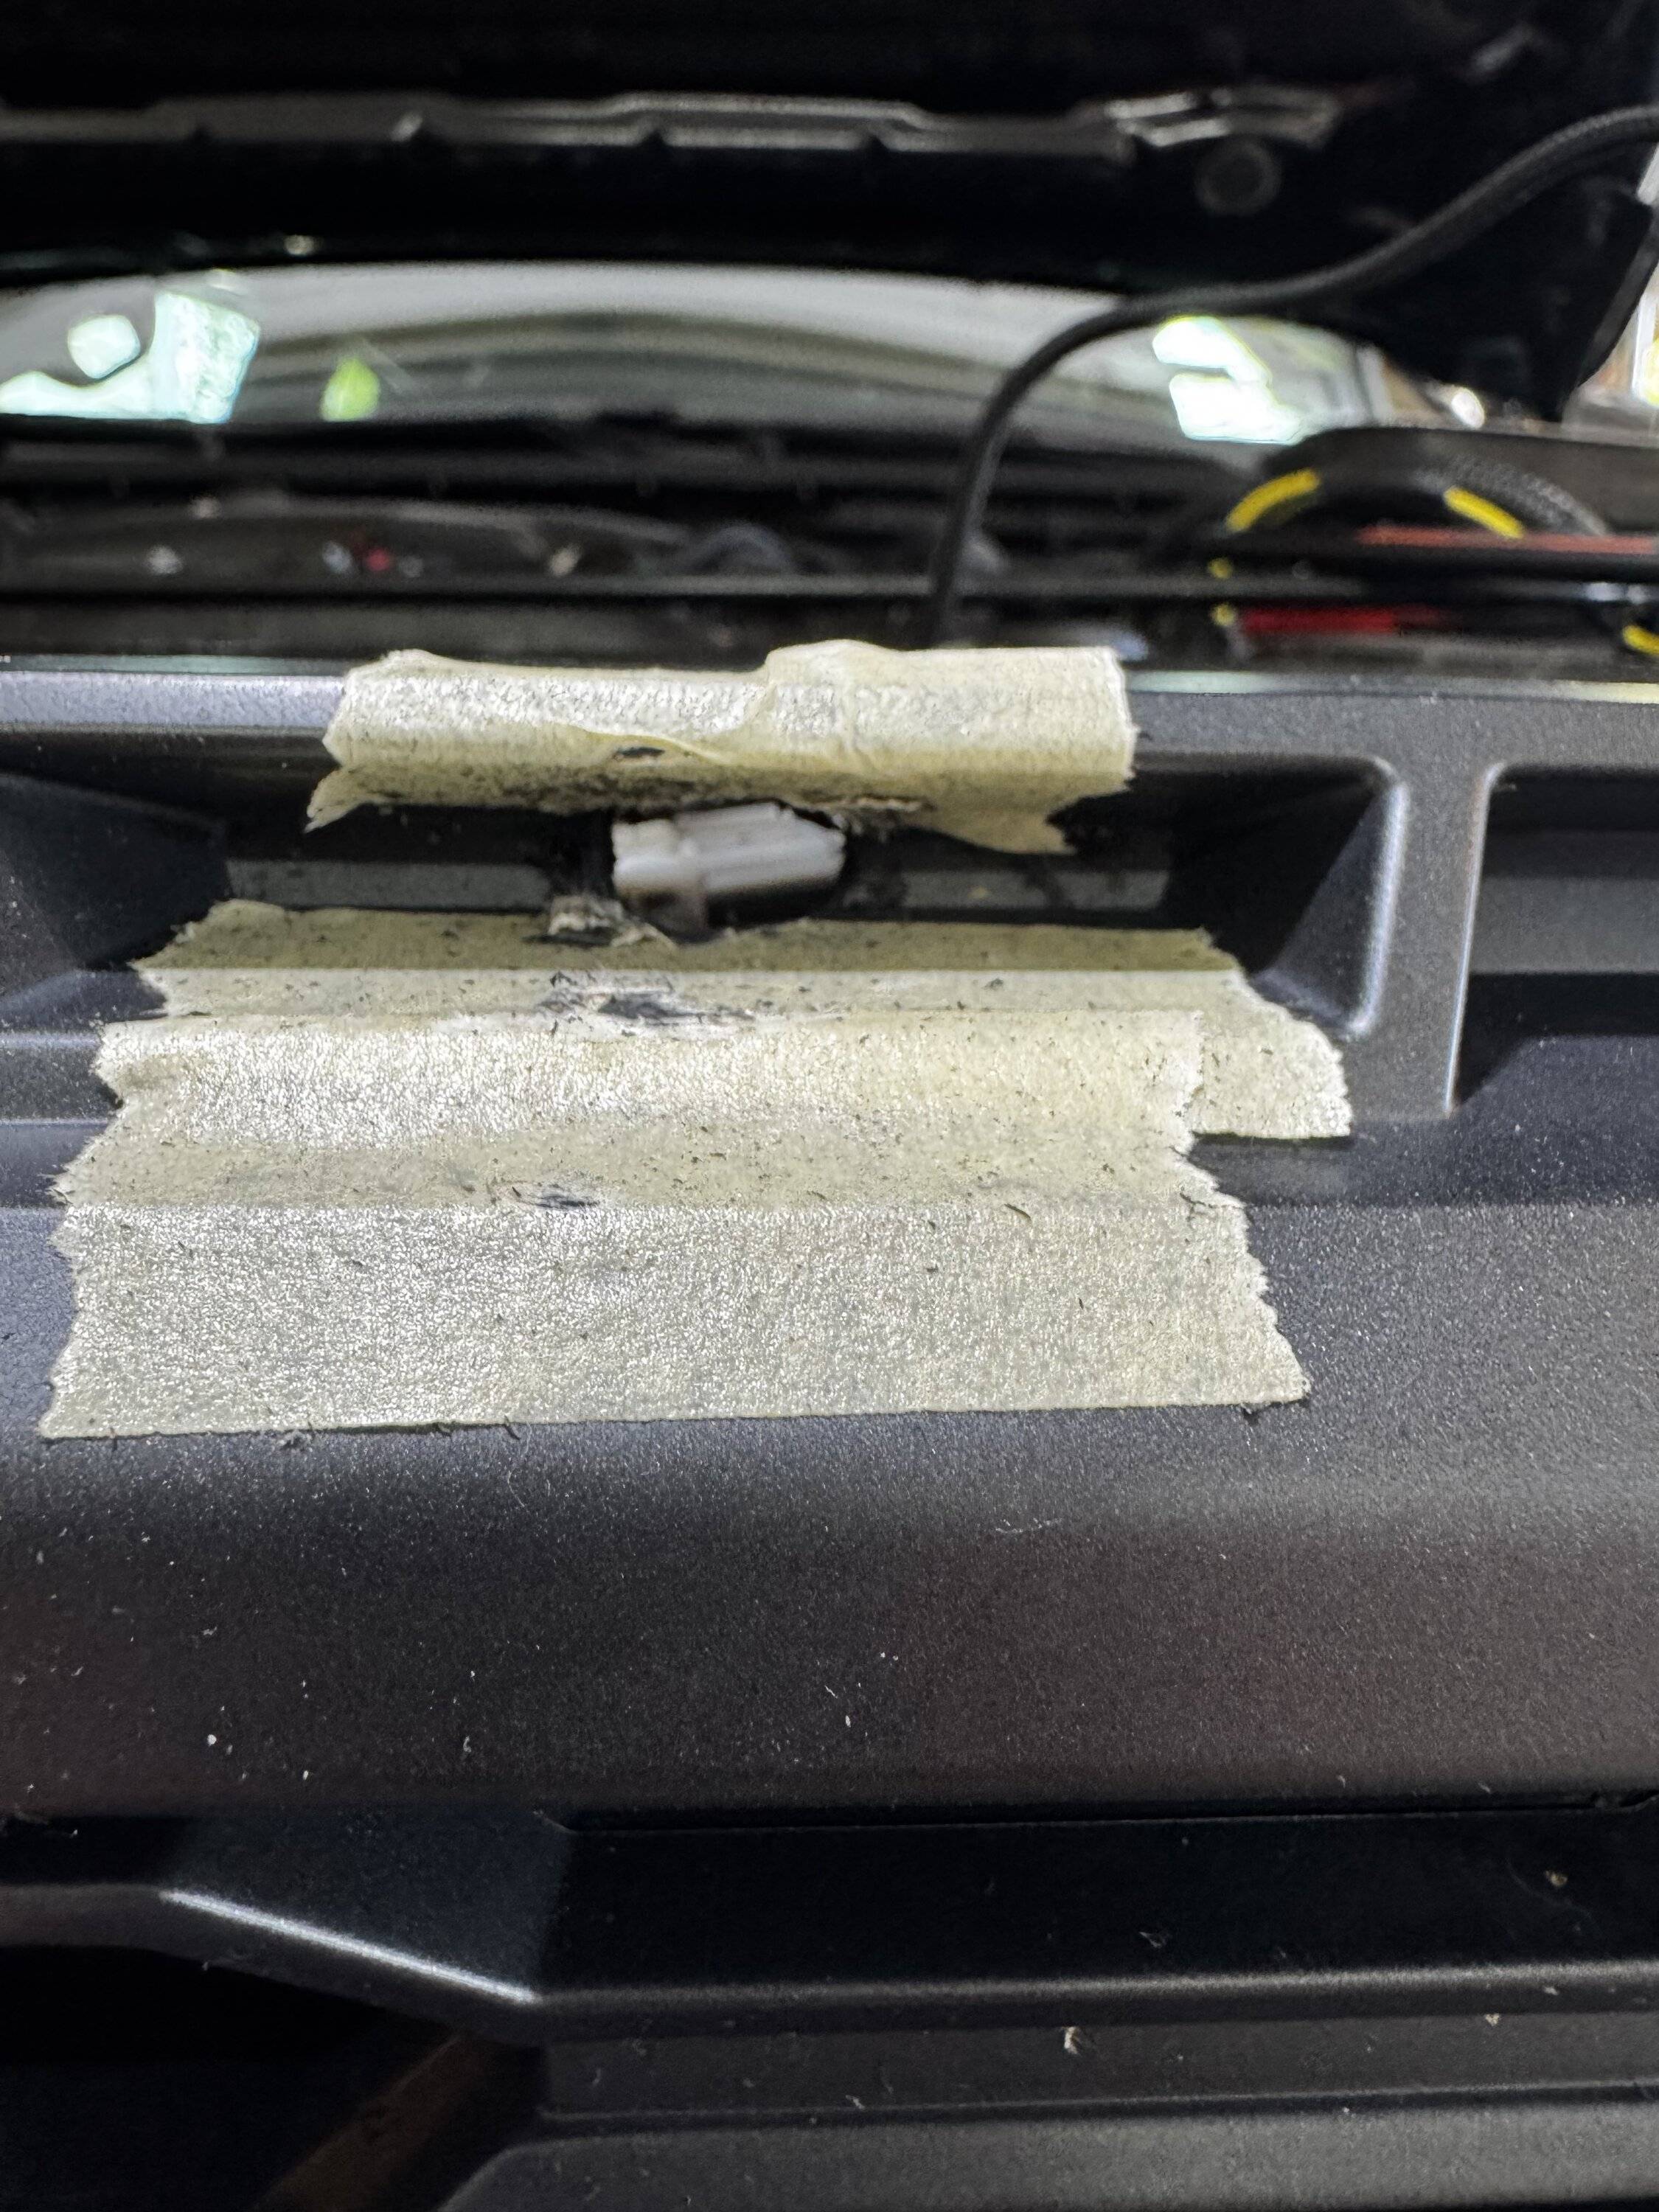
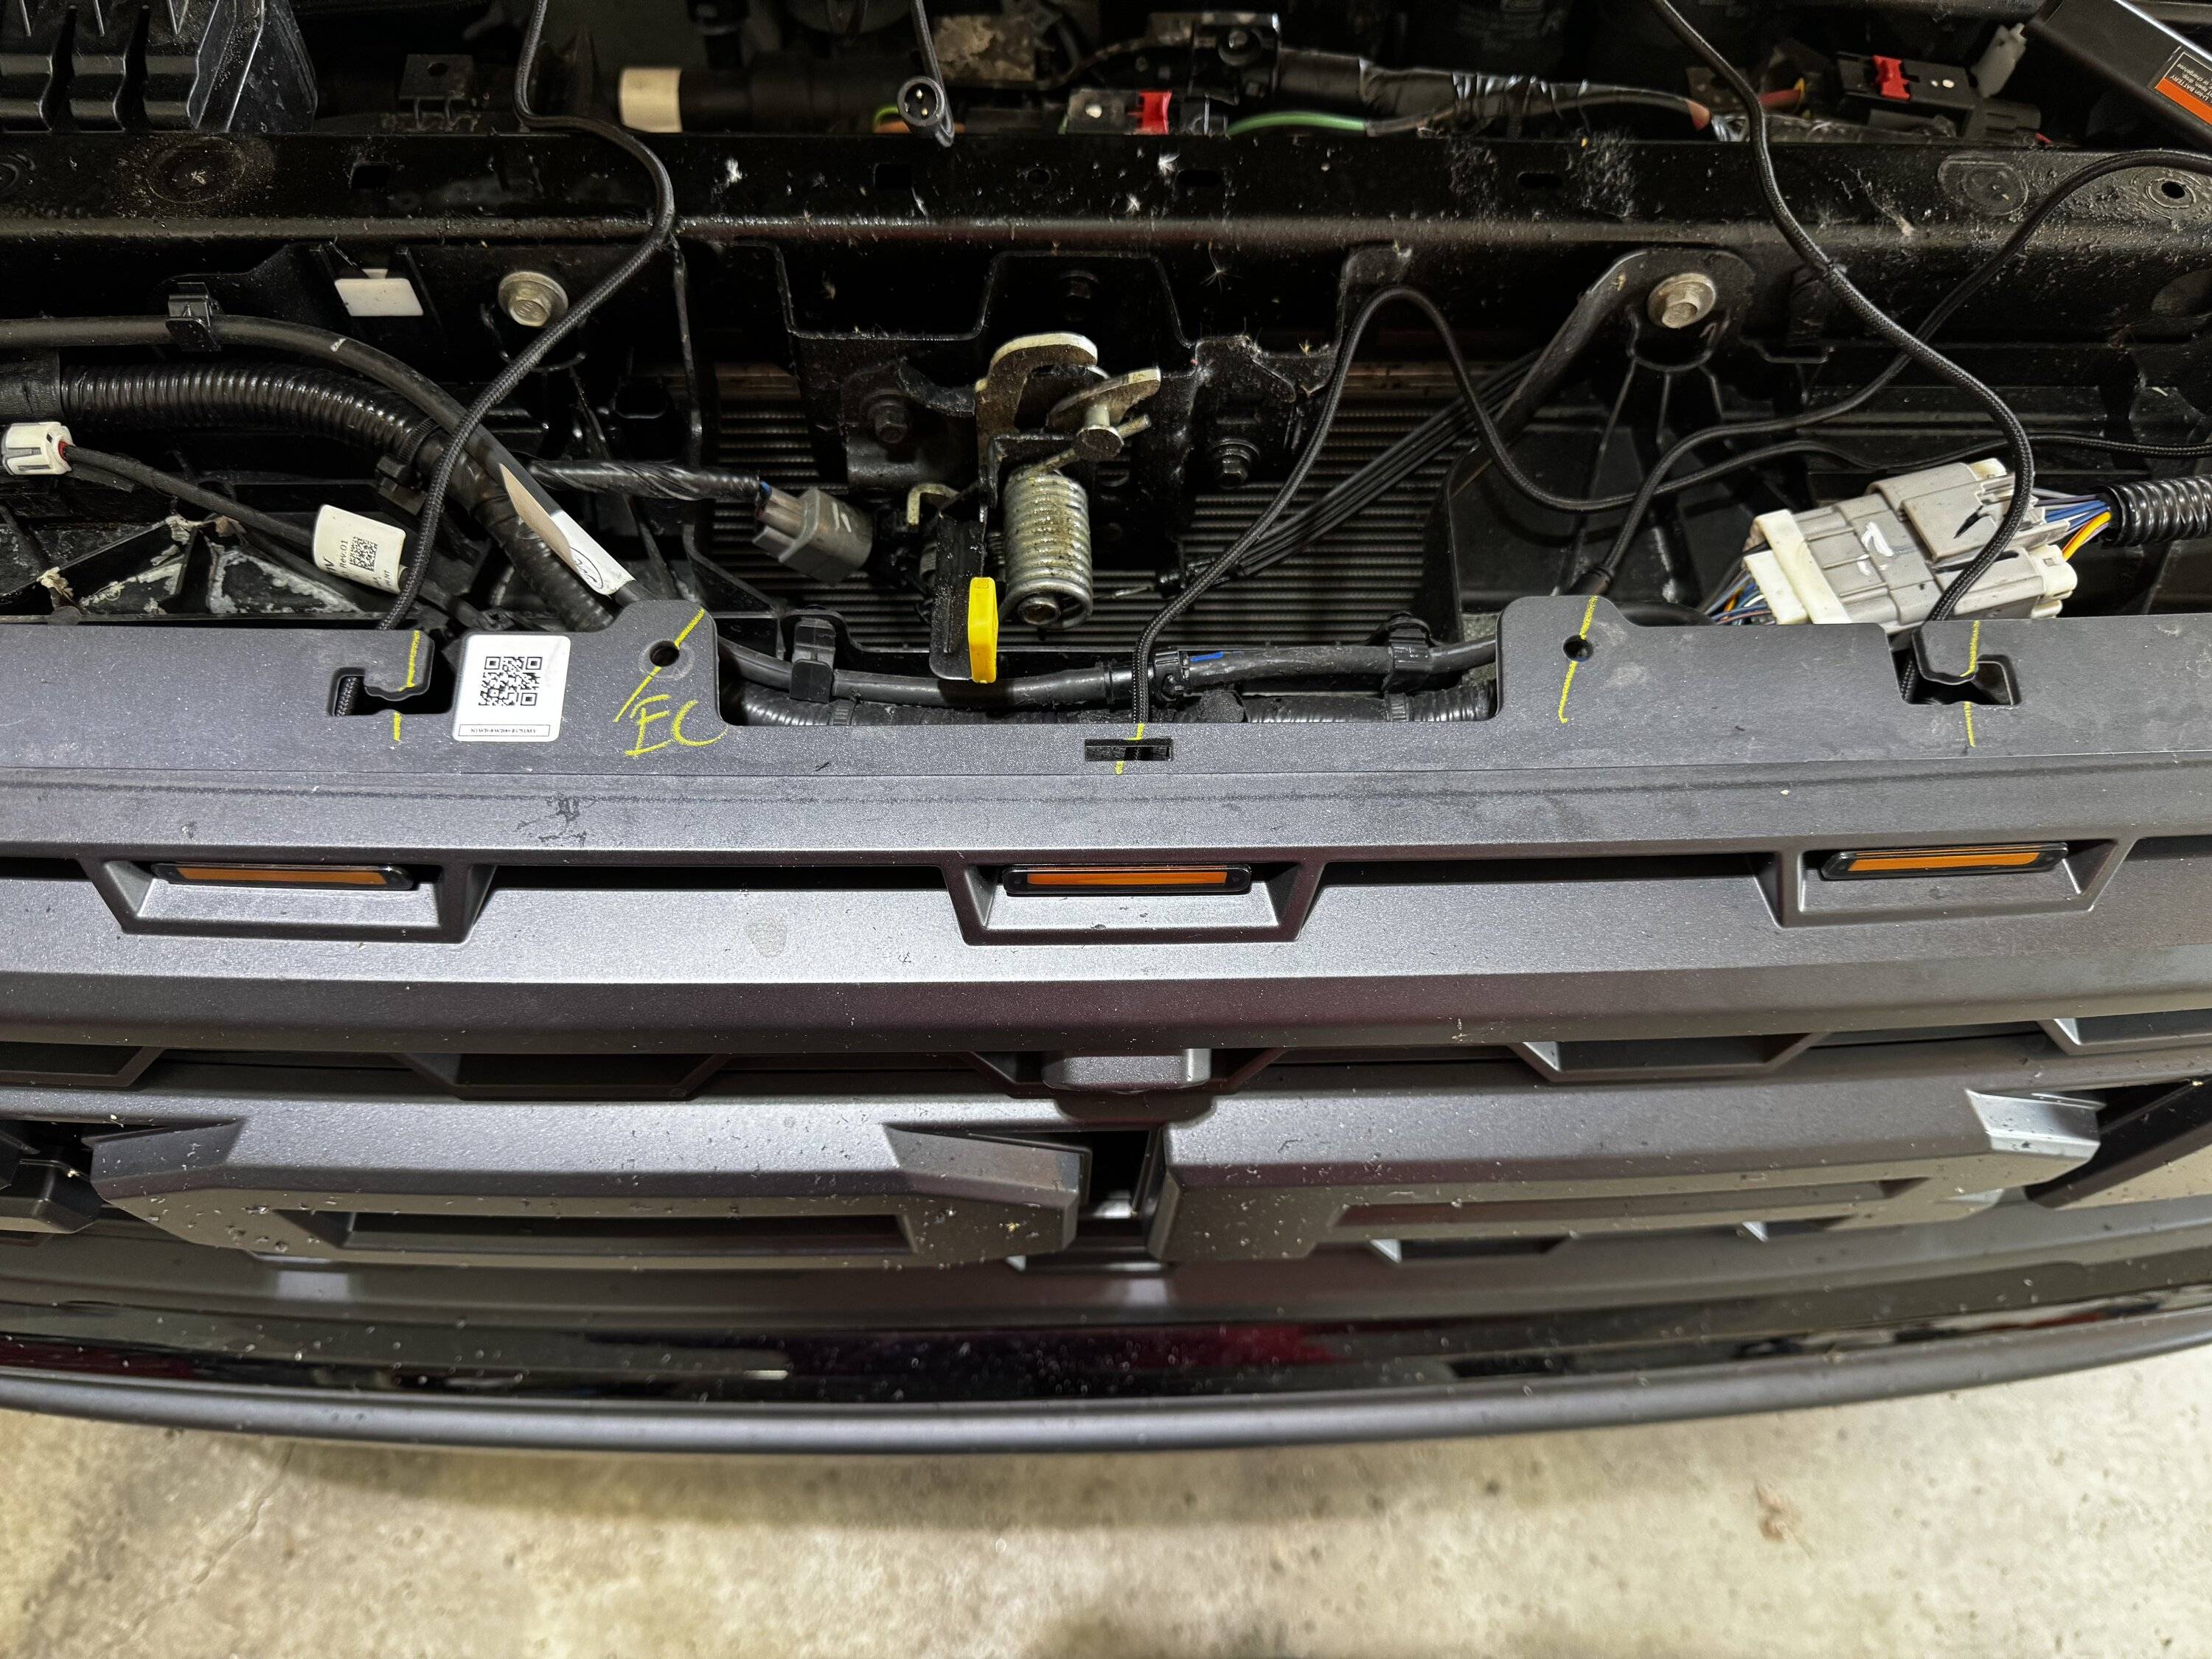
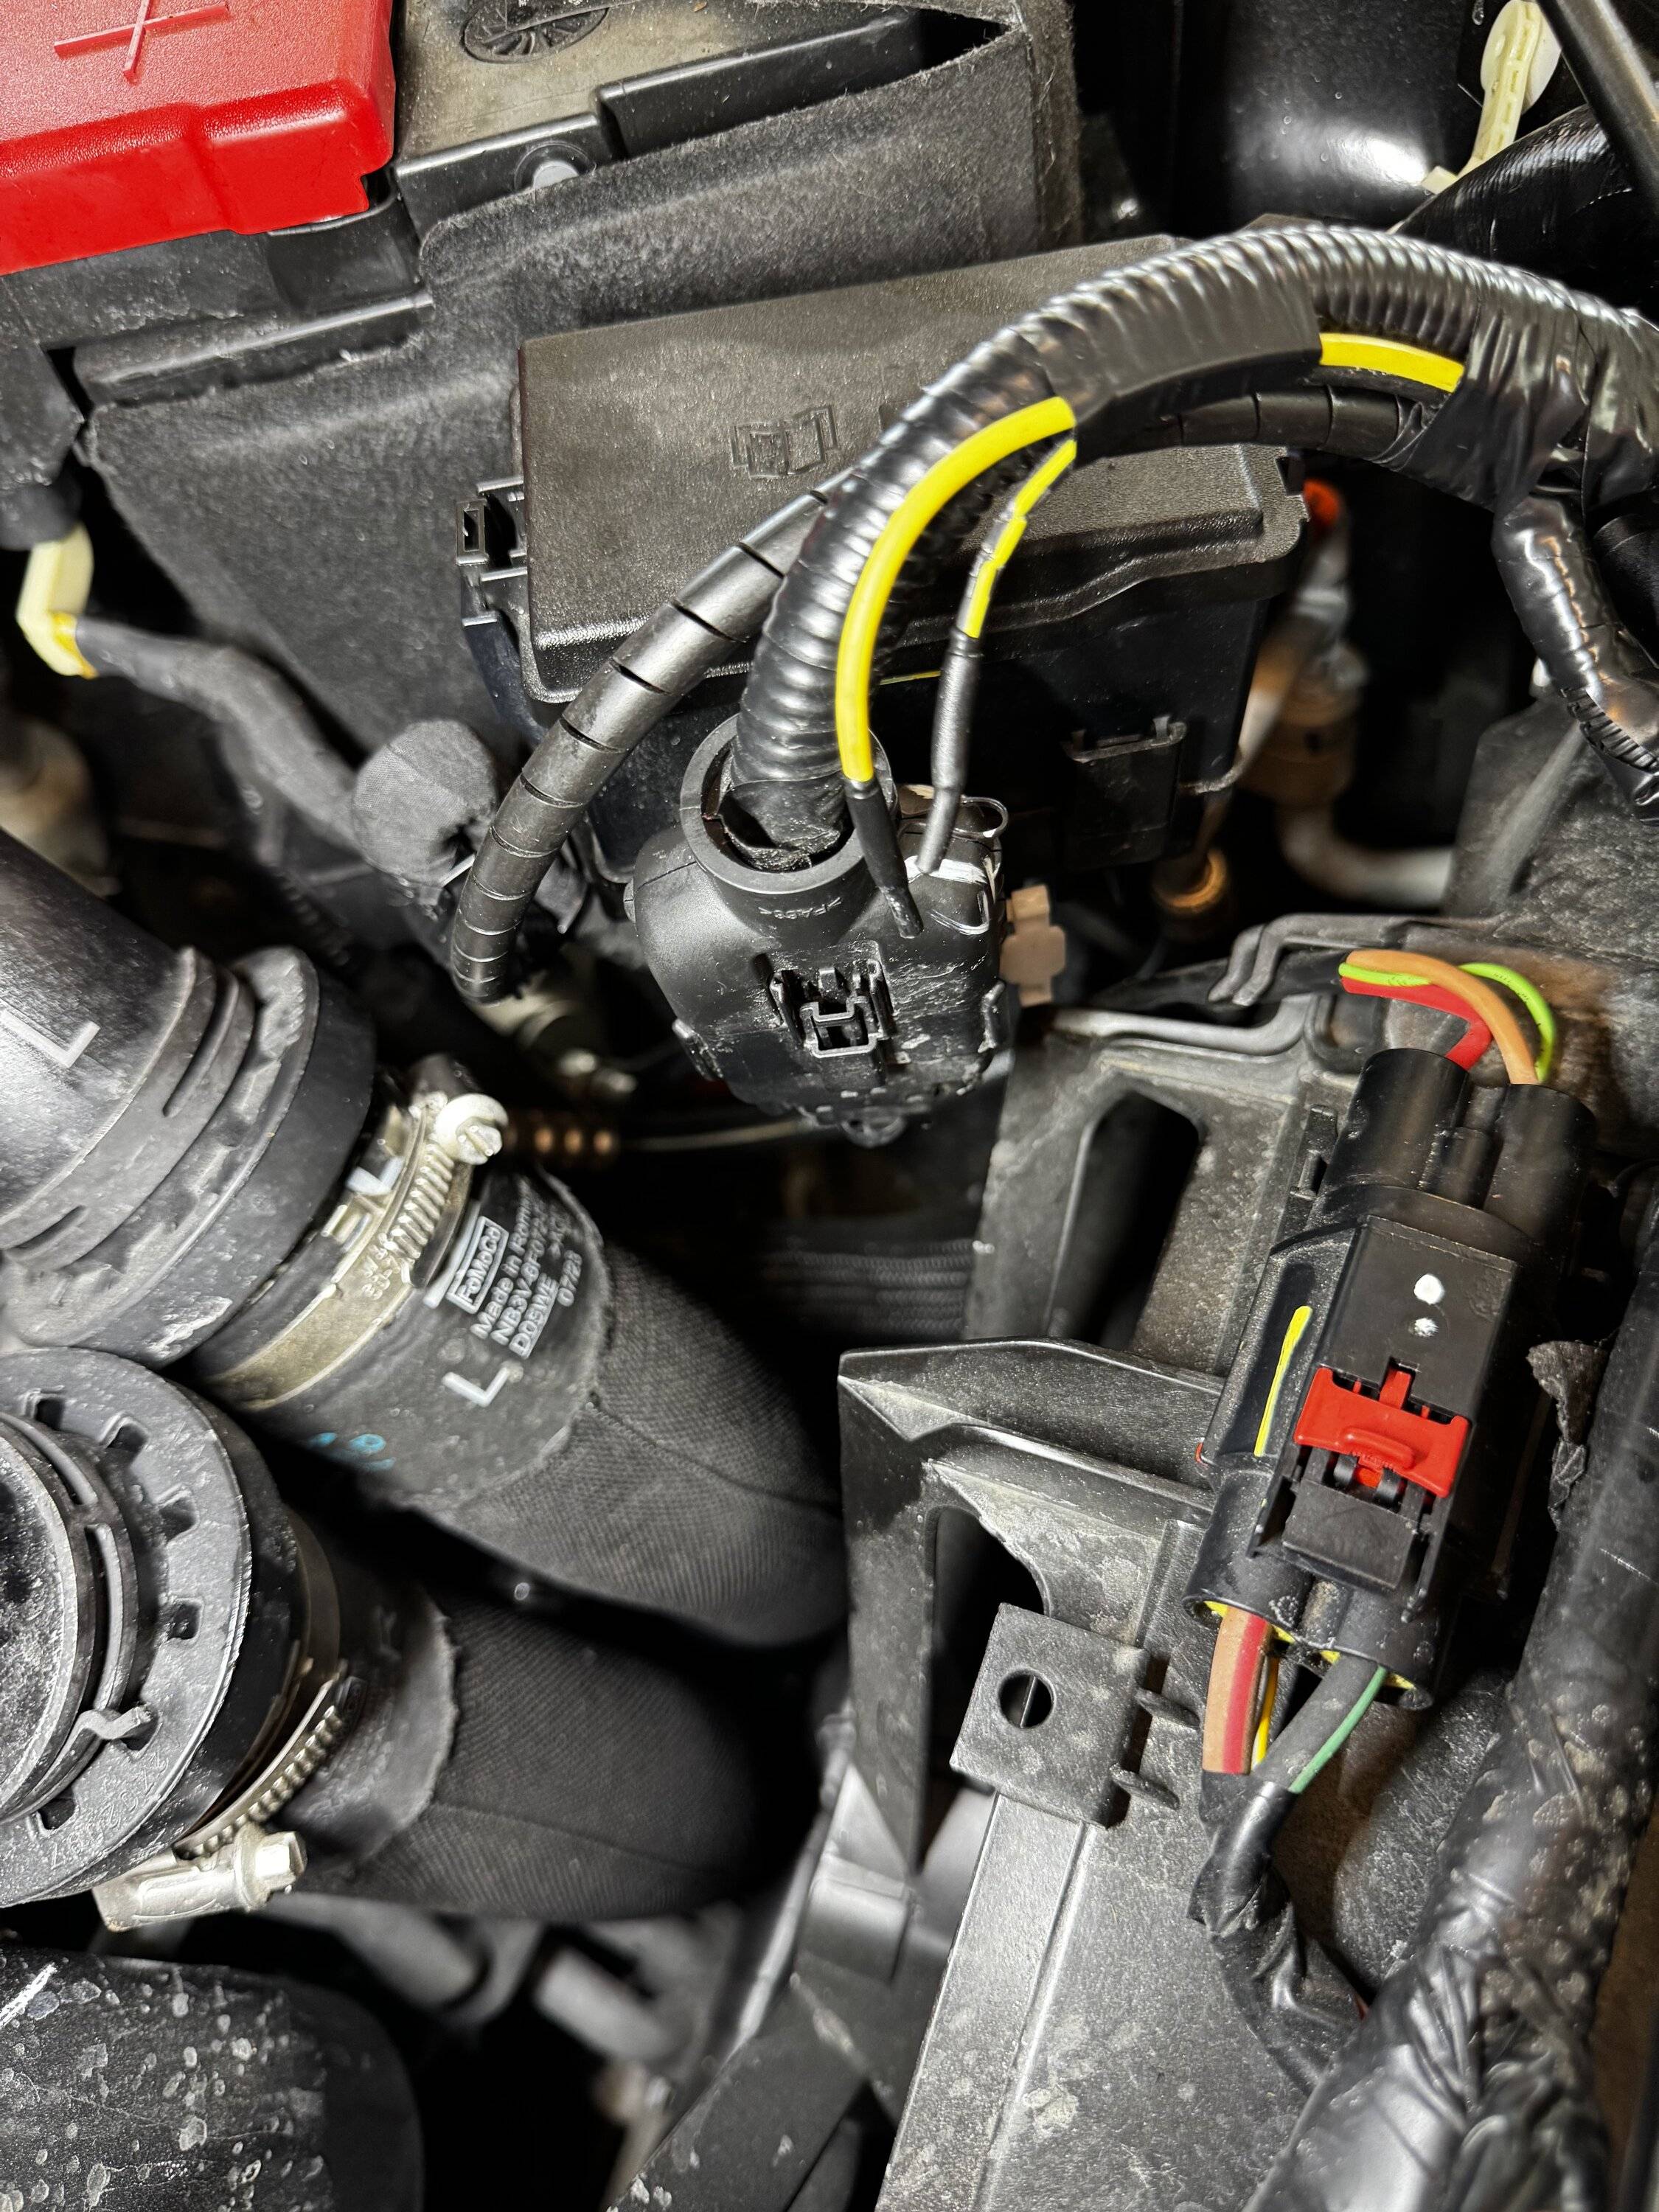
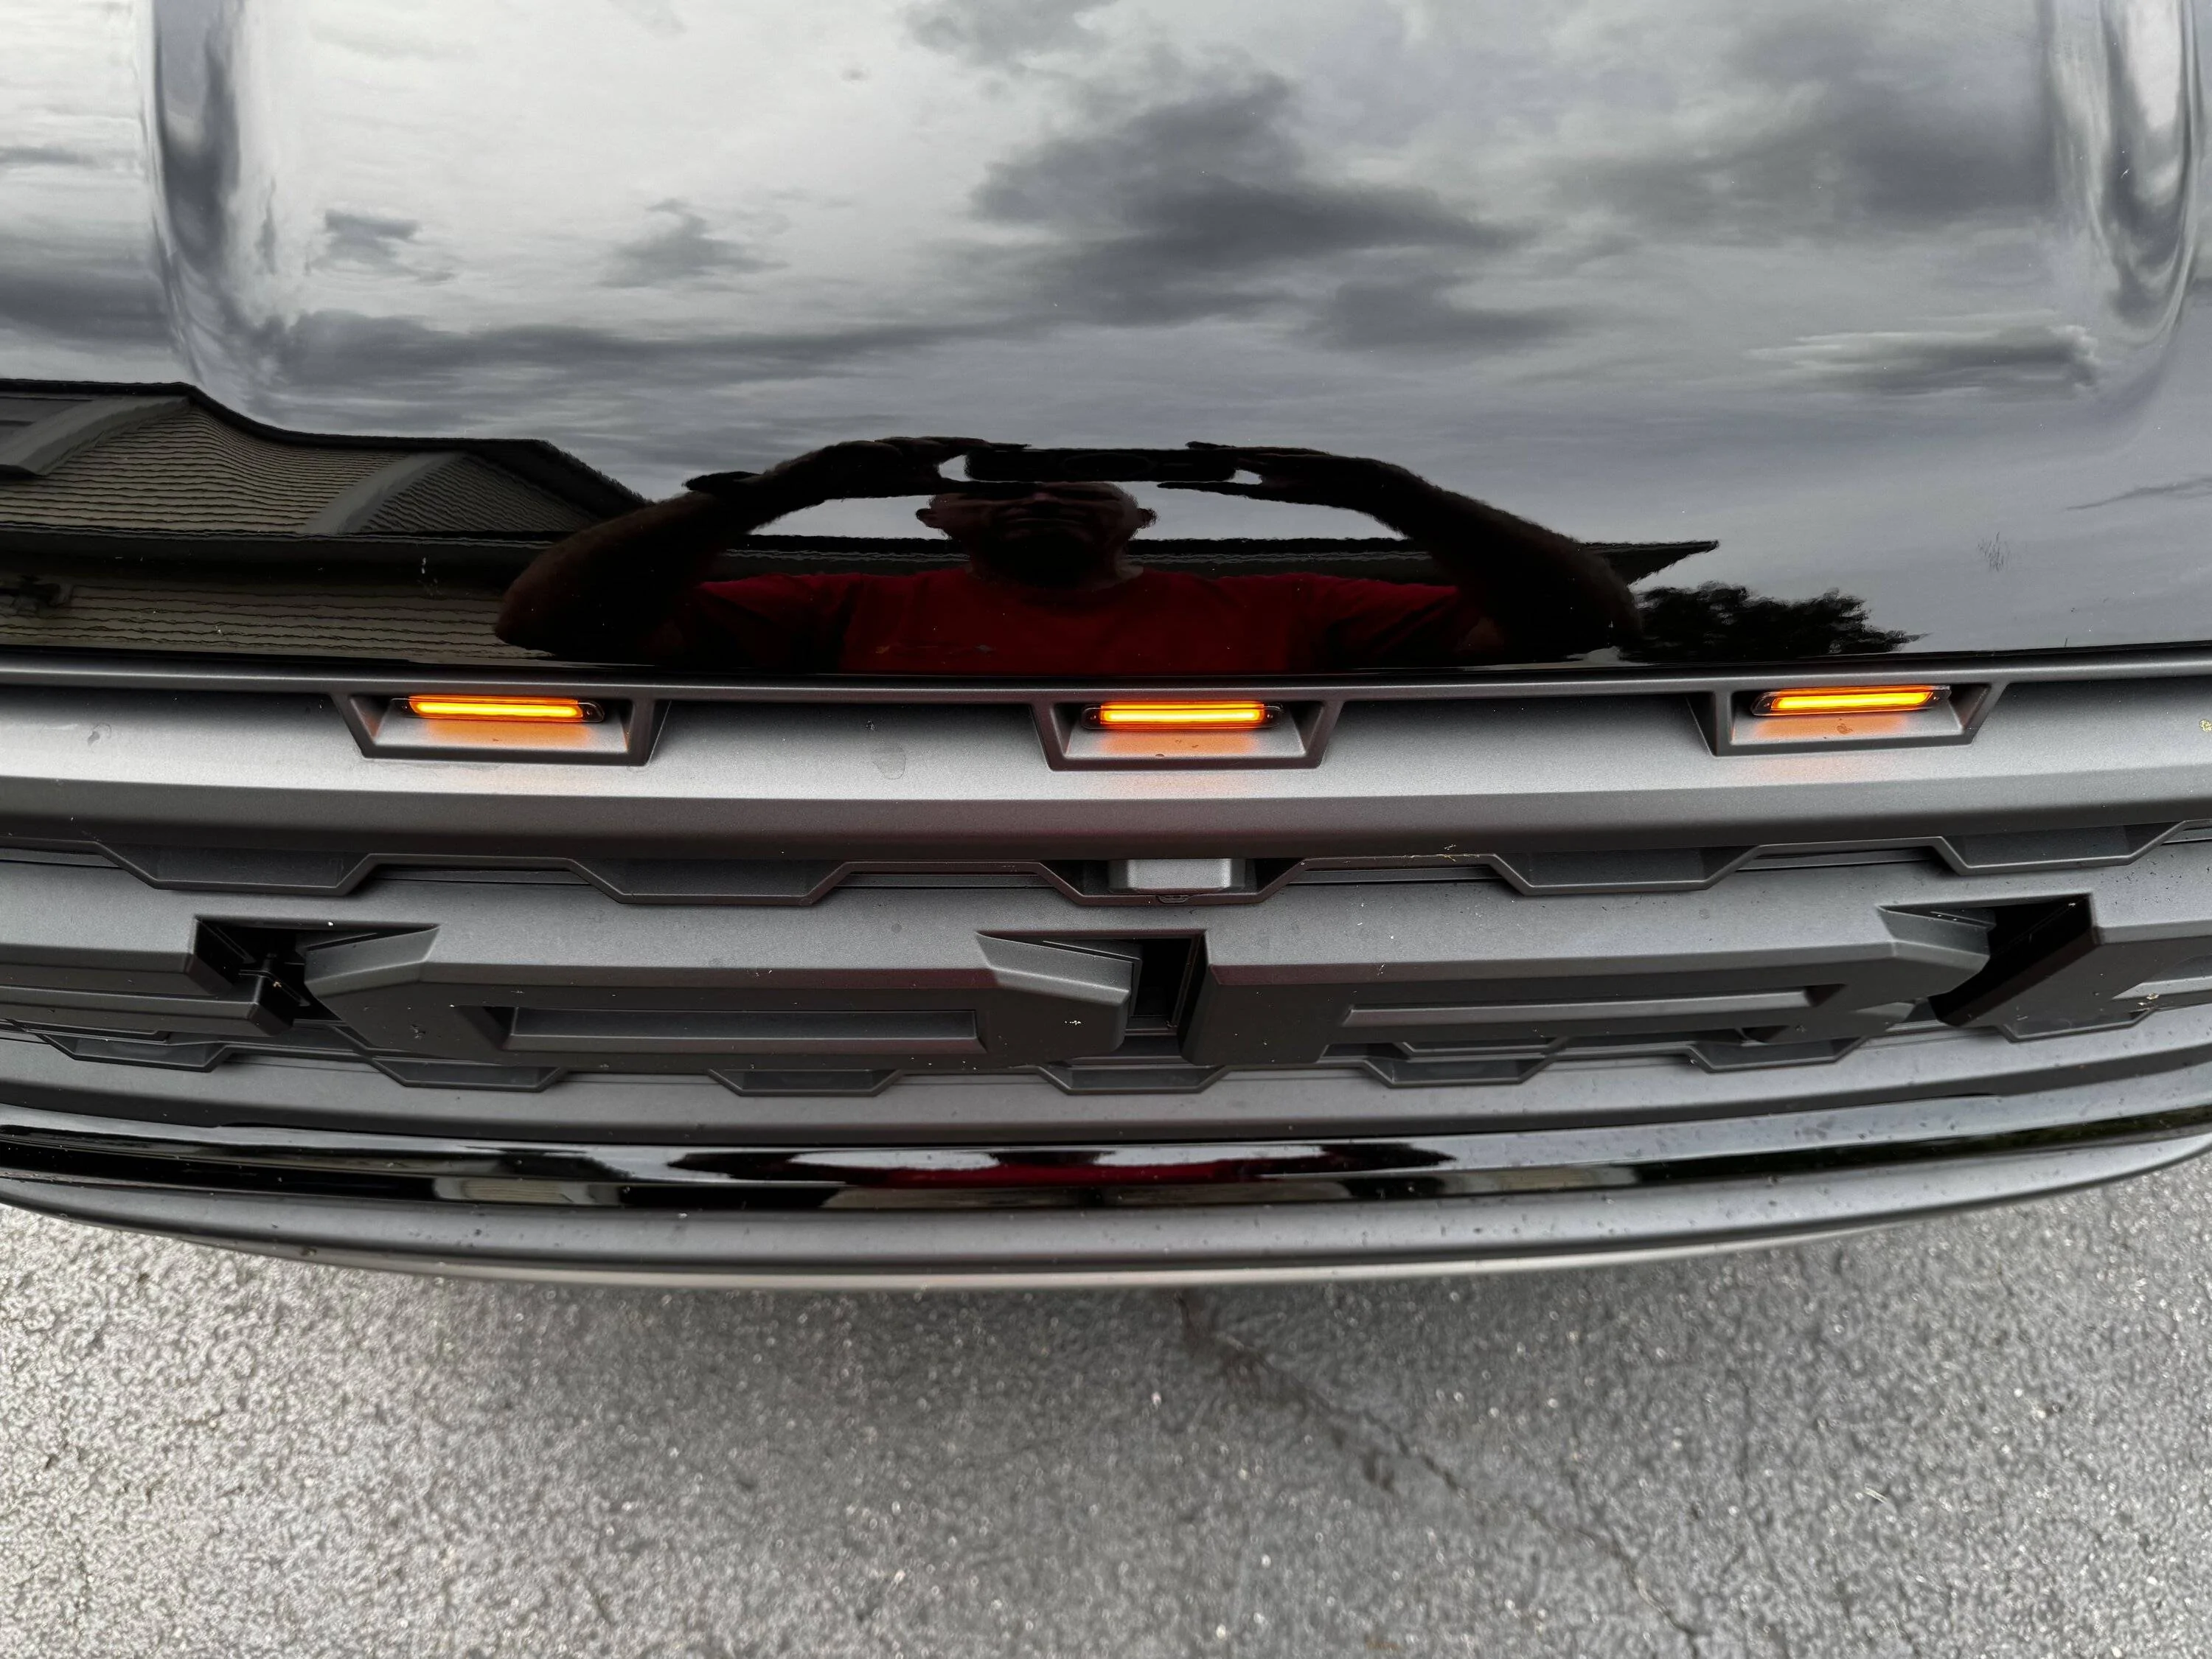
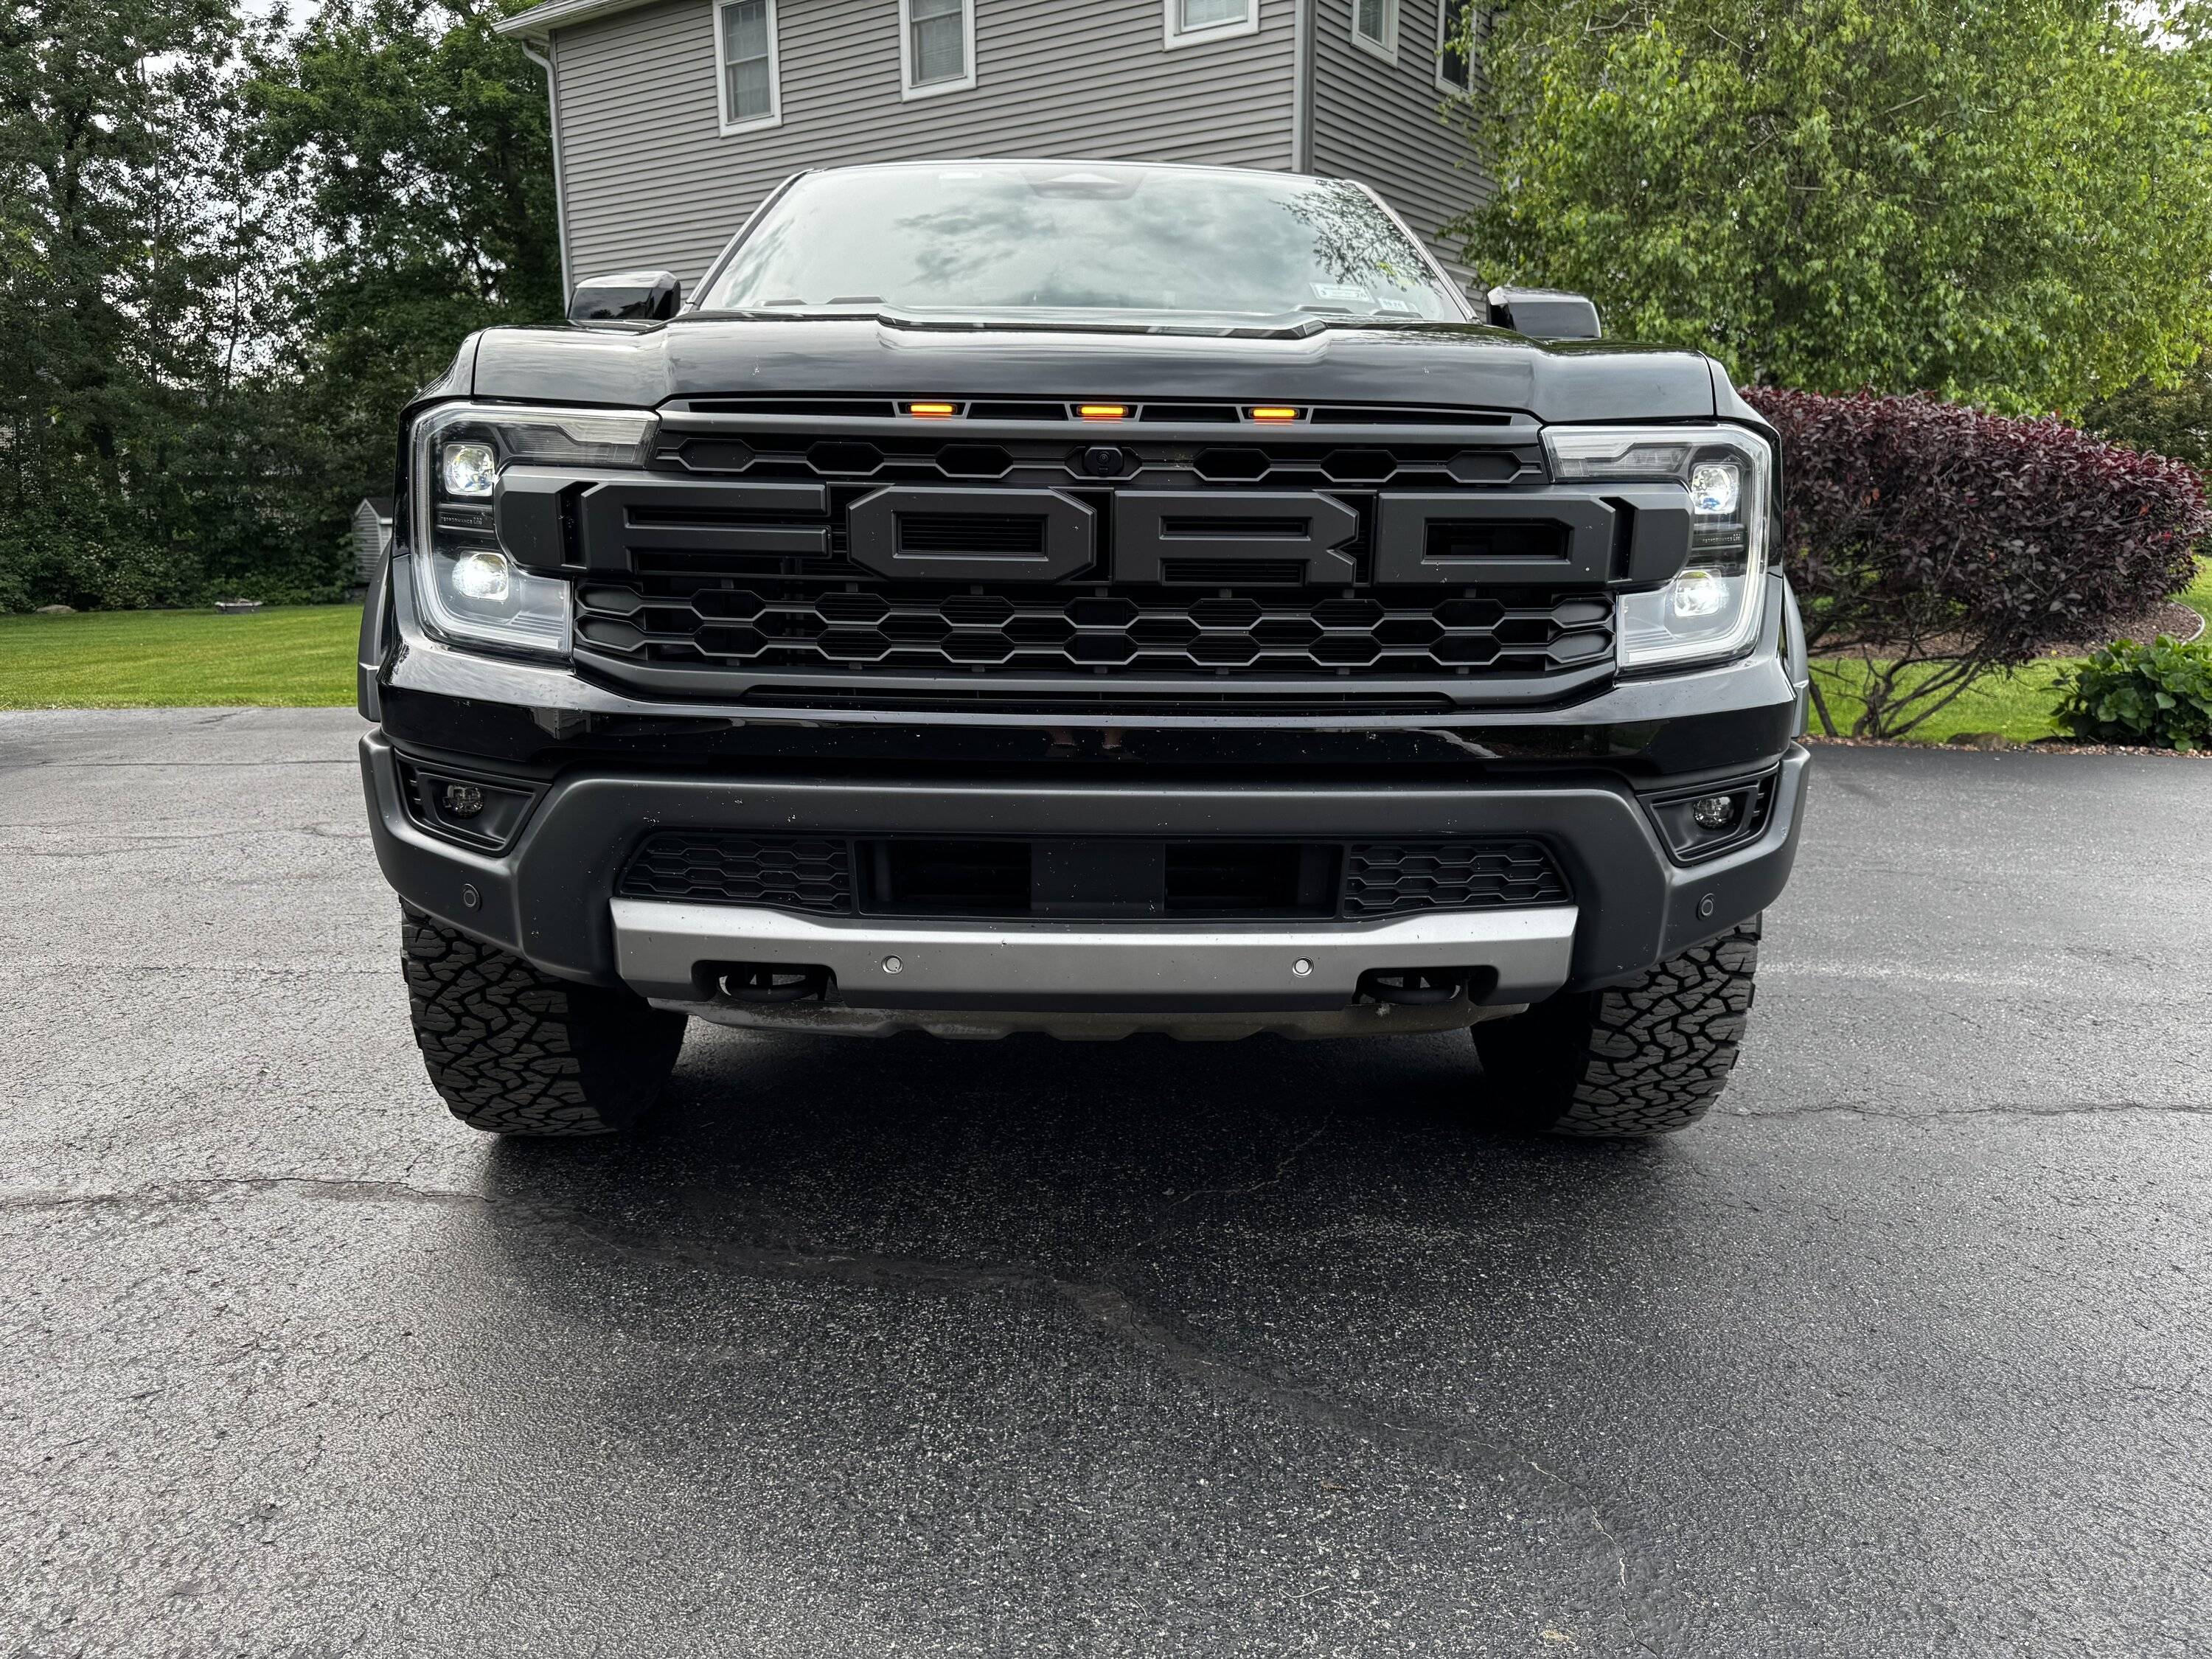
I did a lot of reading before finally purchasing the Gen3 Amber 3-light kit for my 24 RR knowing that I'd have to modify them to fit flush. I thought I'd through in some tips here for others that are wondering what is involved. It's not difficult but did take me about 3 hours. Before I started I did a few measurements of the pockets in the grill and realized that the depth and width of the lights will fit without sanding any material from the back or sides of the lights. However, the lights are too tall for the opening and require material to be removed from the top and bottom. There is a taper to the height of the opening from front to back that is very hard to measure. A 5/16 drill bit is the largest you can use without cutting into the top and bottom of the opening. The middle opening is symmetrical but the outside openings are not. They are less tall towards the outside. I brought my table top belt sander into the garage and just started removing a small amount of material at a time till the fit was perfect. I removed the gel tape before starting and removed equal amounts of material from the top and bottom starting from the rear and tapering toward the front. The taper did not remove any material from the front edge of the light. Now back to the hole in the back of the opening. The connector is larger than 5/16 but it is quite flexible. I ended up using a Dremel with a small carbide cutter to oval the hole wider and that allowed the connector to compress and go through. It's important to makes this big enough because you will need to pass it through the hole and remove it again for each test fit. Otherwise, the cable is in the way when pushing the light into the opening. After all the lights were trimmed and fit into the openings, the rest is quick. I wired the positive into the Aux 1 wire next to the battery and used an existing bolt near the top of the grill for the negative. This left about 5 feet of excess cable that I bundled up and fastened under the top shroud. Here are a few pics. You'll have to excuse the bugs plastering the grill. ?

 l
l


Sponsored
Last edited:
