OP
OP
Msfitoy
Well-Known Member
- First Name
- Sid
- Joined
- Mar 5, 2019
- Threads
- 2
- Messages
- 1,964
- Reaction score
- 917
- Location
- North Carolina
- Vehicle(s)
- 2003 MINI Cooper S Modified
- Occupation
- Big Toy Designer
- Thread starter
- #316
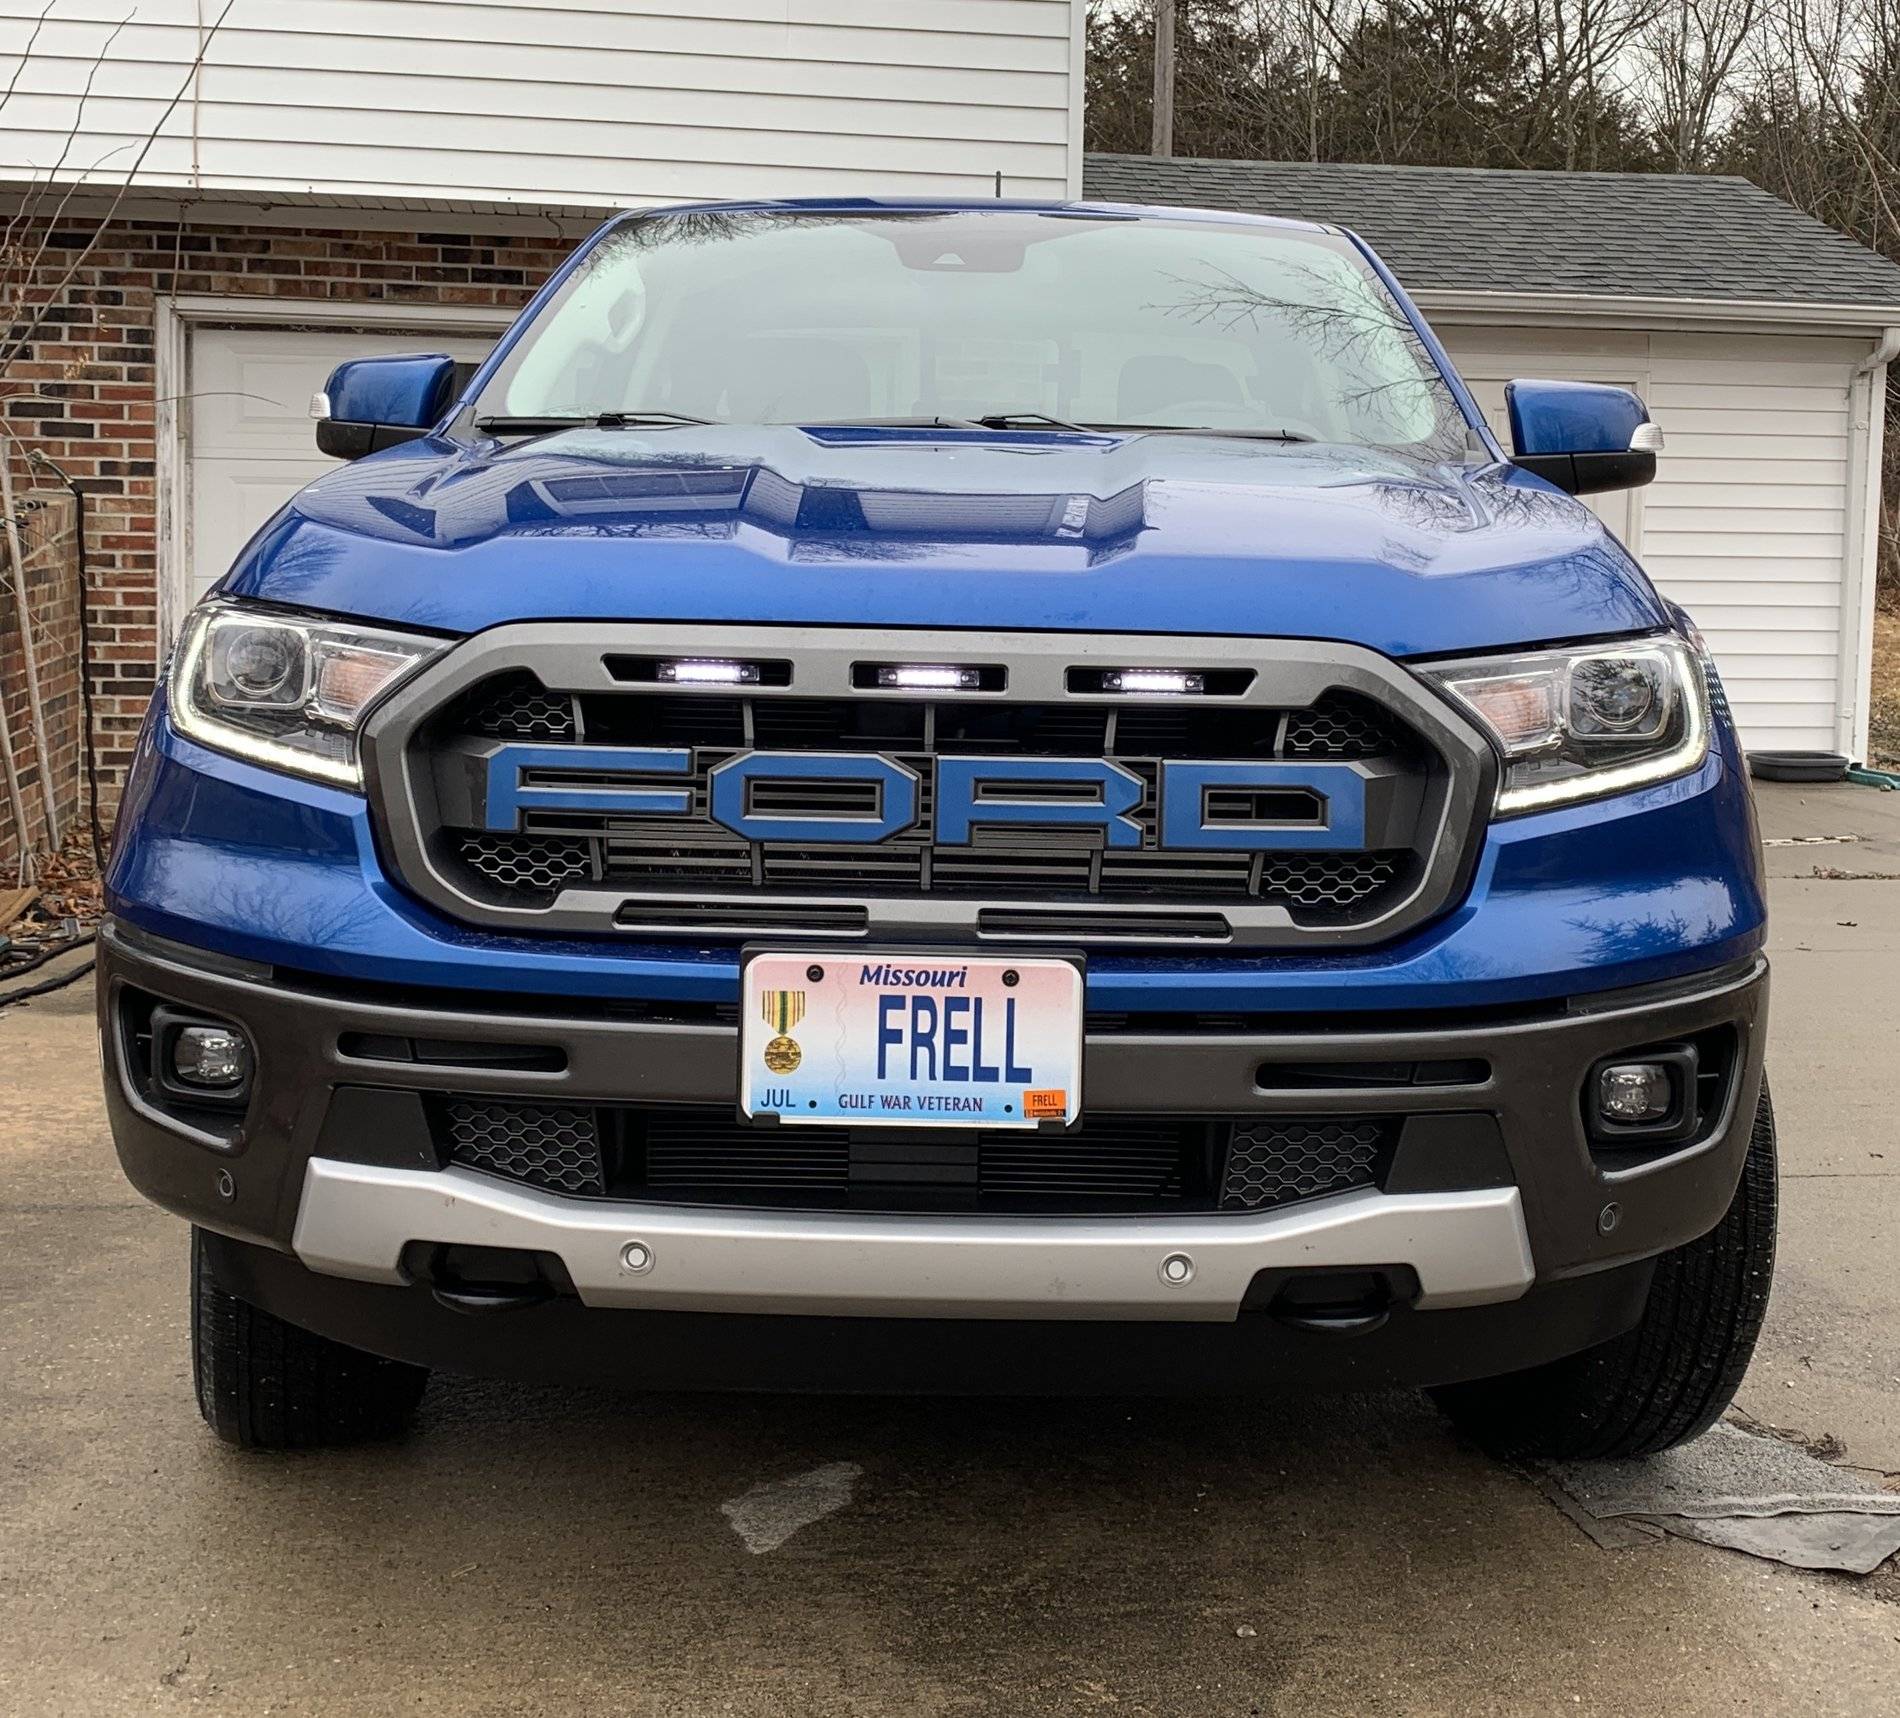
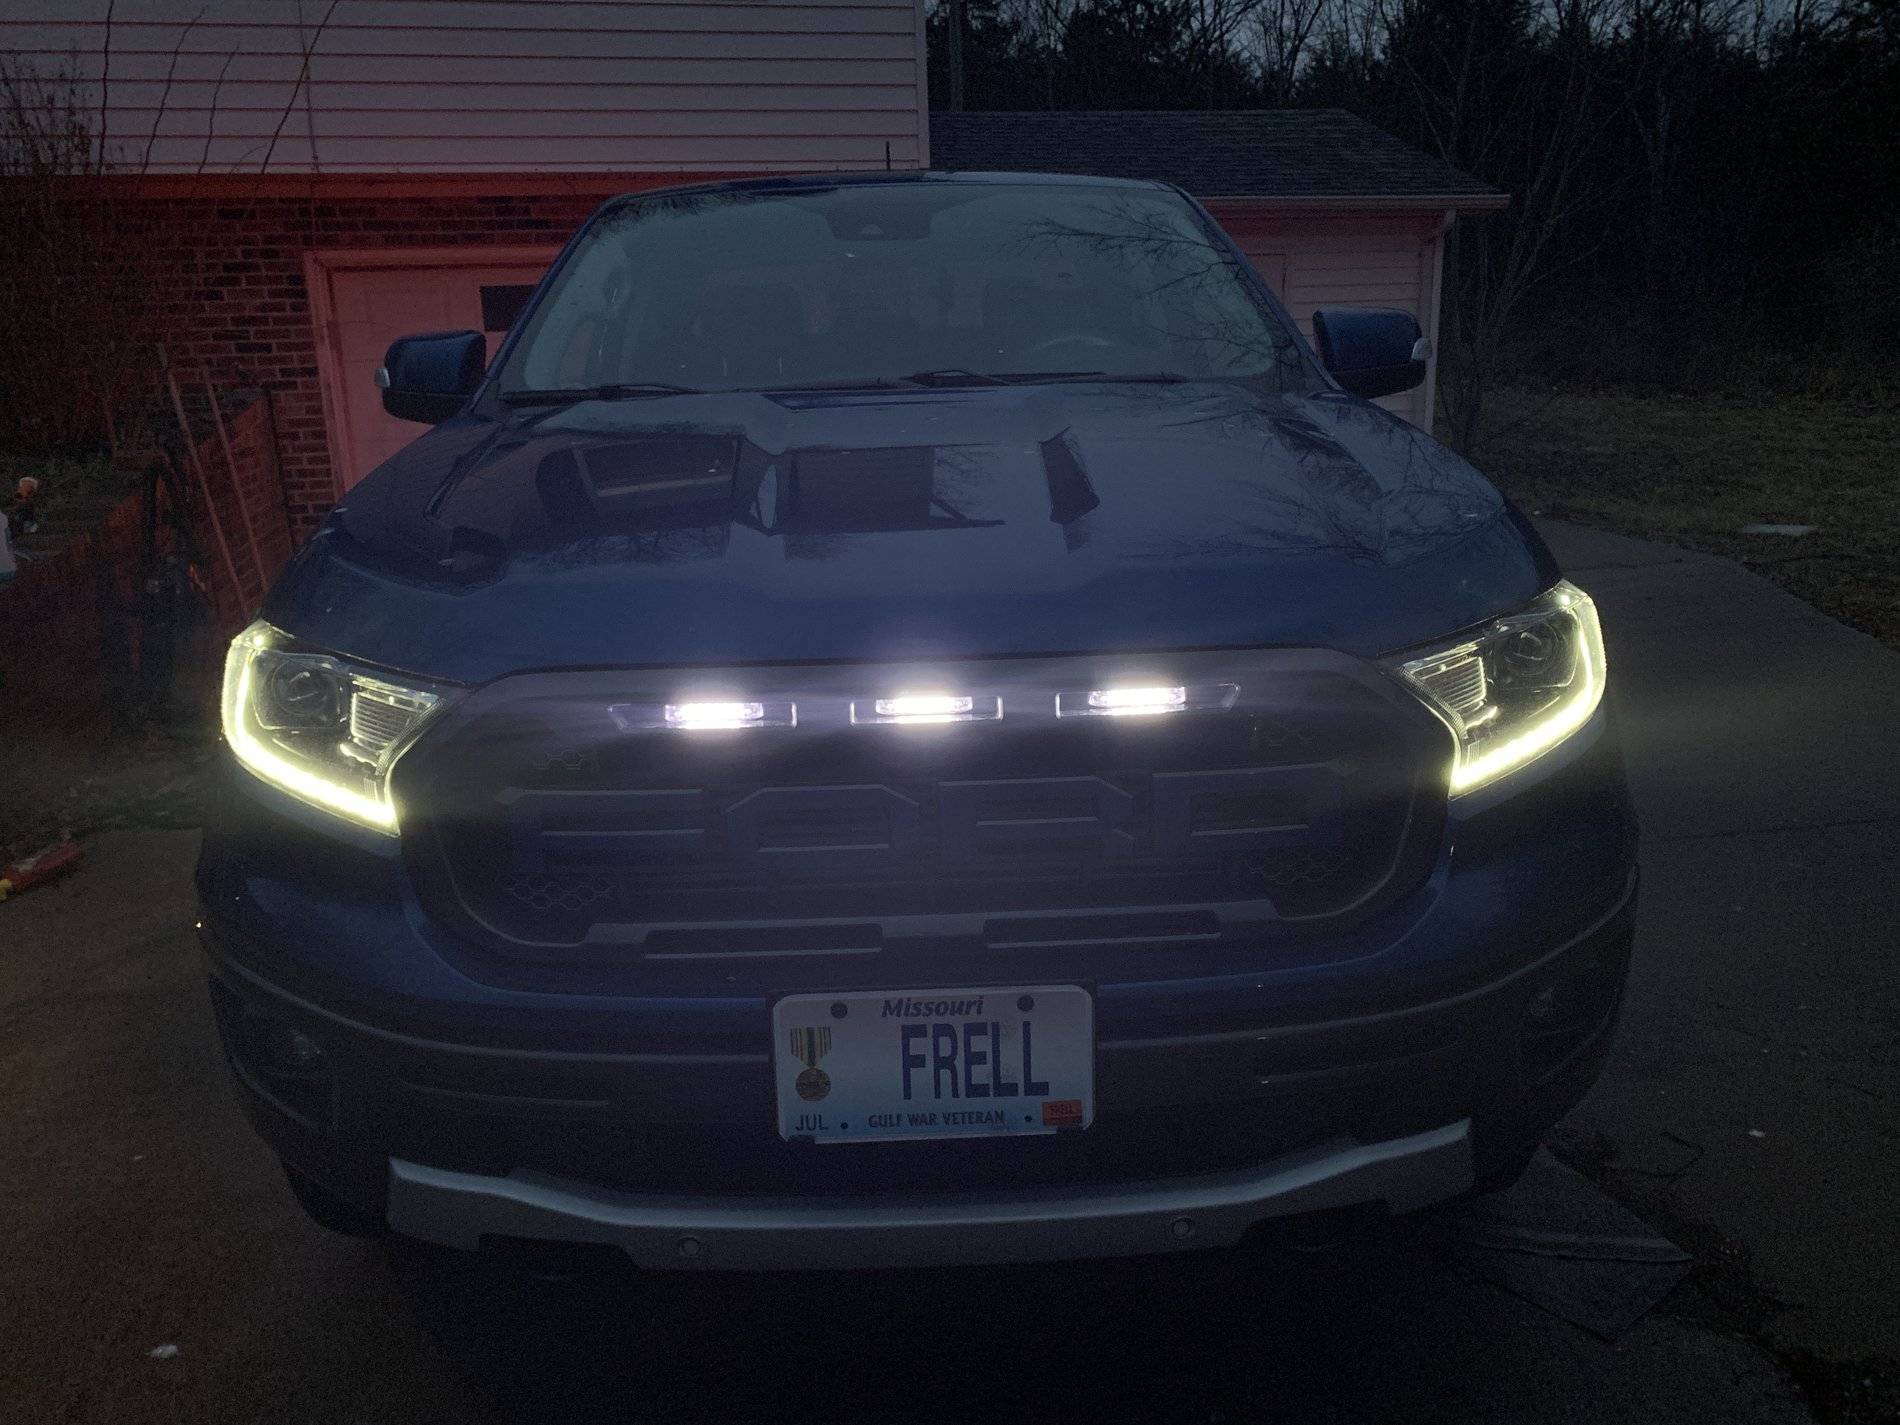
Sure...it's simple...three wire coming out of the unit...red, black, yellow...red goes to positive battery terminal, black goes to negative and yellow is optional...if you aren't afraid of random RF turning on your lights, then connect this to red for always powered...if you like to have the unit armed only when another circuit is on like in my case the marker lights, then connect the yellow to the hot lead of the marker lamp...for that info, please dig back through my project for the wiring process of the DIY Raptor lightsCan you share more info on how you wired up the Trigger? A relay for vehicle power would be good for this I think, but I'm curious what you did about this.
")
Sponsored