
Geotoxic
Well-Known Member
- Joined
- Dec 8, 2021
- Threads
- 10
- Messages
- 107
- Reaction score
- 187
- Location
- California
- Vehicle(s)
- 2024 Ranger Raptor
- Thread starter
- #1
Recently just won a Wolfbox G900Pro via a contest on here and thought I'd write an installation process and review for the Ranger Raptor. I guess the base model ranger has a different rear view mirror so the OE install would not apply, but running the rear camera should still be the same.
I looked through several posts from others but haven't seen one that shows how it is installed from beginning to end so I figured I'd write one too.
Without further ado, let's get started.
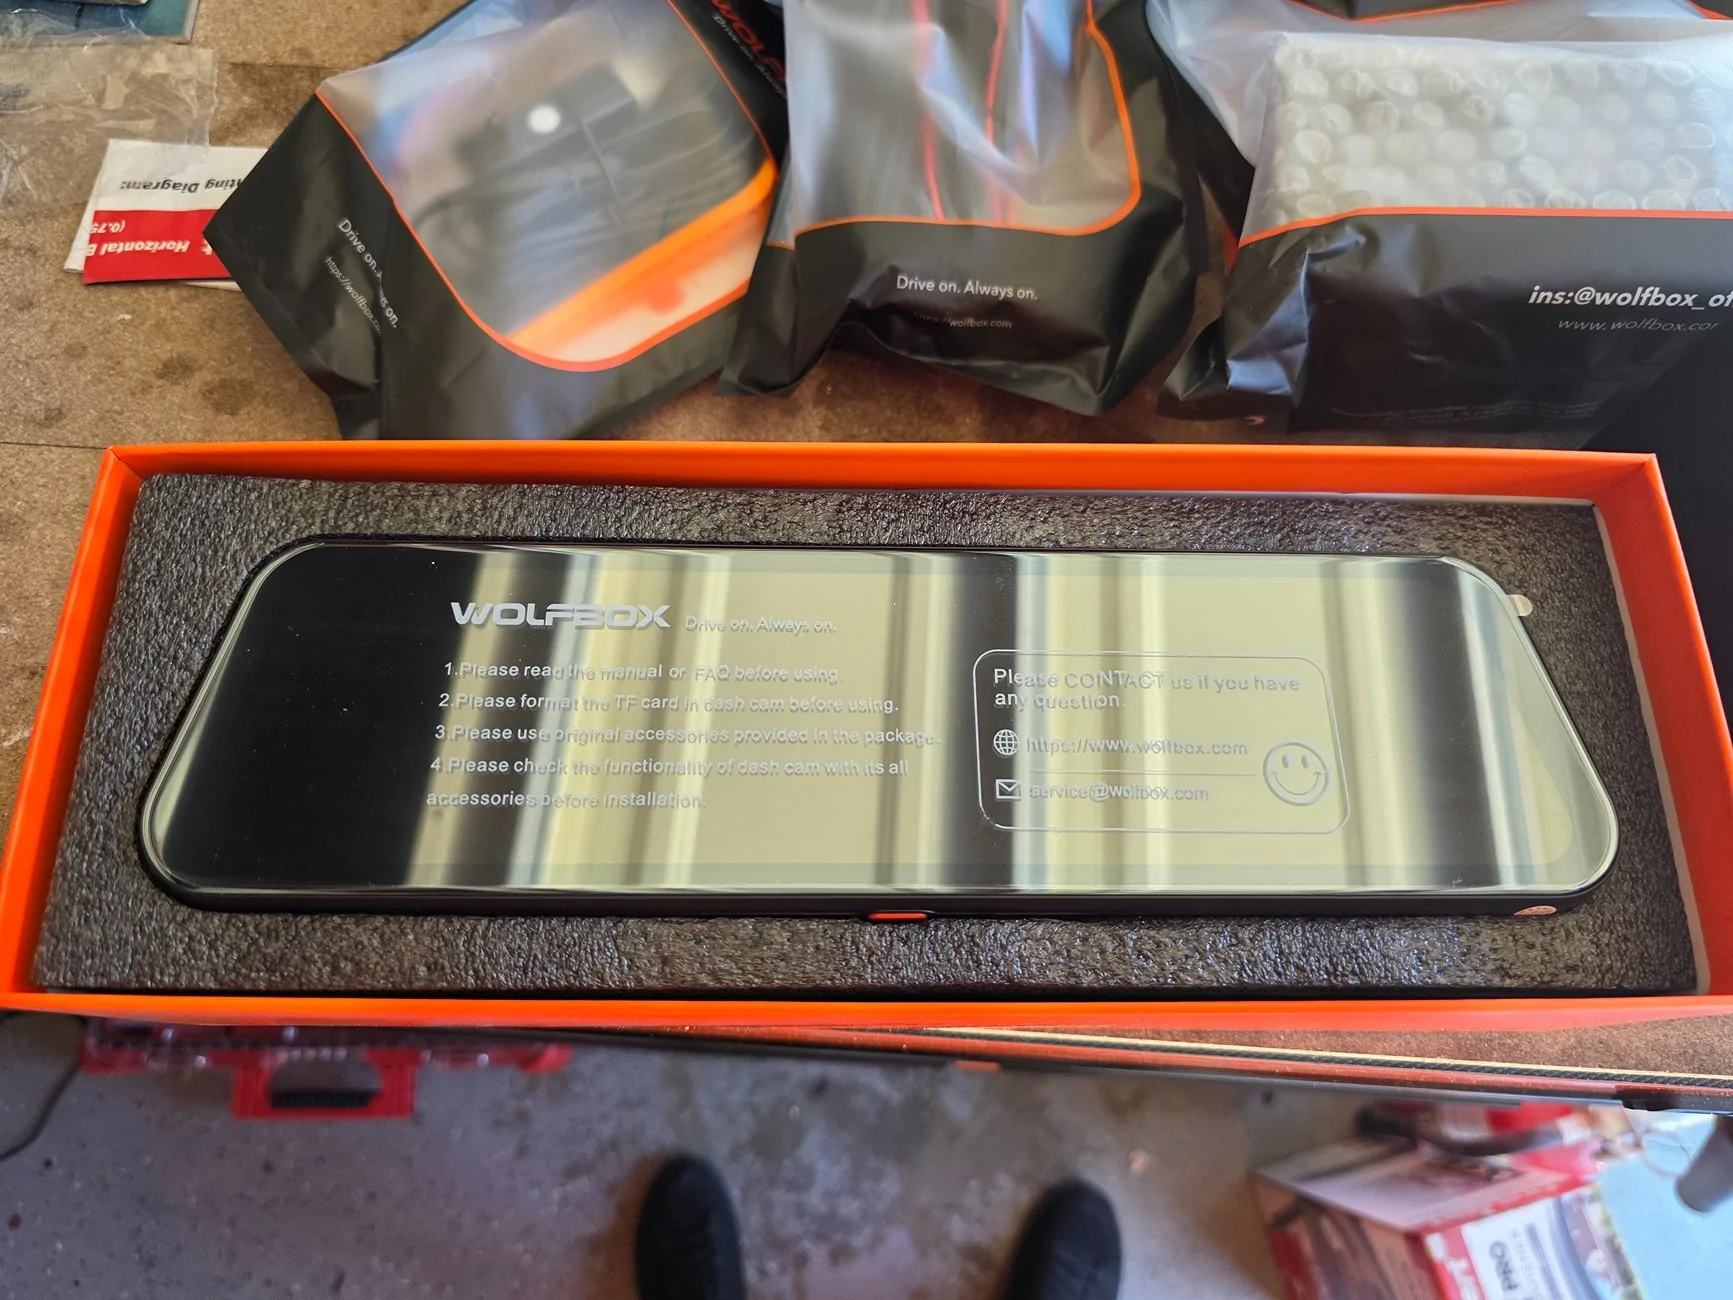
The Wolfbox came neatly packaged to prevent damage. Everything was individually packaged so it was easy to lay it all out and see what I needed to do.

There are several options to power the Wolfbox via a USB-C. My go do method would have been the OBD Port Hardwire Kit had I not want to replace the entire OEM mirror. The Hardwire kit would have been better than the cigarette lighter option in my opinion because it will plug in out of sight and doesn't use up the 12v plug.
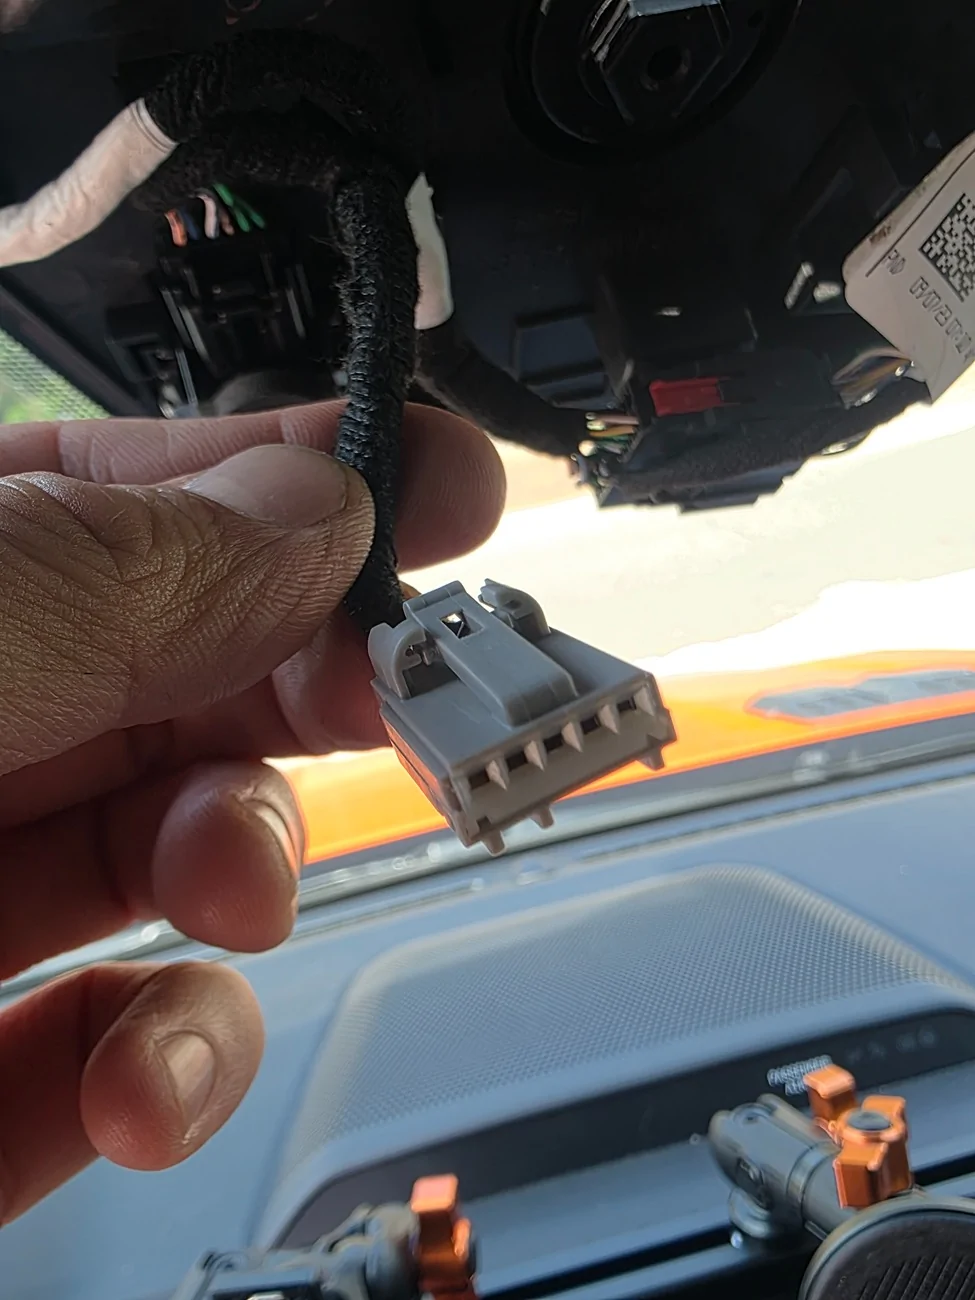
I started by remove the plastic casing behind the rear view mirror. It pulls right off without any tools.
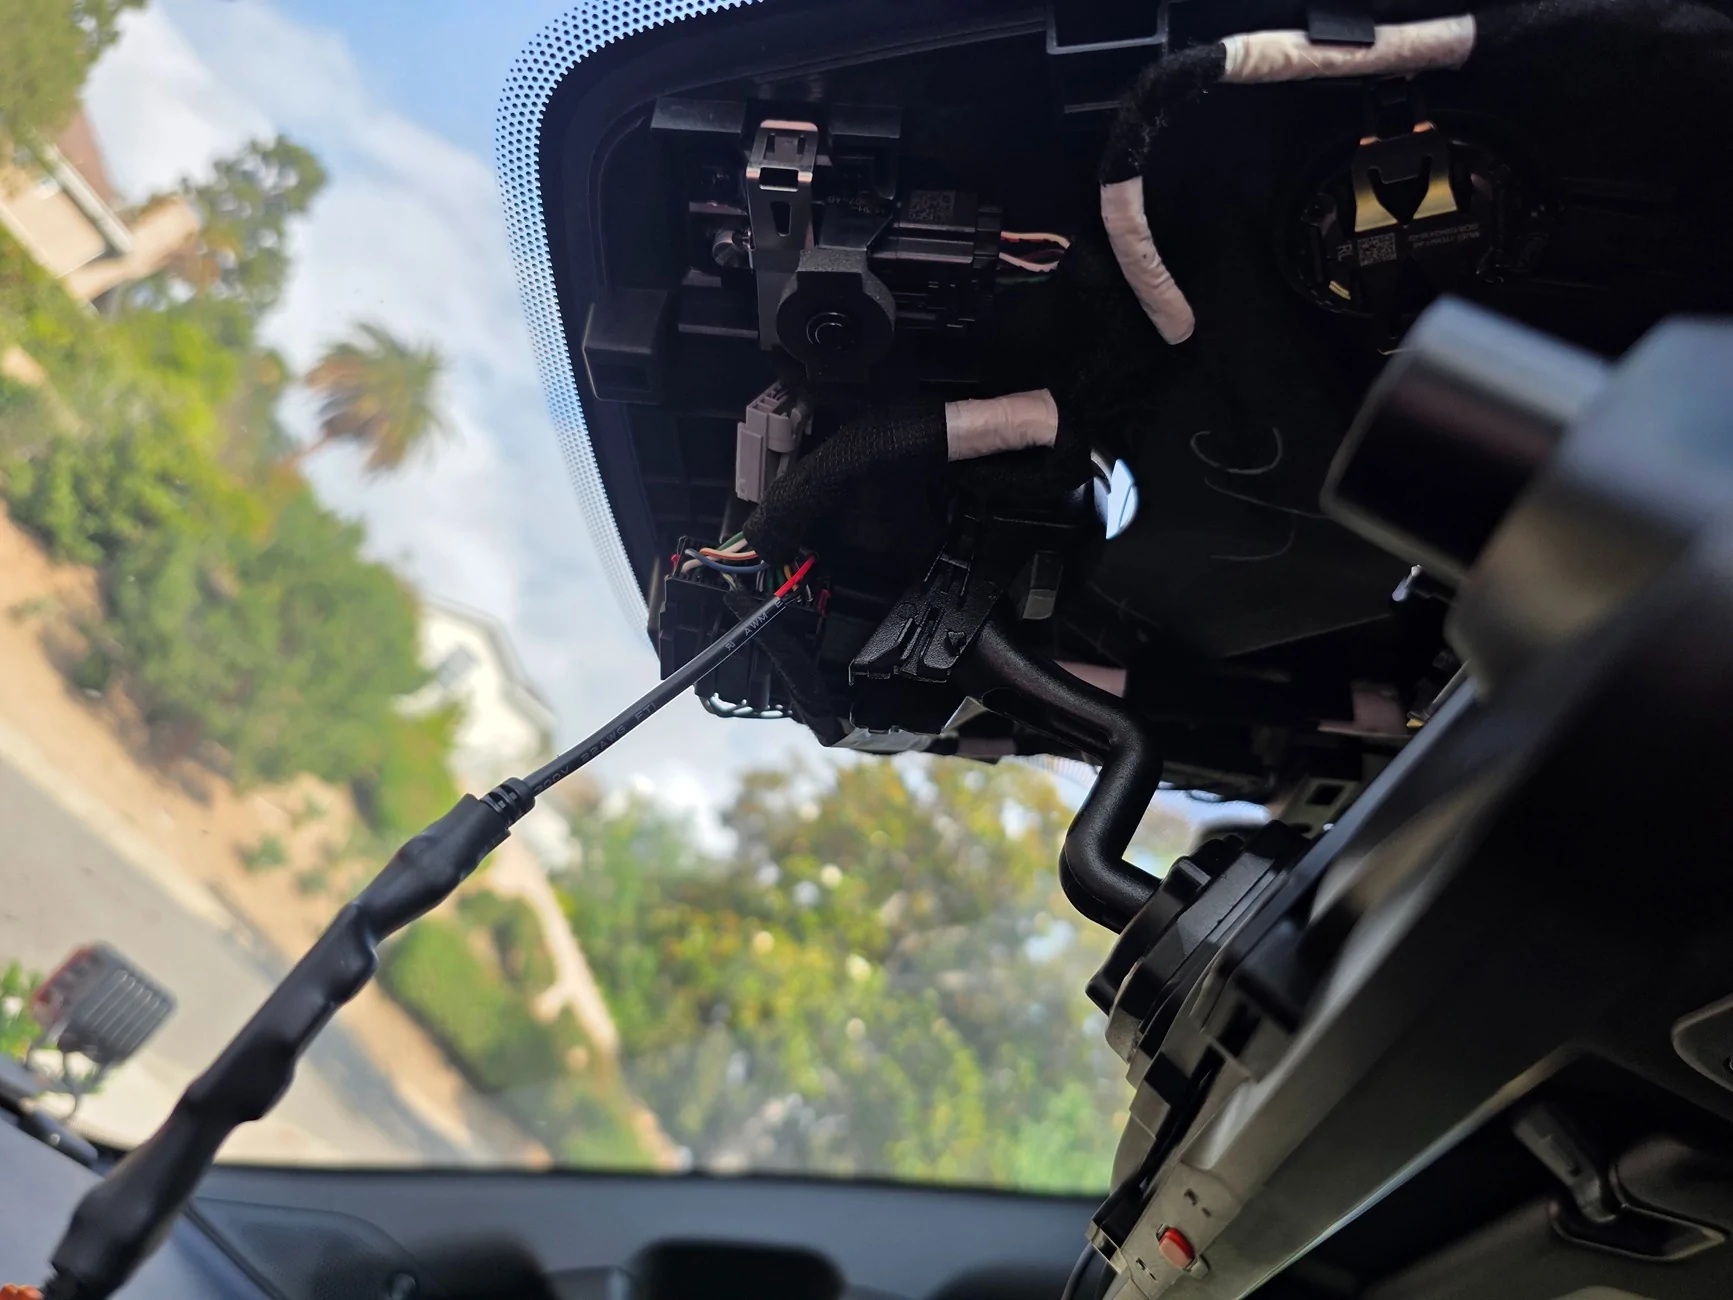
Since I planned on replacing the entire OEM mirror, I used an old mirror tap I had to plug in to the OEM 5 pin plug connected to the OEM Mirror.

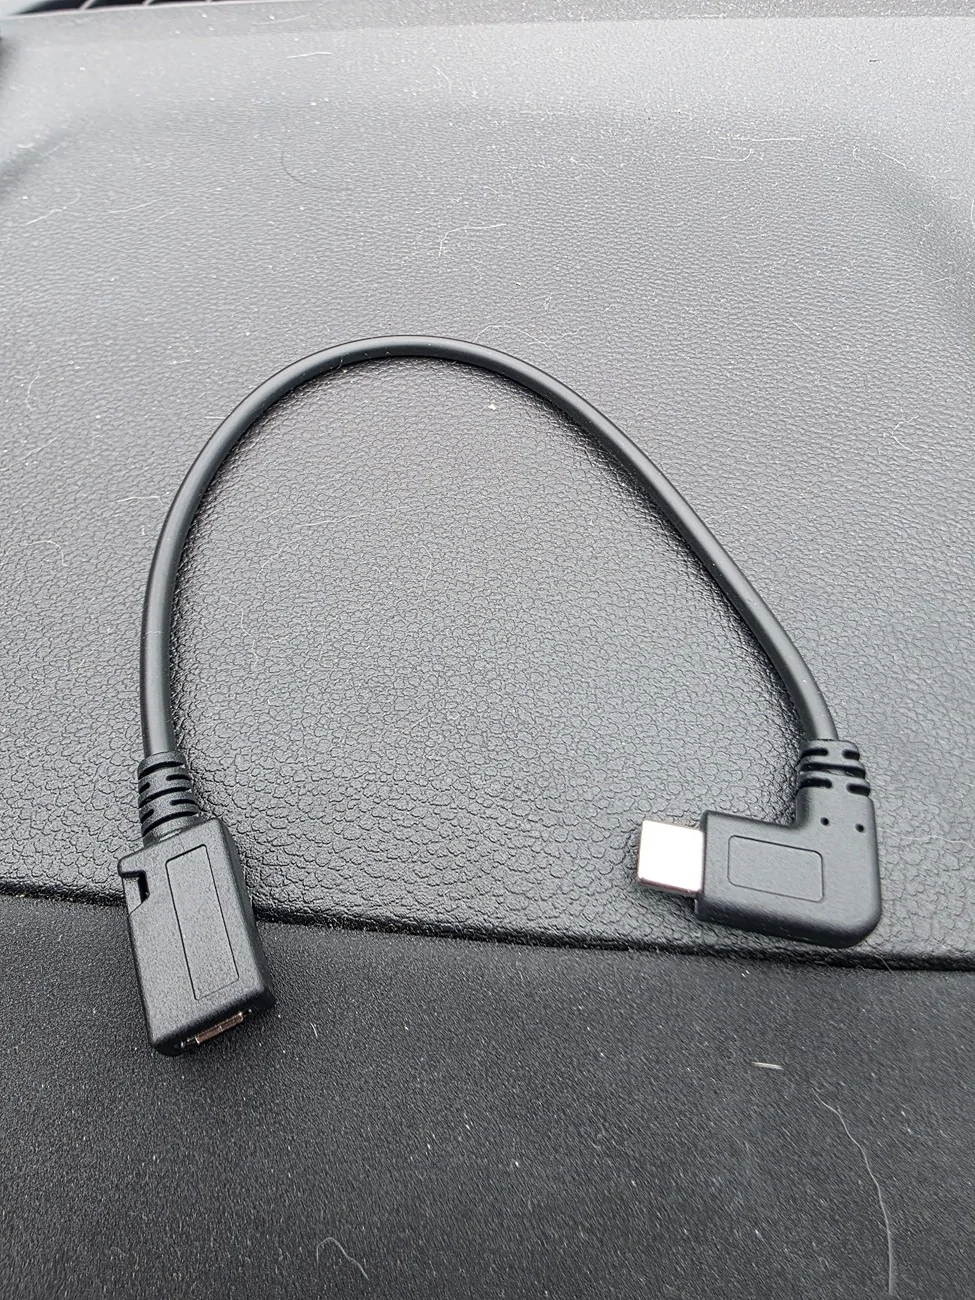
Unfortunately, My mirror tap is a Micro USB so I had to get an adapter.
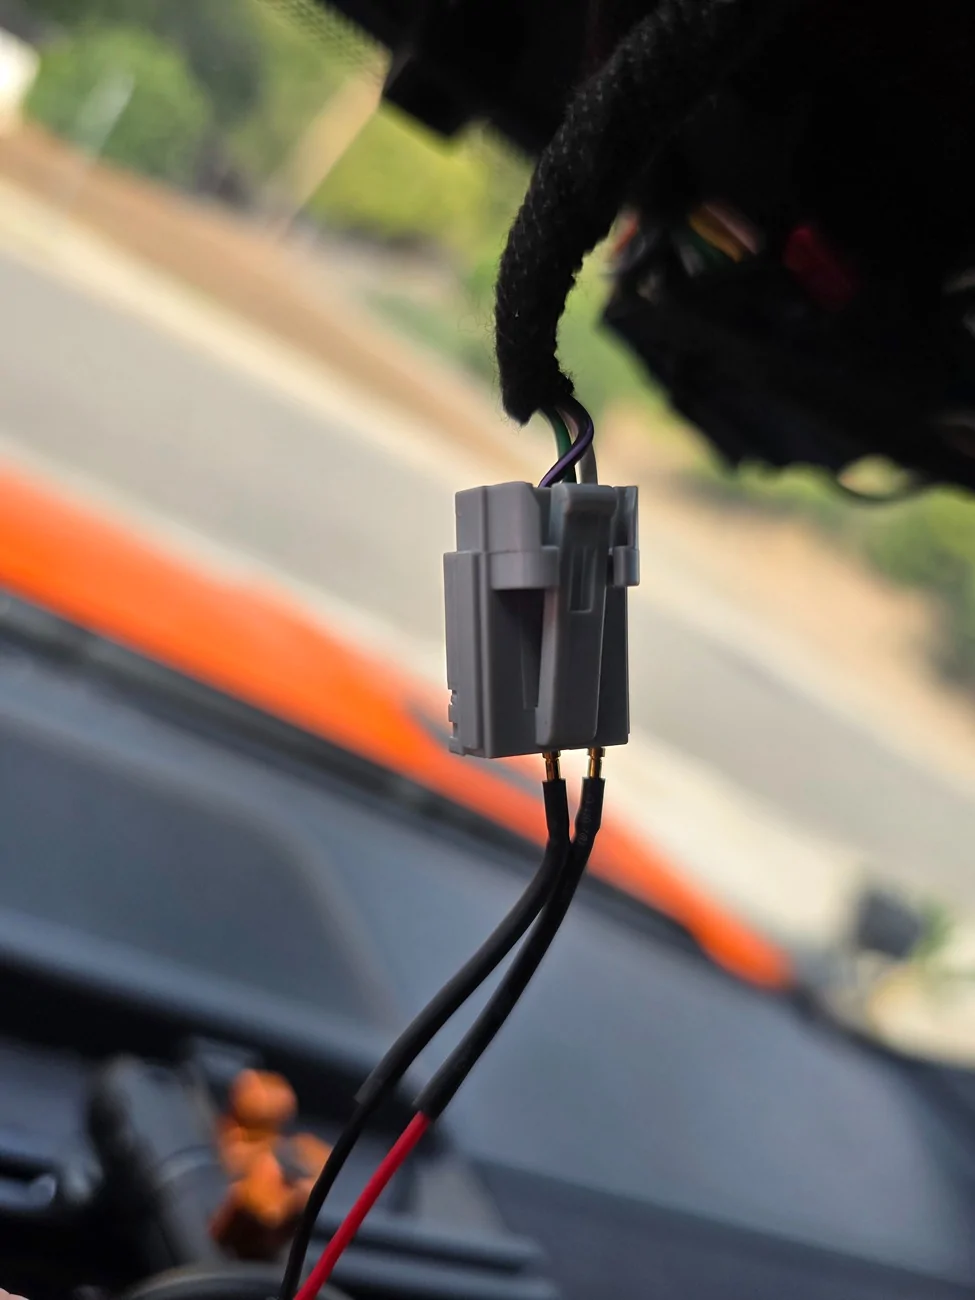
If you're using a mirror tap, 12v power (red) will connect to the white wire, and ground (black) will connected to the black & purple wire.
If you're not replacing the OEM Mirror, you can still mirror tap these wires by inserting the pins from the same side as the source wires.
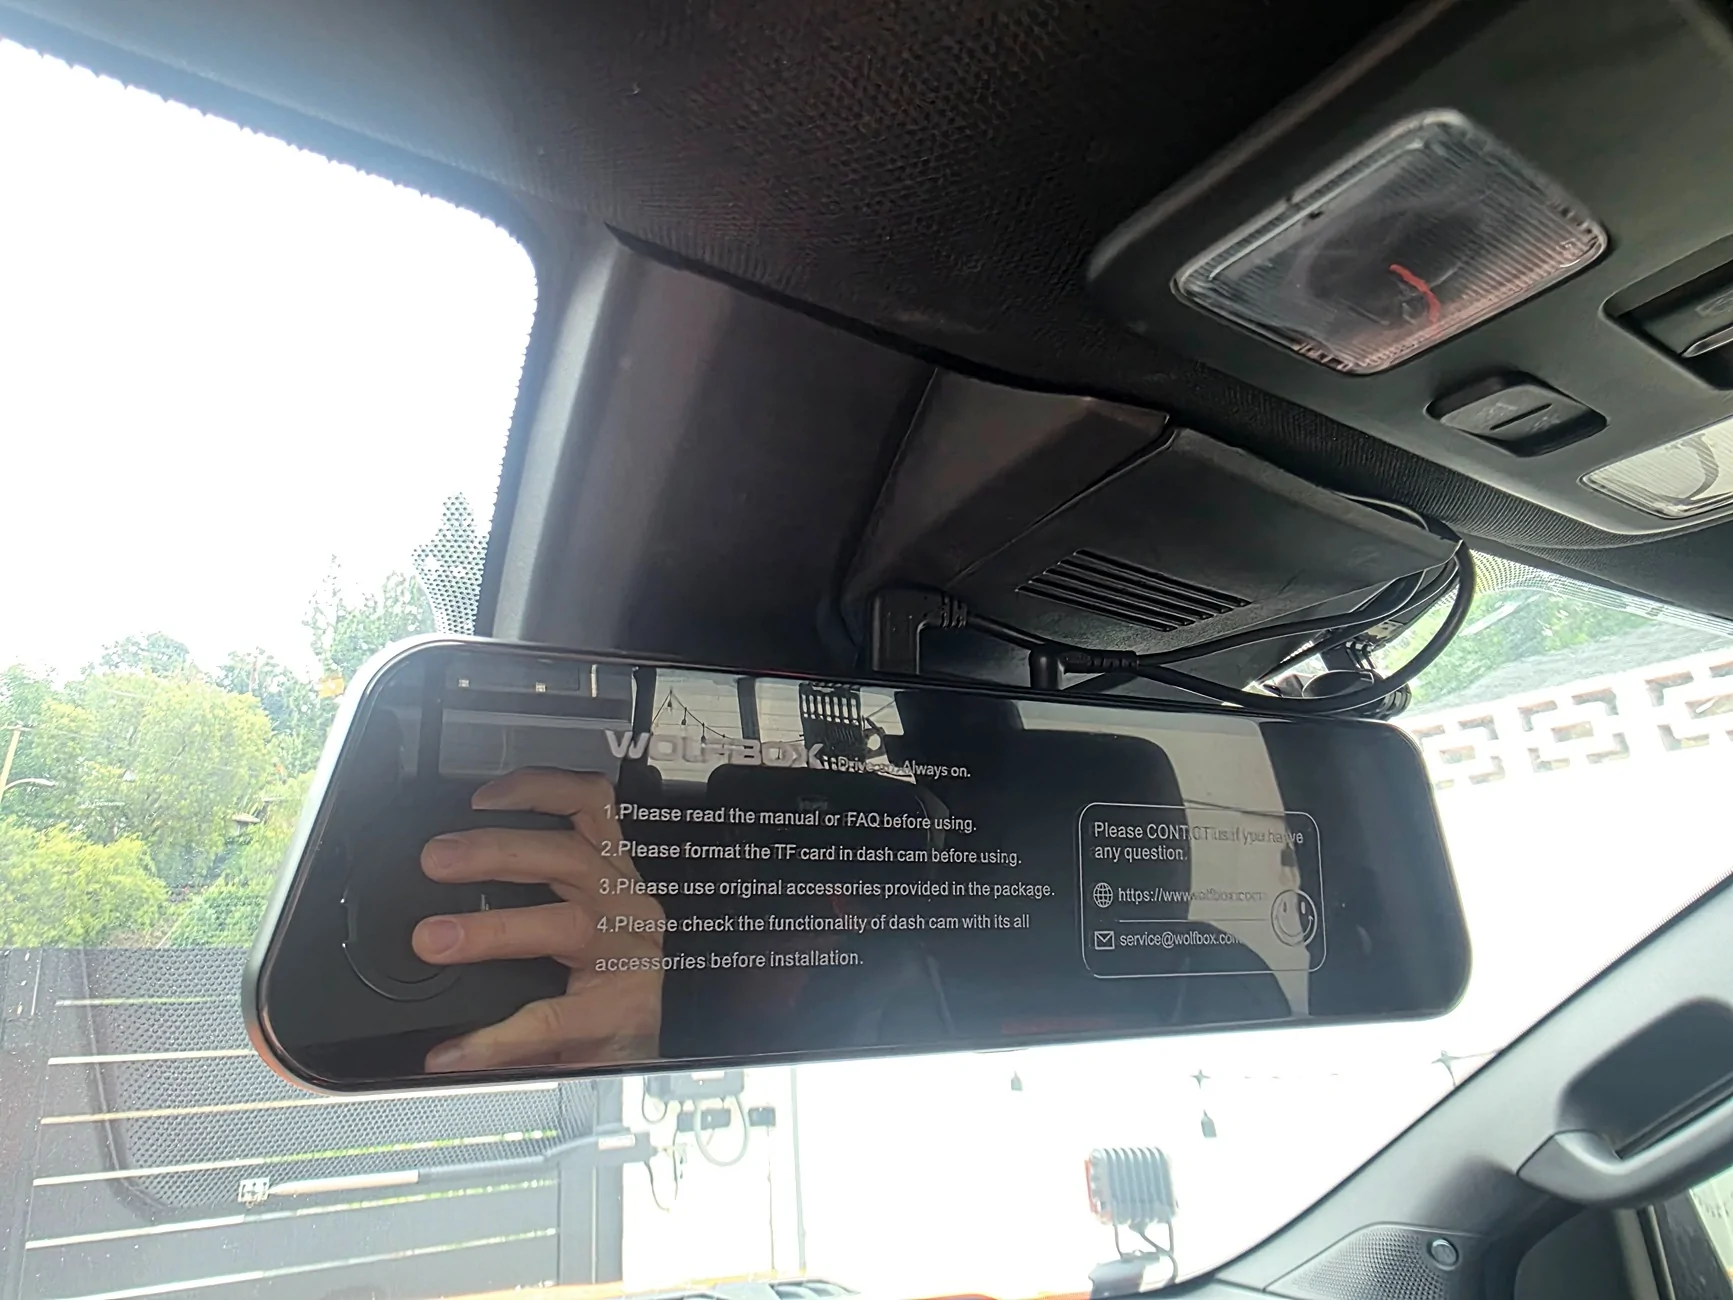
I used the provided rubber straps to install the Wolfbox right over the OEM mirror. It was a bit bulky for my liking but it is definitely easy to do.
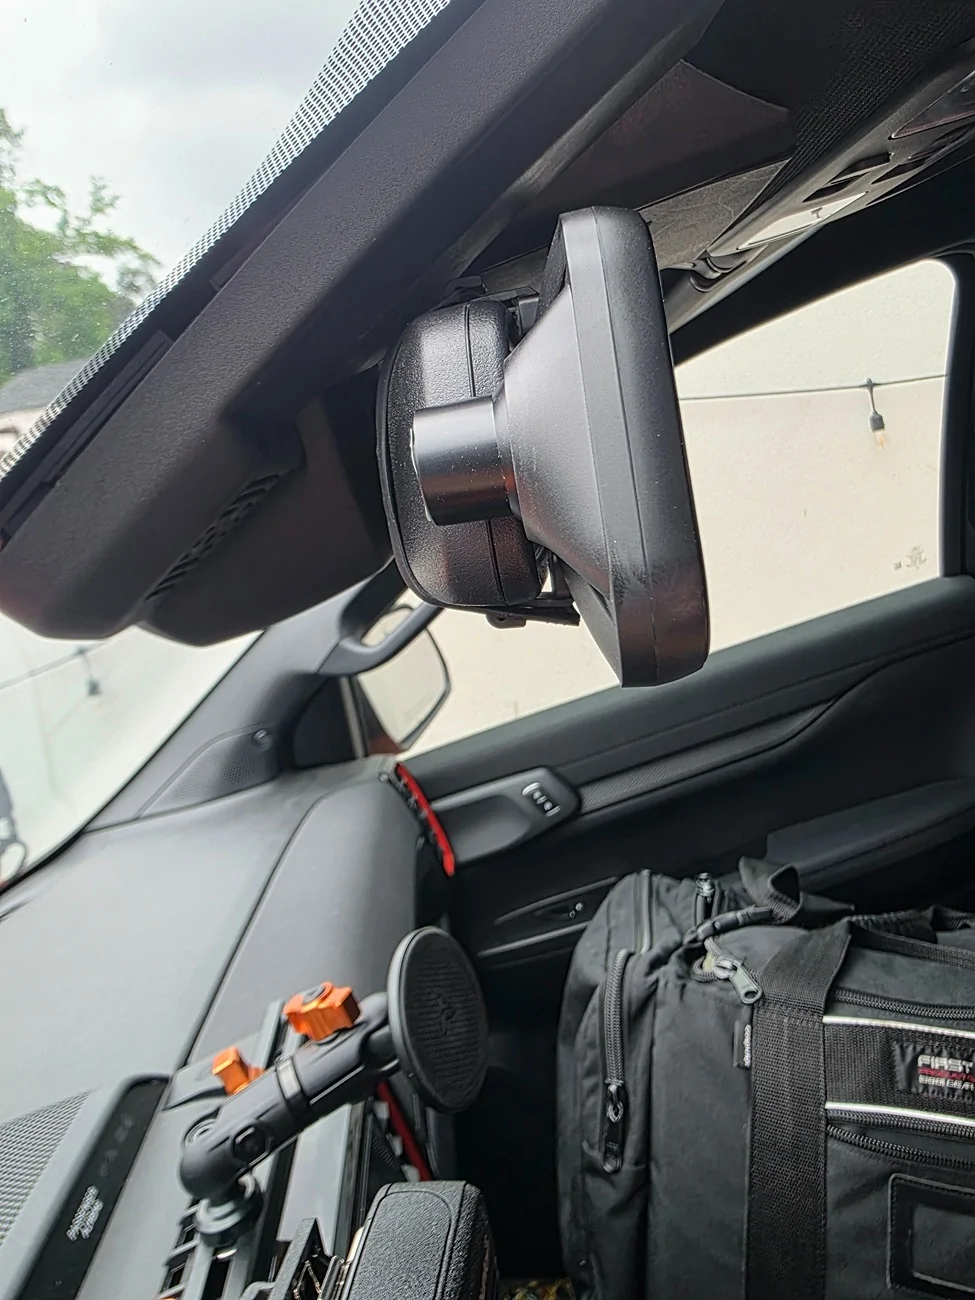
Here is a side view.
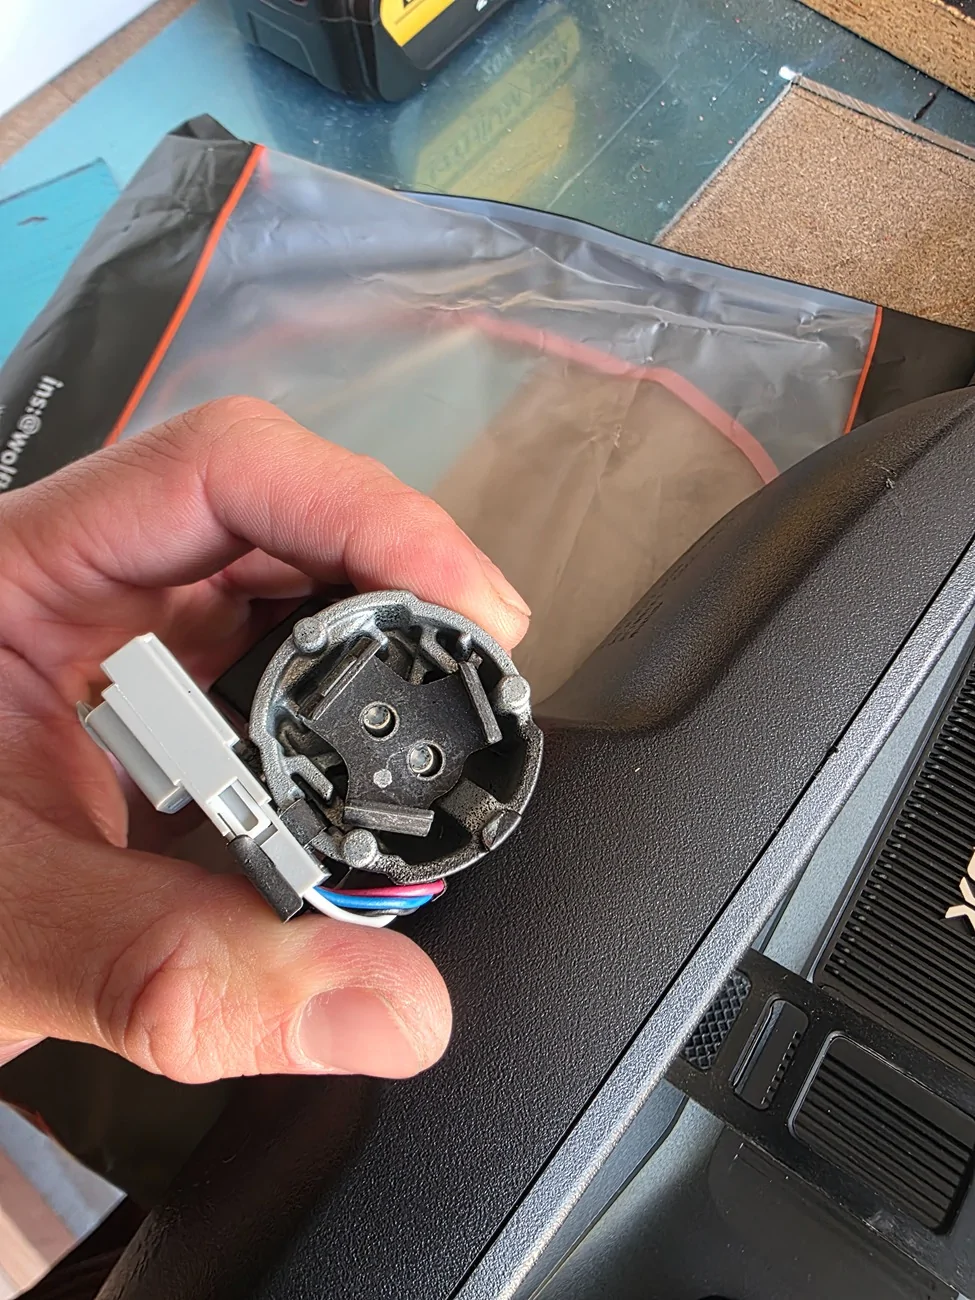
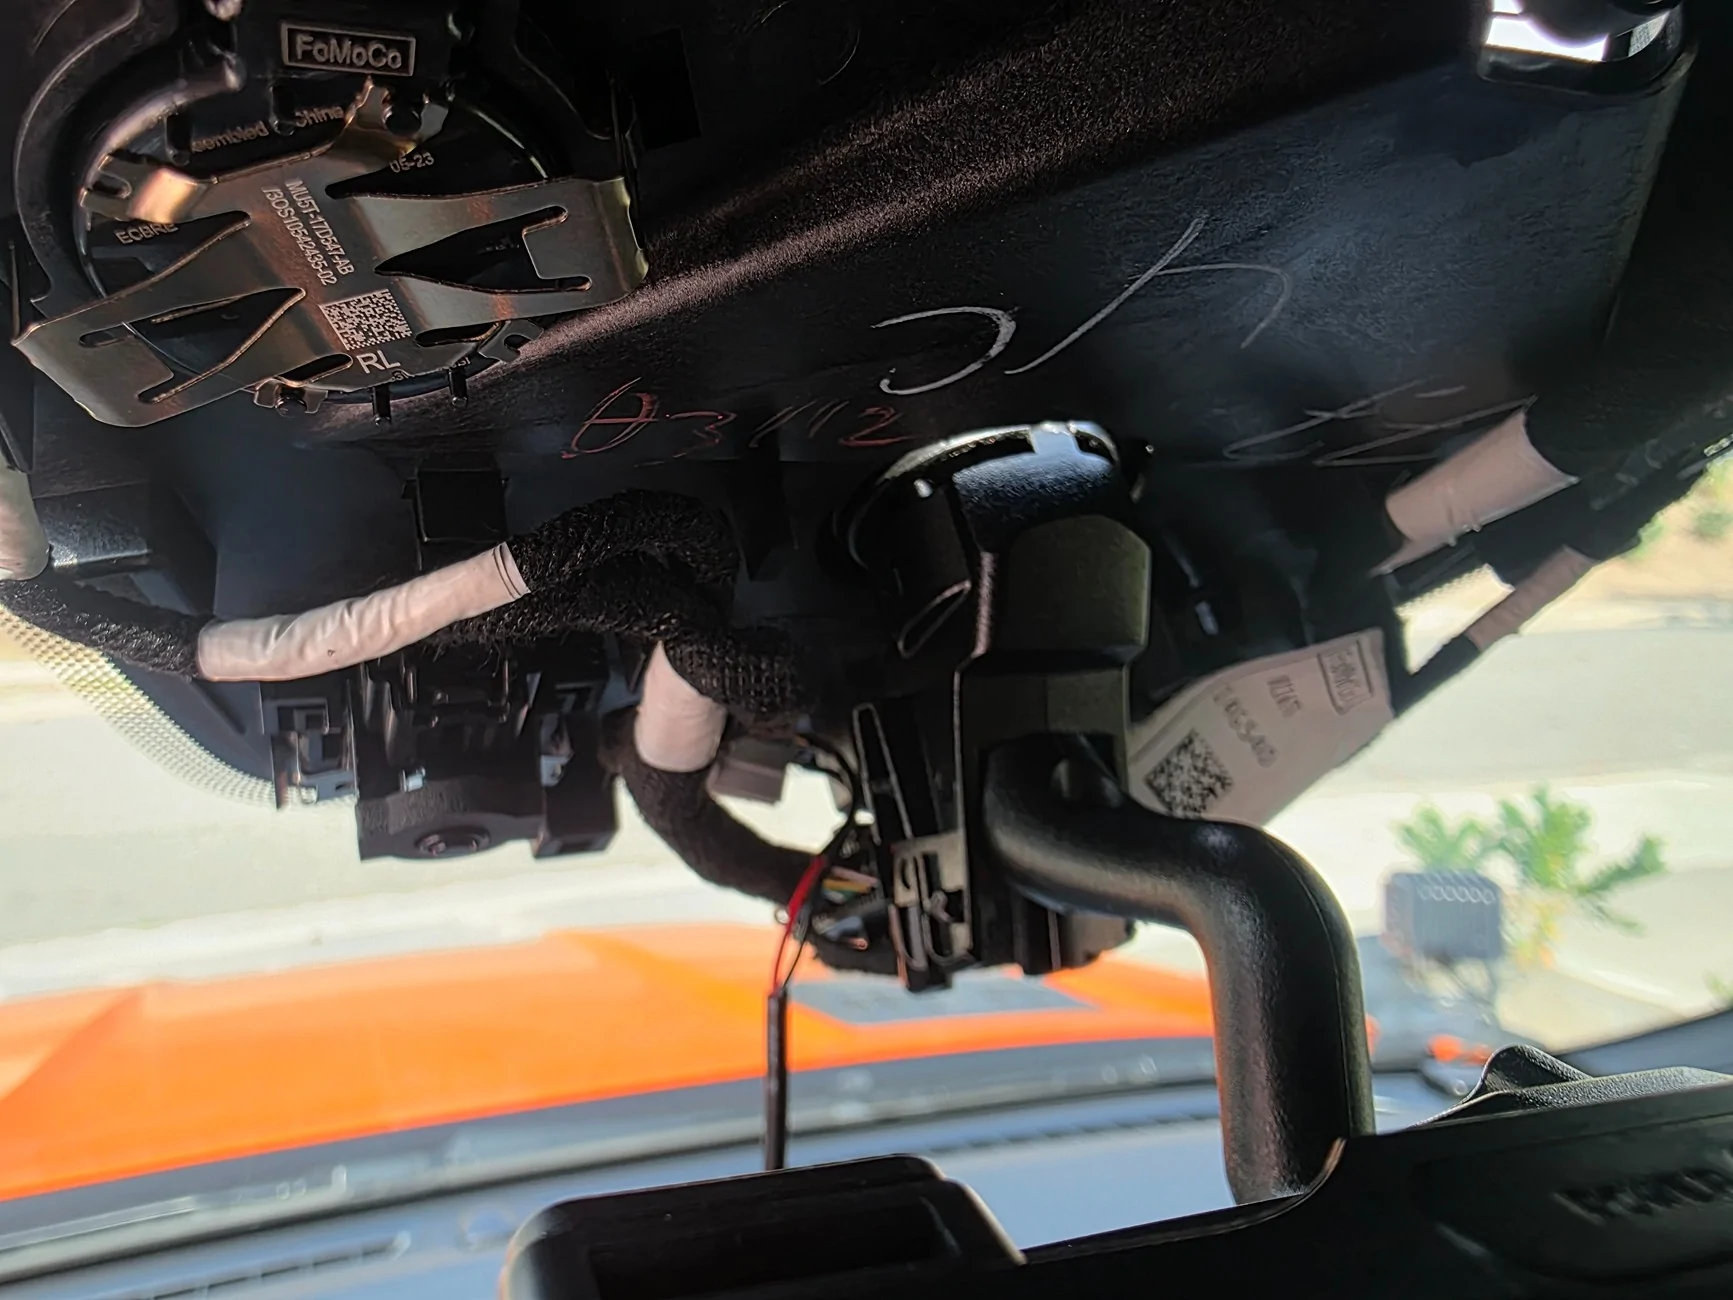
Once you remove the OEM plastic cover behind the rear view mirror and disconnect the plug, the OEM mirror just twists off pretty easily. You kind of have to twist and pull at the same time.
This is what the OEM attachment looks like. It requires 2 torx screw to remove. You will need to reuse it on the new mount. I bought the new mount via Ebay at this link. Make sure to order mount #48 by mentioning it in the comments.
https://www.ebay.com/itm/389438517756
I learned about it in a post by @SoCalMike .
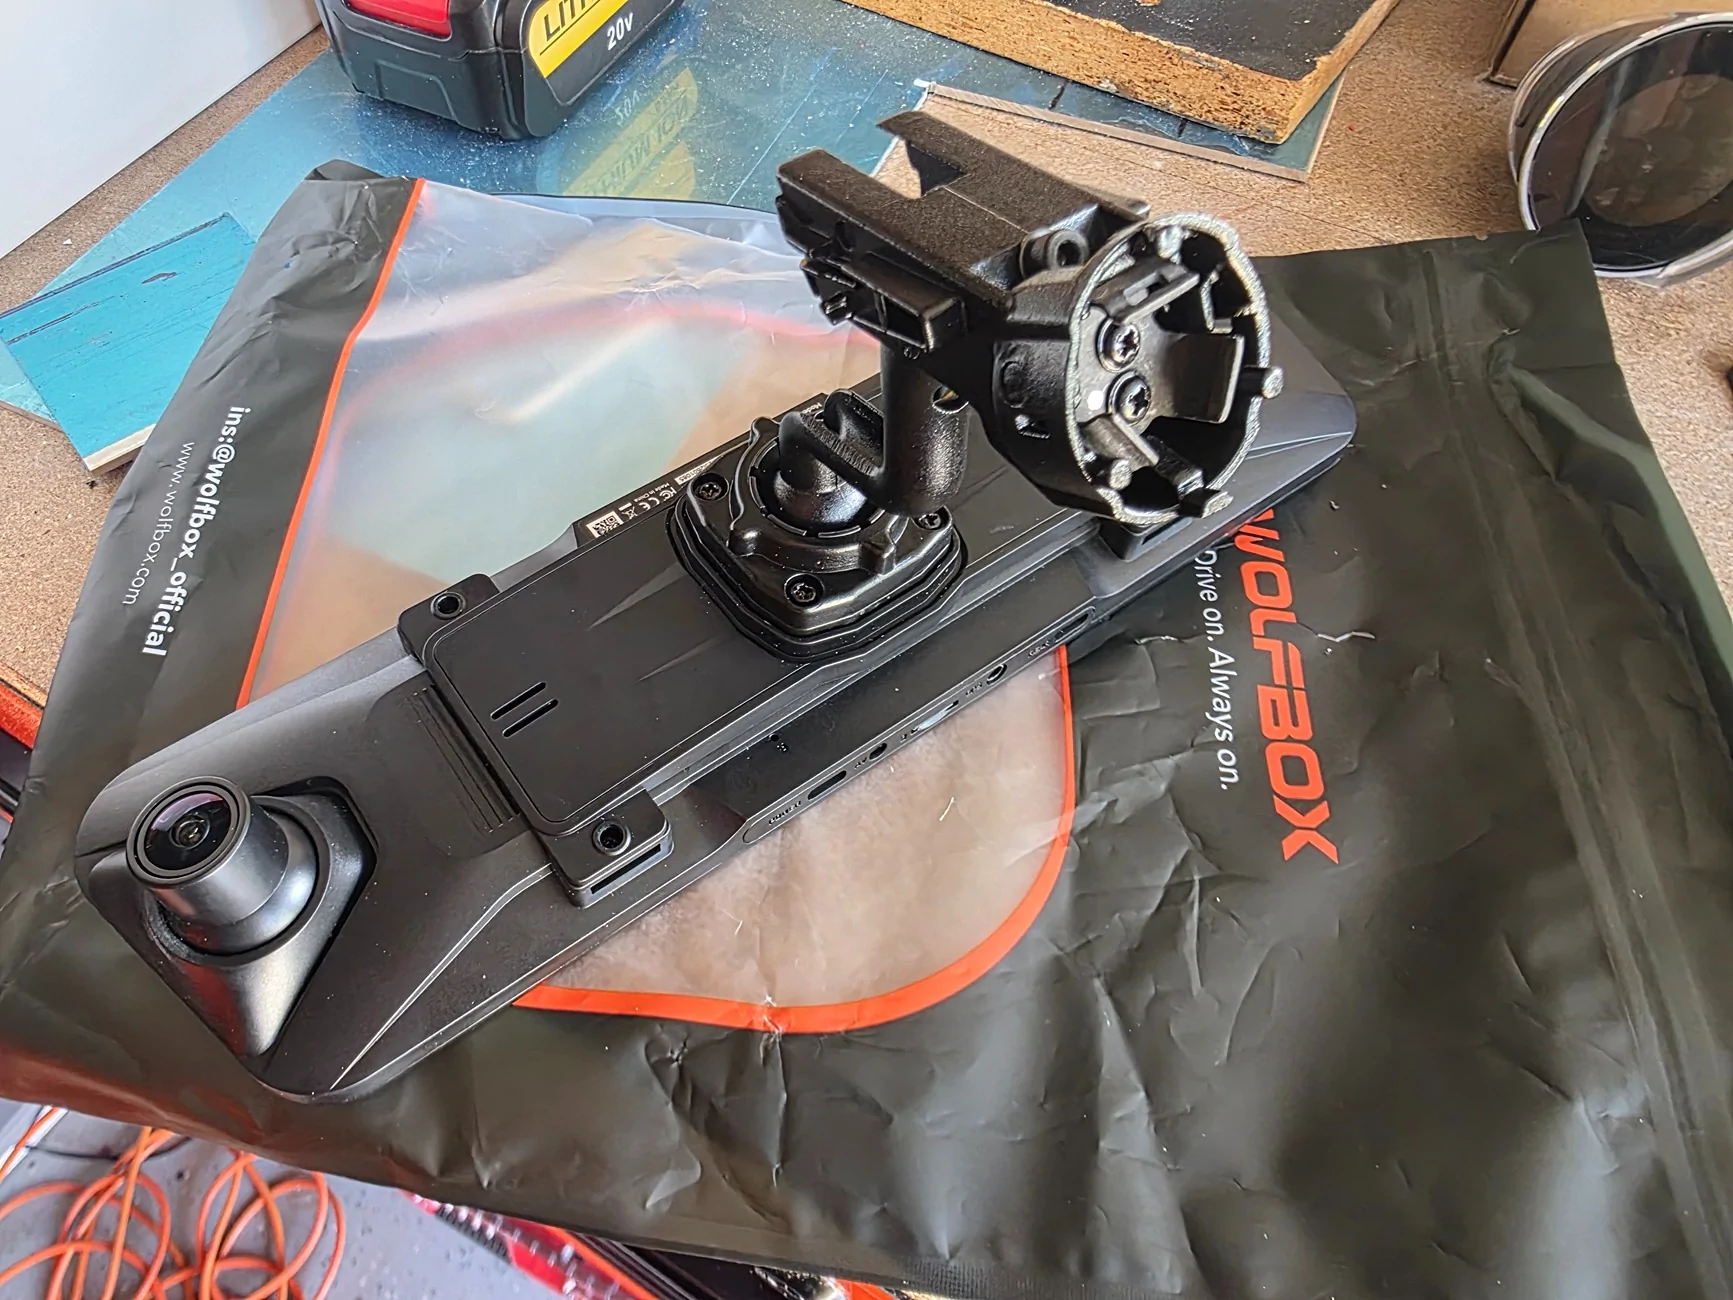
Once you move the adapter over, it will look like this.
You can now attach the Wolfbox with the Ebay mount onto the OEM adapter. It takes a bit of work but I'd recommend you put it on and do a slight clockwise turn to align it.
Here is another angle.
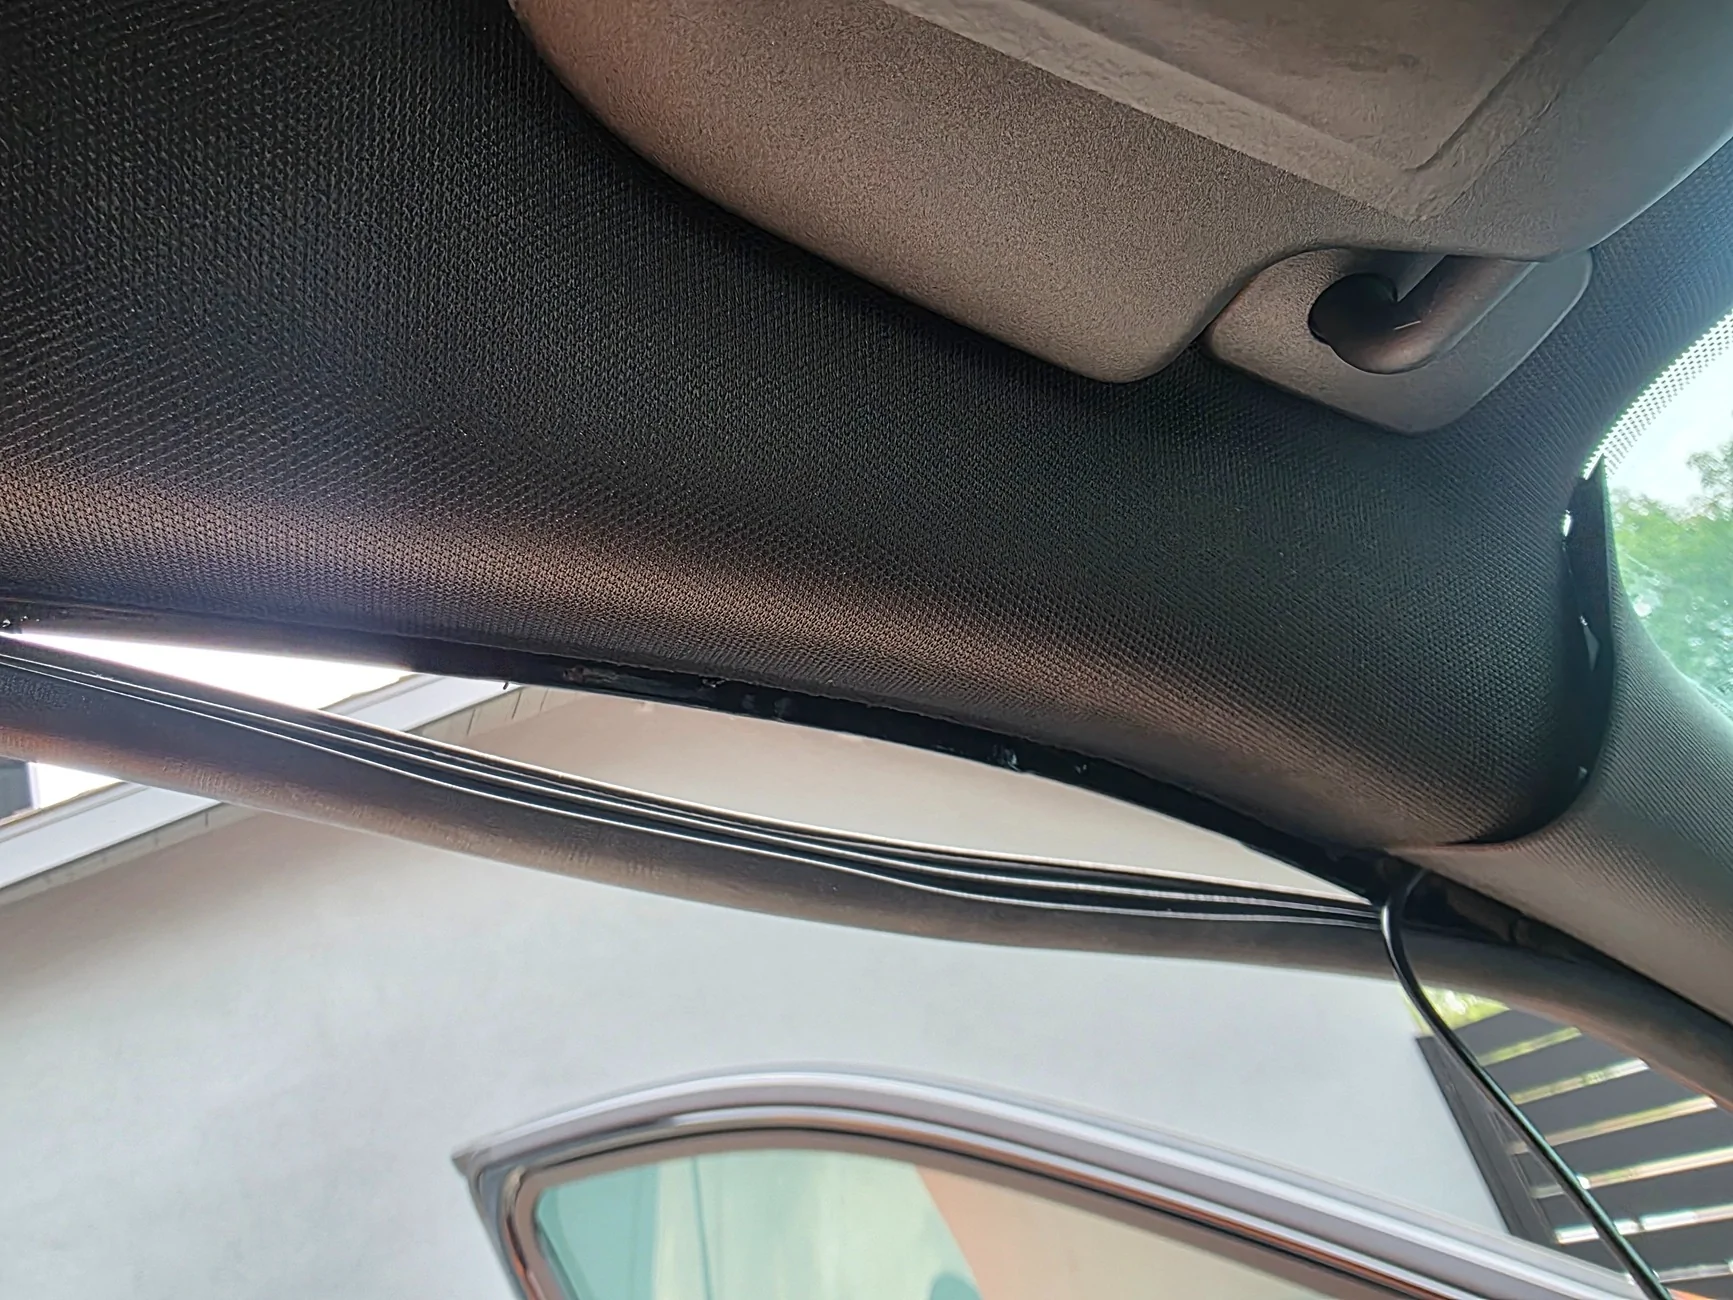
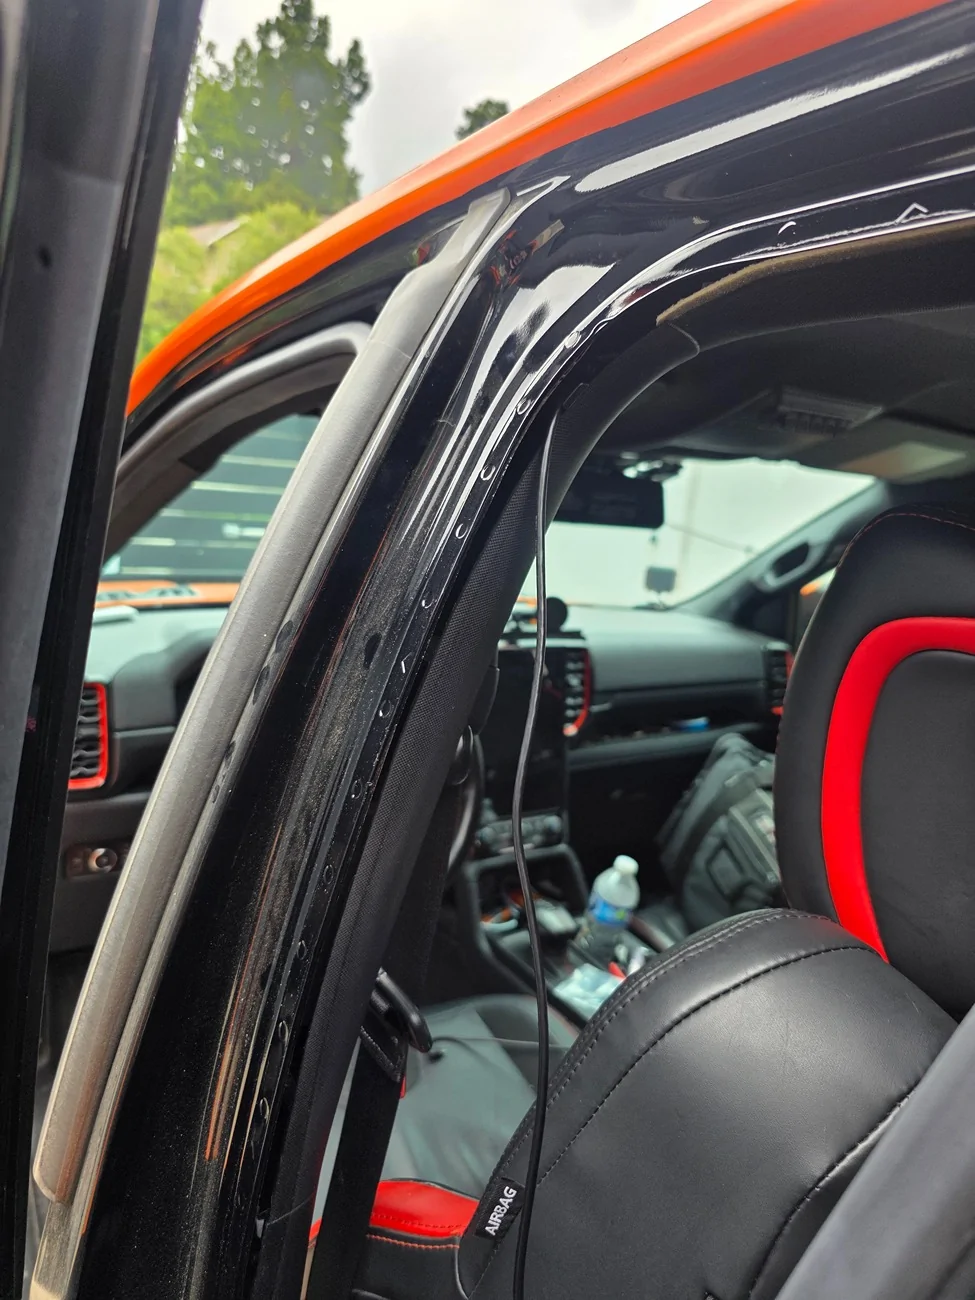
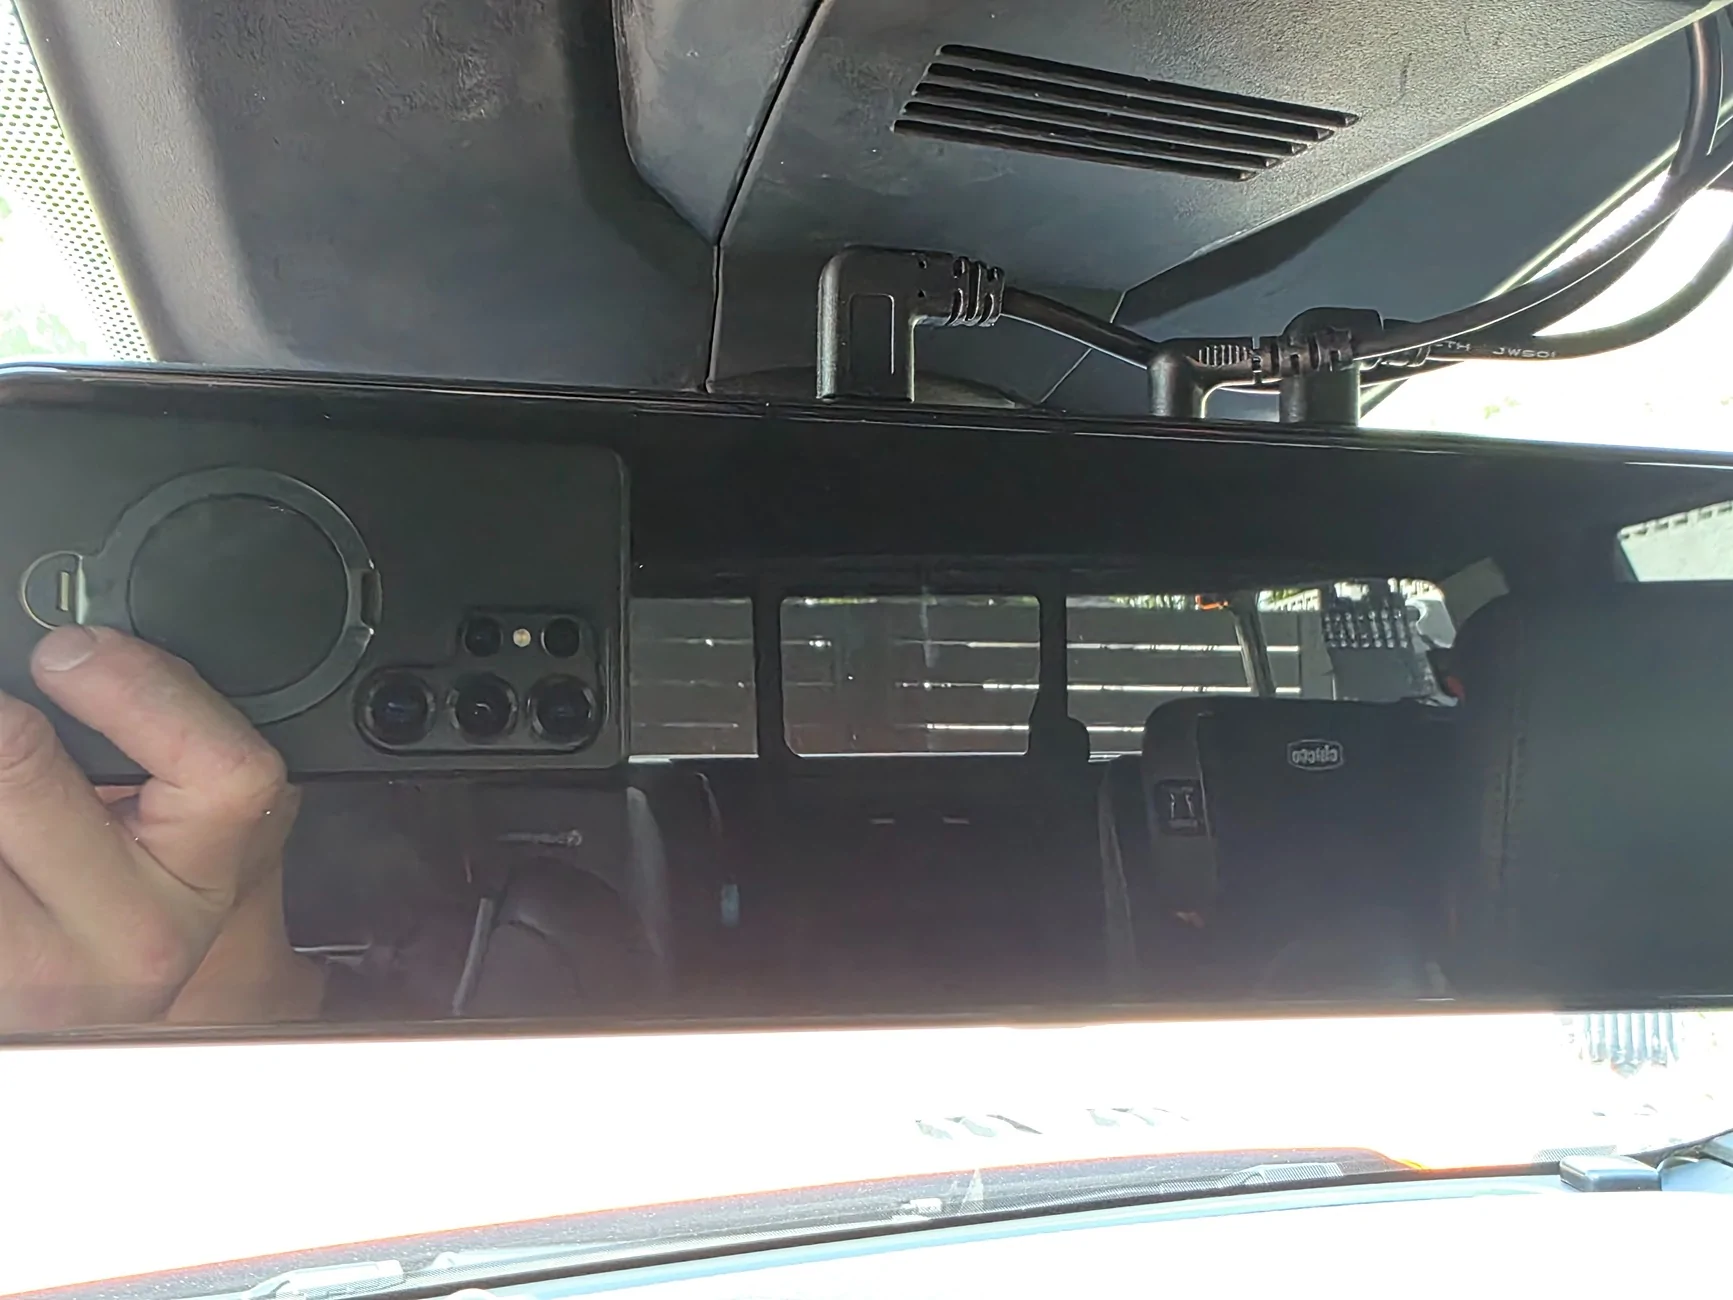
We just slap the OEM plastic cover back on by pushing it straight on. Make sure it is aligned properly before or you'll bend the plastic pins. Next I ran the wire connecting the GPS to my dash from the right side along the headliner. Then I ran the wire connecting to the rear camera on the left side along the headliner. I ran it under the A-pillar cover and under the door jam weather stripping. The cover pulls right out with no tools. It only needs to come out slightly to drop the wire through.
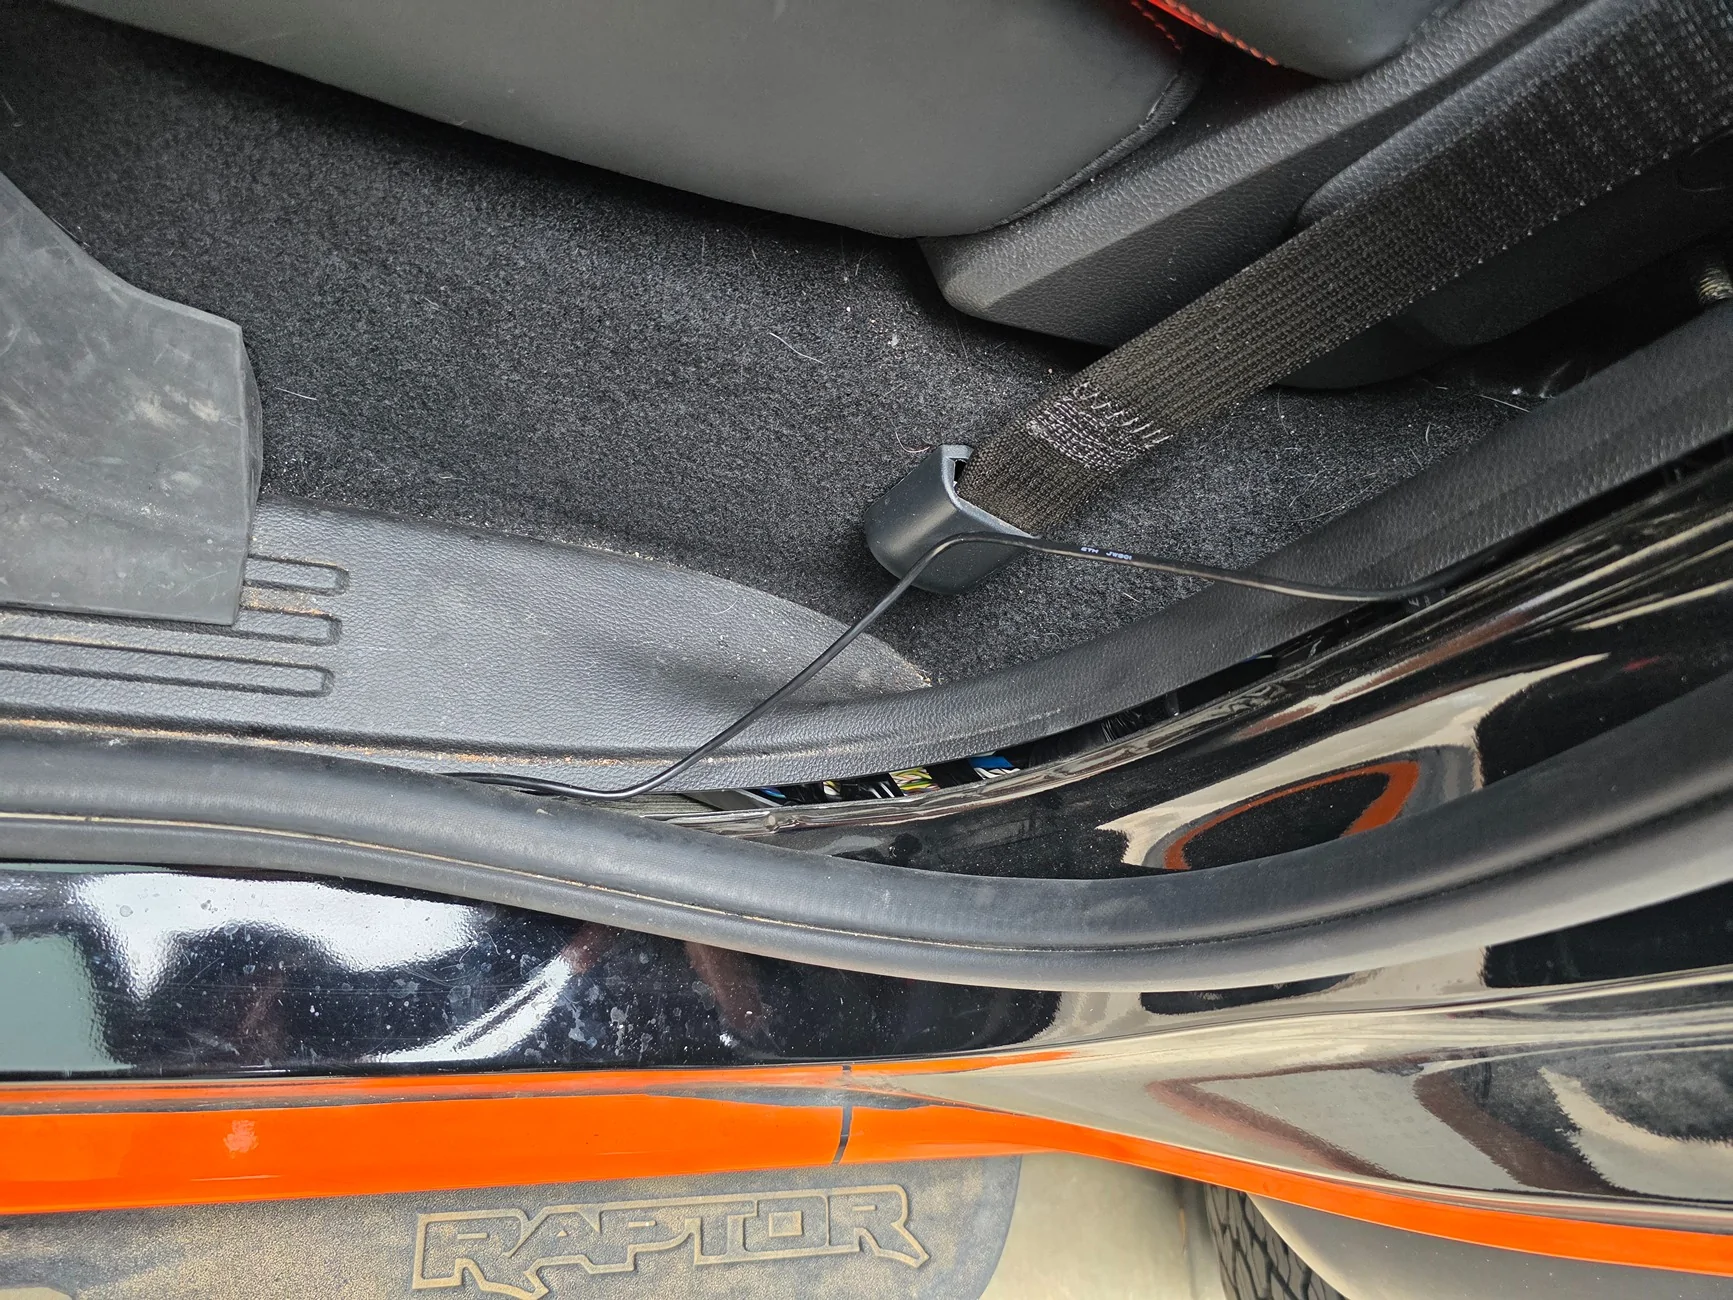
Then I ran the wire down the B-pillar and underneath the sill plate to the rear of the cab along the weather stripping.
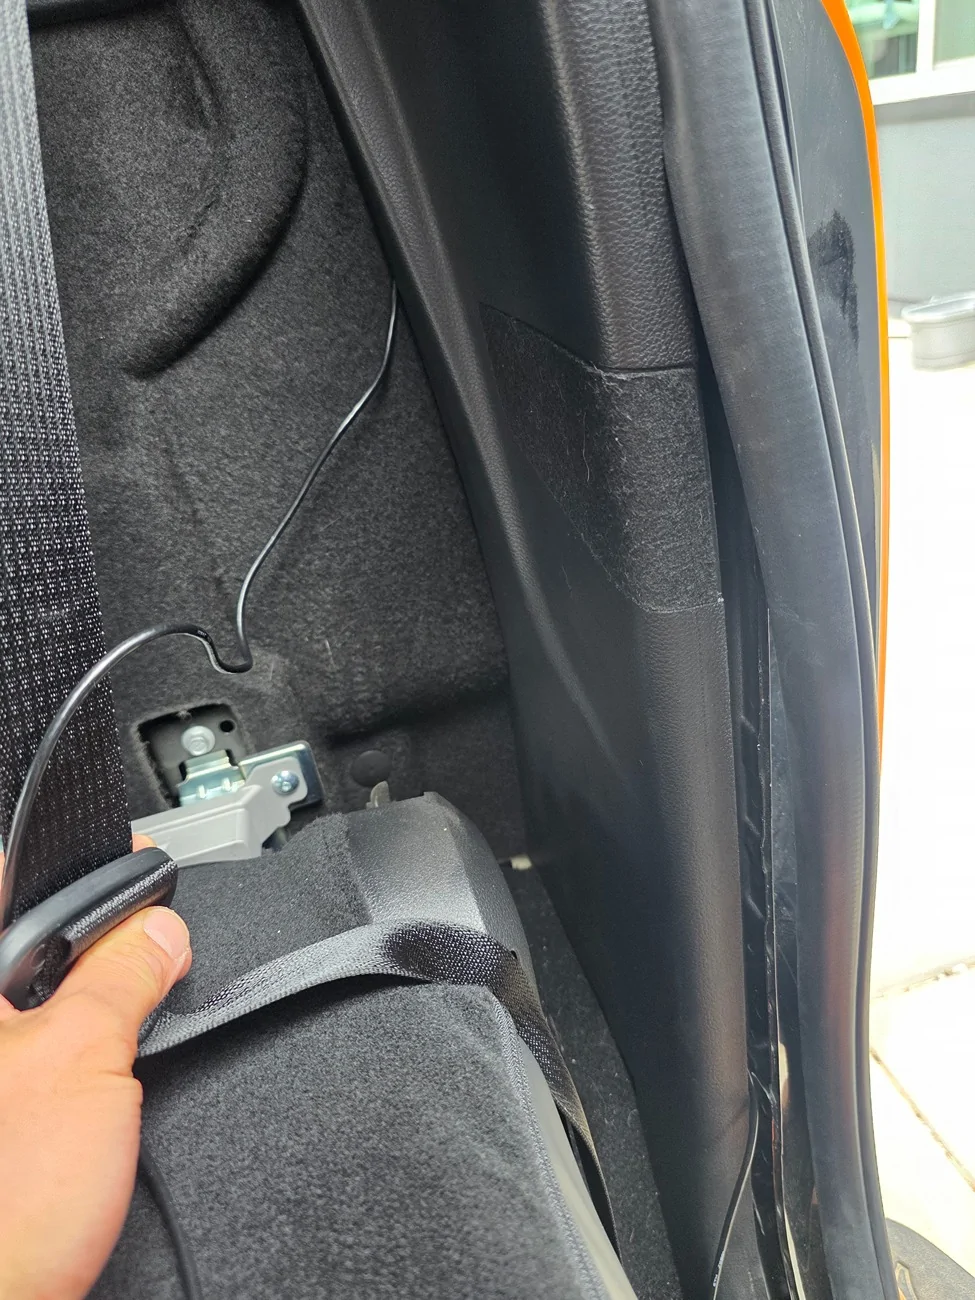
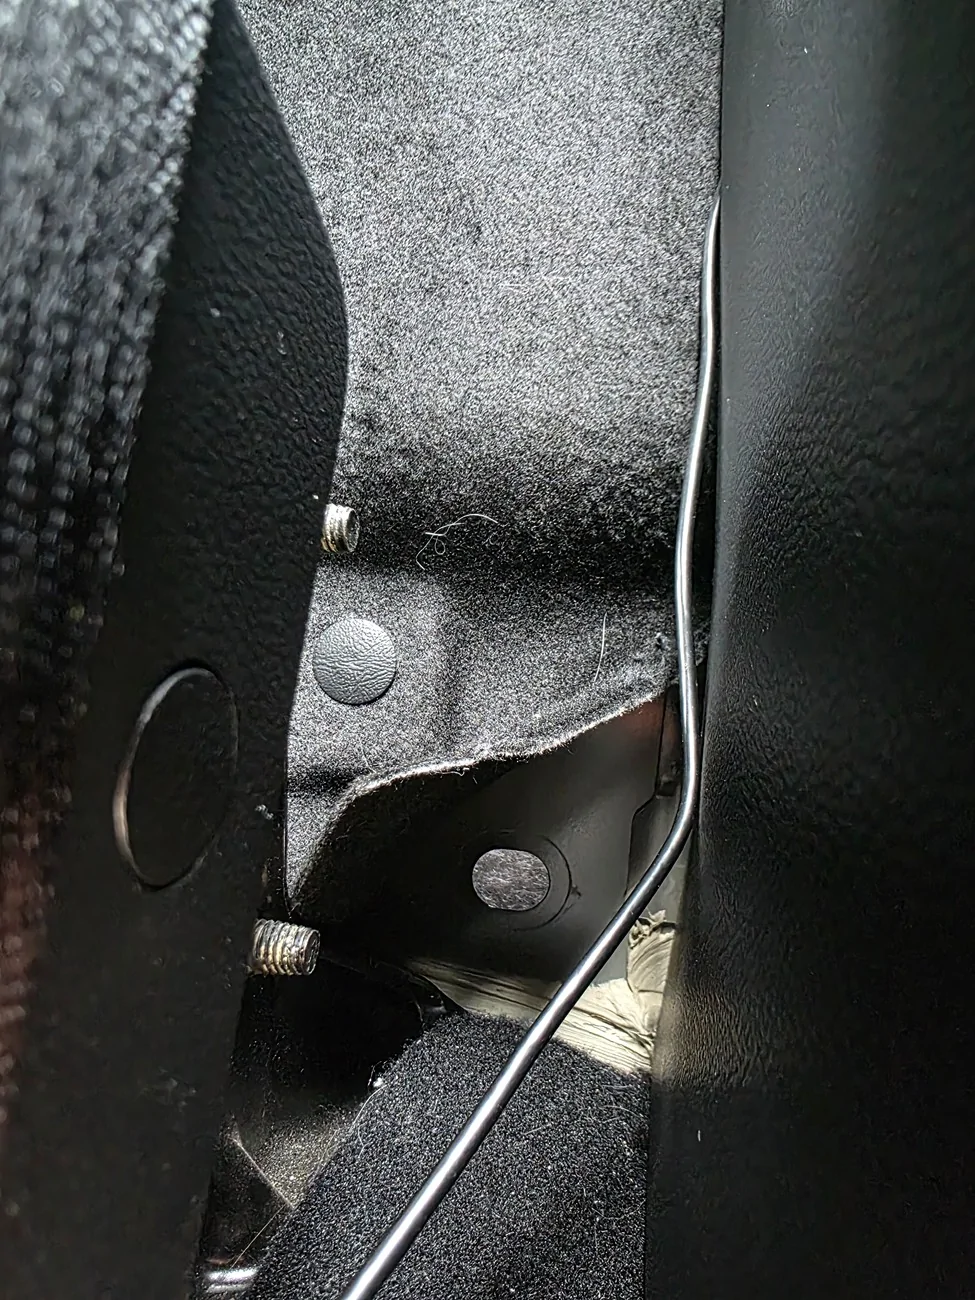
I ran the wire behind the C-Pillar plastic cover so the wires don't show at all. There is a rubber grommet in the back behind the carpet material. You can pull up a flap from the corner with some work and reveal the grommet. No cutting or removal is required. Only have to fold down the rear seats.
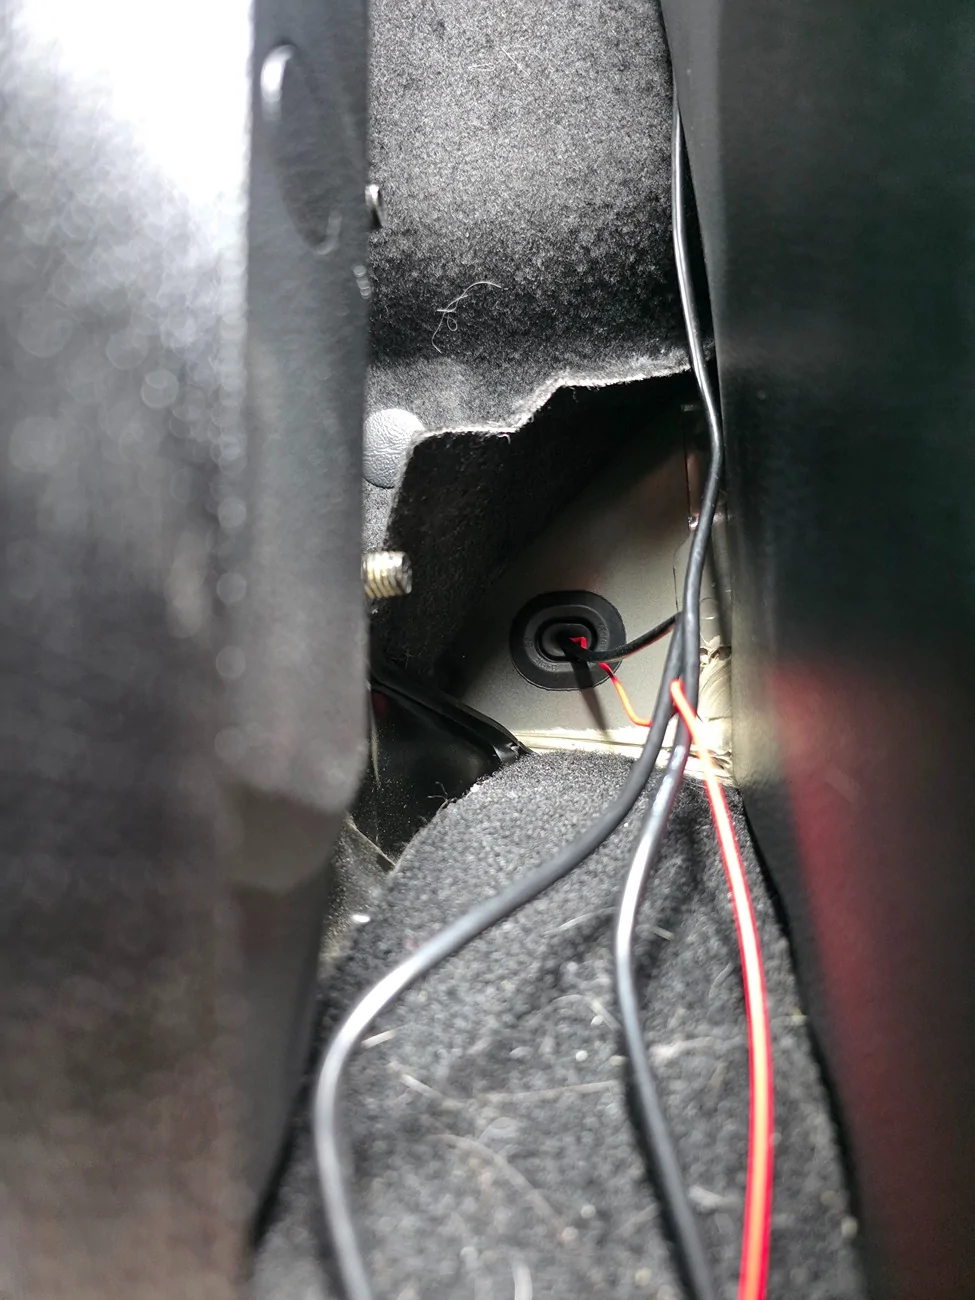
Here you can see the rear carpet lining corner peeled back and the rubber grommet removed.
I cut a slit in the rubber grommet and pushed the wiring through. The rubber grommet was able to pop back in with no issues.
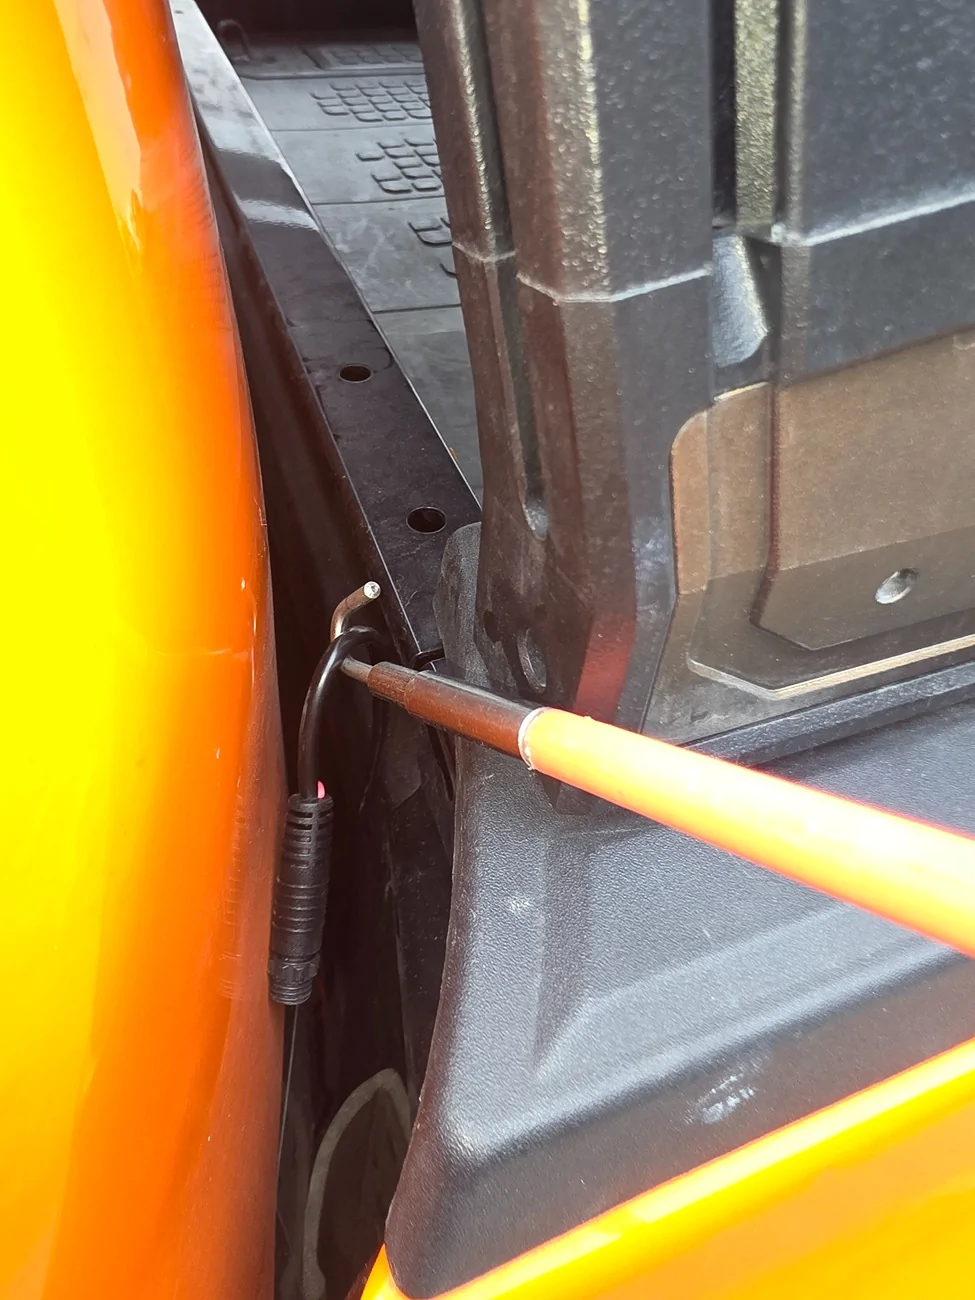
After I ran the wires through, I had to use a Fish rod for electrical wires to retrieve it from the slit in between the cab and the bed. Make sure to tuck the carpet liner back before pushing the rear seats back.
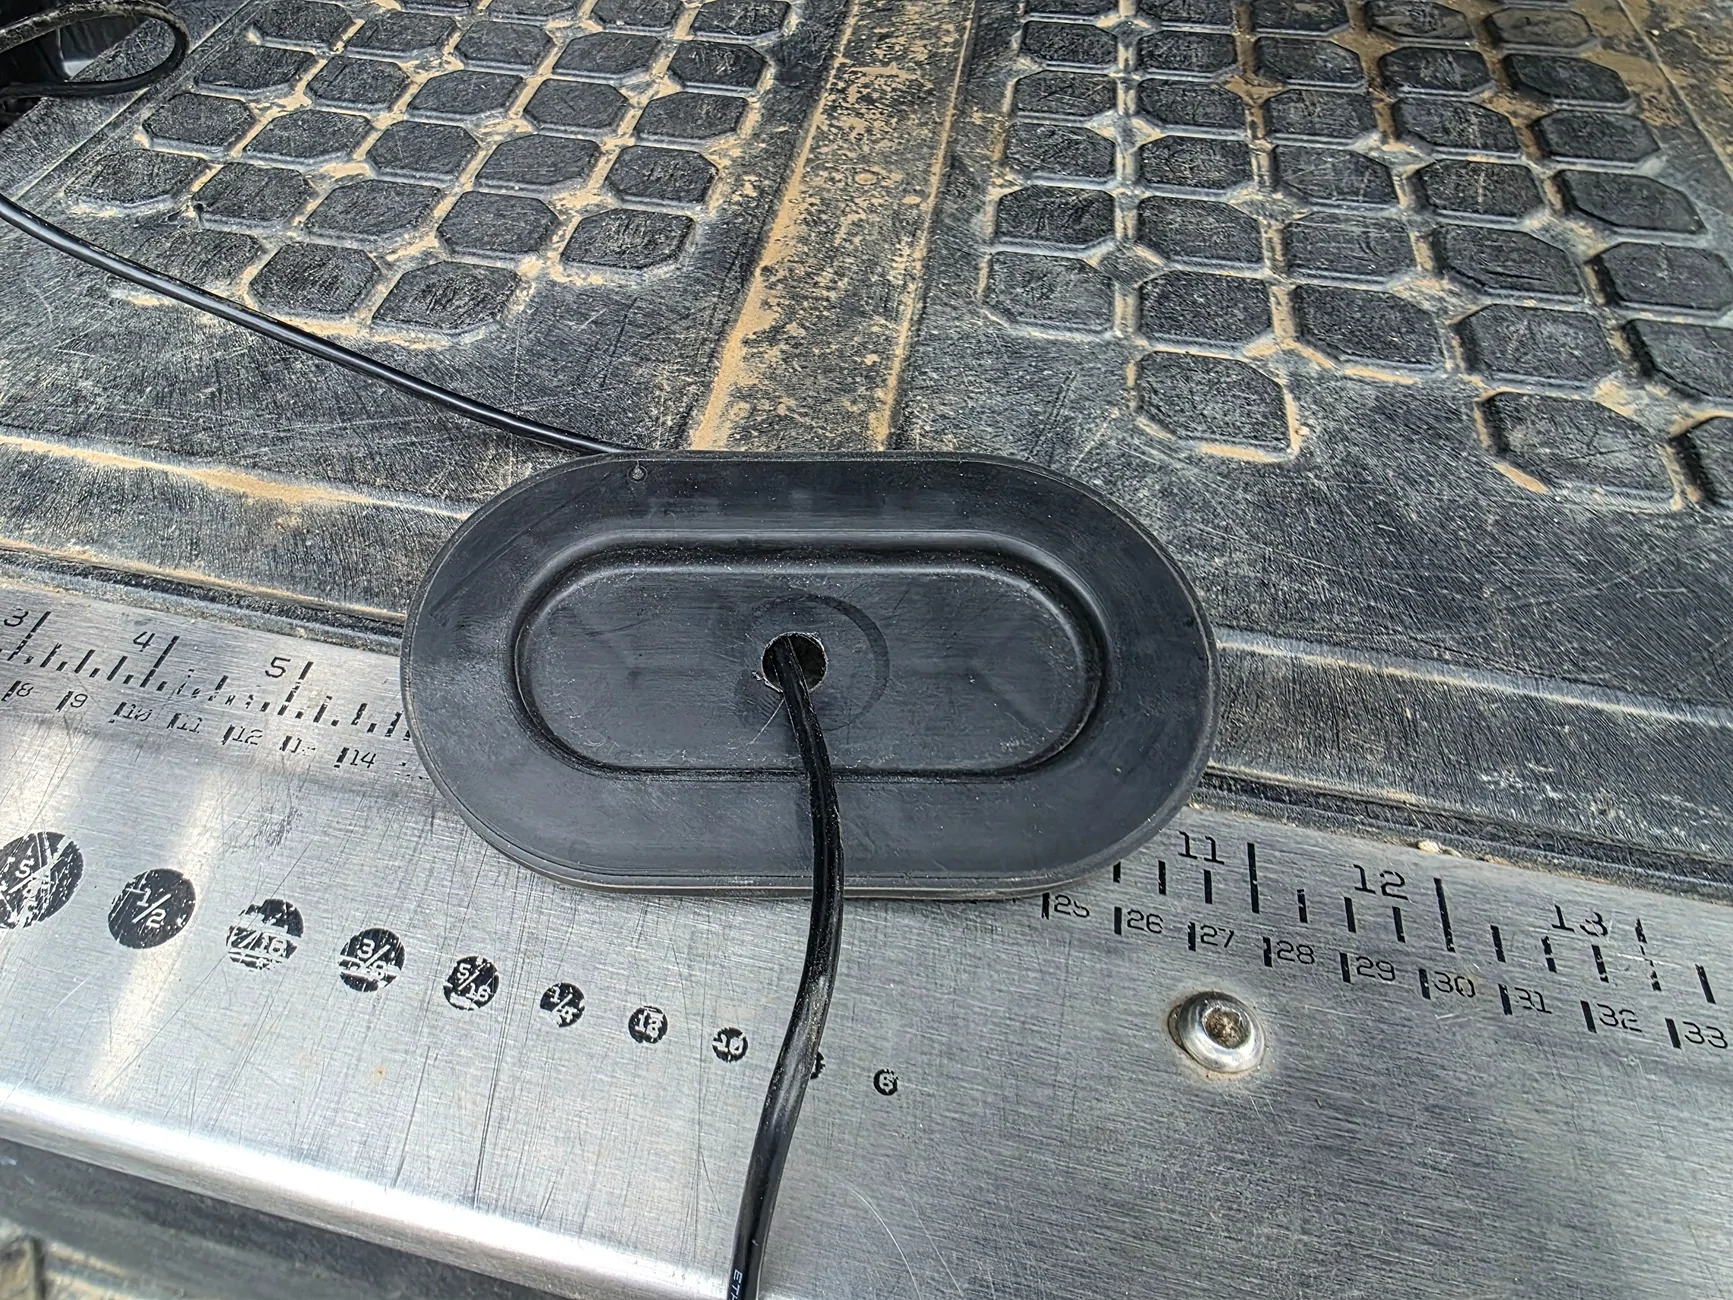
There is a plastic grommet in the bed of the truck on each side. I removed the grommet and drilled a hole to fit the wires before placing it back.
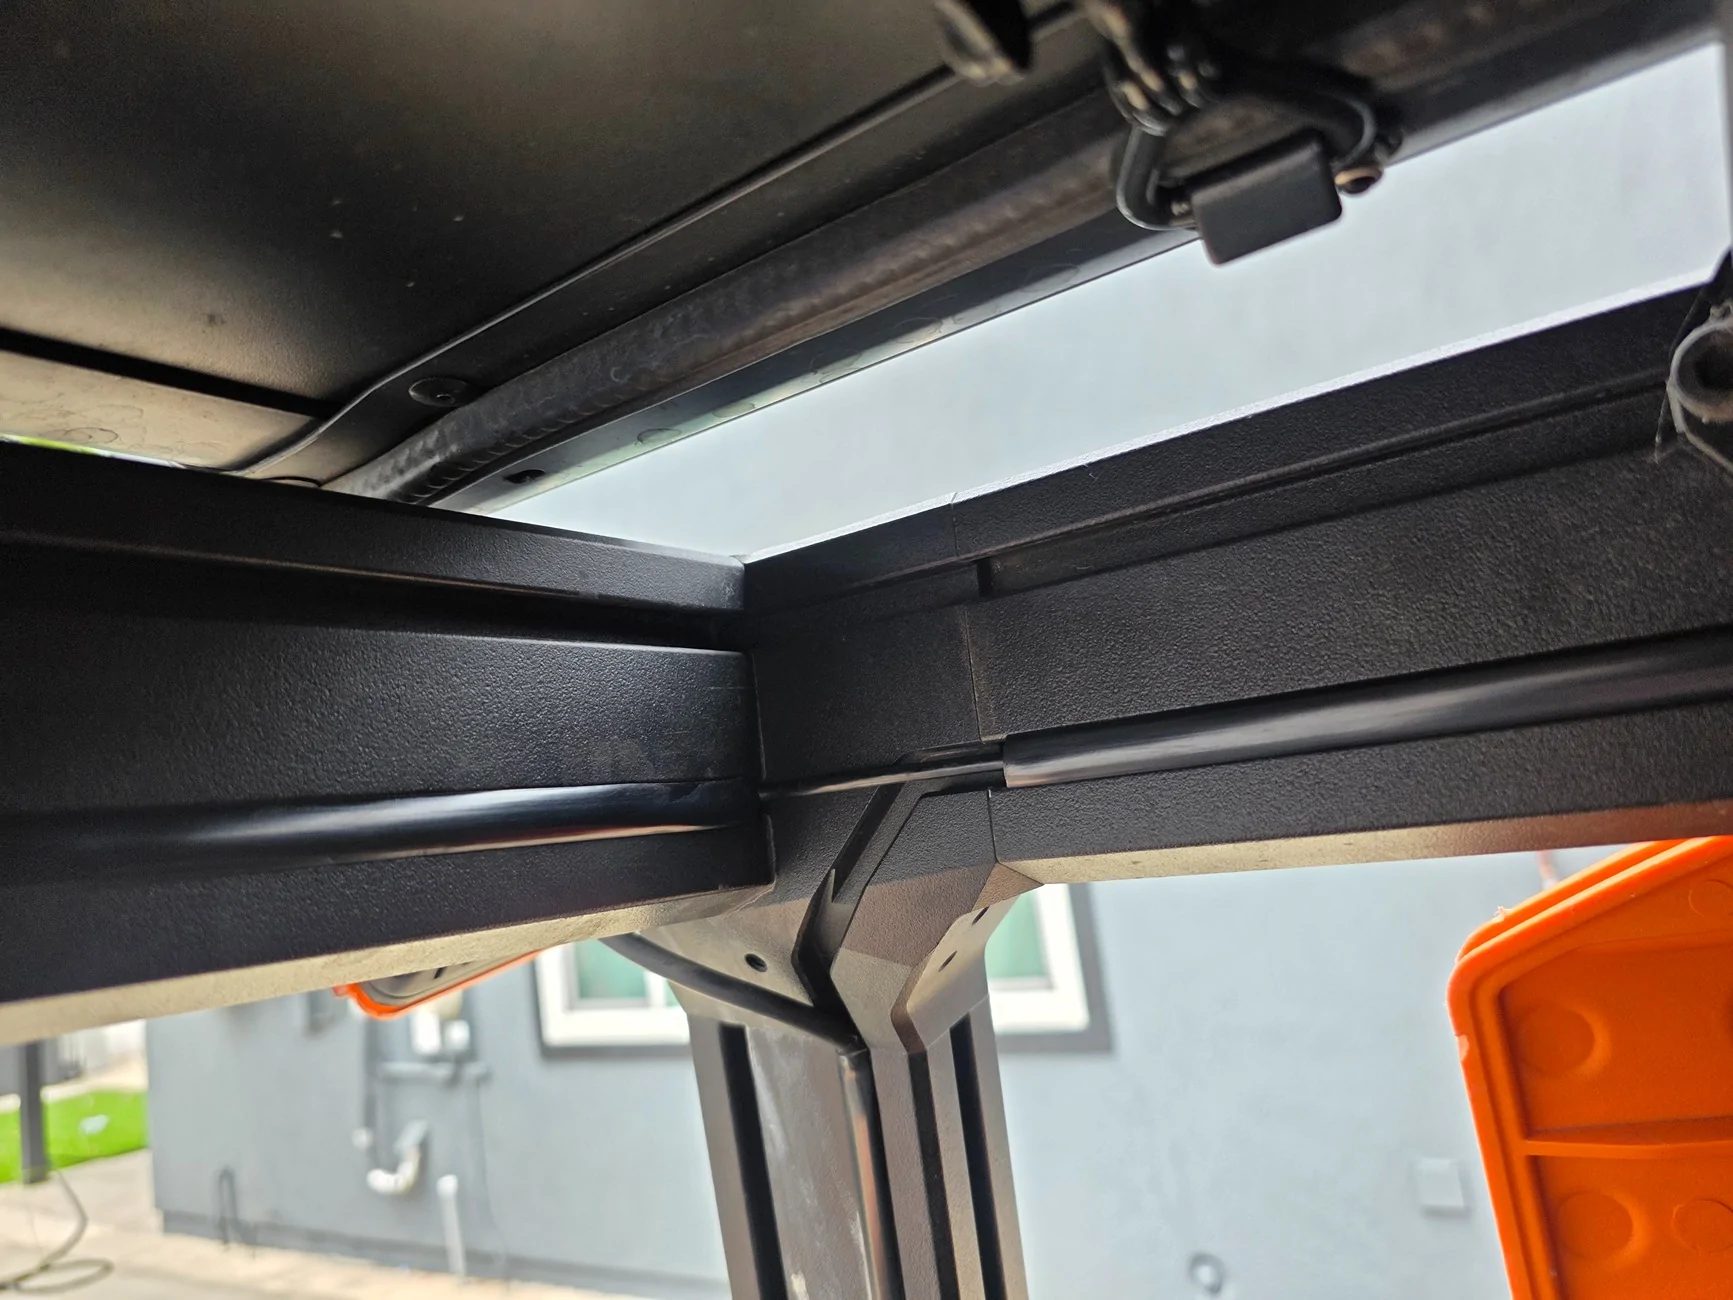
I have these dust protection seals for aluminum extrusions that I cut a slit through and ran the wires in. It tucks the wires away neatly. I ran the wire using this all the way to the rear.
On the provided mount for the rear camera, I drilled out the hole enough to fit a M8 screw to mount it on my extrusion. I did not connect the reverse lights to the camera as I did not need the reverse function. We already have a proper backup camera on our RRaptors.
All that was left was to test the camera.
This was my view with a rear view mirror.
This is my view using the reverse camera. Much nicer.
This is the full view pulled from the files. The mirror allows you to scroll up and down depending on what angle you wish to view.

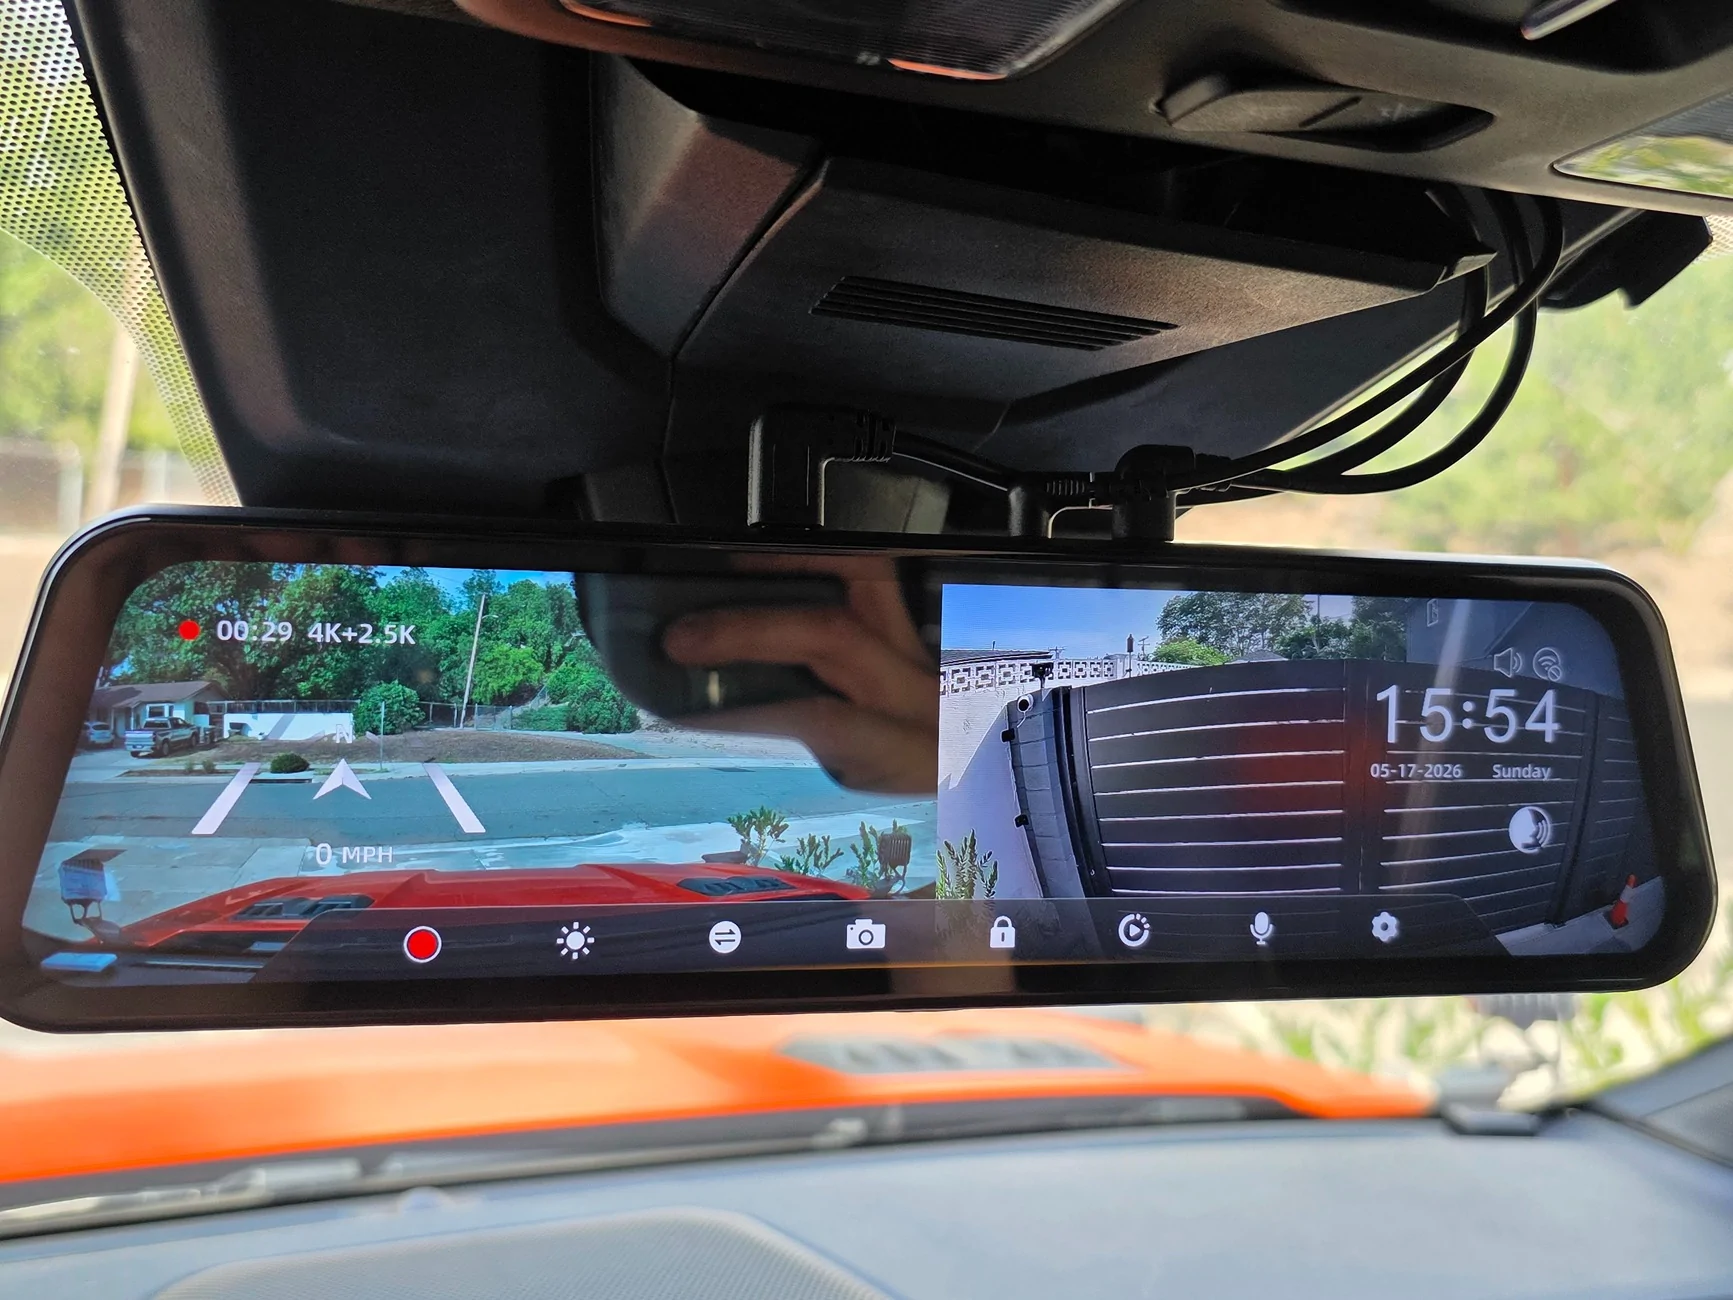
This is a snapshot of the front view vs the picture pulled from the files.
Unfortunately, due to the size of the plastic trimming and the angle of how the rear view mirror works, a portion of the video is blocked. It's a nice option that you can also see the front & rear at the same time.
Conclusion:
This dashcam is pretty nice. My old dashcam a pretty nice dashcam from years ago that had amazing night vision but it only recorded in 1080p so I was hoping to get an upgrade eventually.
The original thing that drew me to this camera was the Starvis 2 sensor as that's known to be the golden standard for dash cams and security cameras. I recently was a victim to an insurance scam that was only a non issue because I had a dashcam. With the 4k front and 2.5k rear cameras, and that fancy Starvis sensor, I'm sure I'll be in good hands.
I love the large responsive touch screen that allows me to do what I need to do. Settings are easy to set up. I'm able to cycle through the camera modes quickly by swiping left or right. I just leave it as rear camera only as I intent to use it as a digital rear view mirror.
I like that that I'm able to connect to the Wolfbox via 5.8 GHz Wifi for fast transfer to my phone instead of taking the SD card out to transfer anything.
There are some negatives although none of deal breakers.
Although you can change the exposure or brightness settings, you cannot change the color temperature. I feel like the camera footage is slightly on the cold side, meaning the color comes out a bit blue.
The other issue I have is that the Ranger Raptor has a giant chunk of plastic in front of the rear view mirror and it's blocking a good portion of the front camera.
Other than that, I totally approve of this dash cam and would recommend it to others. I still have to play with voice commands a bit more tho.
If this helps anyone pull the trigger on the purchase and wants to thank me, you can message me for a referral link")
I looked through several posts from others but haven't seen one that shows how it is installed from beginning to end so I figured I'd write one too.
Without further ado, let's get started.
The Wolfbox came neatly packaged to prevent damage. Everything was individually packaged so it was easy to lay it all out and see what I needed to do.
There are several options to power the Wolfbox via a USB-C. My go do method would have been the OBD Port Hardwire Kit had I not want to replace the entire OEM mirror. The Hardwire kit would have been better than the cigarette lighter option in my opinion because it will plug in out of sight and doesn't use up the 12v plug.
I started by remove the plastic casing behind the rear view mirror. It pulls right off without any tools.
Since I planned on replacing the entire OEM mirror, I used an old mirror tap I had to plug in to the OEM 5 pin plug connected to the OEM Mirror.
Unfortunately, My mirror tap is a Micro USB so I had to get an adapter.
If you're using a mirror tap, 12v power (red) will connect to the white wire, and ground (black) will connected to the black & purple wire.
If you're not replacing the OEM Mirror, you can still mirror tap these wires by inserting the pins from the same side as the source wires.
I used the provided rubber straps to install the Wolfbox right over the OEM mirror. It was a bit bulky for my liking but it is definitely easy to do.
Here is a side view.
Once you remove the OEM plastic cover behind the rear view mirror and disconnect the plug, the OEM mirror just twists off pretty easily. You kind of have to twist and pull at the same time.
This is what the OEM attachment looks like. It requires 2 torx screw to remove. You will need to reuse it on the new mount. I bought the new mount via Ebay at this link. Make sure to order mount #48 by mentioning it in the comments.
https://www.ebay.com/itm/389438517756
I learned about it in a post by @SoCalMike .
Once you move the adapter over, it will look like this.
You can now attach the Wolfbox with the Ebay mount onto the OEM adapter. It takes a bit of work but I'd recommend you put it on and do a slight clockwise turn to align it.
Here is another angle.
We just slap the OEM plastic cover back on by pushing it straight on. Make sure it is aligned properly before or you'll bend the plastic pins. Next I ran the wire connecting the GPS to my dash from the right side along the headliner. Then I ran the wire connecting to the rear camera on the left side along the headliner. I ran it under the A-pillar cover and under the door jam weather stripping. The cover pulls right out with no tools. It only needs to come out slightly to drop the wire through.
Then I ran the wire down the B-pillar and underneath the sill plate to the rear of the cab along the weather stripping.
I ran the wire behind the C-Pillar plastic cover so the wires don't show at all. There is a rubber grommet in the back behind the carpet material. You can pull up a flap from the corner with some work and reveal the grommet. No cutting or removal is required. Only have to fold down the rear seats.
Here you can see the rear carpet lining corner peeled back and the rubber grommet removed.
I cut a slit in the rubber grommet and pushed the wiring through. The rubber grommet was able to pop back in with no issues.
After I ran the wires through, I had to use a Fish rod for electrical wires to retrieve it from the slit in between the cab and the bed. Make sure to tuck the carpet liner back before pushing the rear seats back.
There is a plastic grommet in the bed of the truck on each side. I removed the grommet and drilled a hole to fit the wires before placing it back.
I have these dust protection seals for aluminum extrusions that I cut a slit through and ran the wires in. It tucks the wires away neatly. I ran the wire using this all the way to the rear.
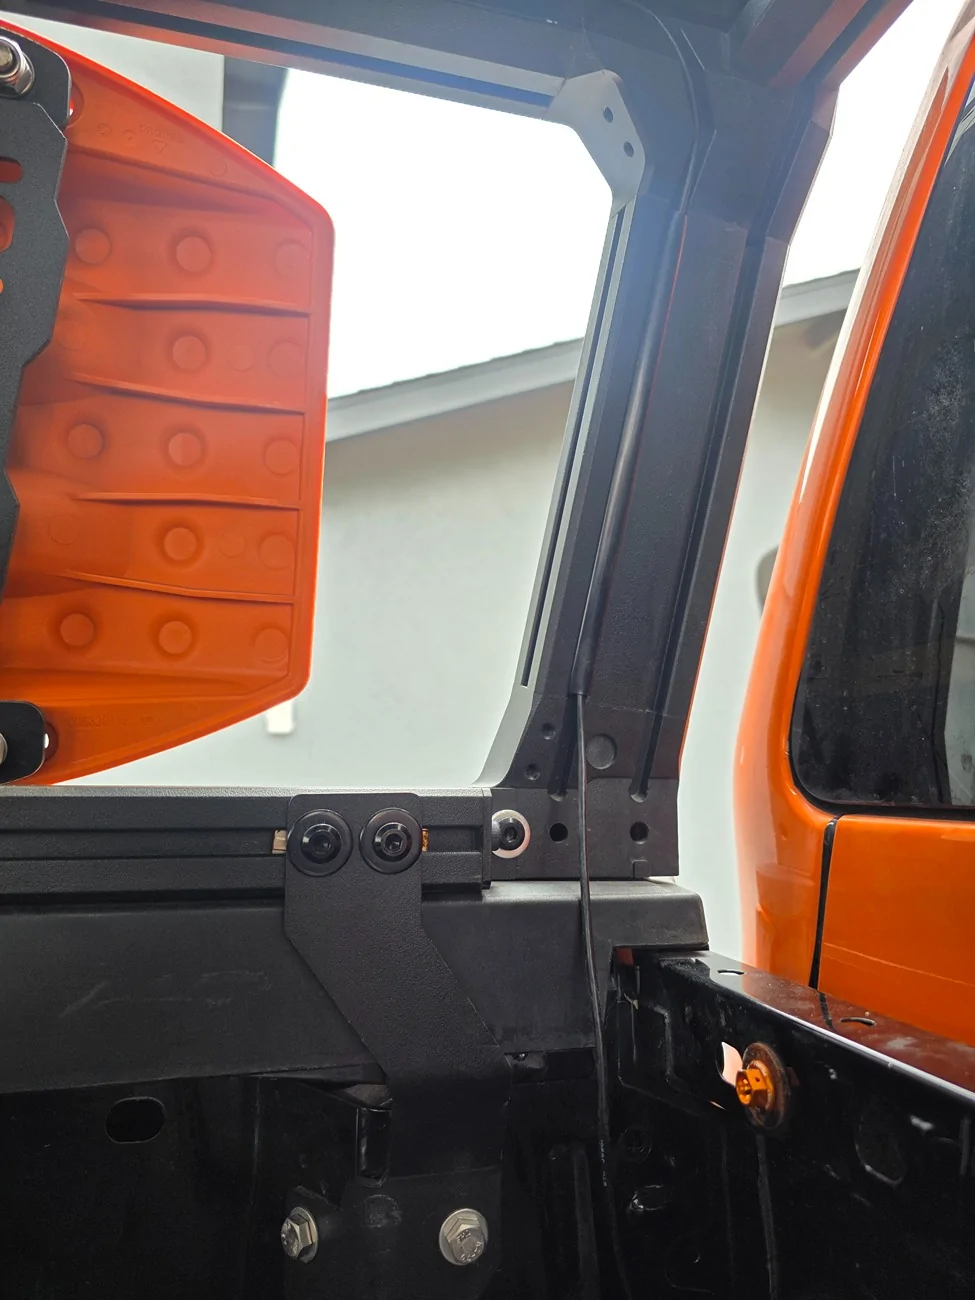
On the provided mount for the rear camera, I drilled out the hole enough to fit a M8 screw to mount it on my extrusion. I did not connect the reverse lights to the camera as I did not need the reverse function. We already have a proper backup camera on our RRaptors.

All that was left was to test the camera.
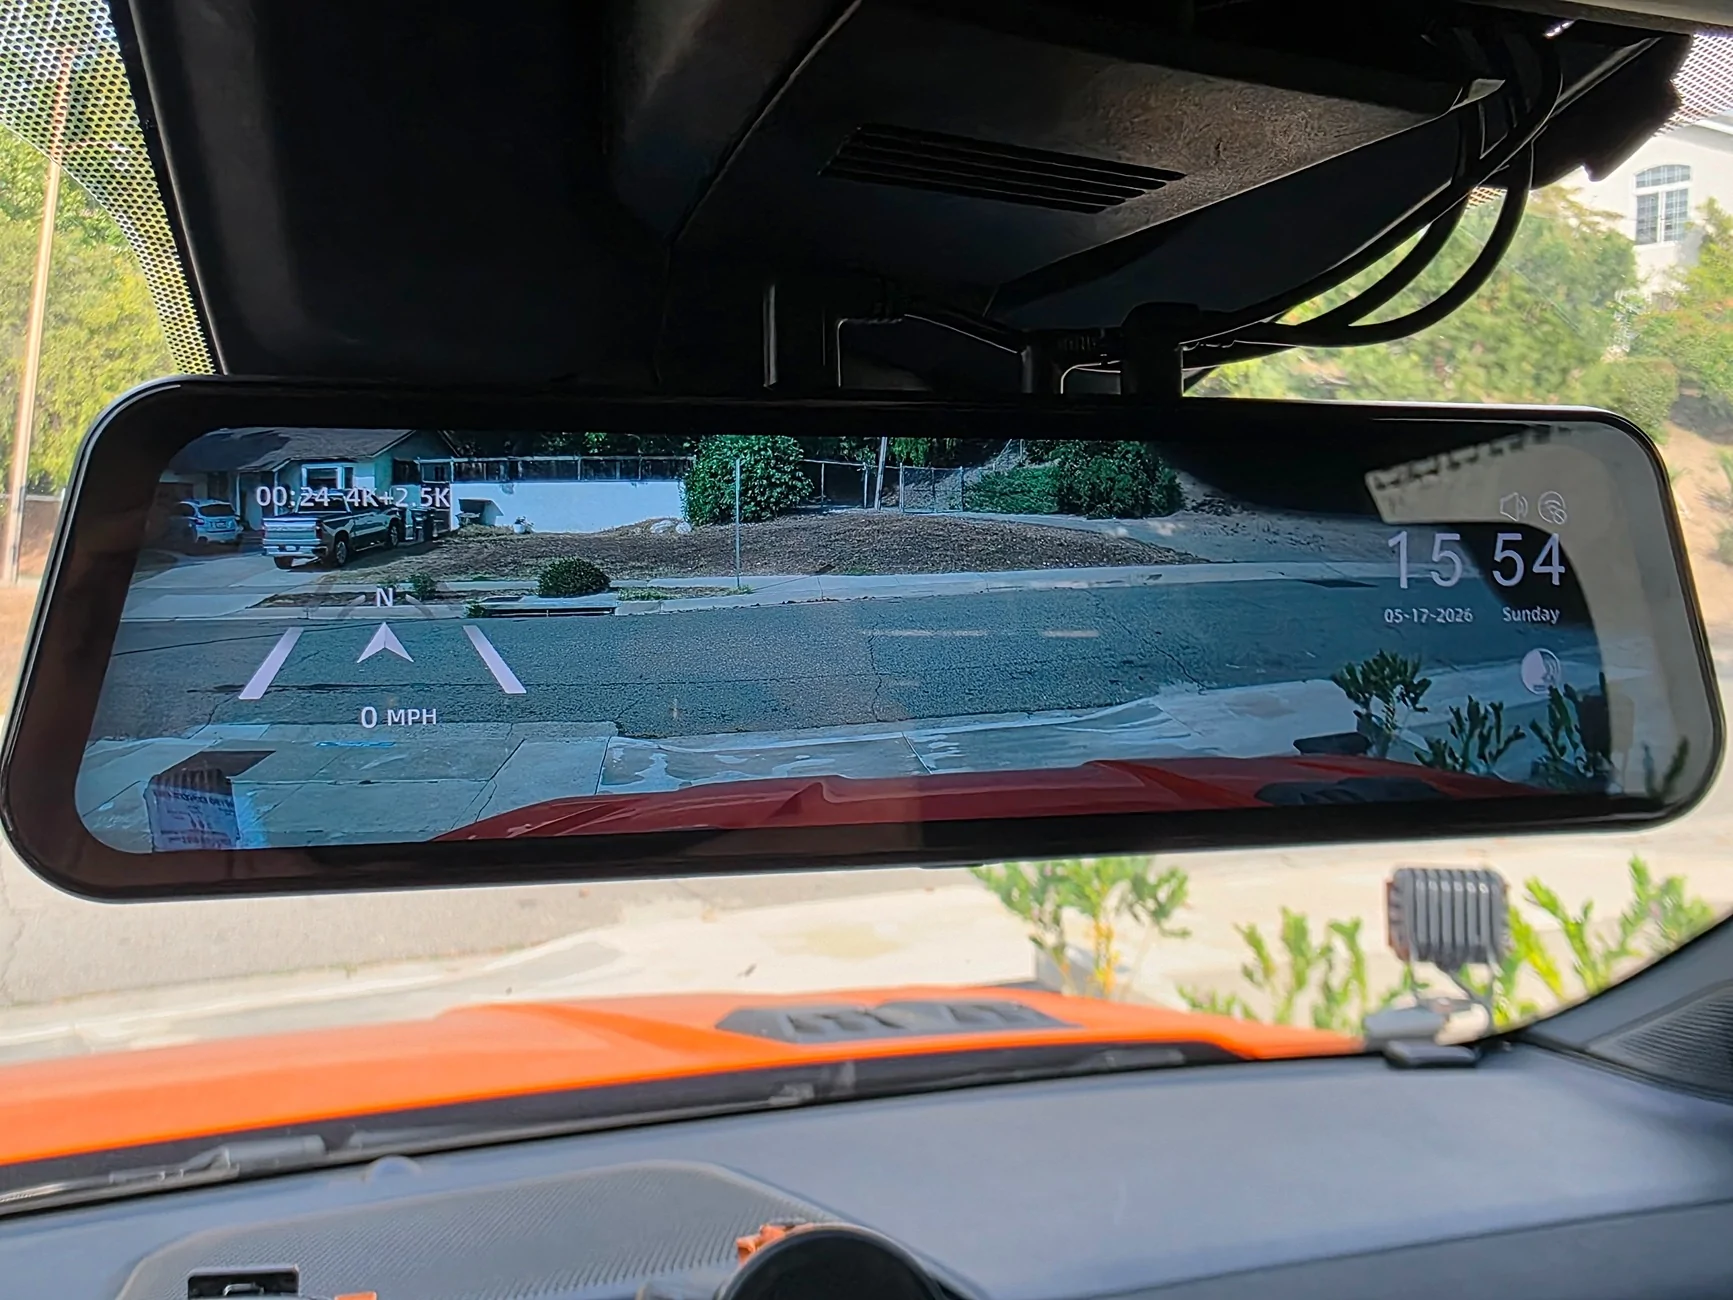
This was my view with a rear view mirror.
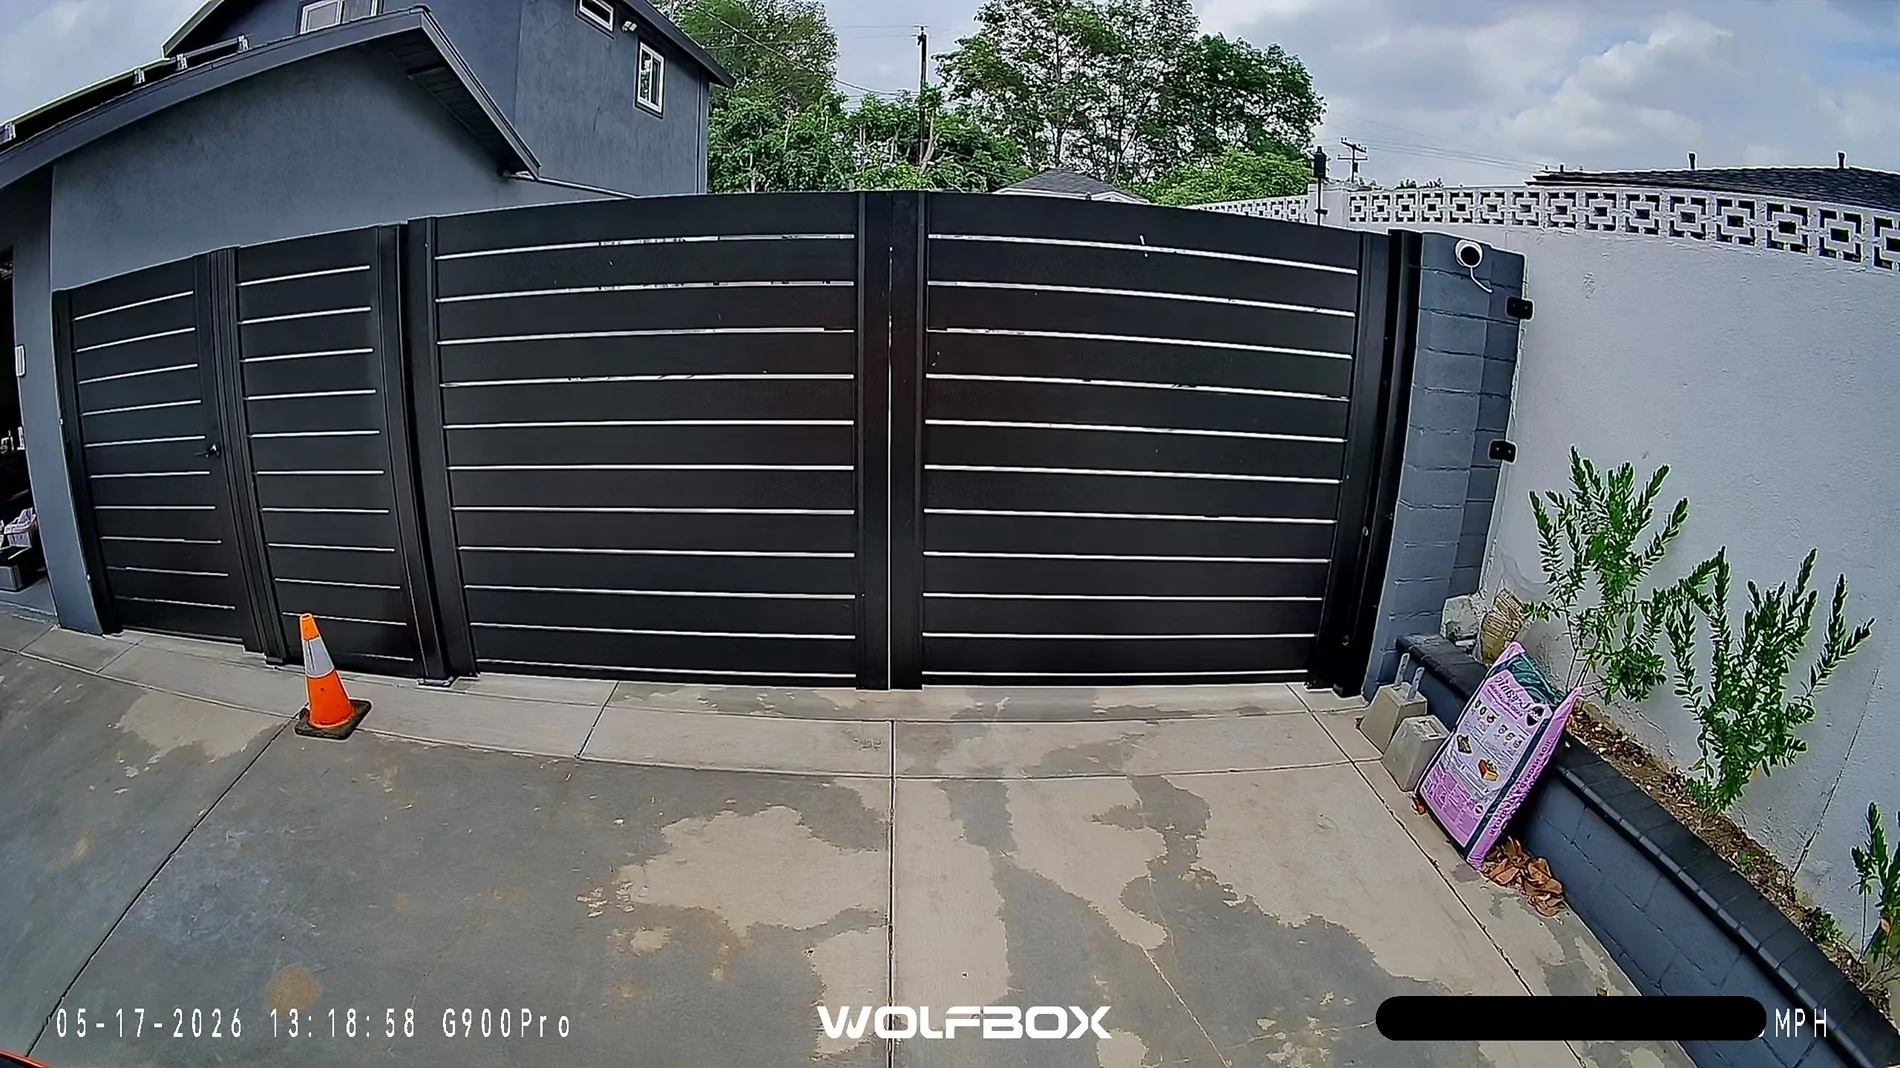
This is my view using the reverse camera. Much nicer.

This is the full view pulled from the files. The mirror allows you to scroll up and down depending on what angle you wish to view.
This is a snapshot of the front view vs the picture pulled from the files.
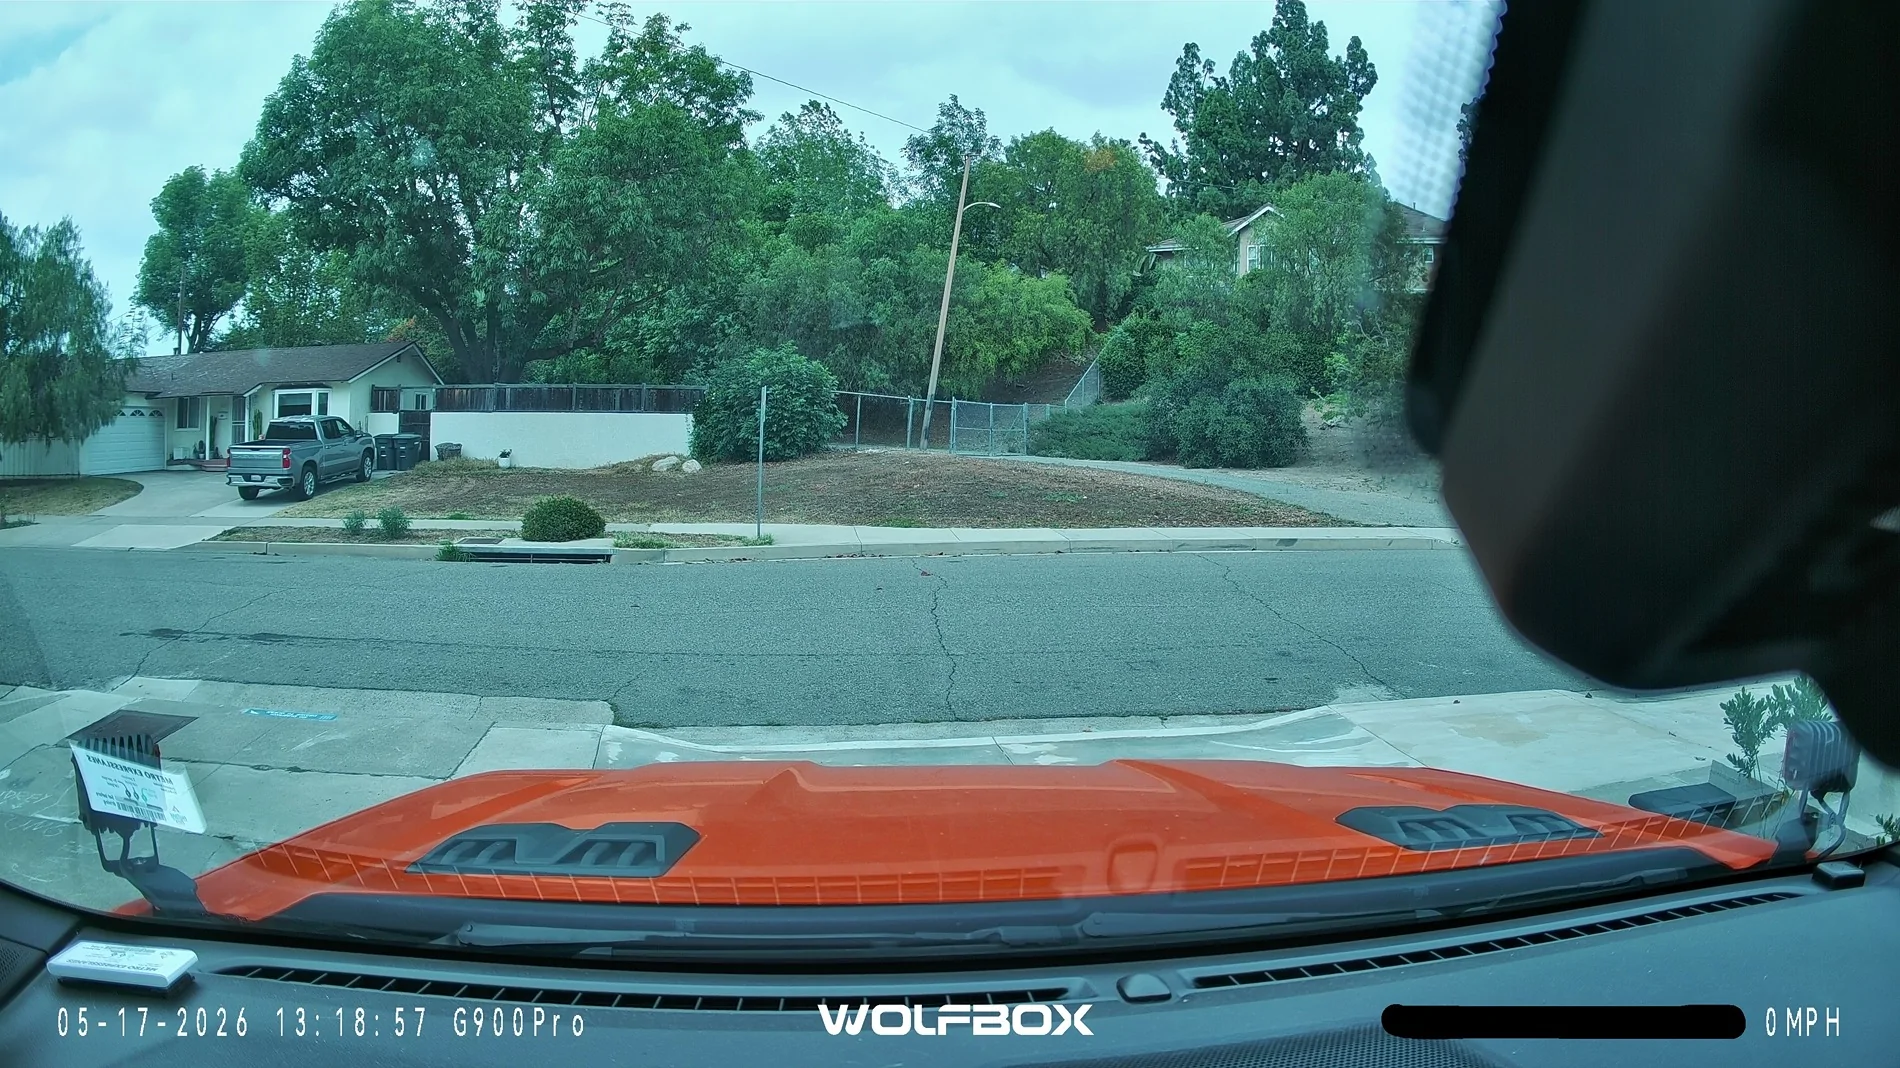
Unfortunately, due to the size of the plastic trimming and the angle of how the rear view mirror works, a portion of the video is blocked. It's a nice option that you can also see the front & rear at the same time.
Conclusion:
This dashcam is pretty nice. My old dashcam a pretty nice dashcam from years ago that had amazing night vision but it only recorded in 1080p so I was hoping to get an upgrade eventually.
The original thing that drew me to this camera was the Starvis 2 sensor as that's known to be the golden standard for dash cams and security cameras. I recently was a victim to an insurance scam that was only a non issue because I had a dashcam. With the 4k front and 2.5k rear cameras, and that fancy Starvis sensor, I'm sure I'll be in good hands.
I love the large responsive touch screen that allows me to do what I need to do. Settings are easy to set up. I'm able to cycle through the camera modes quickly by swiping left or right. I just leave it as rear camera only as I intent to use it as a digital rear view mirror.
I like that that I'm able to connect to the Wolfbox via 5.8 GHz Wifi for fast transfer to my phone instead of taking the SD card out to transfer anything.
There are some negatives although none of deal breakers.
Although you can change the exposure or brightness settings, you cannot change the color temperature. I feel like the camera footage is slightly on the cold side, meaning the color comes out a bit blue.
The other issue I have is that the Ranger Raptor has a giant chunk of plastic in front of the rear view mirror and it's blocking a good portion of the front camera.
Other than that, I totally approve of this dash cam and would recommend it to others. I still have to play with voice commands a bit more tho.
If this helps anyone pull the trigger on the purchase and wants to thank me, you can message me for a referral link
Sponsored
Last edited: