Sponsored

Sauce

Well-Known Member
Joined
Apr 30, 2025
Threads
45
Messages
505
Reaction score
425
Location
Northeast
Vehicle(s)
2025 Ranger XLT FX4
One comment I have about these molle panels. The bolt hole spacing on the AdventureLab fire extinguisher bracket doesn't quite line up with the holes on the molle panel. Would be cool if it did, but was easily remedied.
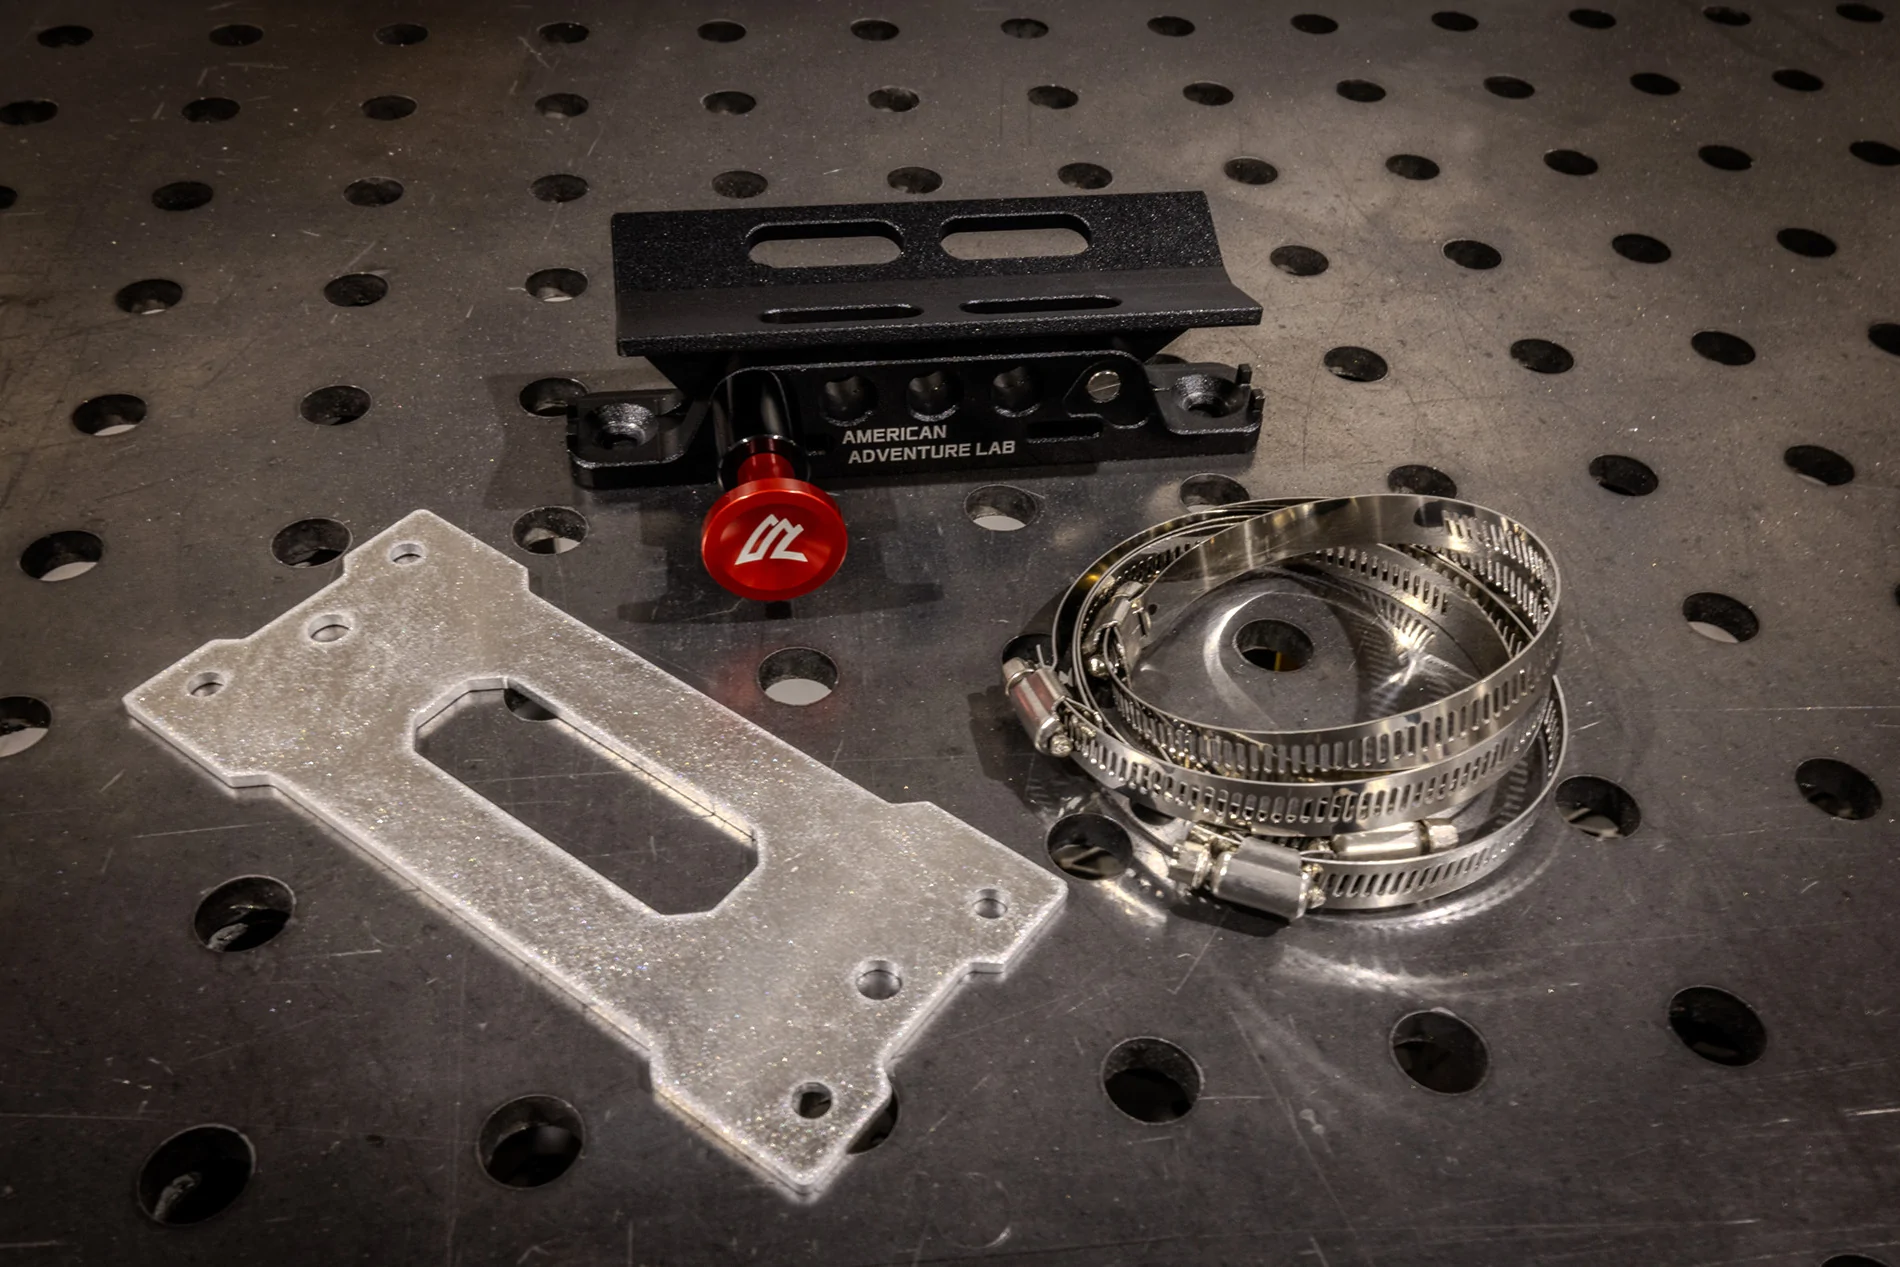
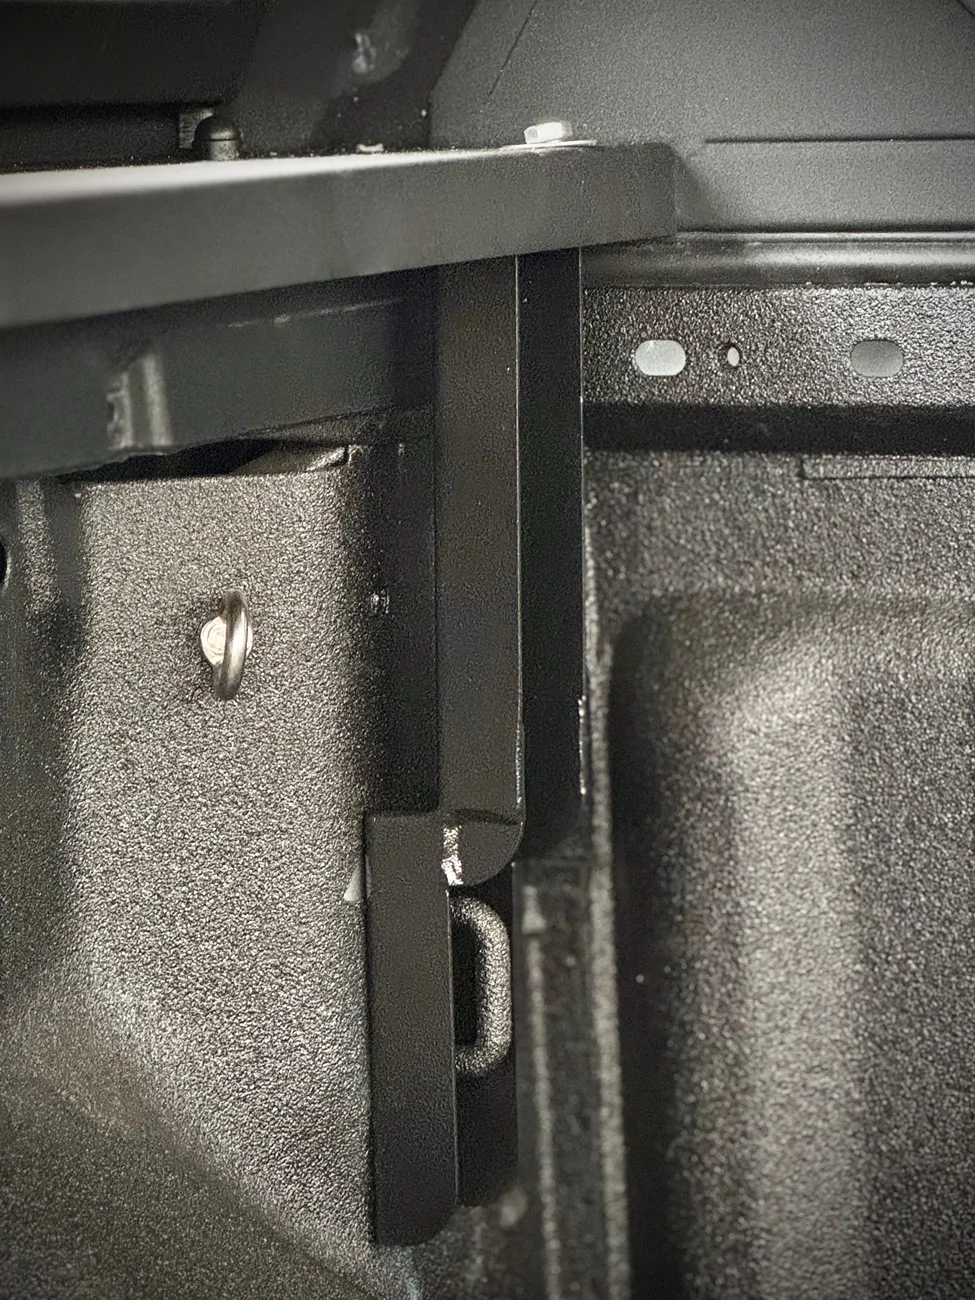
I had the same issue! Wound up using a molle square for one of the bolts and one of the holes for the other and it lined up. Not ideal, but it works (for now).
Sponsored

 
OP
OP
AdventureLab

AdventureLab

Diamond Sponsor
First Name
Brit
Joined
Mar 14, 2025
Threads
48
Messages
864
Reaction score
1,246
Location
St George, UT
Vehicle(s)
'24 RR

too.many.tacos

Well-Known Member
First Name
Jerrod
Joined
Jun 30, 2025
Threads
7
Messages
70
Reaction score
67
Location
TEXAS
Vehicle(s)
2024 RR
Occupation
Sales
In the one photo @AdventureLab, the battery bolted to the bulkhead. Is that yours? Do you like it? What are you running g off of it and how are you charging it?
 
OP
OP
AdventureLab

AdventureLab

Diamond Sponsor
First Name
Brit
Joined
Mar 14, 2025
Threads
48
Messages
864
Reaction score
1,246
Location
St George, UT
Vehicle(s)
'24 RR
In the one photo @AdventureLab, the battery bolted to the bulkhead. Is that yours? Do you like it? What are you running g off of it and how are you charging it?
That's the 100Ah slimline battery from LiTime. I love the form factor. It's a little heavier than I expected (~28lbs), but it works great in that location. It's charging from a REDARC Alpha 50. Honestly, I haven't used it yet. We are laser focused on product releases right now. It will primarily run the fridge, Starlink Mini, auxiliary lights, and the Milwaukee M18 battery charger. It will be sufficient overkill for that. It should run our camp setup for a couple of days without solar supplement.
 

clarke

Well-Known Member
Joined
Jun 20, 2025
Threads
4
Messages
122
Reaction score
70
Location
Tennessee
Vehicle(s)
2025 Ford Ranger Raptor

Sponsored

itsmesn00ks

Member
First Name
Jake
Joined
Sep 17, 2025
Threads
1
Messages
15
Reaction score
30
Location
Michigan
Vehicle(s)
2025 ranger xlt
I was on the fence on buying the molle panel and the inflator bracket but i think im sold now. I hope that Adventure Lab does another exclusive discount for us soon, that would be awesome! These products look amazing. My wallet is not going to like this...
 

clarke

Well-Known Member
Joined
Jun 20, 2025
Threads
4
Messages
122
Reaction score
70
Location
Tennessee
Vehicle(s)
2025 Ford Ranger Raptor
Does anyone have any suggestions for installing the nuts for the top 2 screws on the back molle panel? Even with my small hands I can reach to get the nut started.

Screenshot_20260227-165648.webp


PXL_20260222_222425026.RAW-01.COVER.webp
 

Aemonn

Well-Known Member
Joined
Jul 8, 2024
Threads
2
Messages
205
Reaction score
266
Location
USA
Vehicle(s)
Ranger Raptor
Does anyone have any suggestions for installing the nuts for the top 2 screws on the back molle panel? Even with my small hands I can reach to get the nut started.

Screenshot_20260227-165648.webp


PXL_20260222_222425026.RAW-01.COVER.webp
i used an adjustable wrench. I added a string to it and tied it to my wrist (important!!!) so that i wouldn't lose it down between the cab and bed.

I then used some gorilla tape or similar, put the nut in the wrench, laid the tape over the back side of the nut & jaws of the wrench to hold it in place. Then somehow, using the tips of my fingers and laying the wrench against the back of the bed (there's that angled ledge that helps) slid it down toward the hole. I slowly lined it up and installed the bolt / screw.

HUUUUUUUGE pain in the rear. There isn't some quick secret that will make it easier that I was able to find. Maybe if you have a crescent wrench with one of those angled ends.
 
Last edited:

RCMUSTANG

Well-Known Member
First Name
Ray
Joined
Jan 22, 2019
Threads
2
Messages
1,462
Reaction score
462
Location
Los Angeles
Vehicle(s)
1989 Mustang 2017 Fusion
Does anyone have any suggestions for installing the nuts for the top 2 screws on the back molle panel? Even with my small hands I can reach to get the nut started.

Screenshot_20260227-165648.webp


PXL_20260222_222425026.RAW-01.COVER.webp
Did they not intend for rivnuts there? My side panels came with them but there's no where they're needed. Maybe they're for the rear panel.
 

Aemonn

Well-Known Member
Joined
Jul 8, 2024
Threads
2
Messages
205
Reaction score
266
Location
USA
Vehicle(s)
Ranger Raptor
Did they not intend for rivnuts there? My side panels came with them but there's no where they're needed. Maybe they're for the rear panel.
IIRC the Rivnuts are for if you want to use the packout attachment / adapter as per the instructions..
 

Sponsored

clarke

Well-Known Member
Joined
Jun 20, 2025
Threads
4
Messages
122
Reaction score
70
Location
Tennessee
Vehicle(s)
2025 Ford Ranger Raptor
Did they not intend for rivnuts there? My side panels came with them but there's no where they're needed. Maybe they're for the rear panel.
For me, the side panels are the only ones that came with rivnuts. I bought the rear panel separately and it didn't have any. It came with two nylock nuts.
 

clarke

Well-Known Member
Joined
Jun 20, 2025
Threads
4
Messages
122
Reaction score
70
Location
Tennessee
Vehicle(s)
2025 Ford Ranger Raptor
i used an adjustable wrench. I added a string to it and tied it to my wrist (important!!!) so that i wouldn't lose it down between the cab and bed.

I then used some gorilla tape or similar, put the nut in the wrench, laid the tape over the back side of the nut & jaws of the wrench to hold it in place. Then somehow, using the tips of my fingers and laying the wrench against the back of the bed (there's that angled ledge that helps) slid it down toward the hole. I slowly lined it up and installed the bolt / screw.

HUUUUUUUGE pain in the rear. There isn't some quick secret that will make it easier that I was able to find. Maybe if you have a crescent wrench with one of those angled ends.
I think I'm going to have to design and 3d print a tool to hold it for at least getting the nut started. 😆
 

LALARange

Member
Joined
Sep 8, 2025
Threads
0
Messages
10
Reaction score
2
Location
90067
Vehicle(s)
2024 Ranger Raptor
Does anyone have any suggestions for installing the nuts for the top 2 screws on the back molle panel? Even with my small hands I can reach to get the nut started.

Screenshot_20260227-165648.webp


PXL_20260222_222425026.RAW-01.COVER.webp
https://www.harborfreight.com/11-in-90-bent-nose-long-reach-pliers-64087.html

I picked these up on sale for about $5 and they worked perfectly.

Given the difficulty of getting to these without a specialized tool, I think @American Adventure LAb should actually call for these or something similar in installation instructions for the front molle panel.
 

el_sabio

Well-Known Member
First Name
Randall
Joined
Oct 6, 2024
Threads
16
Messages
190
Reaction score
259
Location
Tennessee
Vehicle(s)
24 Ranger XLT FX4
I put a topper on that uses the tie-down cleat locations. Will these MOLLE panels work? It looks like the sides will, they can nest behind the bracket and I think the MOLLE panels have enough room. The front bulkhead panel I cannot tell. Here are some pics. Before I order I hope to validate so I don't end up wasting a lot of cash.

IMG_2755.webp


IMG_2759.webp


IMG_2754.webp
 

Sauce

Well-Known Member
Joined
Apr 30, 2025
Threads
45
Messages
505
Reaction score
425
Location
Northeast
Vehicle(s)
2025 Ranger XLT FX4
Can @American Adventure LAb or someone else confirm whether the holes in the molle panels align with the arb ckmta12 on board compressor mount holes? I think they do but I’d like to confirm.

Has anyone mounted a compressor to the molle panels? I’m specifically planning to mount to the bulkhead panel.
Sponsored


Top