Signature Lux
Gold Sponsor
- Joined
- Aug 25, 2024
- Threads
- 14
- Messages
- 81
- Reaction score
- 169
- Location
- Australia
- Website
- www.signaturelux.com.au
- Vehicle(s)
- Ranger Raptor 23.5
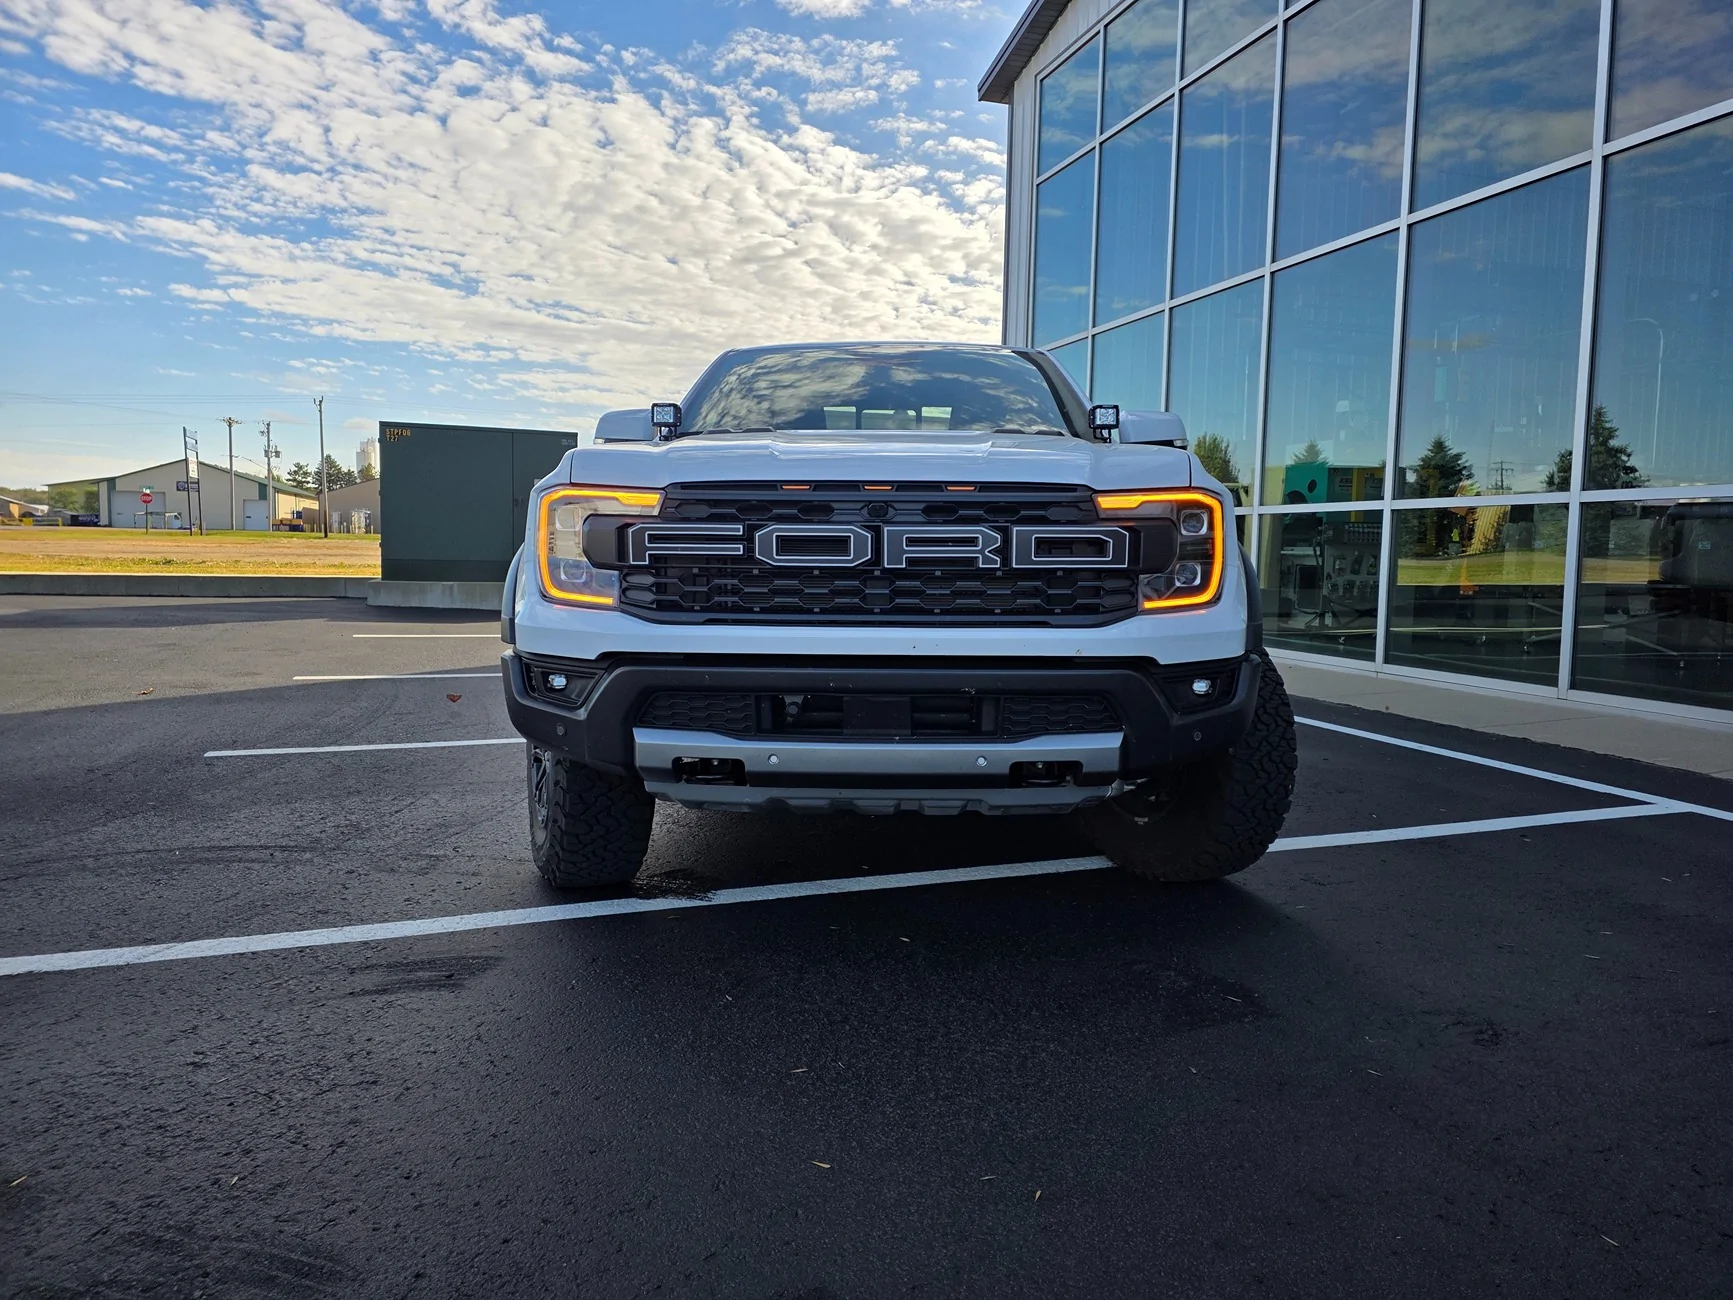
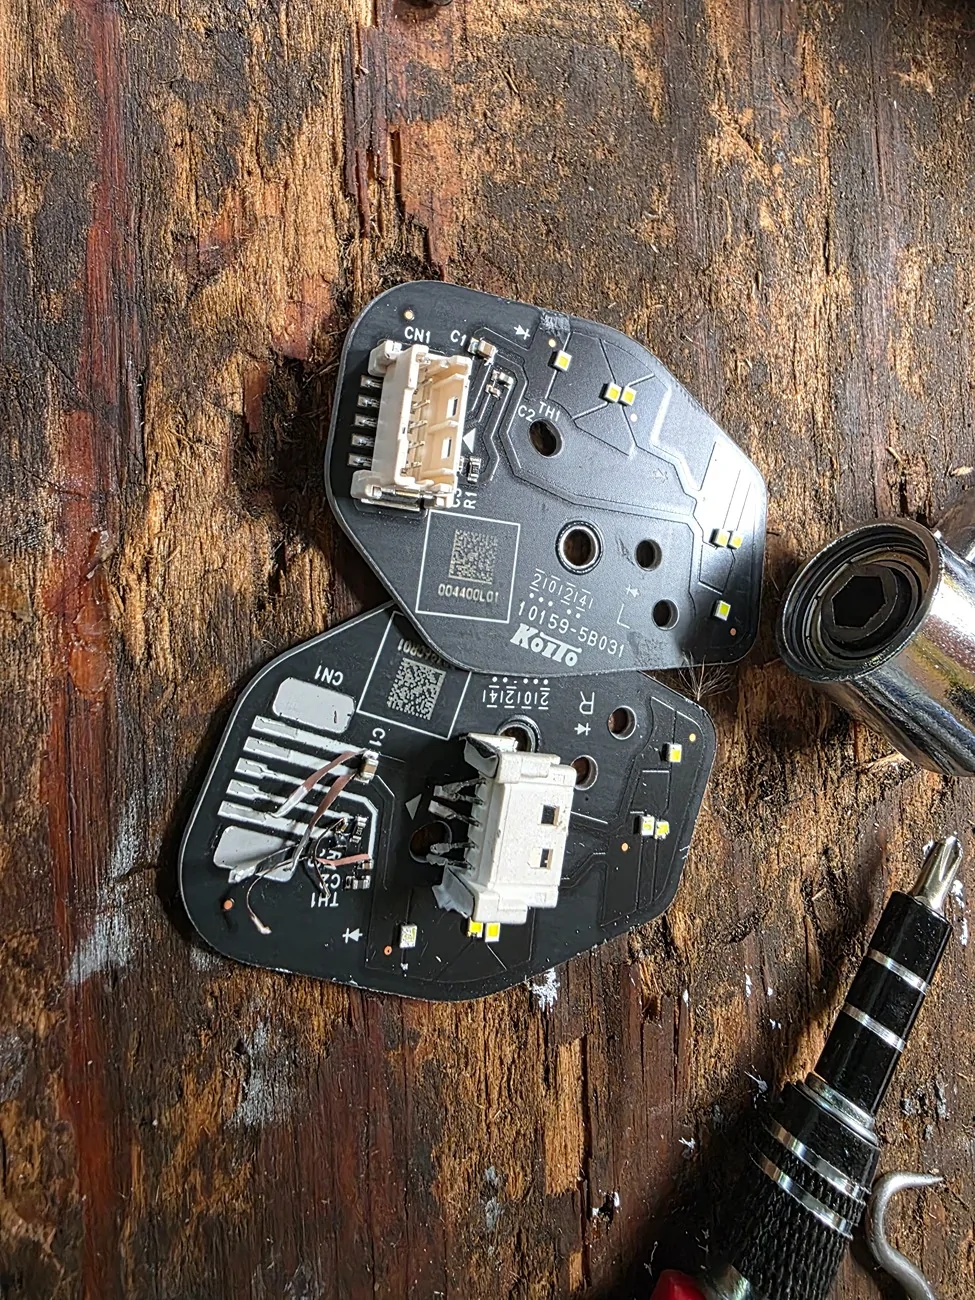
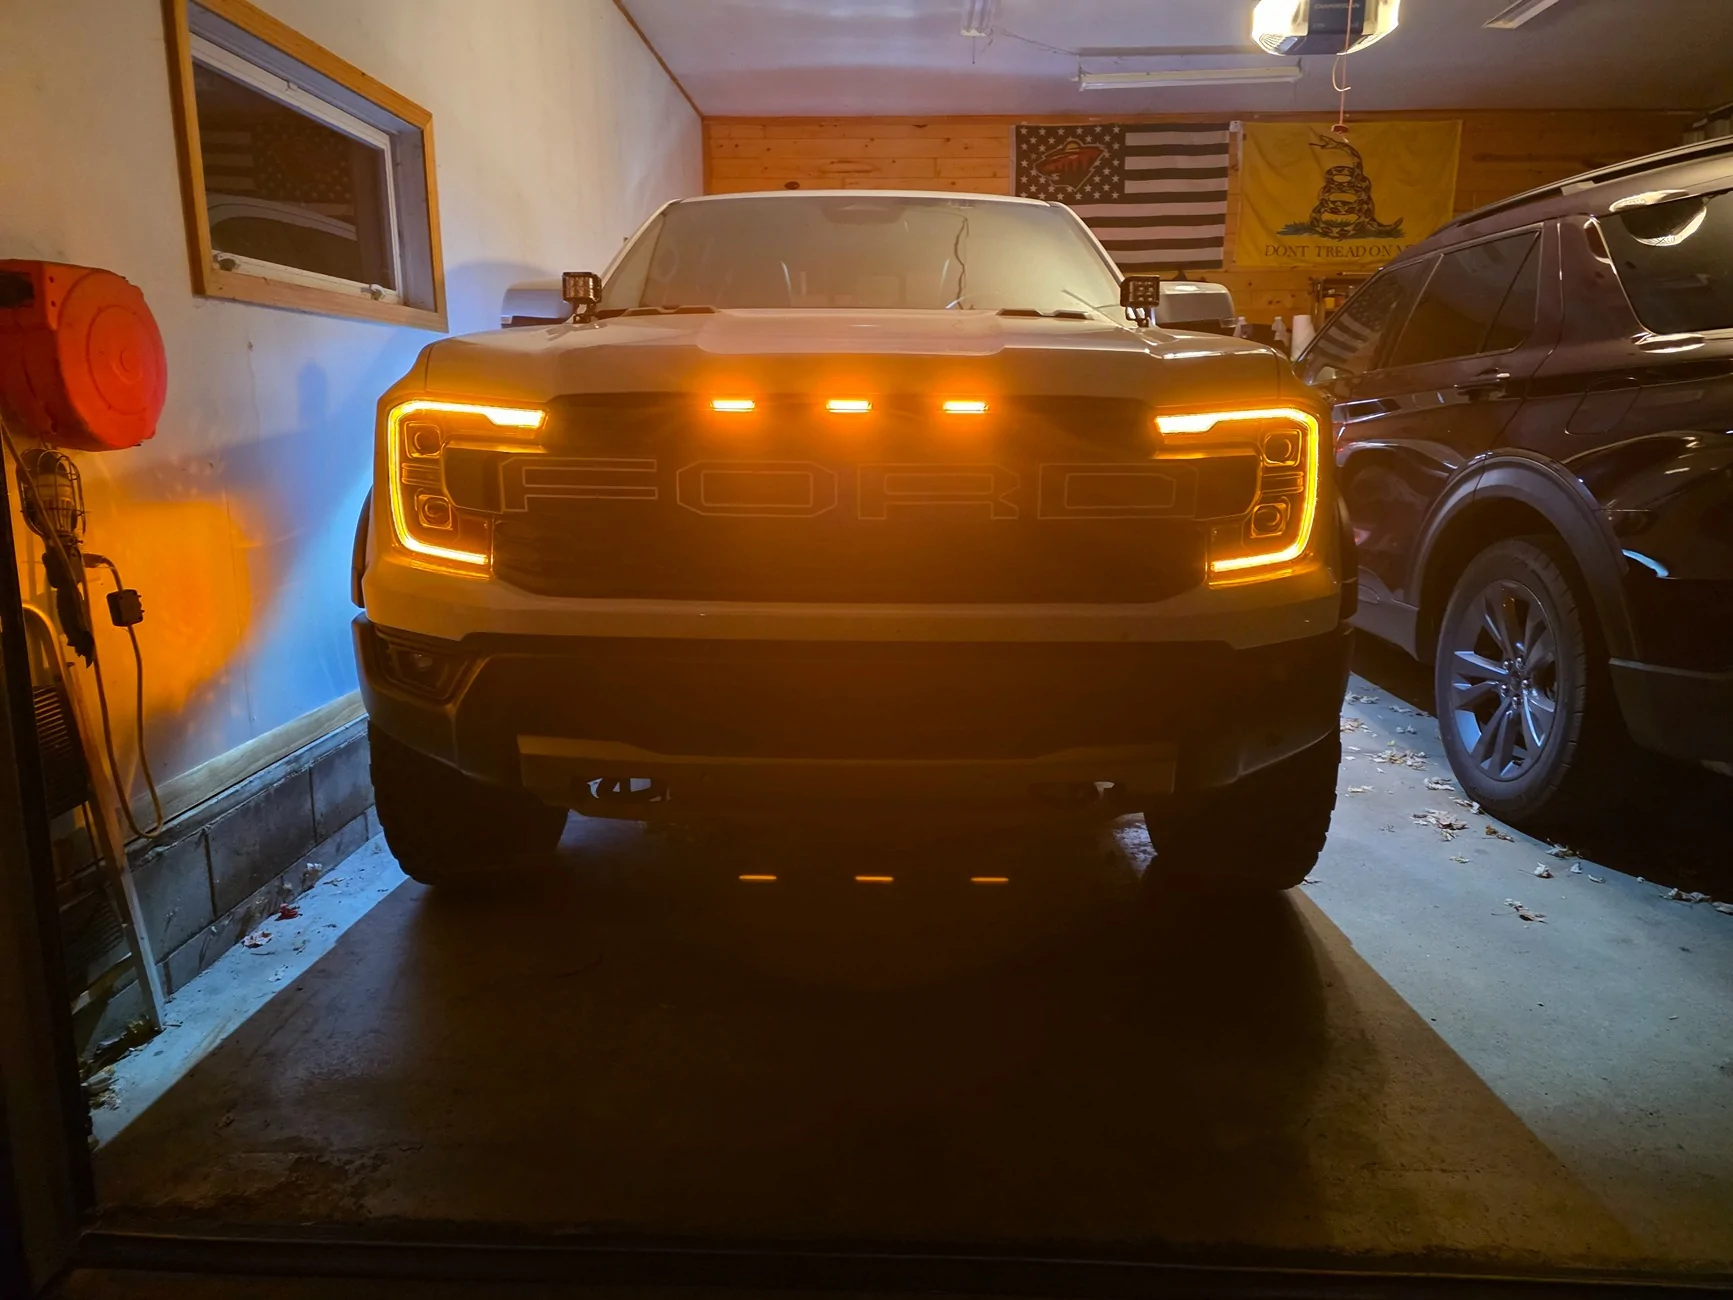
Yes we do have a version for non-raptor models. In the product link, there is an option based on what your headlight look like.Is this compatible with non raptor rangers as well?
https://www.signaturelux.com.au/pro...xt-gen-headlights?_pos=1&_sid=6b612cded&_ss=r
Sponsored