MyDreamTruck
Member
- Thread starter
- #1
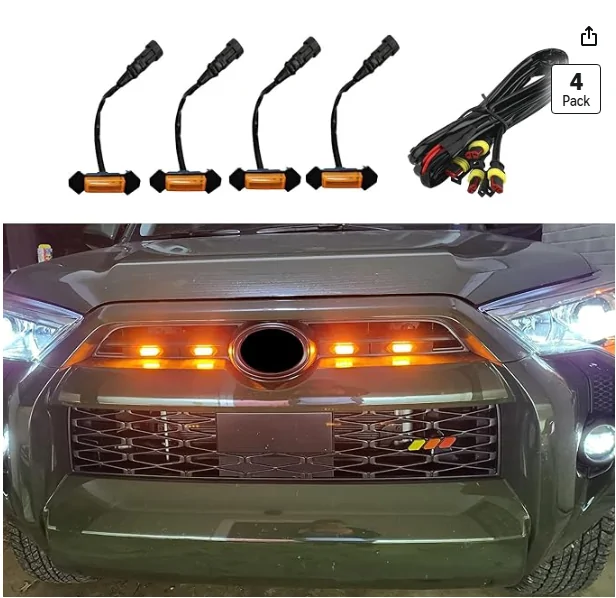
here is my question, does anyone sell the raptor amber lights but clip on? Meaning not functional. I’m not ready to dive in the mods yet
Sponsored

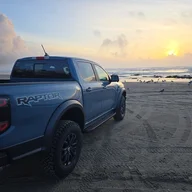
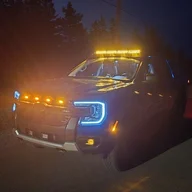
This is on my XLT. But on all Rangers, there is 3 convenient blunt cut wires behind the driver side kick panel, under the TRM. A high beam trigger, a marker light trigger, and a ignition trigger wire. I got my grill lights on the marker wire, and my Diode Dynamics D-Switch hooked up to all 3 triggers.Sorry guys, new to this and don’t want to mess with my baby’s wiring but I do get the switches. I’ll probably just take it somewhere to do it. Im afraid to mess it up. It’s the first vehicle I really wanted so I’m a bit cautious
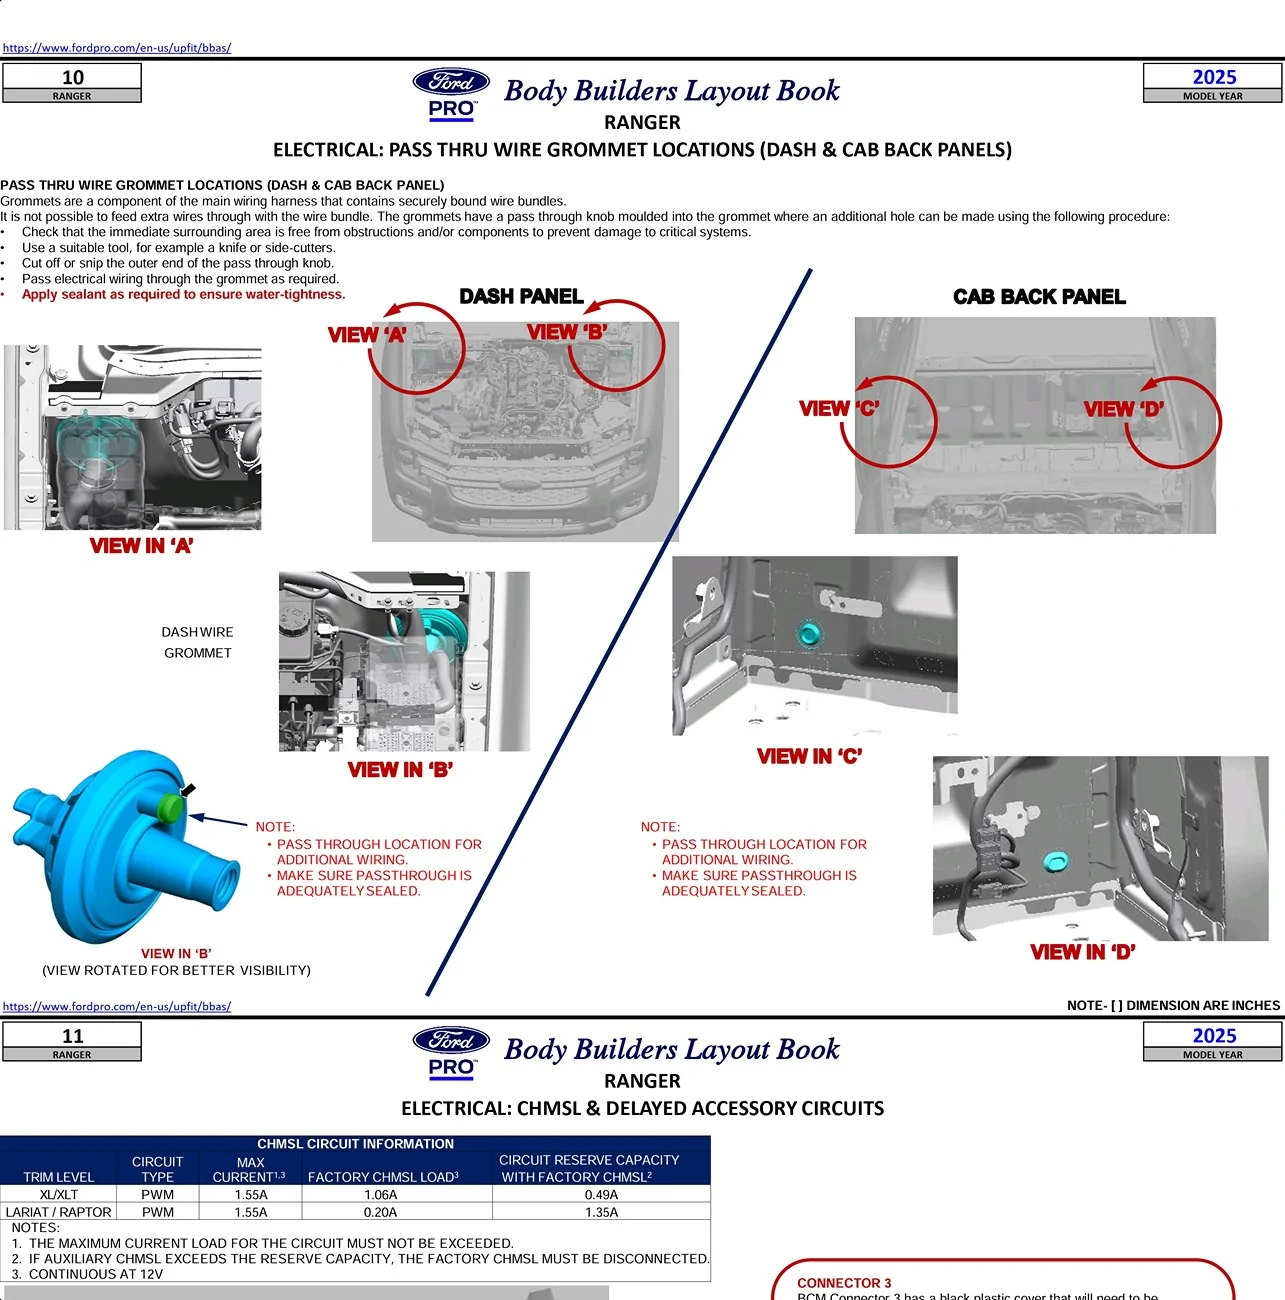
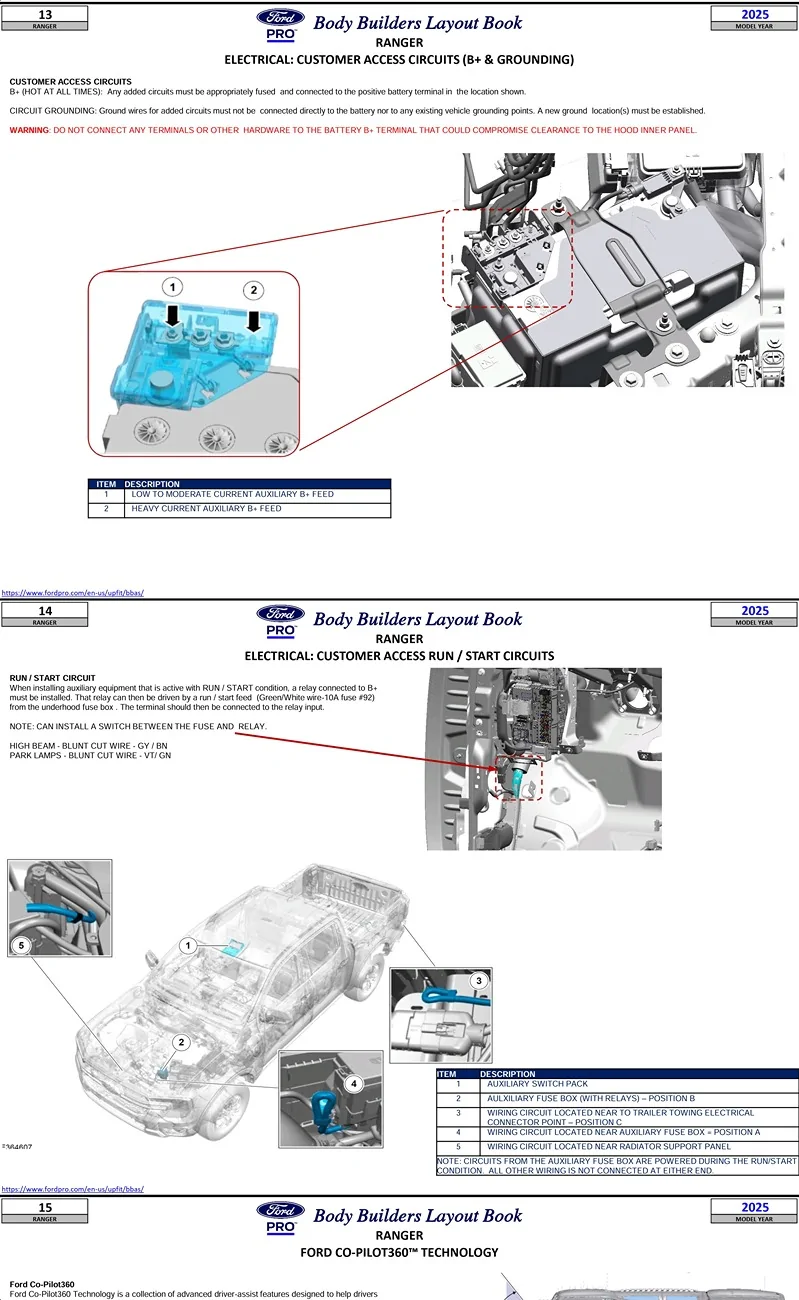
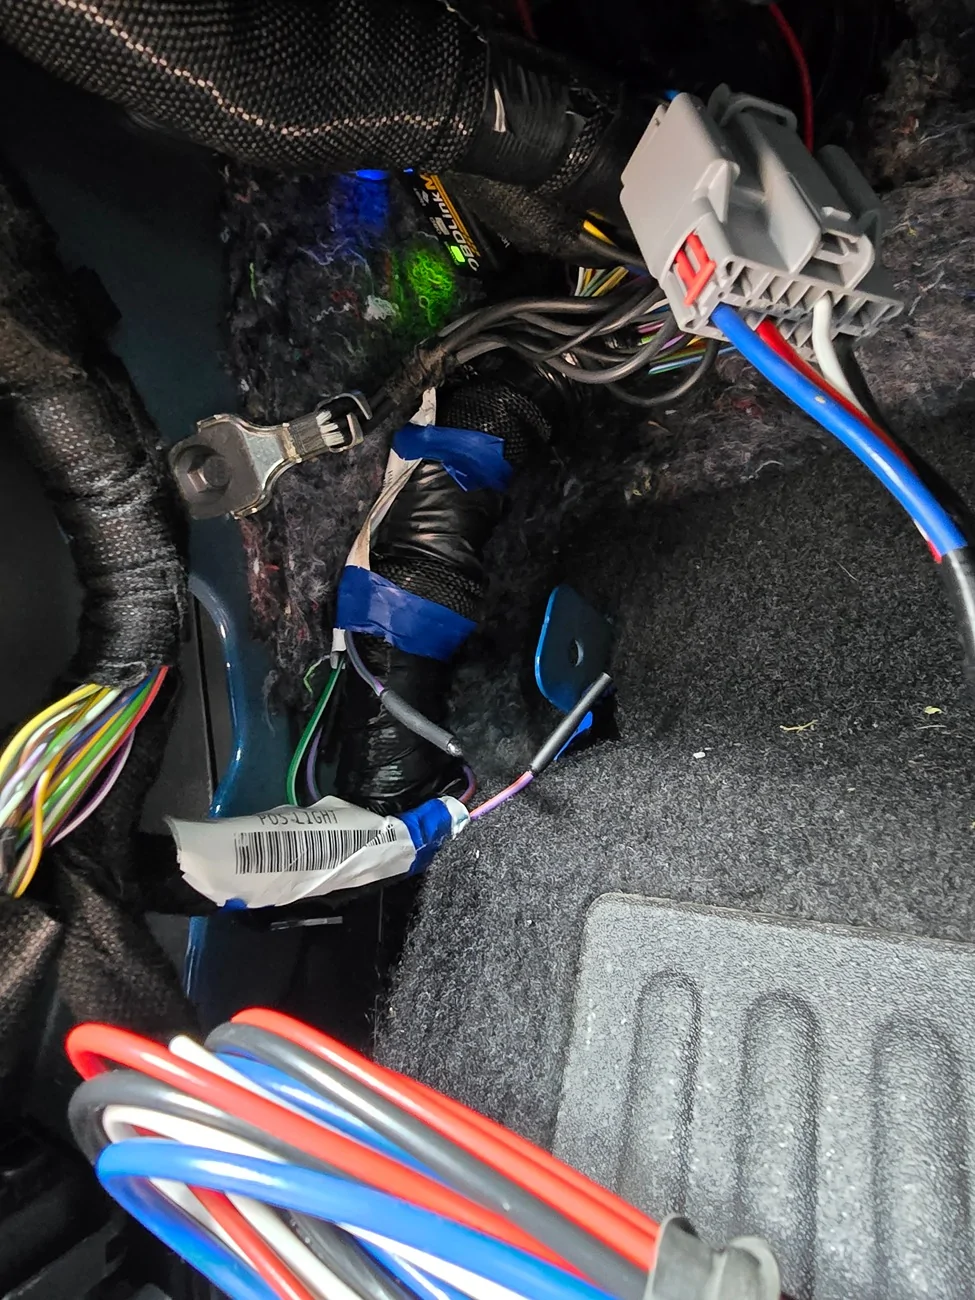
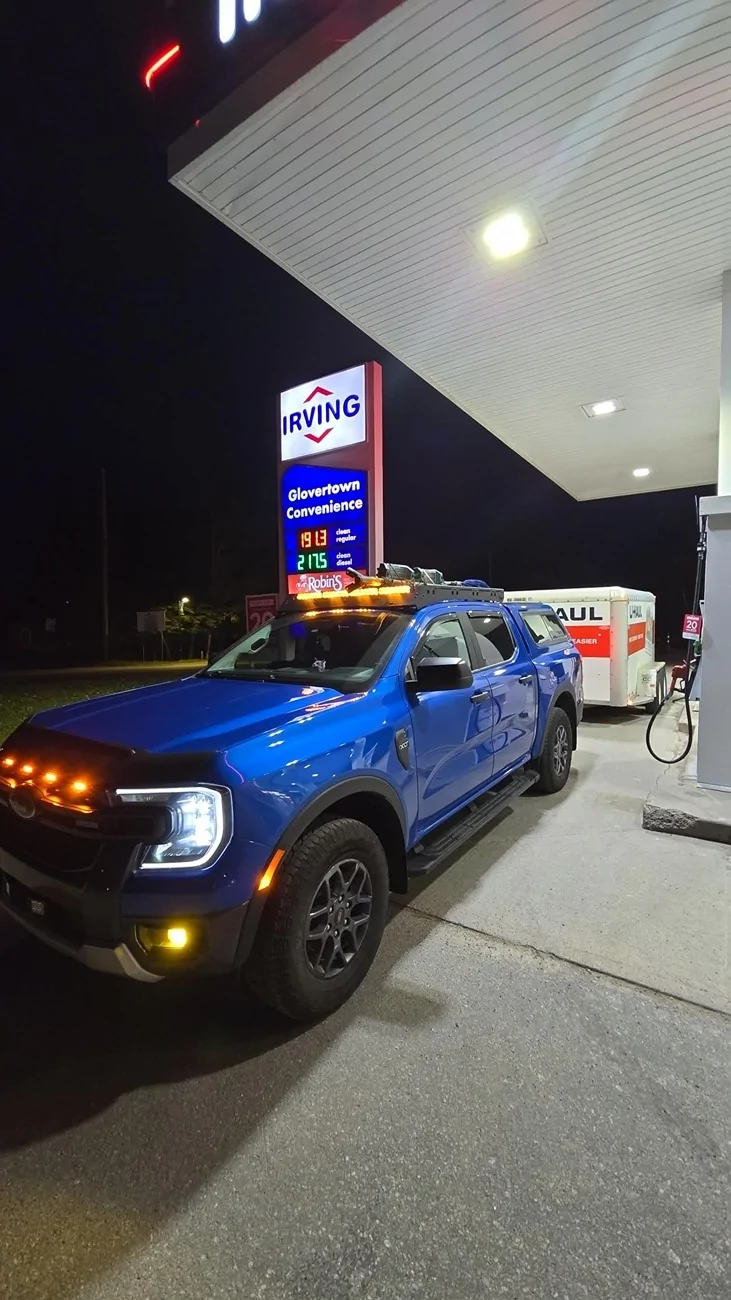
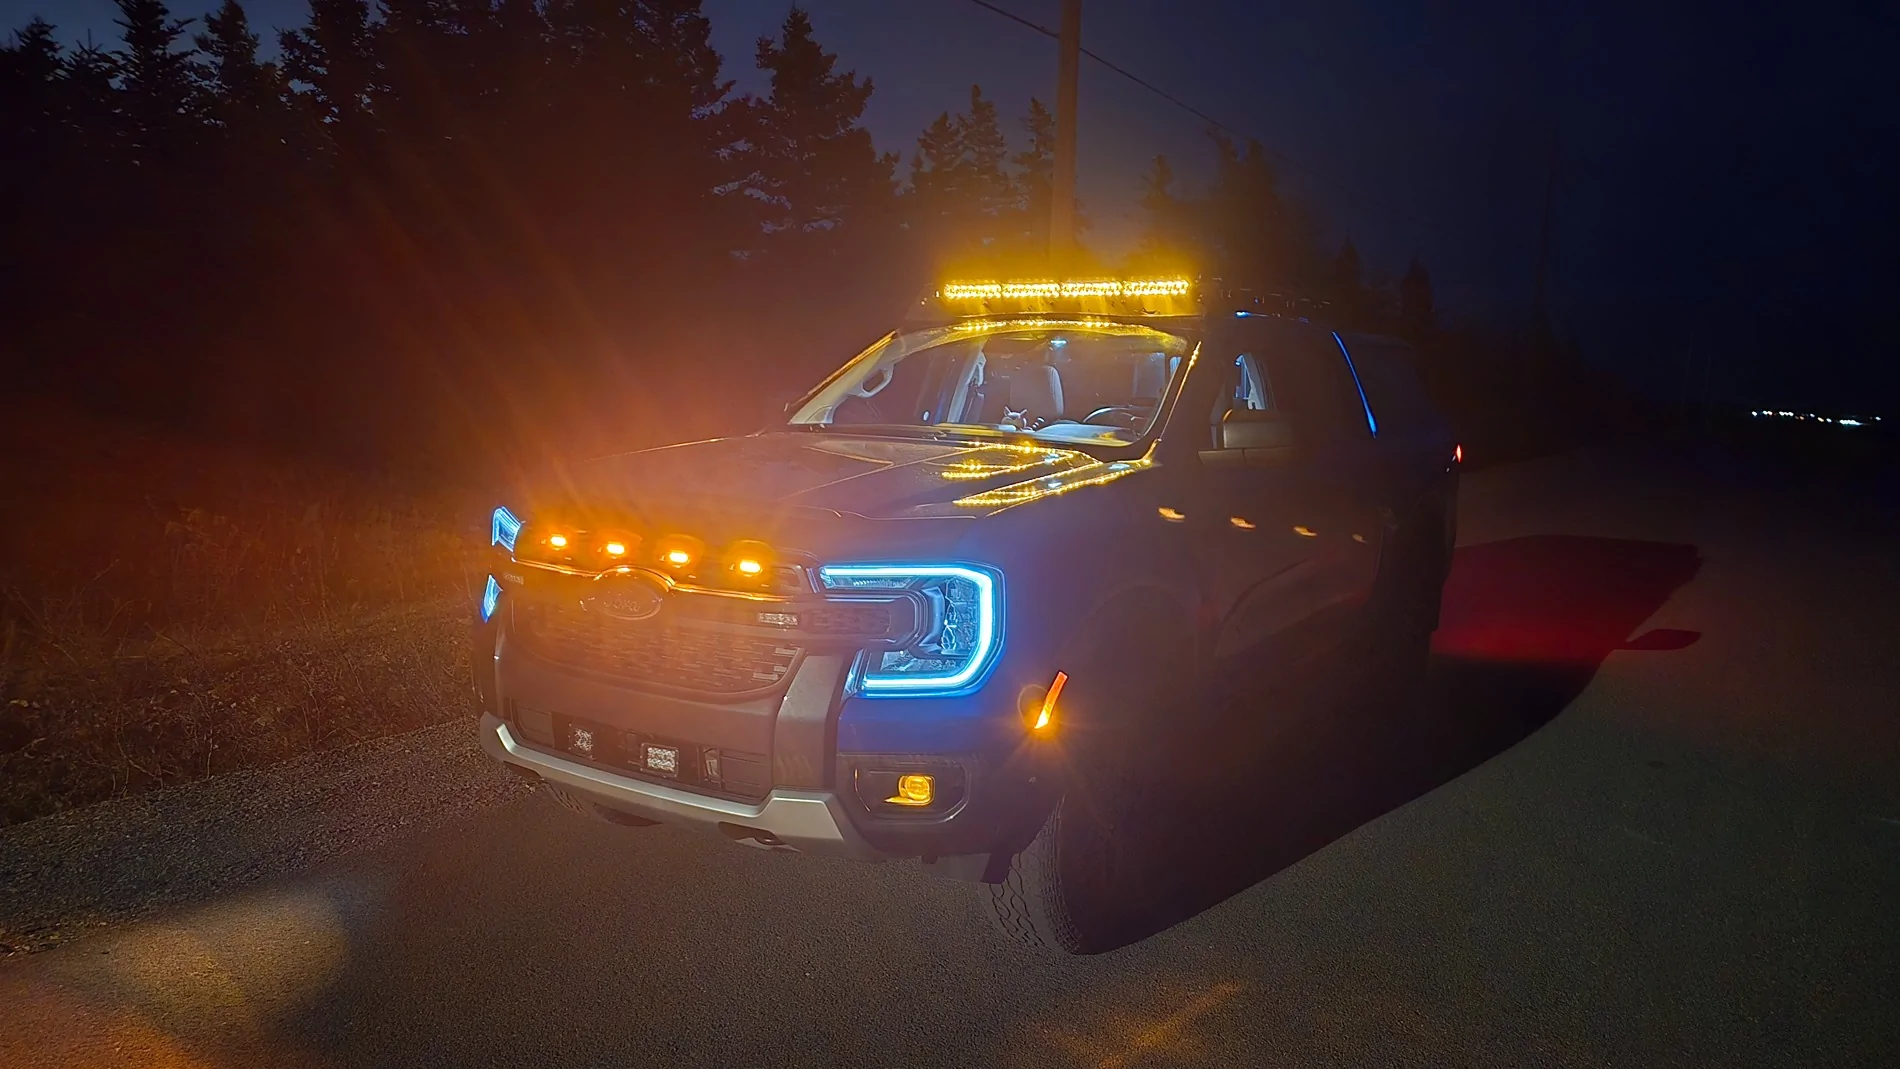
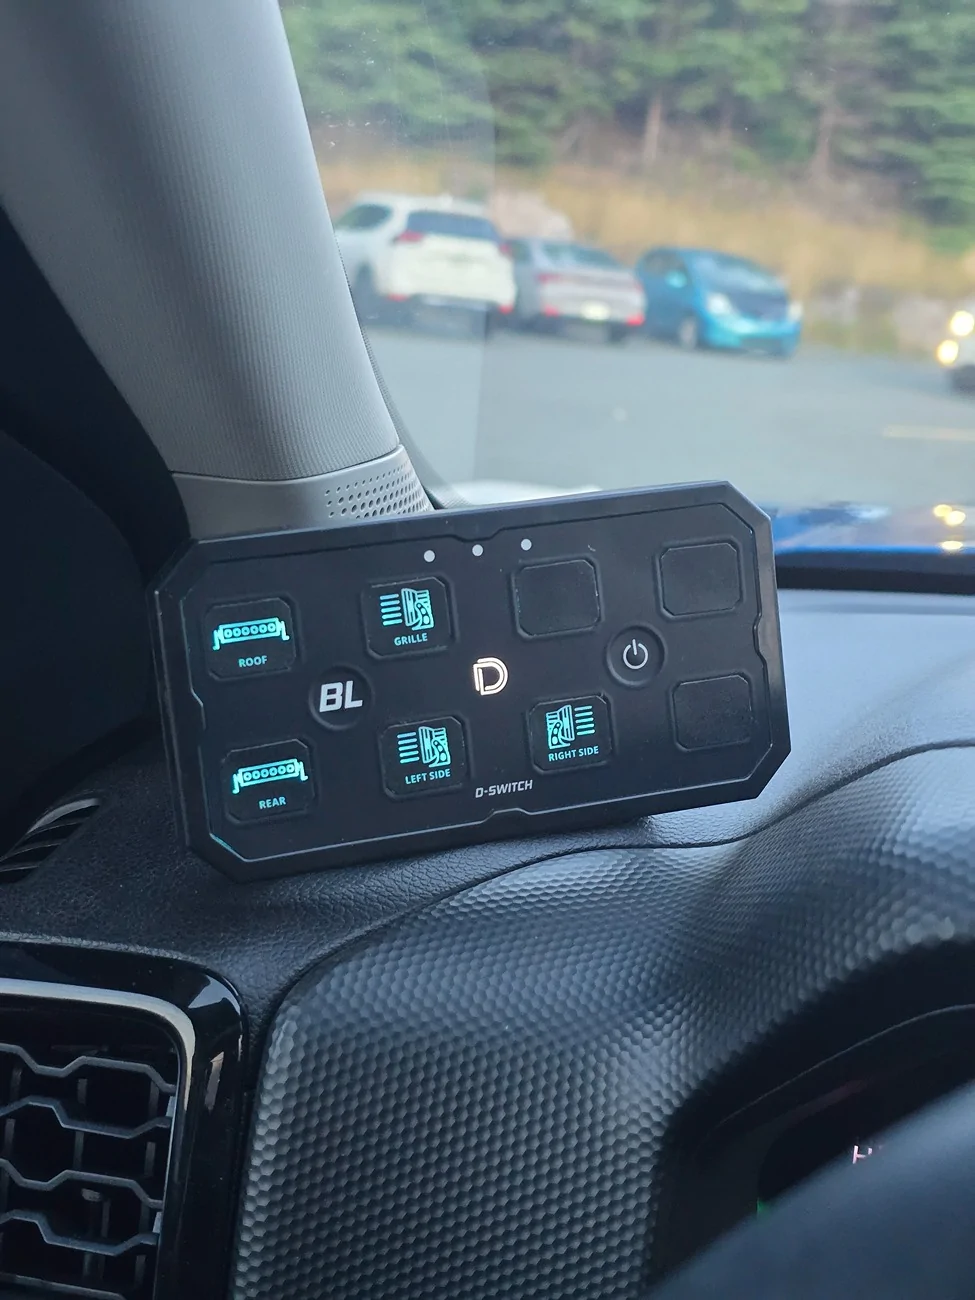
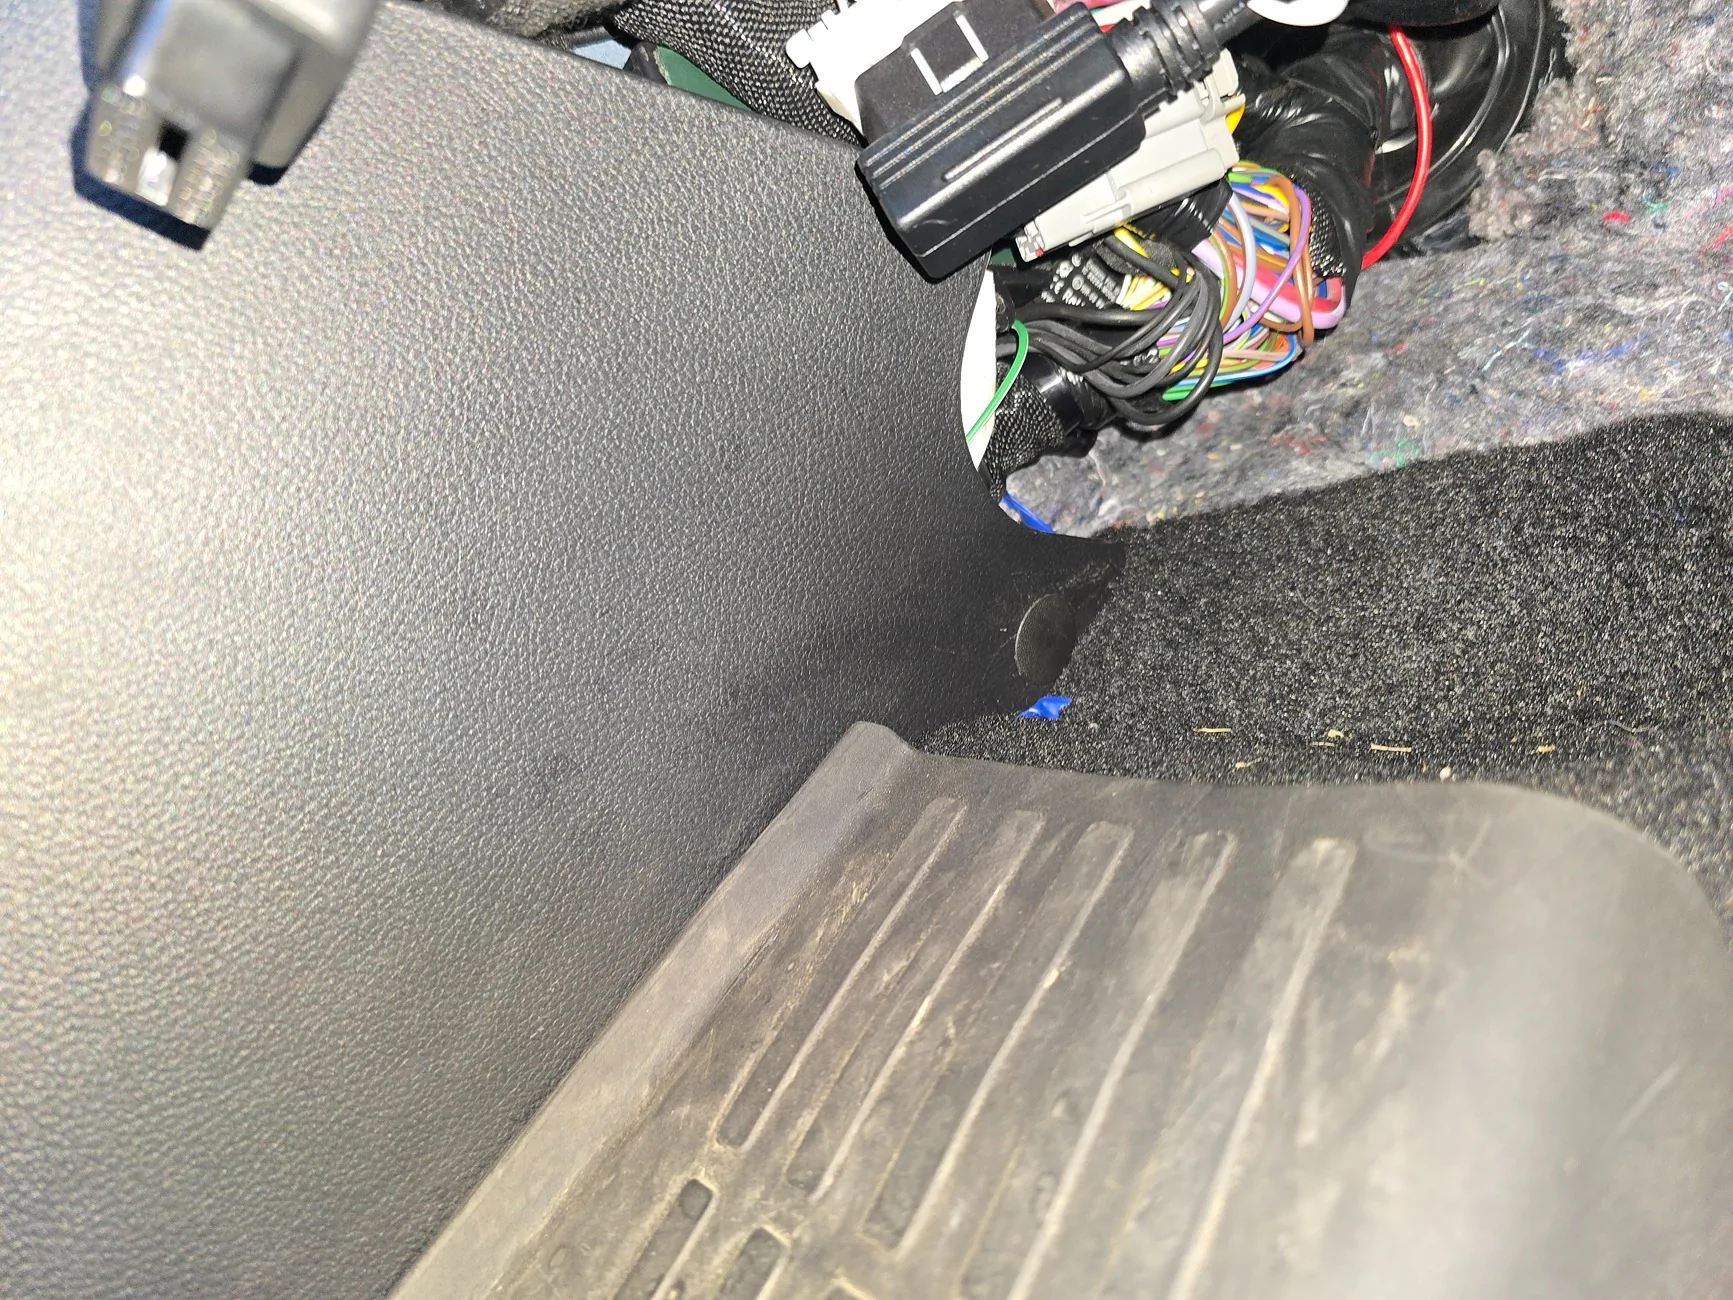
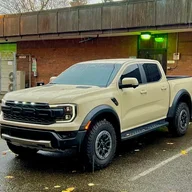
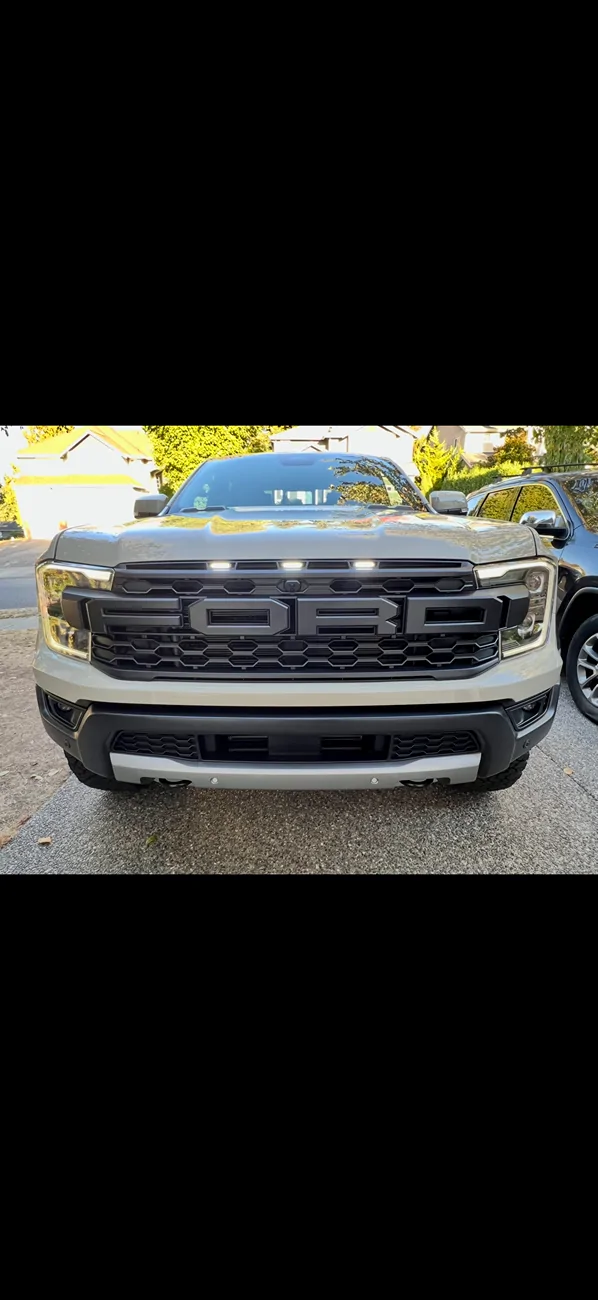
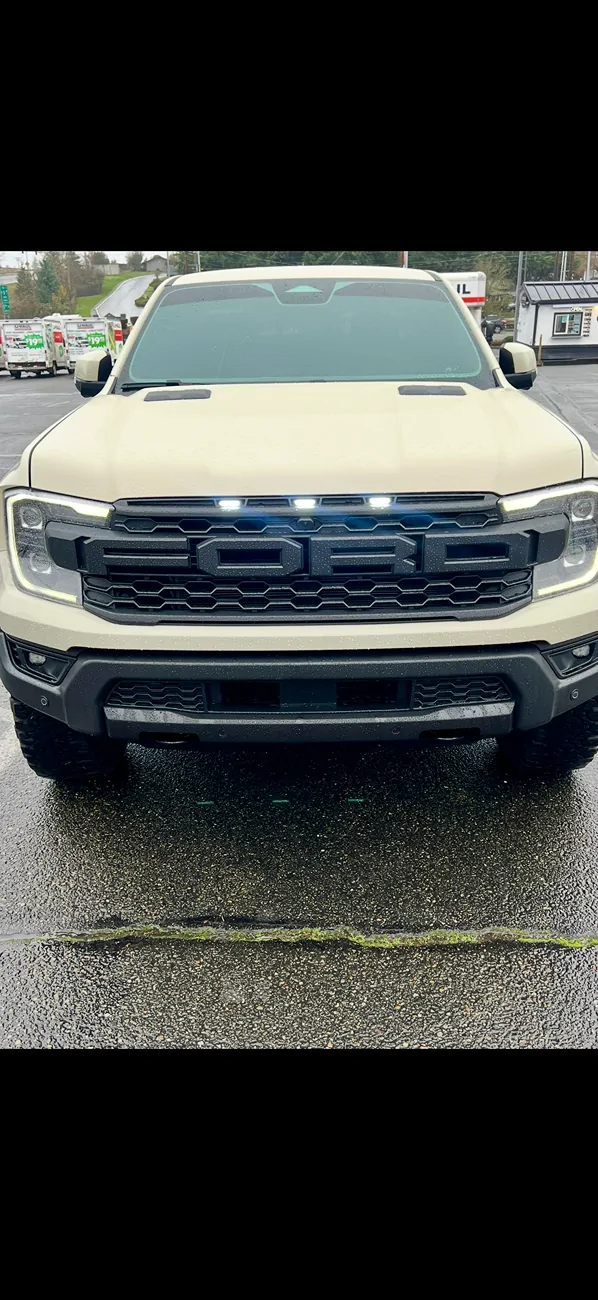
Most useful stuff I've seen on here!!!This is on my XLT. But on all Rangers, there is 3 convenient blunt cut wires behind the driver side kick panel, under the TRM. A high beam trigger, a marker light trigger, and a ignition trigger wire. I got my grill lights on the marker wire, and my Diode Dynamics D-Switch hooked up to all 3 triggers.
that green wire you just see poking out is the ignition wire after I untaped it.


except you are splicing into the harness unless they now have a Y harness using the sidemarker plug. Those cancer connectors(scotchlocks/quick splice/etc) will destroy the wiring after a few months/years. I already had the harness fail at the fuse and I sealed the fuse holder.Utilized the F-150 LED’s RR kit in white (also avail. in amber). It’s a snap to install with their in-line plug & play wiring harness that taps into the marker light. Zero splicing into your wiring. Everything is done right up in the corner at the battery and the grill obviously. Took about an hour & 1/2.
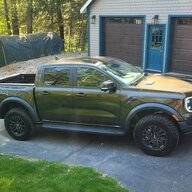
Did you have to remove the side marker light? If so, did it pop out with a pry tool? I just got the same setup and was trying to figure out how to reach the side marker lightUtilized the F-150 LED’s RR kit in white (also avail. in amber). It’s a snap to install with their in-line plug & play wiring harness that taps into the marker light. Zero splicing into your wiring. Everything is done right up in the corner at the battery and the grill obviously. Took about an hour & 1/2.
I used there in line Y harness. No scotch locks! But it was an extra purchase alongside the kit itself. Uses weather pack OEM style connectors that I loaded with di-electric grease during assembly for extra wetness protection. Hasn’t given me any issues.except you are splicing into the harness unless they now have a Y harness using the sidemarker plug. Those cancer connectors(scotchlocks/quick splice/etc) will destroy the wiring after a few months/years. I already had the harness fail at the fuse and I sealed the fuse holder.
Not happy with the nearly $200 Canadian I paid for it. 2 of the lights are a slightly different colour from the other 2, and no reason why those lights had to cost as much. the only good thing about it, was the double side tape they use on the lights. that shit is strong. lol
Exactly! Just popped out the drivers side marker light with a plastic pry/trim tool. I did blue tape around the light on the paint just to be safe. Wouldn’t hurt I figured. It popped out with ease from what I remember.Did you have to remove the side marker light? If so, did it pop out with a pry tool? I just got the same setup and was trying to figure out how to reach the side marker light


