It works great, used it on my black Raptor and it was seamless, don’t be afraid of blobbing on the paint, once you use the reducer go slow and it looks great,
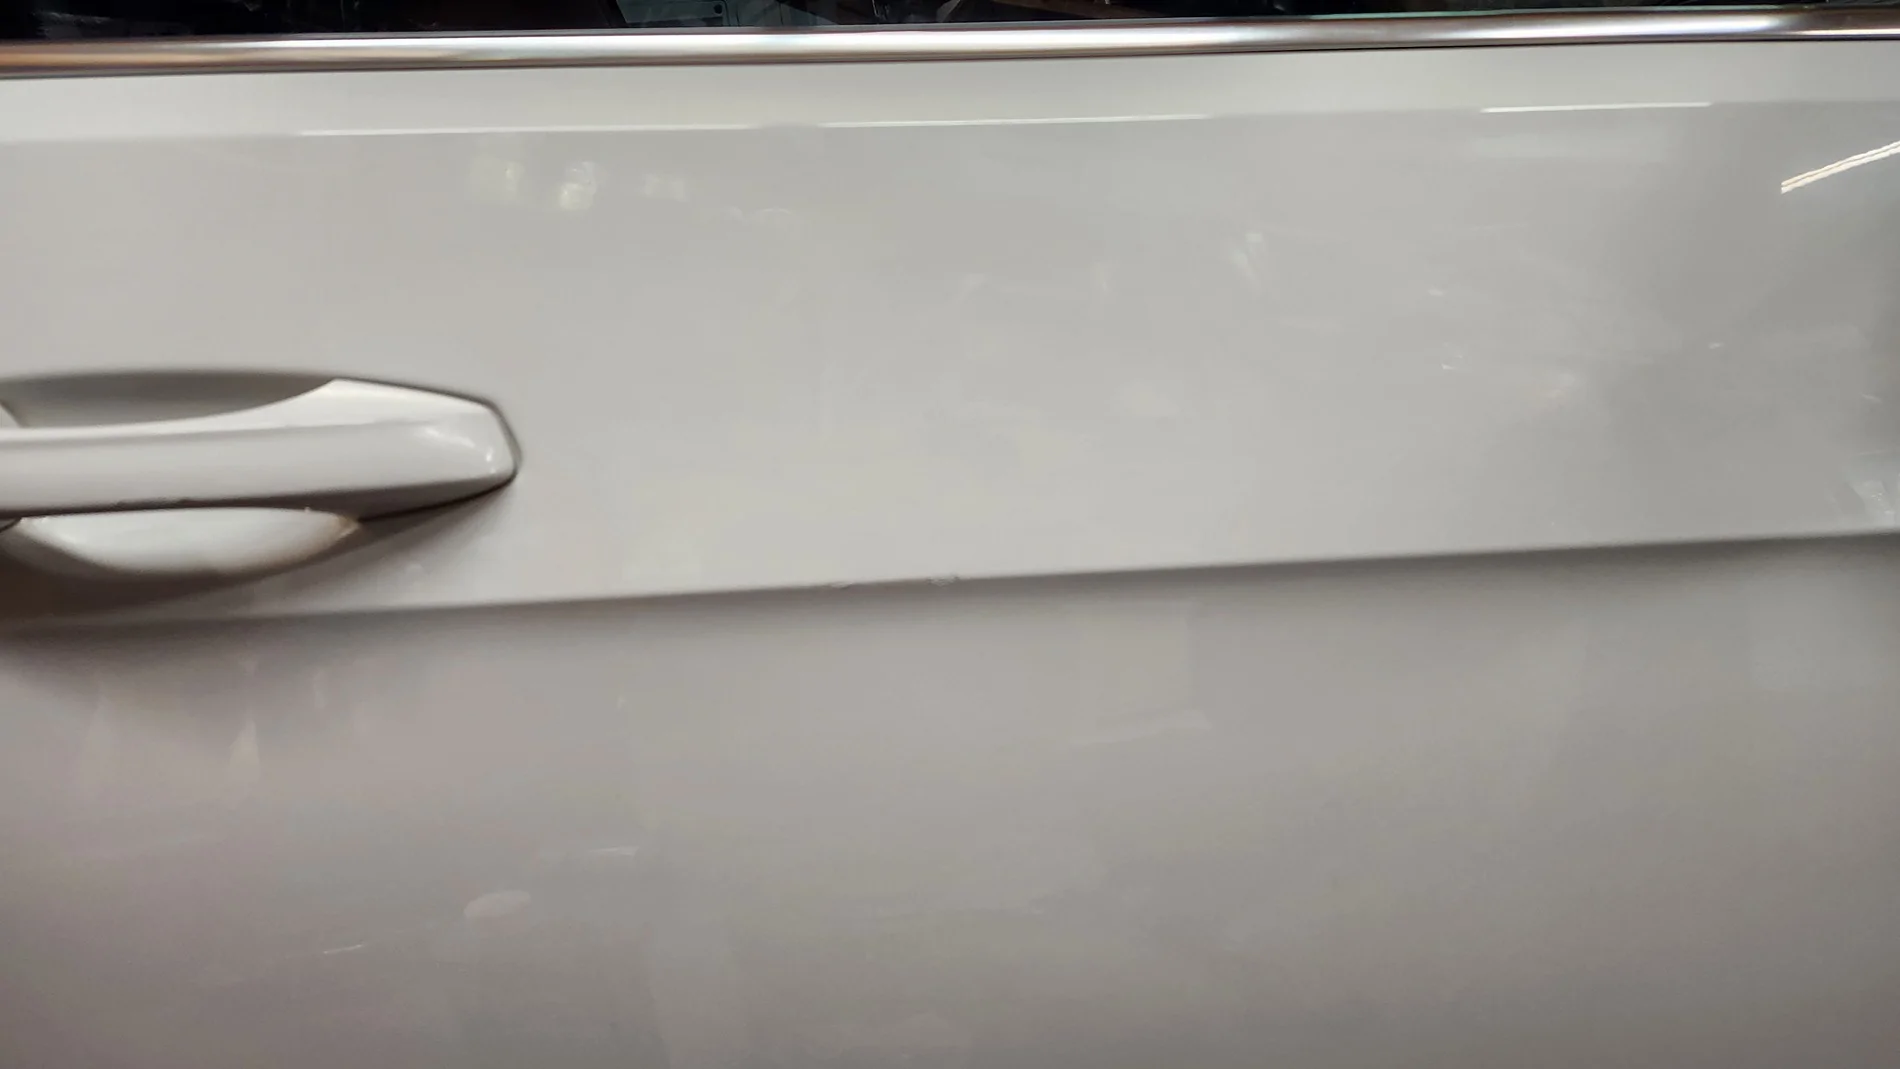
Here are the results of the door dings on the side of my TDI. They were very difficult as not only were they were on a horizontal surface but they were right on a raised crease. I worked on them off and on for 2 days until I was finally satisfied. I had to keep applying paint and shaping it with bits of 2000 and 3000 stuck to my fingertip. I used a super magnifier with a jeweler's eye loupe and a bright headlamp. When it came time to buff the area I applied a piece of pinstripe tape so the buffer wouldn't burn thru on the crease, then at the end I removed the tape and carefully and briefly buffed over the crease. They are not perfect but you cannot find them unless you know exactly where they are, they are nearly invisible without magnification.
I'd say they were about 6 times harder than the hood chips.
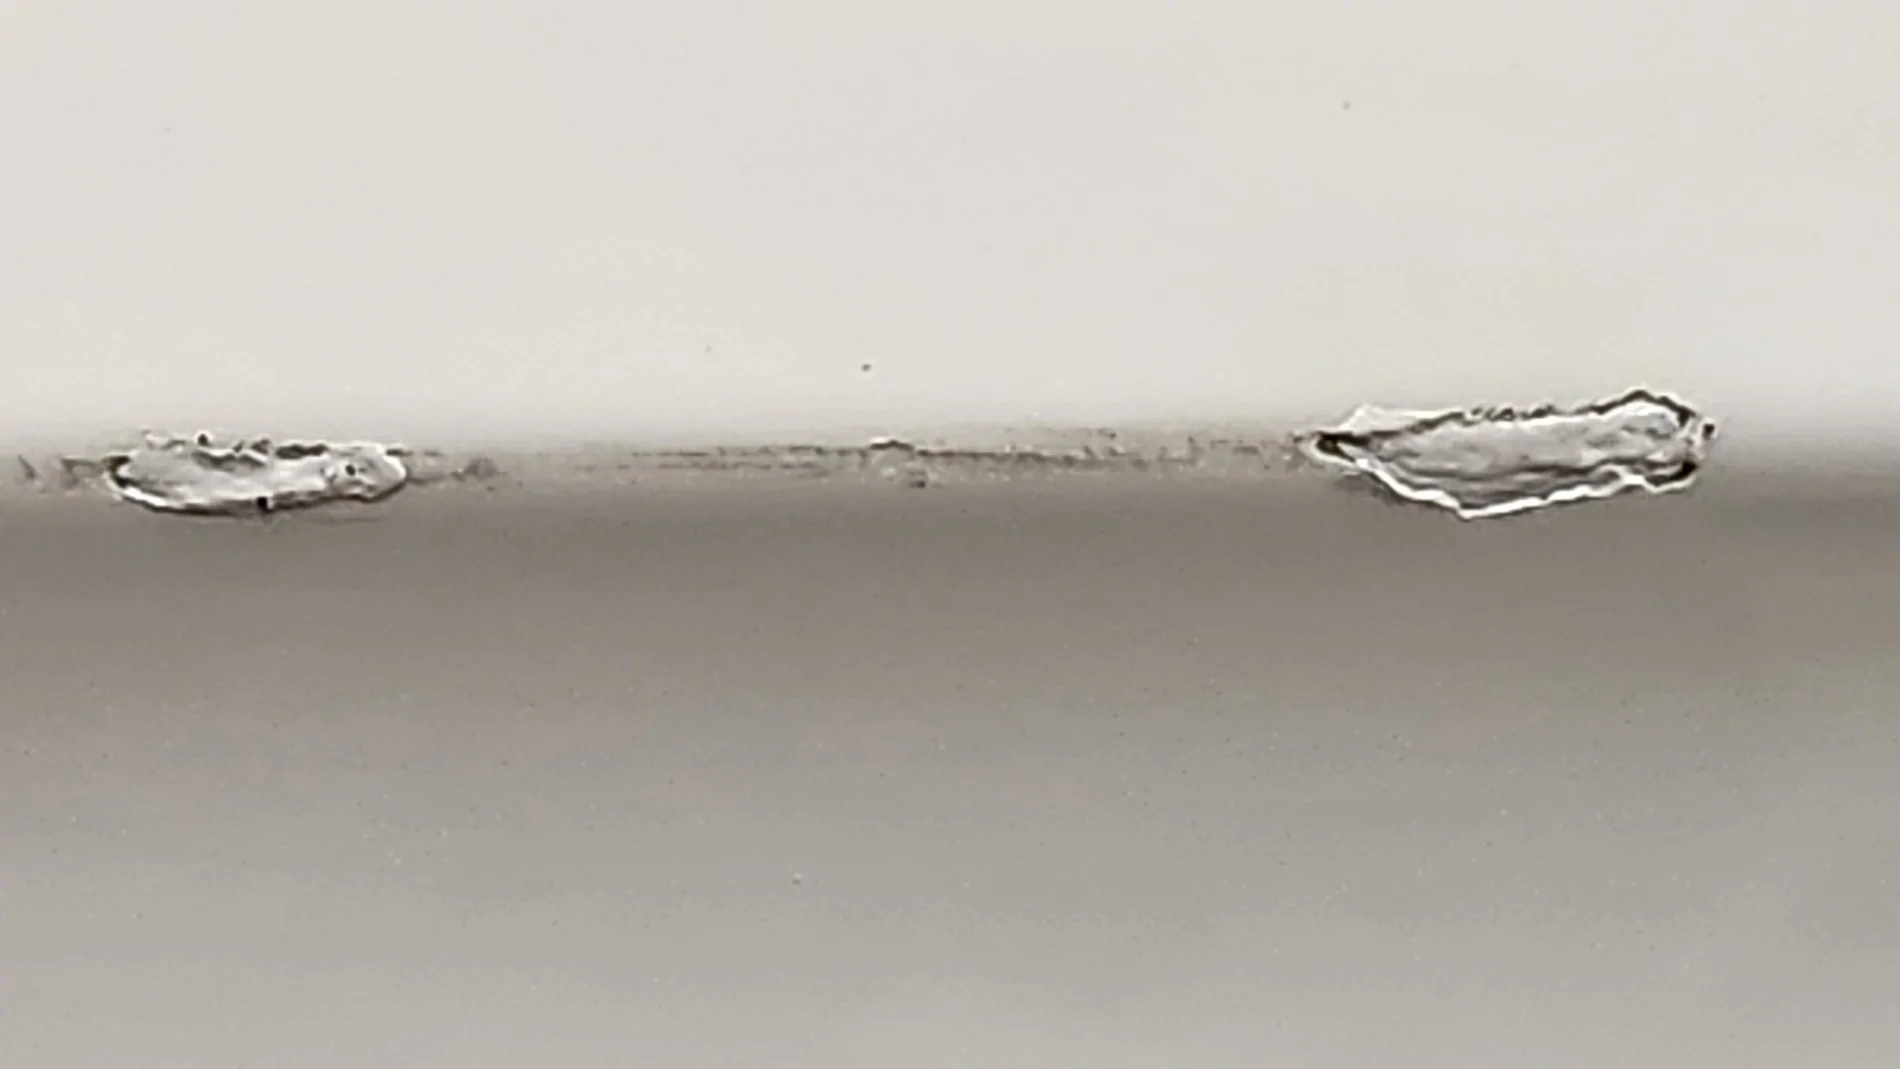
Here they are before I started, zoomed in and zoomed out. You can see there was a pitiful attempt at fixing them at an earlier date. There is also paint damage between them which I was able to completely sand out.
After cleaning, sanding and cleaning again I did several buildups, sanding each one.
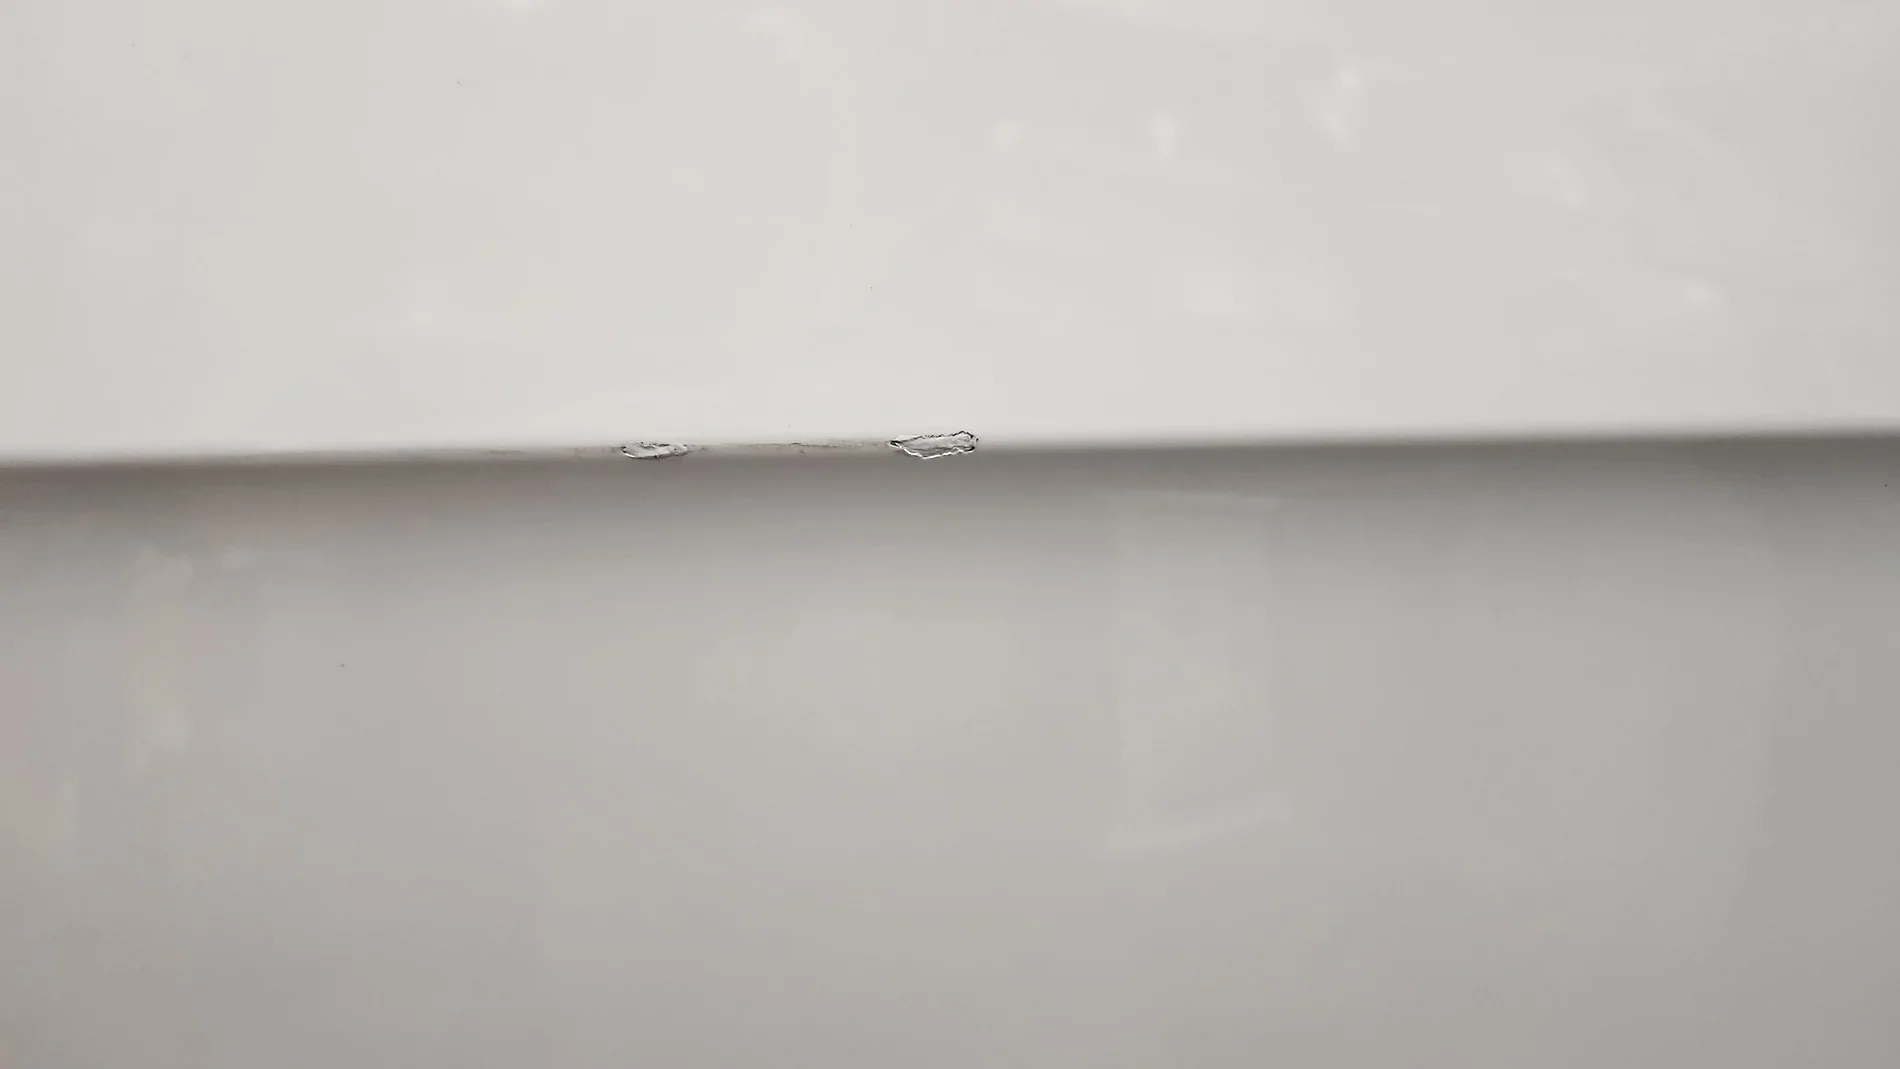
Making progress
This is where I decided it was good enough. This is magnified 3X. You can still see the edges outlined, maybe I could have sanded further out initially.
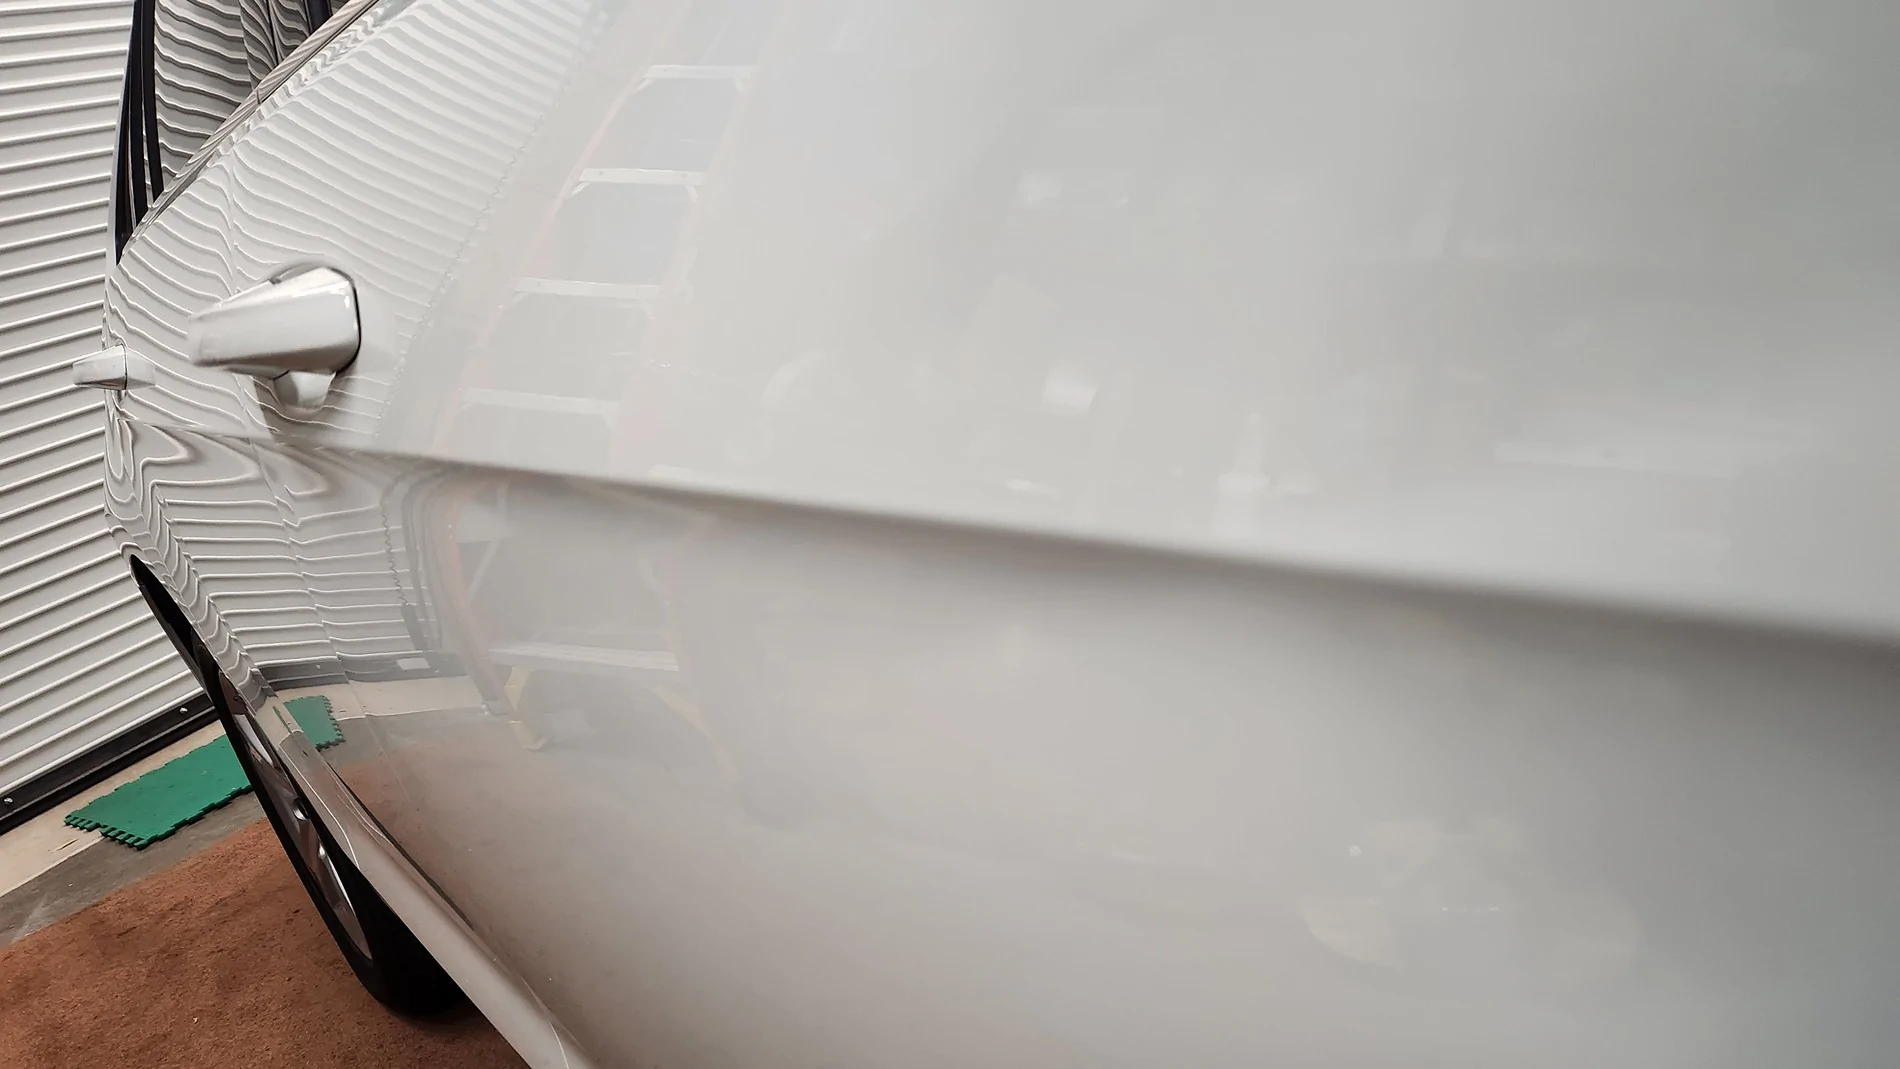
You can't really see them at normal magnification unless you bend down and look real close
Just about ready to sell and make way for the new Ranger. I still plan to order some Dr. Color and do a comparison test on my Jeep which has a lot of rock chips. Plus I can use more practice.
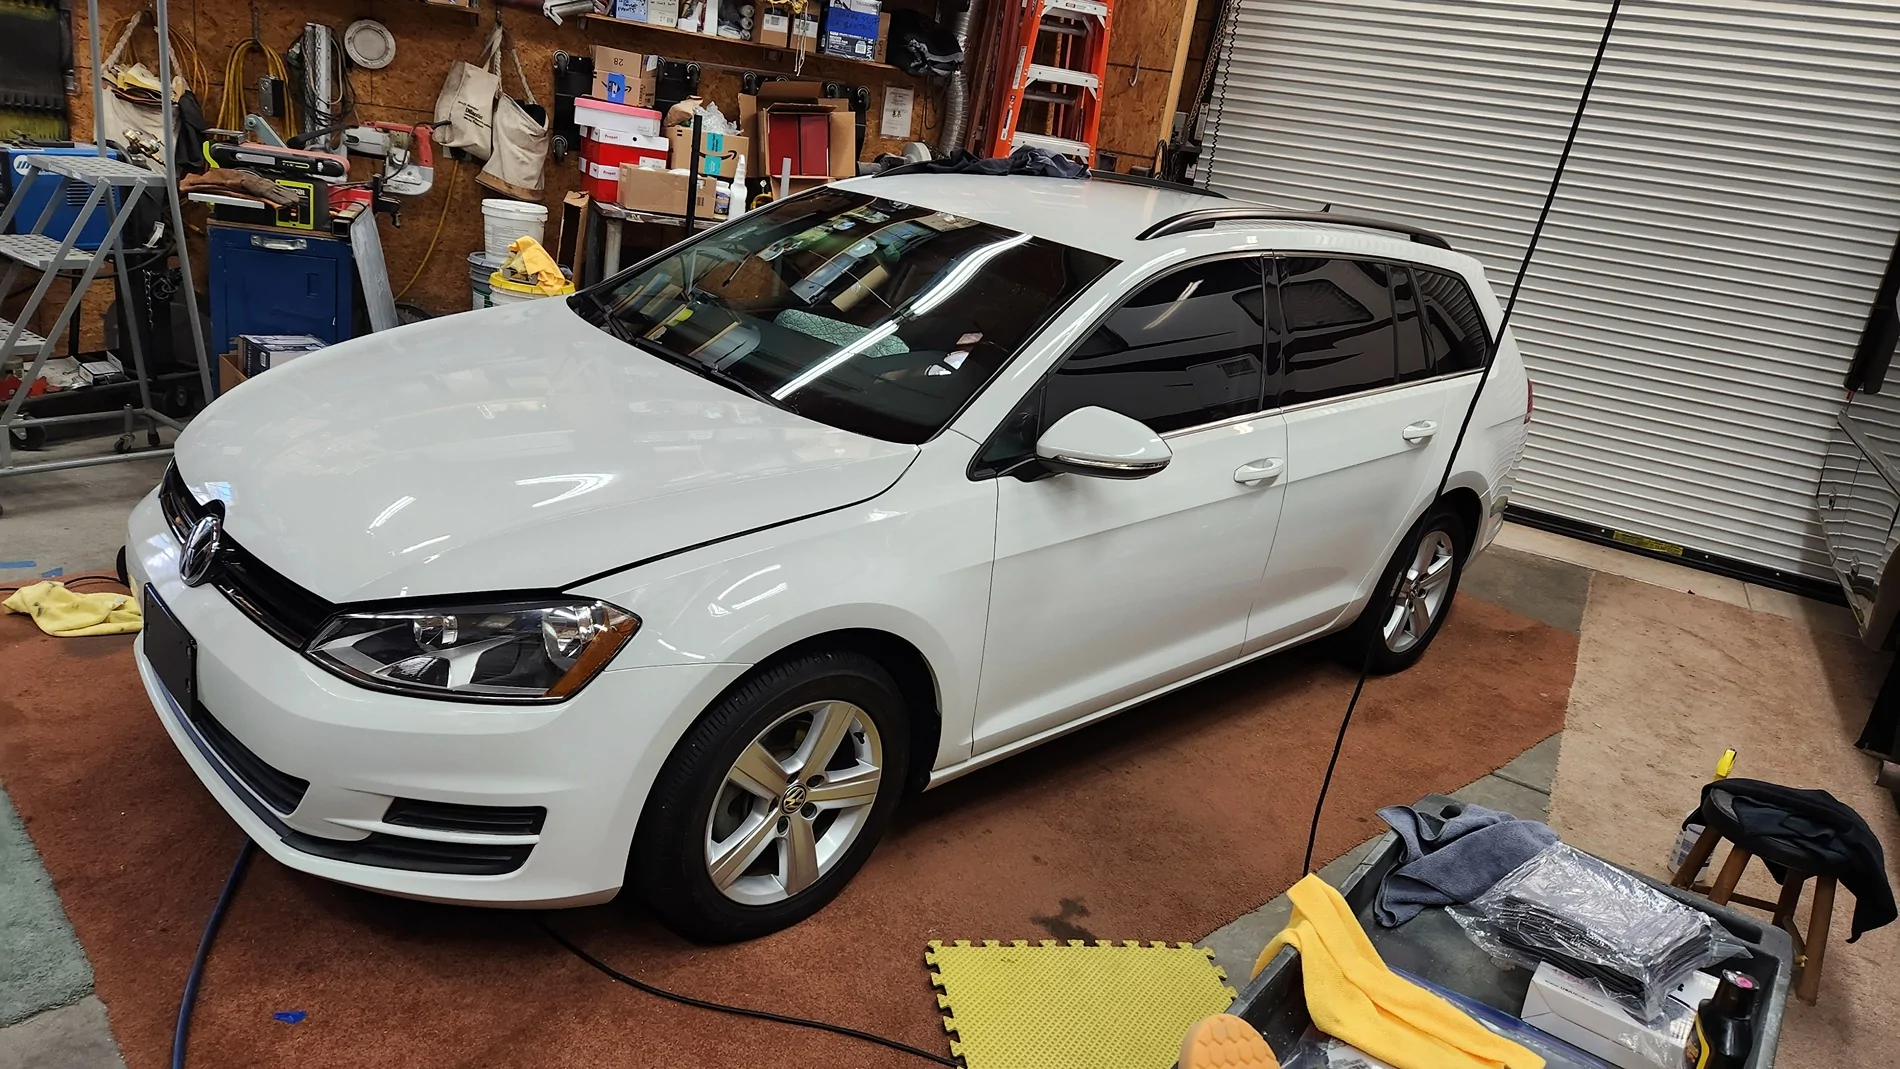
As promised I started practicing on my VW TDI which I am detailing in order to sell. Between yesterday and today I took care of about a dozen very small rock chips on the hood and a chip on a fender. The hood chips were all very small as in 1/8" or less and the fender damage was about 1/4". I decided not to try the product in the first video I posted because it just didn't look that great of an option, even in the video he didn't bother to show the final results which tells me they weren't that good.
I can tell you that a chip on a horizontal surface is a lot easier than on a vertical surface. After doing them, I now highly recommend getting a good kit that includes clear. You'll see why as I move on.
Be sure to clean the area first with wax and grease remover, then sand the chip with 2,000 grit so the edges are flat. If you don't do this, the edges will show thru, outlining your repair. You clean before sanding to prevent contaminants from getting sanded into your work. You also clean after each step. Compressed air and solvents are your friend.
On a flat surface like the hood you want to put the color in using very thin layers. A pair of magnifying glasses with a good headlamp helps immensely. It also helps to put a piece of blue tape down right next to your repair in case your brush or whatever you are using is loaded up too much, you can dab a little off on the tape before moving into your chip. Don't worry if the color is a little sloppy or if some gets on the surrounding area, that will get removed in the next step. (You can wipe it away with a finger to make for less sanding)
Once you have enough color in the chip to hide all the damage, and after it dries, lightly sand it, clean it again then apply your clear. The clear you want to fill in so it is slightly proud of the surface, this is so you can sand the clear flat without sanding your color out. This will make the repair disappear. When you have enough clear on (I waited 15 min between dabs) wait overnight. The next day, sand the clear flat starting with 2000 and finishing with 3000. Make sure to sand a little wider area with the 3000 to be sure you remove all the 2000 scratches. I used the Eagle Abrasives Tolecut kit which makes it very easy, and their abrasives are meant to be used dry which means you can watch your progress easily without constantly wiping the water away. Again, magnifiers and a headlamp help a lot. Keep compressed air and a rag with solvent handy to keep the little abrasive pad clean as it loads up. I will put a picture of the kit below.
When you are sanding, if you were able to fill the chip with color but not all the way to the top, you will be able to see and feel when you have sanded off enough clear to make the repair flat and invisible.
Next get out a DA polisher or if you don't have one you can get some 3" pads and a backing plate for your drill, but I recommend a DA because it helps prevent damage to your paint, especially if you are a rookie. I have a 3" DA and a 5-6" DA. Cheap Amazon ones will work fine but spend the money on good pads.
Use a compound like Meguiar's Ultimate Compound on an orange pad. The compound goes a long ways, no need to put on so much that it's slinging all over the place. Buff till you remove all the 3000 sanding scratches.
Next fit up a black pad and use a polishing compound like Meguiar's Ultimate Polish. Polish the area to get rid of any swirls left by the compound and the orange pad. Meguiar's products are compatible with all paints and waxes.
Now that the repair is finished, you can apply your wax or ceramic. It probably won't matter for small chip repairs but you may want to wait a week or so before waxing to let the paints cure.
I started on 2 door dings today and will post those up tomorrow. Meanwhile here's some pics.
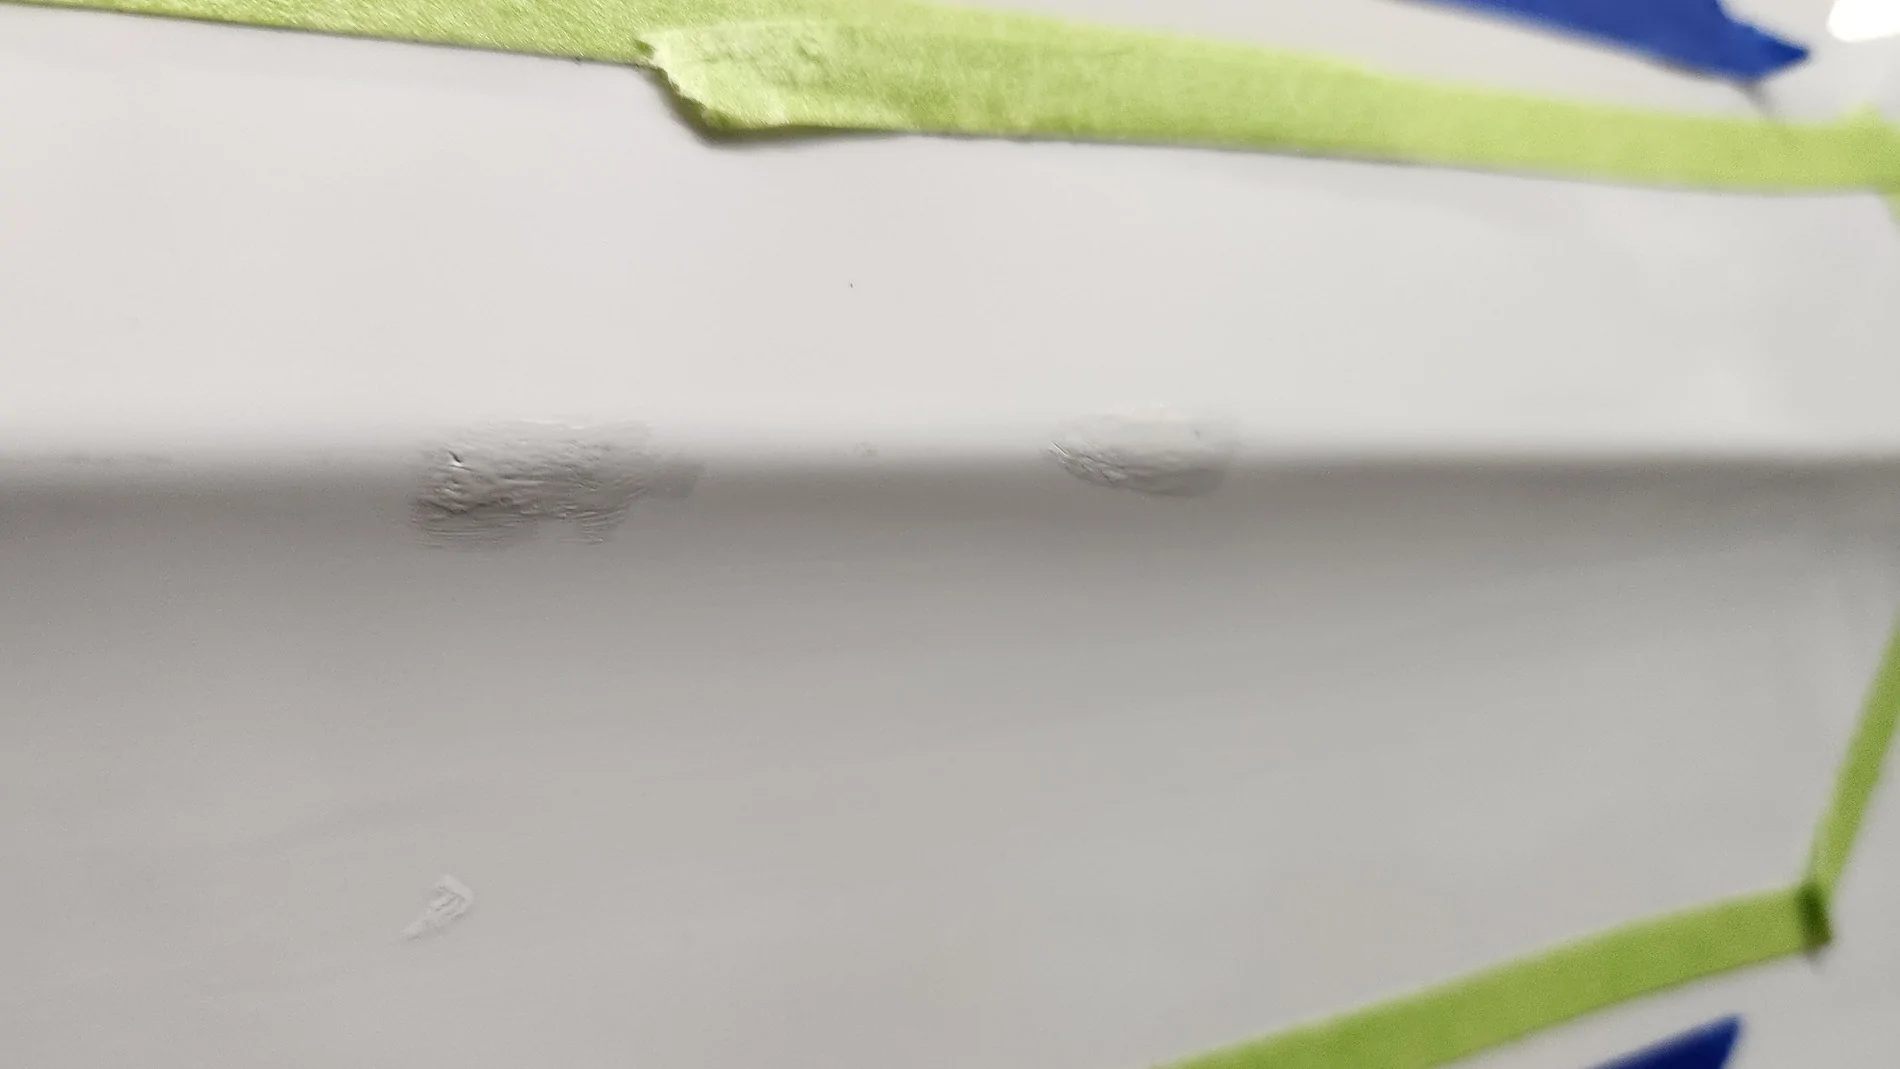
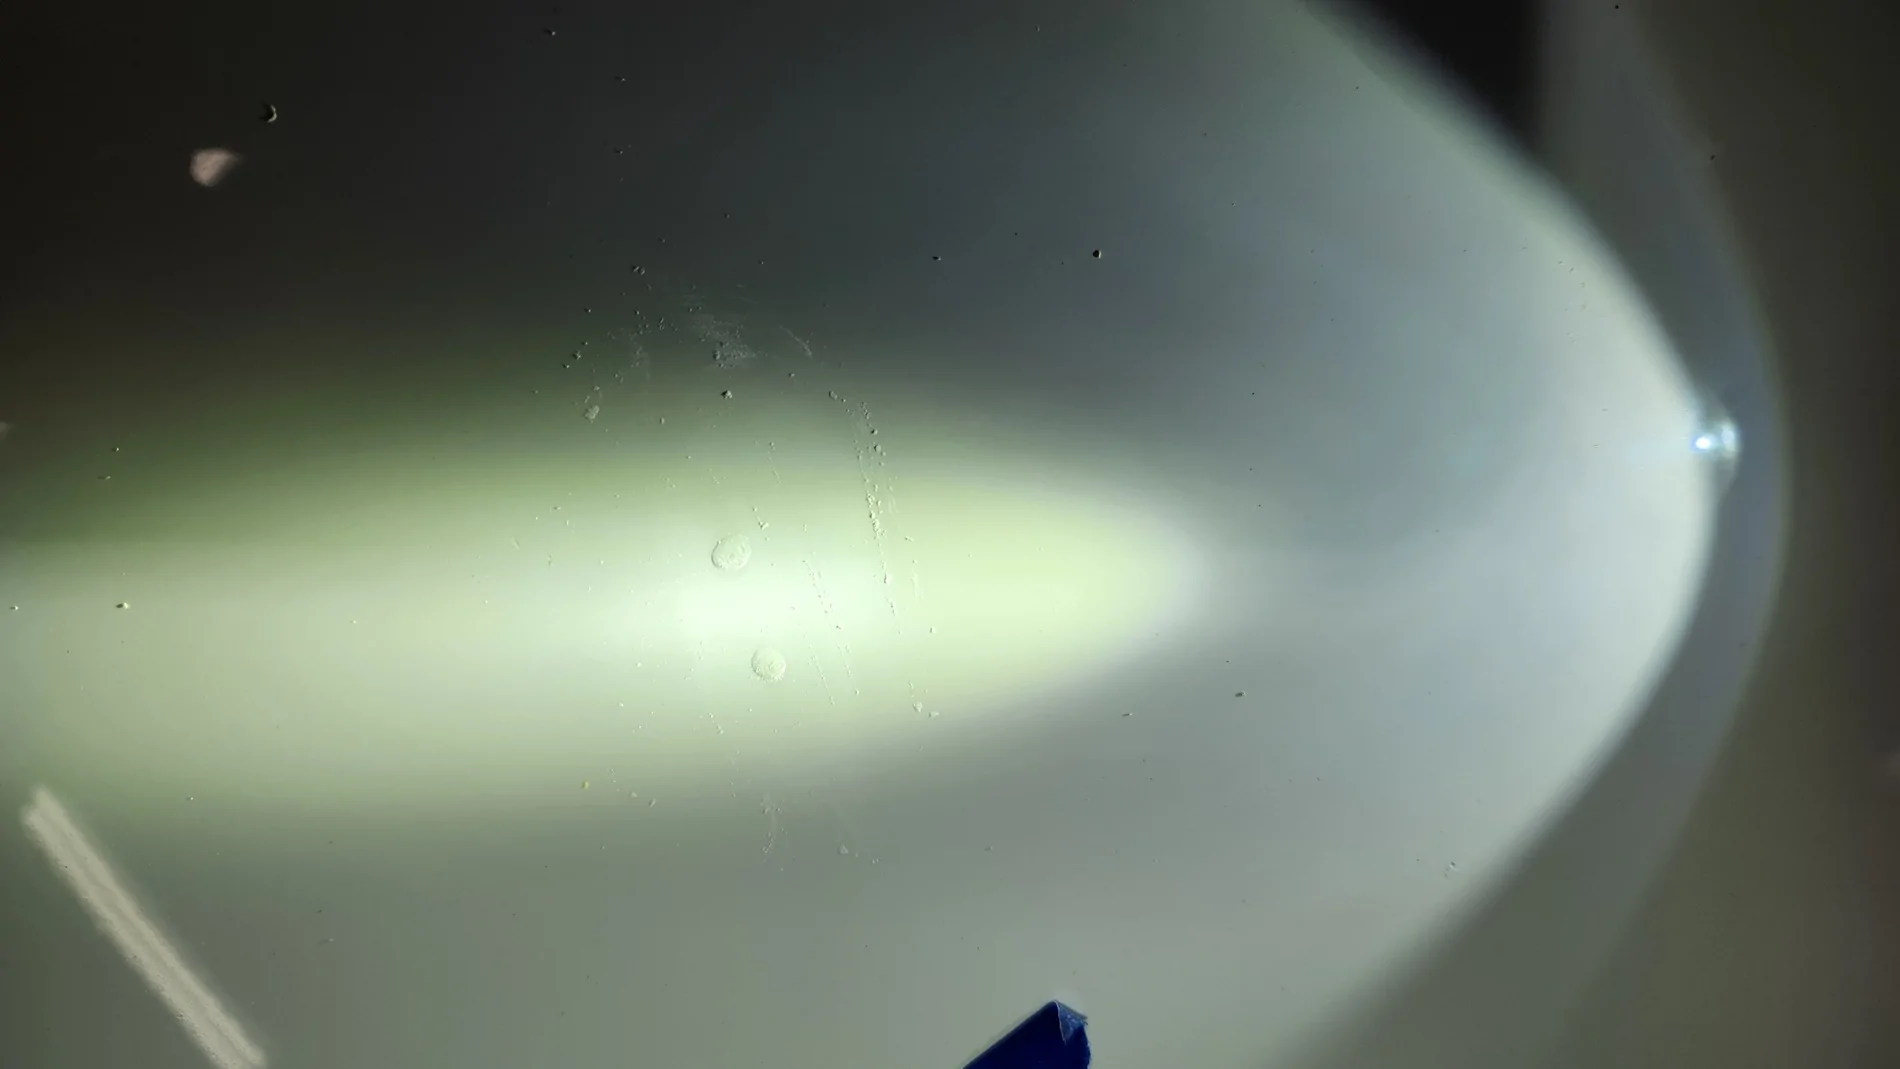
First is 2 small rock chips on the hood. This is what it looks like when you haven't sanded enough. I laid a flashlight on the hood to make it easier to see the raised bumps, which will be highly visible if you don't keep sanding. The bumps are clear coat, the color is below.
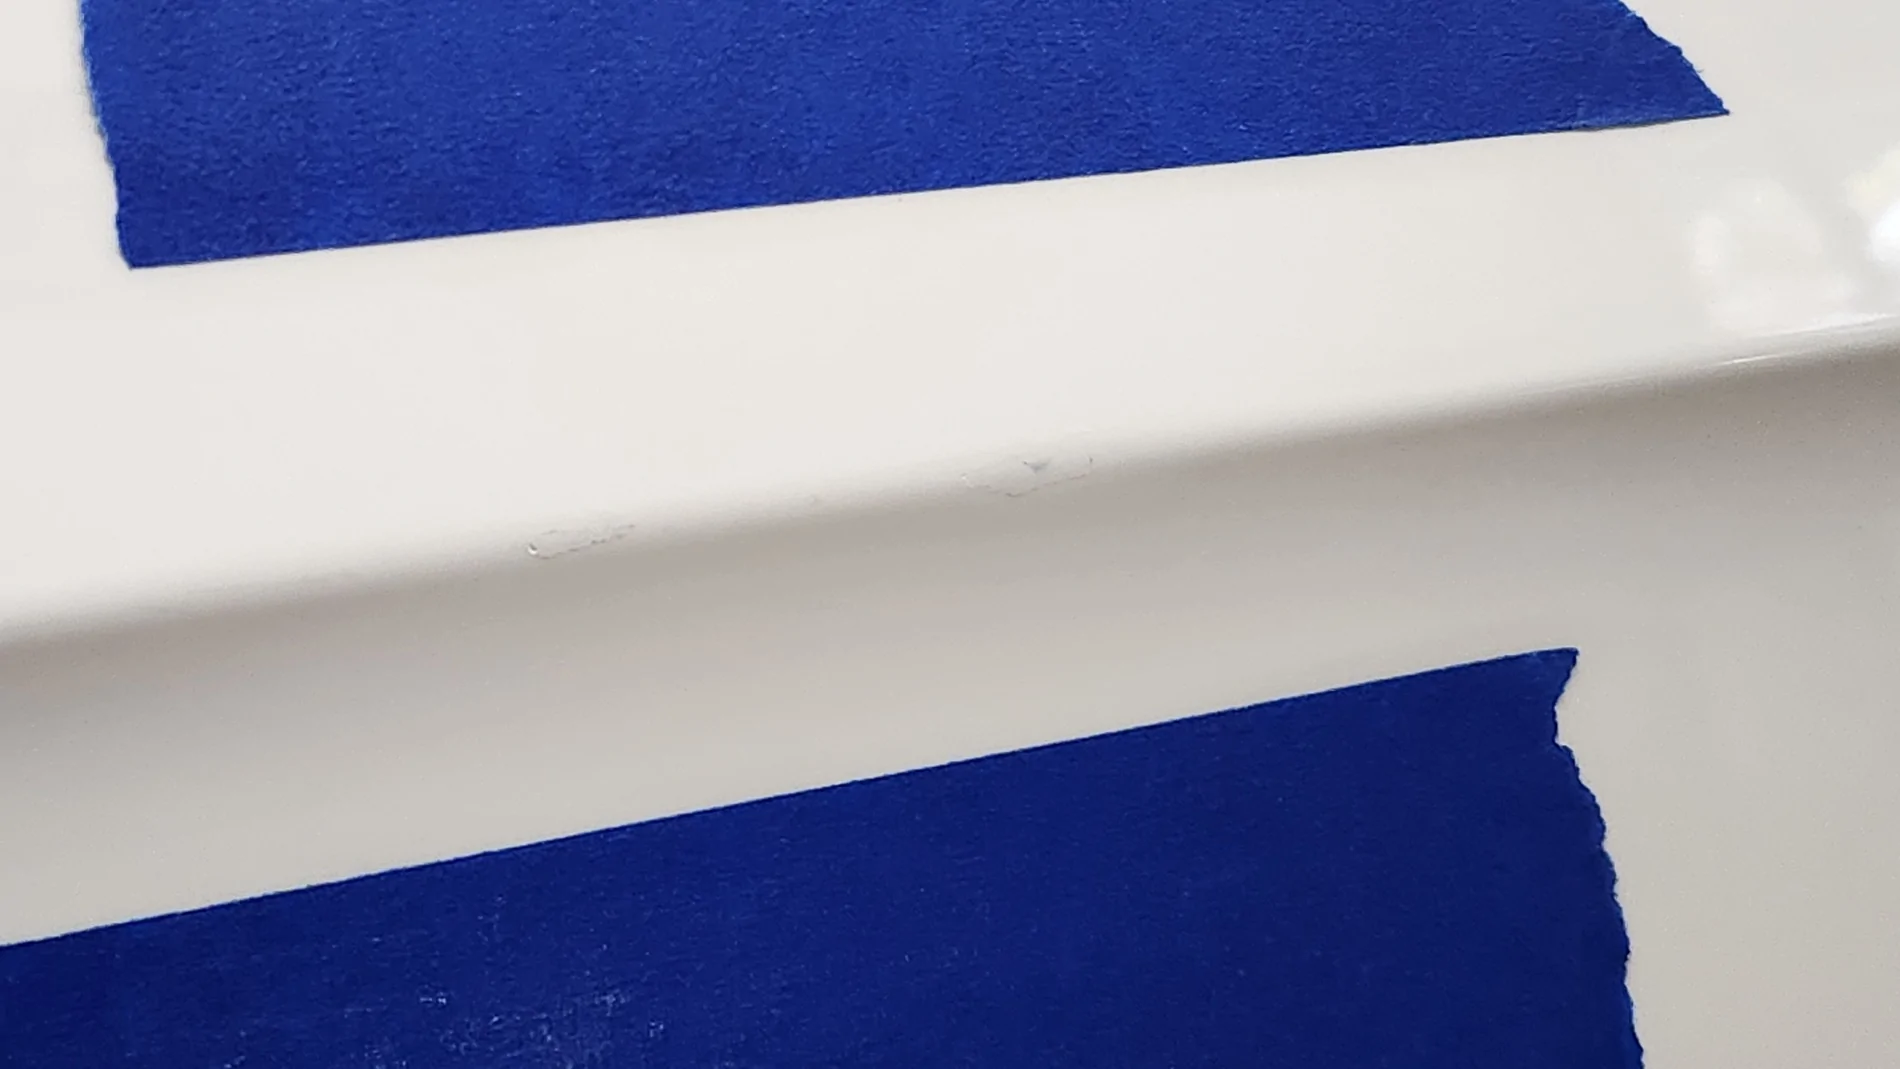
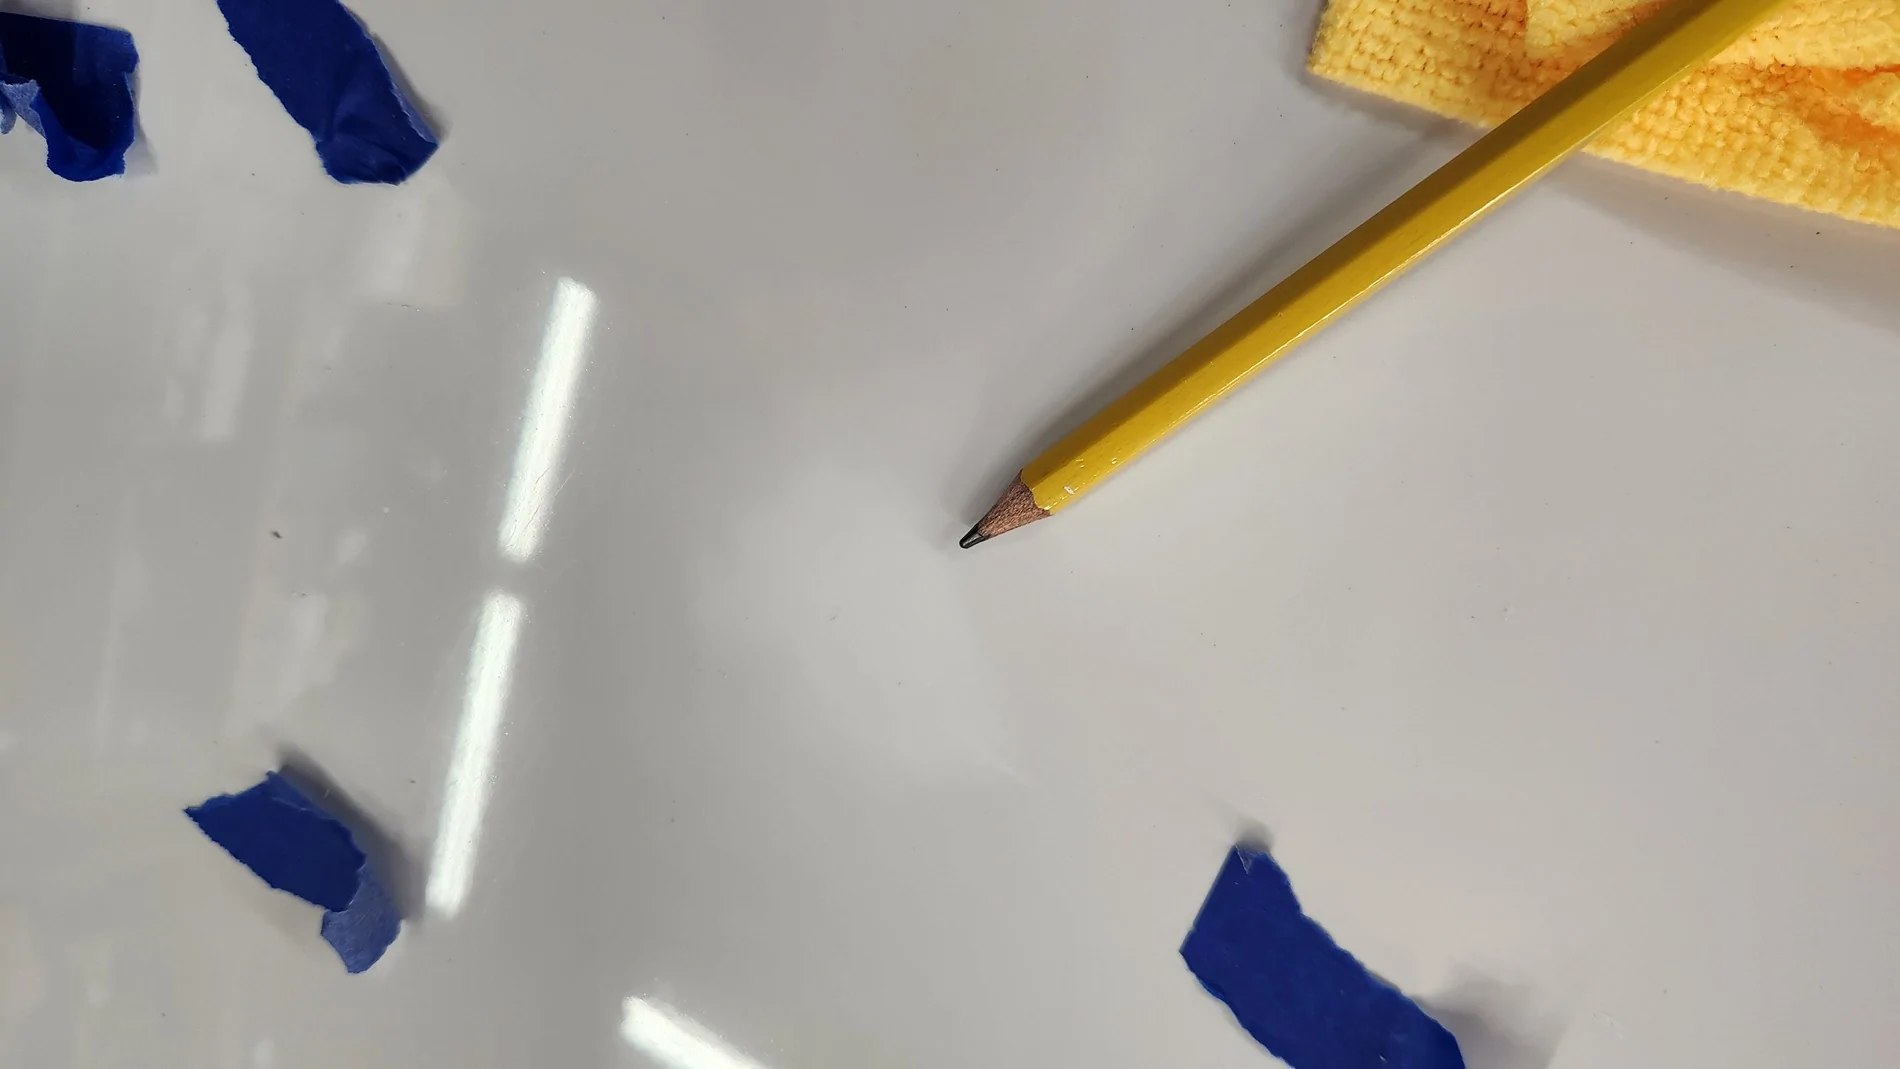
Below is after the raised bumps were sanded completely flat and all that is left are 3000 grit sand scratches where the pencil is pointing. The repair has disappeared. The sanding was all in the clear coat which protected the color from being sanded out.
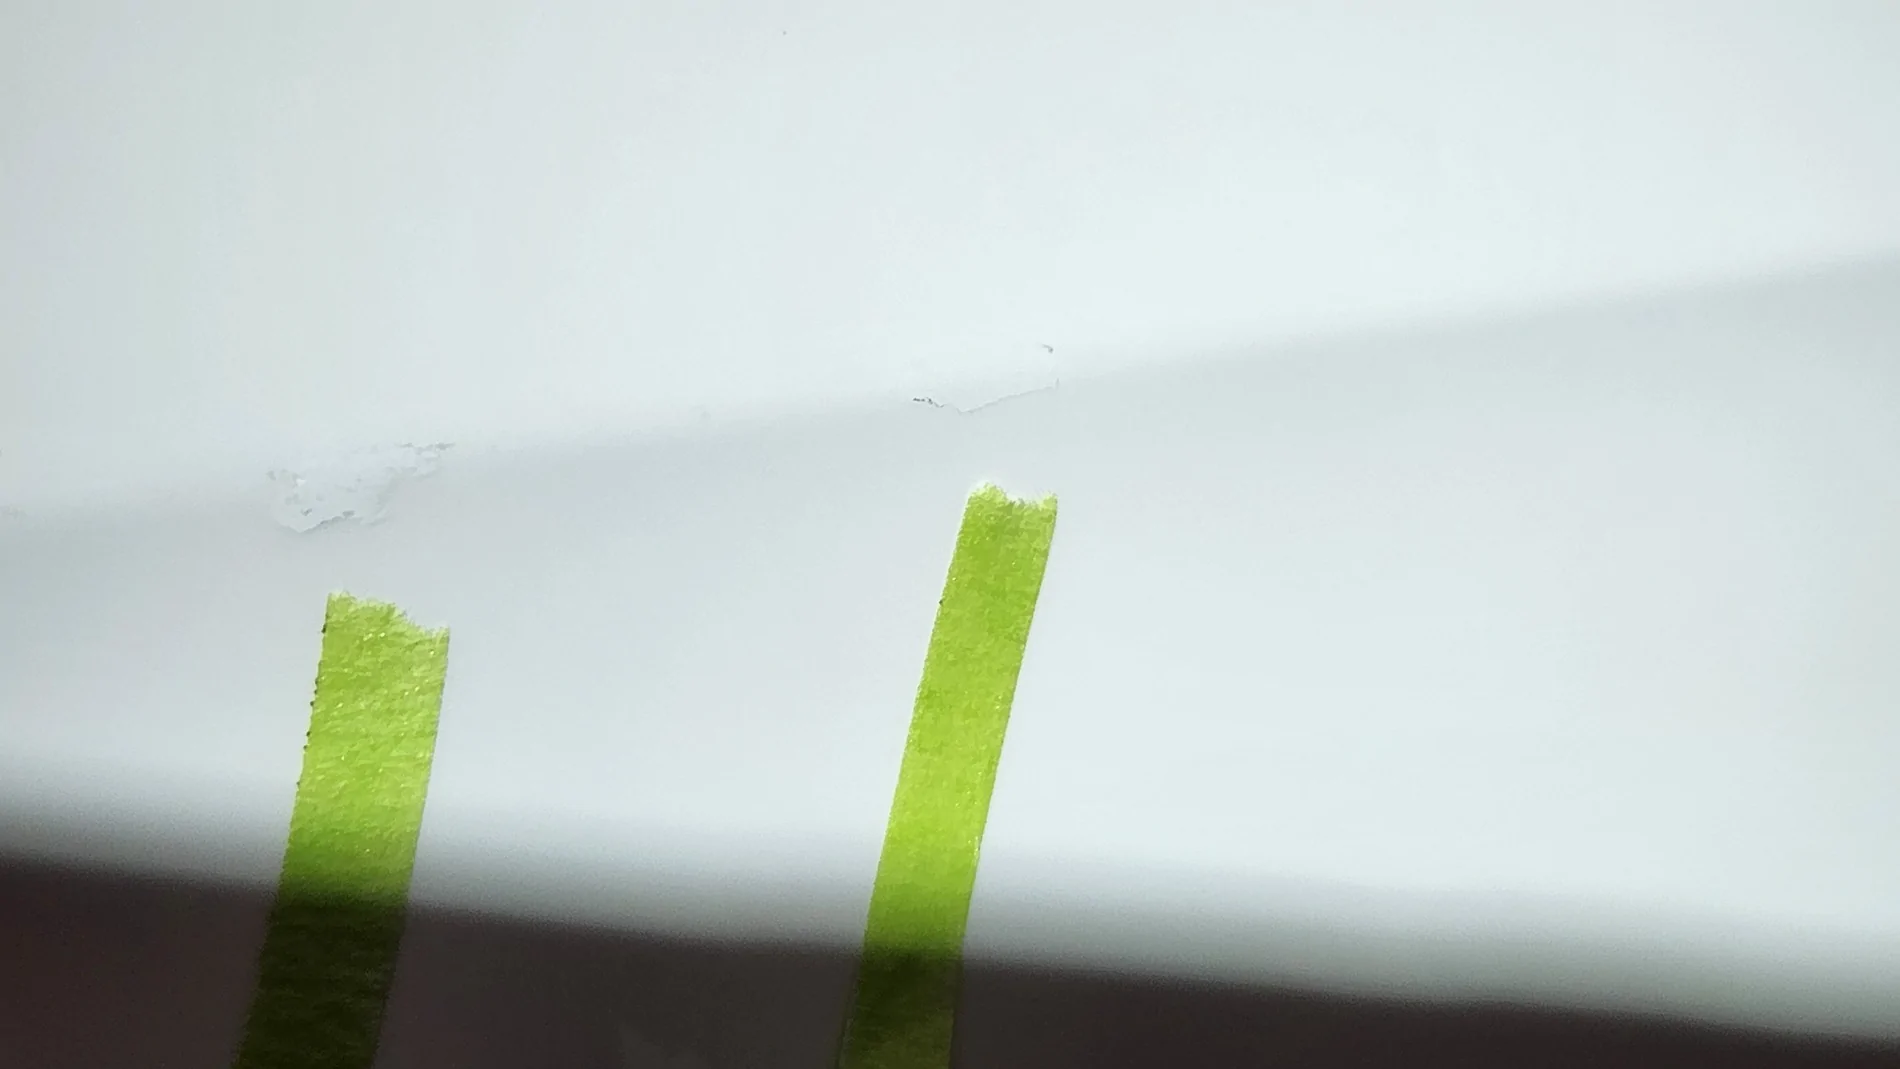
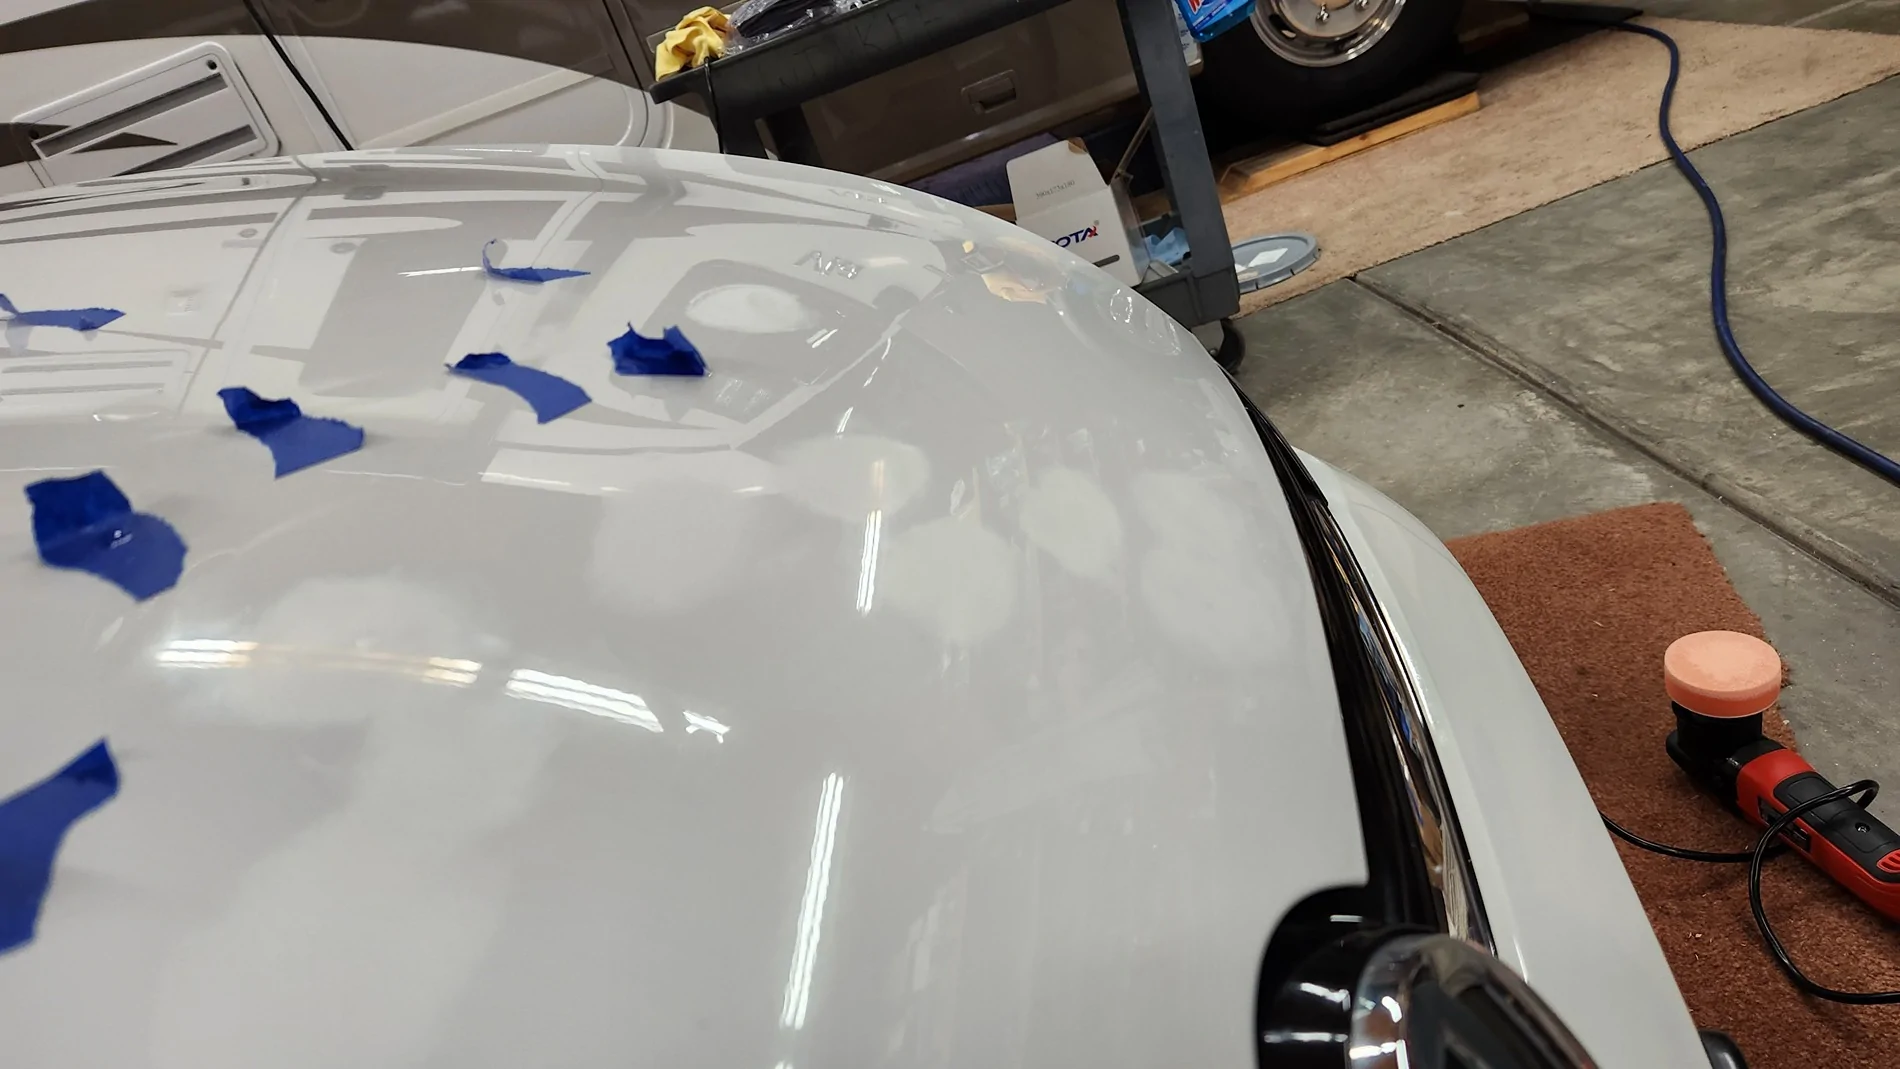
Below are all the rock chips I fixed, before I buffed out the 3000 marks. The tape helps keep track of where you are working especially as the chips begin to disappear.
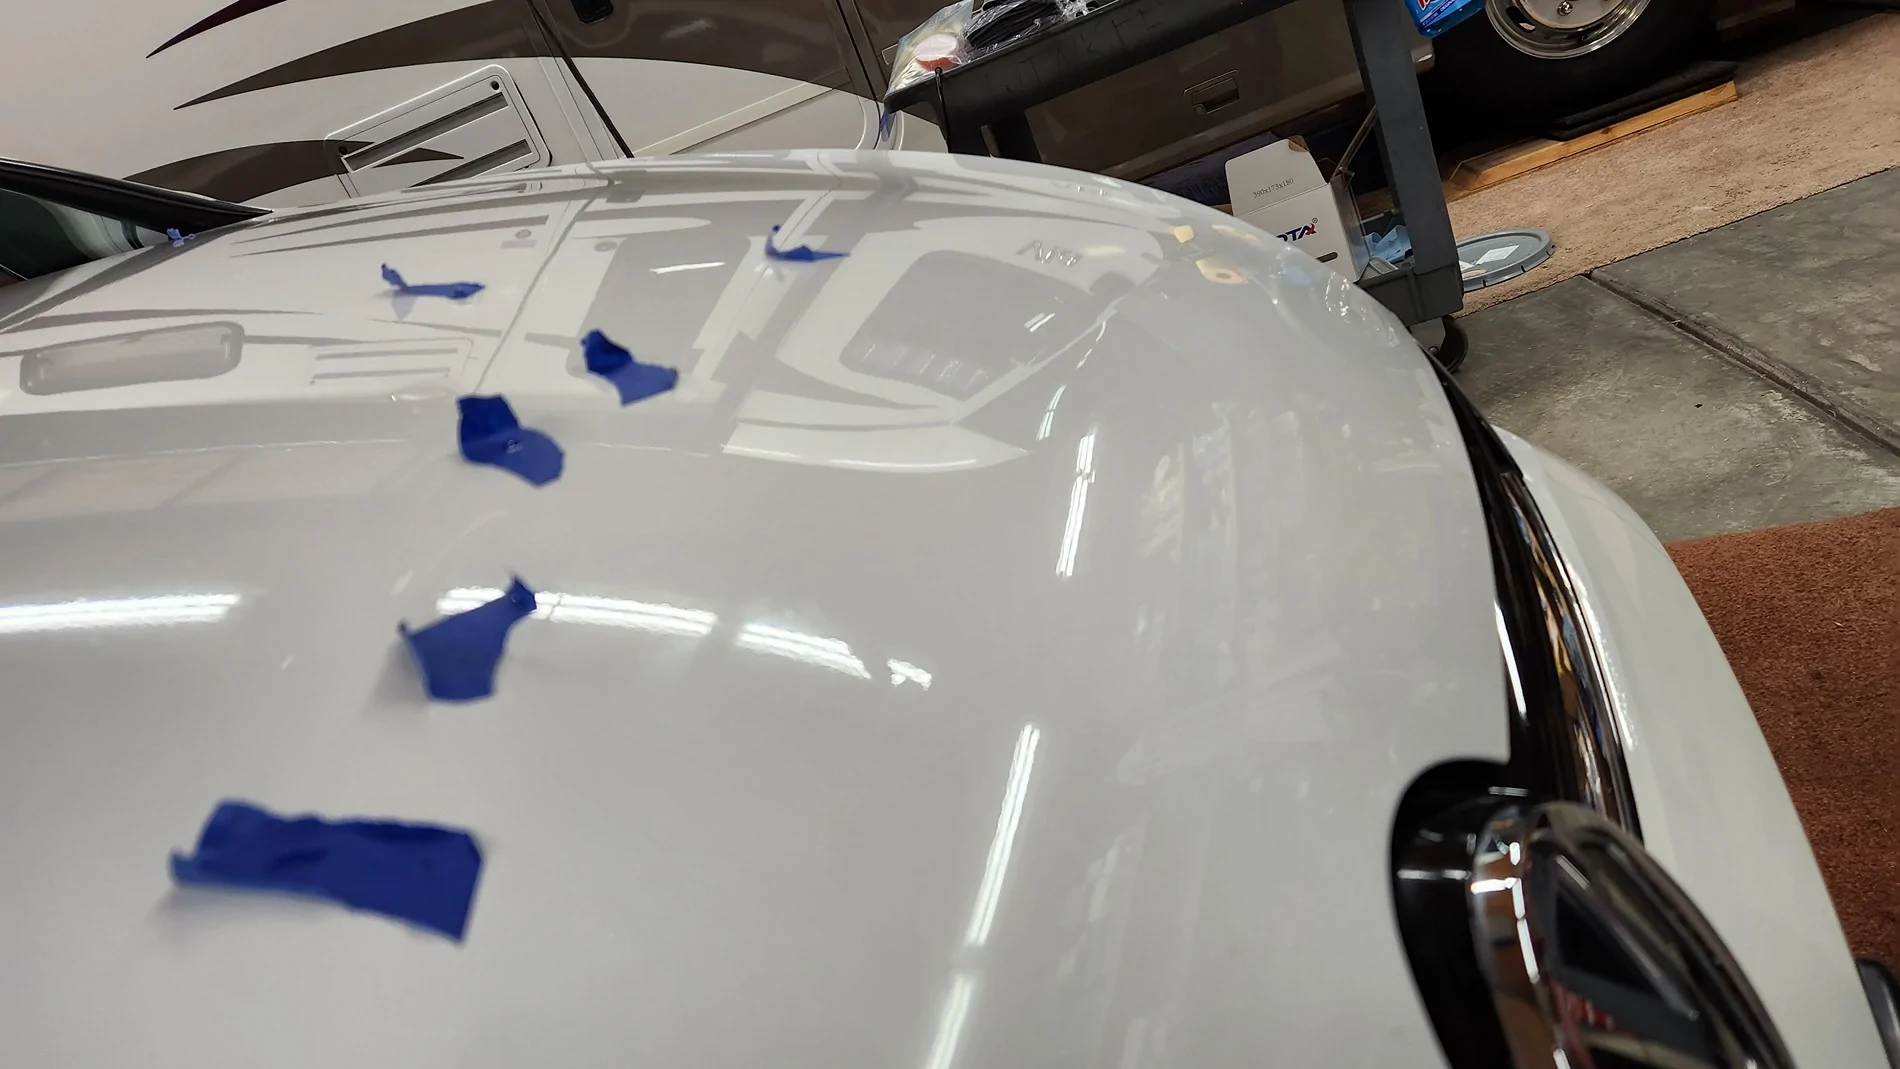
Below is after compounding and polishing, the repairs are invisible. Keep in mind, with white it is easier to make repairs disappear. White also lasts longer in the sun and is cooler here in the desert which is why I always buy white cars.
+1 for Dr Color Chip. Used it on the last 3 vehicles. Consistent application and good color matching > theoretical wonder fixes promised on YouTube, in my opinion.
+1 for Dr Color Chip. Used it on the last 3 vehicles. Consistent application and good color matching > theoretical wonder fixes promised on YouTube, in my opinion.
I had a color chip kit for my previous maverick, never used it before I sold it . It makes me pause on it a second time due to some stories I’ve seen others share but maybe it was their method

 . It makes me pause on it a second time due to some stories I’ve seen others share but maybe it was their method