• Welcome to Ranger6G.com everyone!

    If you're joining us from Ranger5G, then you may already have an account here! As long as you were registered on Ranger5G as of March 27, 2020 or earlier, then you can simply login here with the same username and password.

Sponsored

Has anyone installed a new intercooler on their own yet?

OP
OP
HyperM3

HyperM3

Well-Known Member
First Name
Alex
Joined
Jan 11, 2024
Threads
27
Messages
551
Reaction score
494
Location
Lawrenceville, NJ
Vehicle(s)
2024 Ranger Raptor Velocity Blue
Nice, did you leave the motor connected to the harness for the louvers, or remove it as well? (related to your no lights on the dash remark).
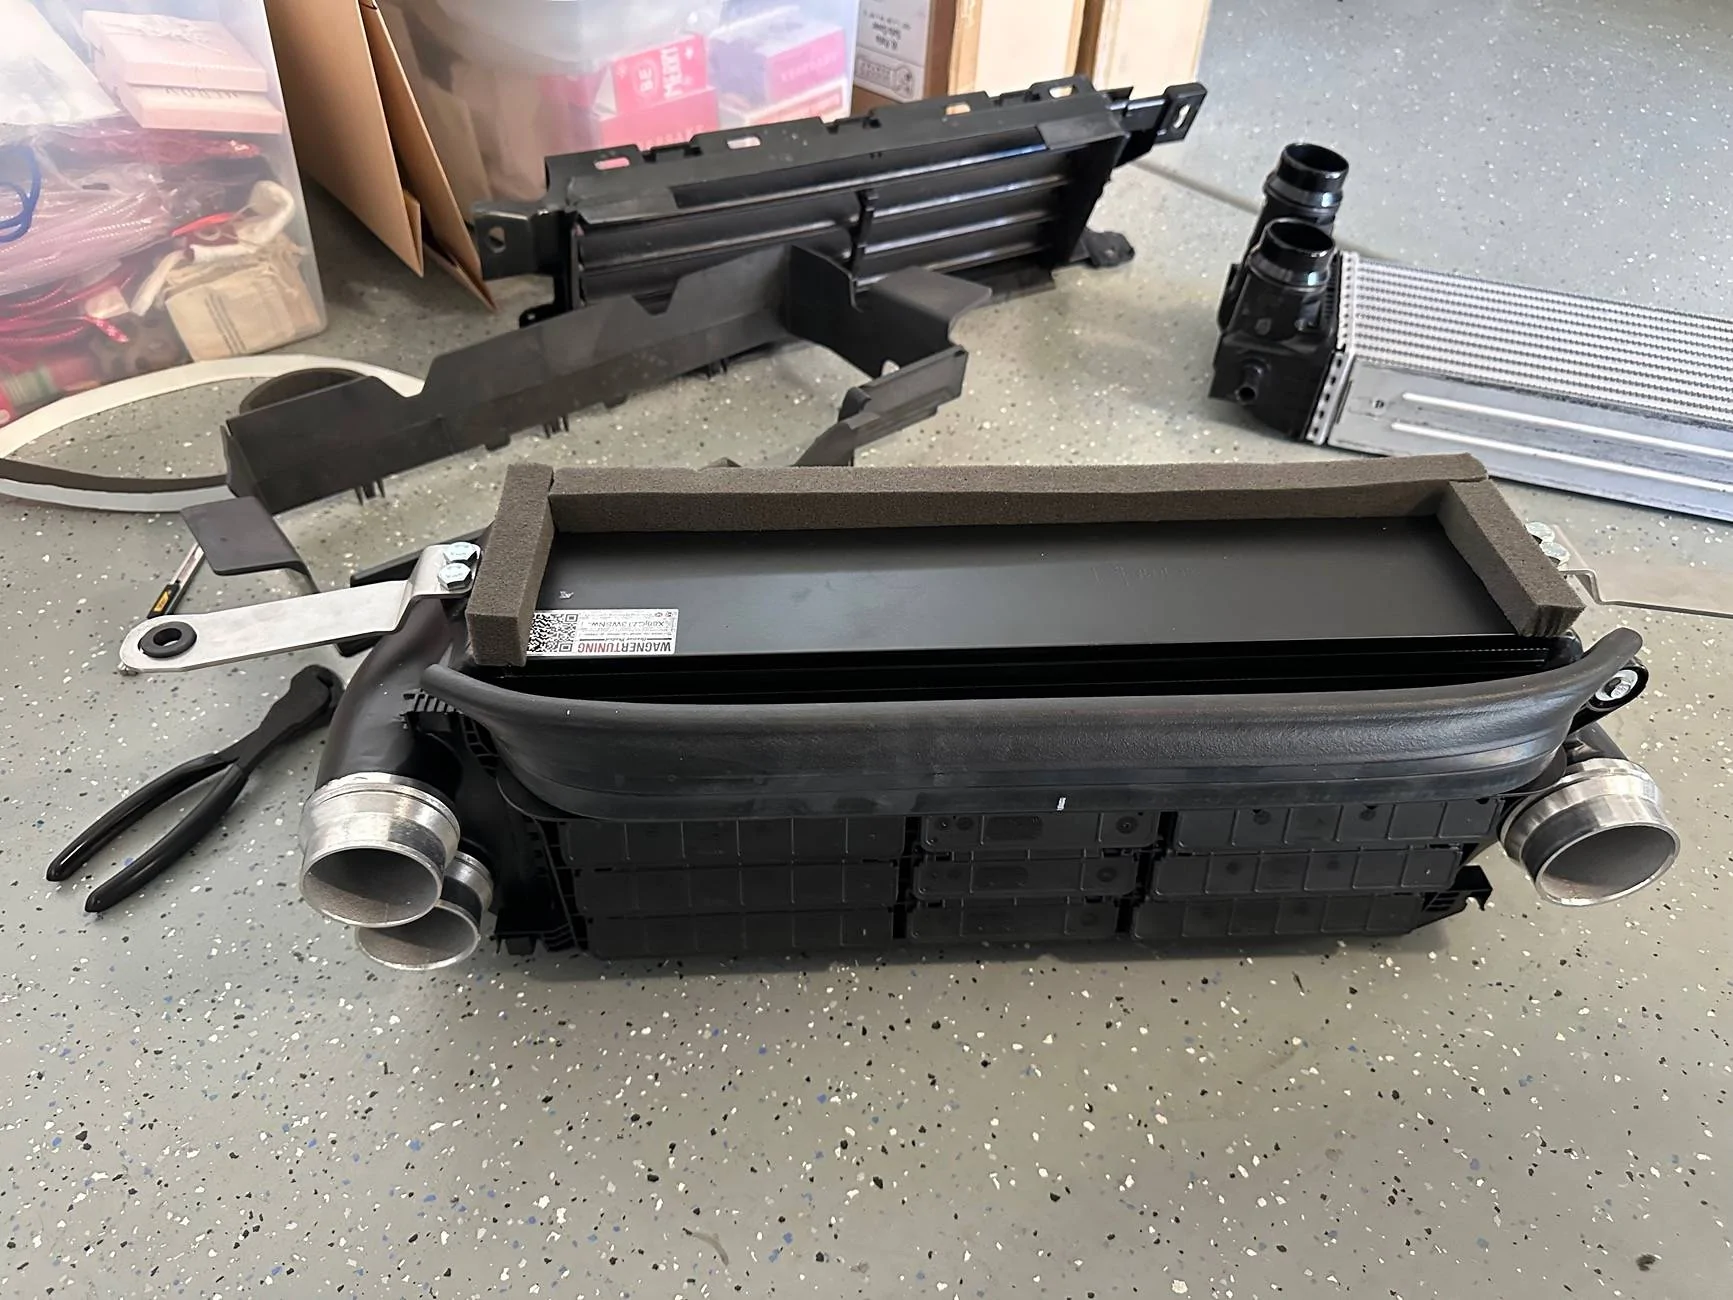
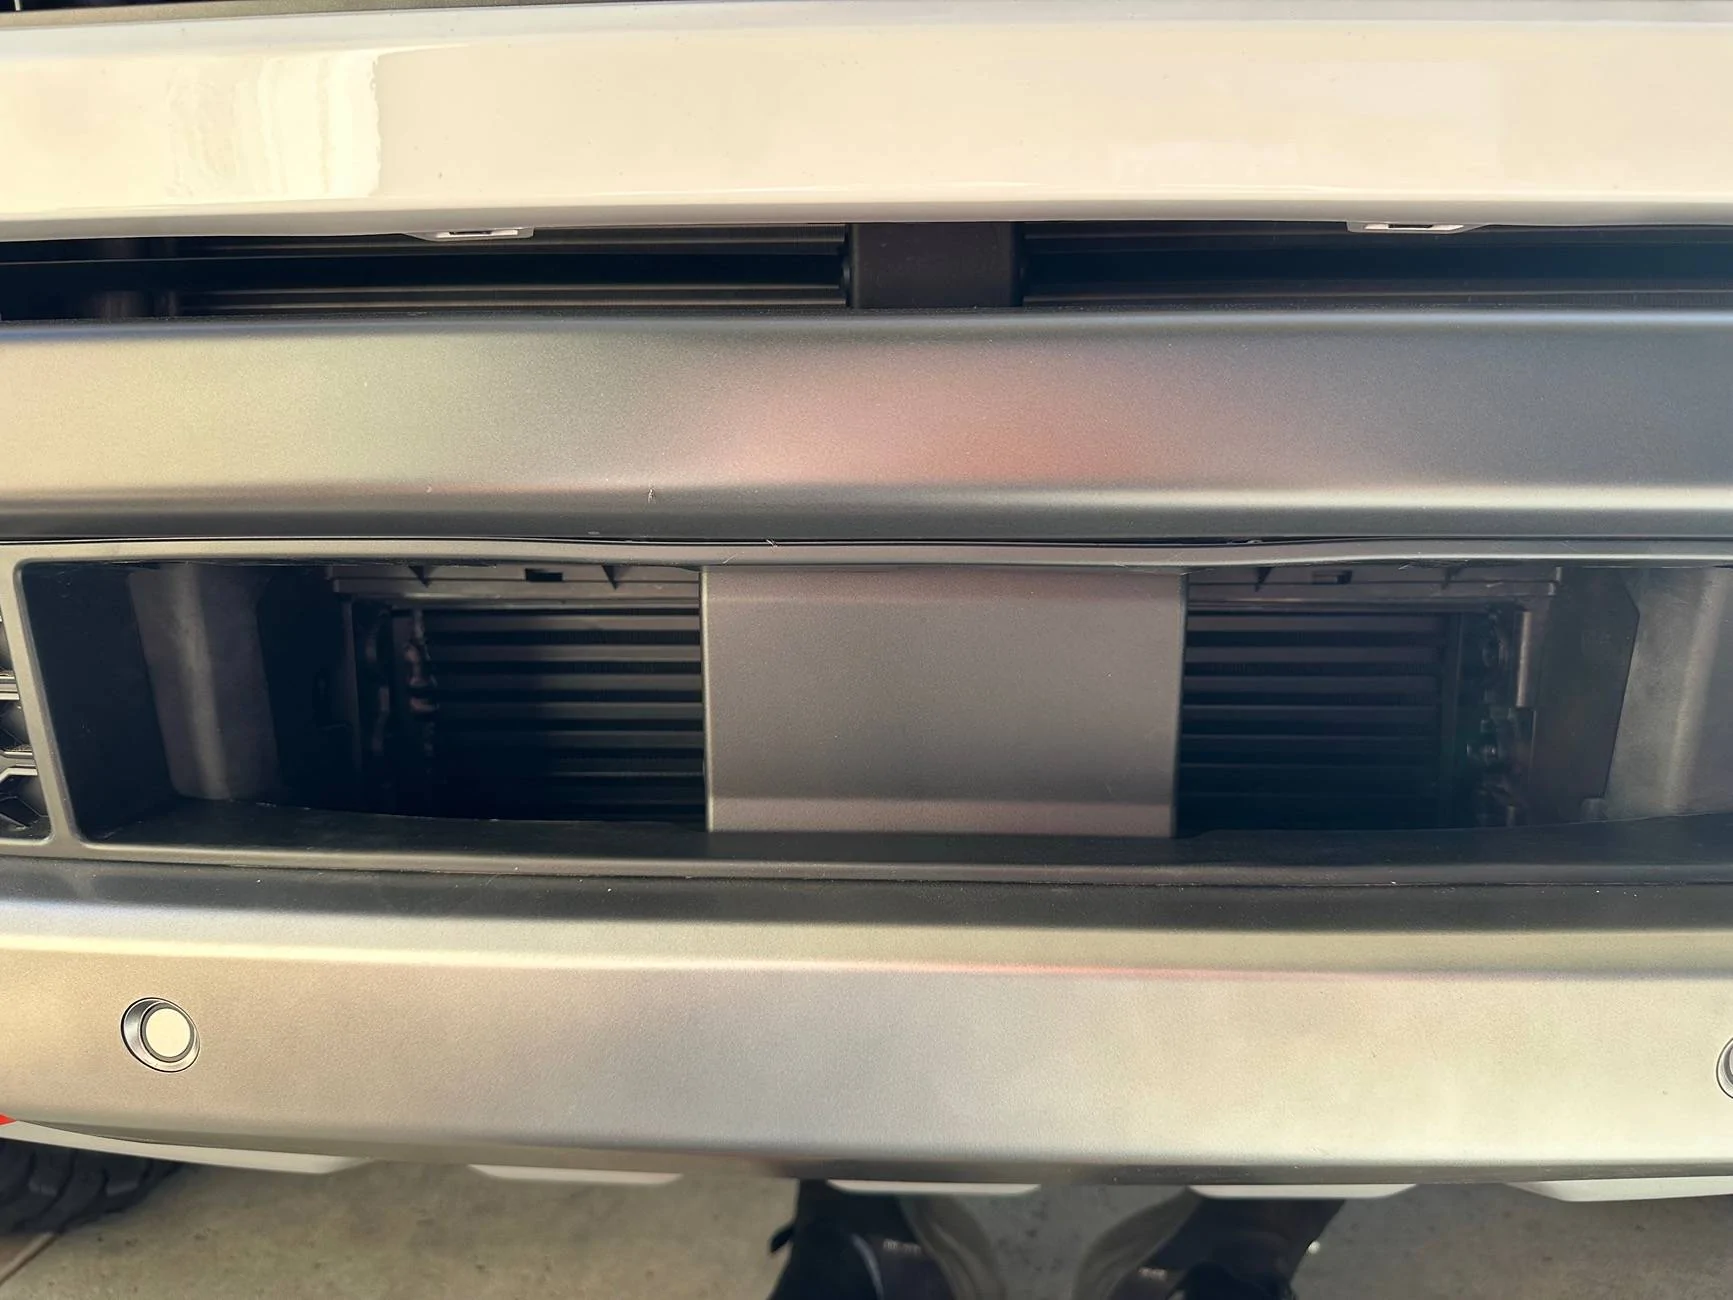
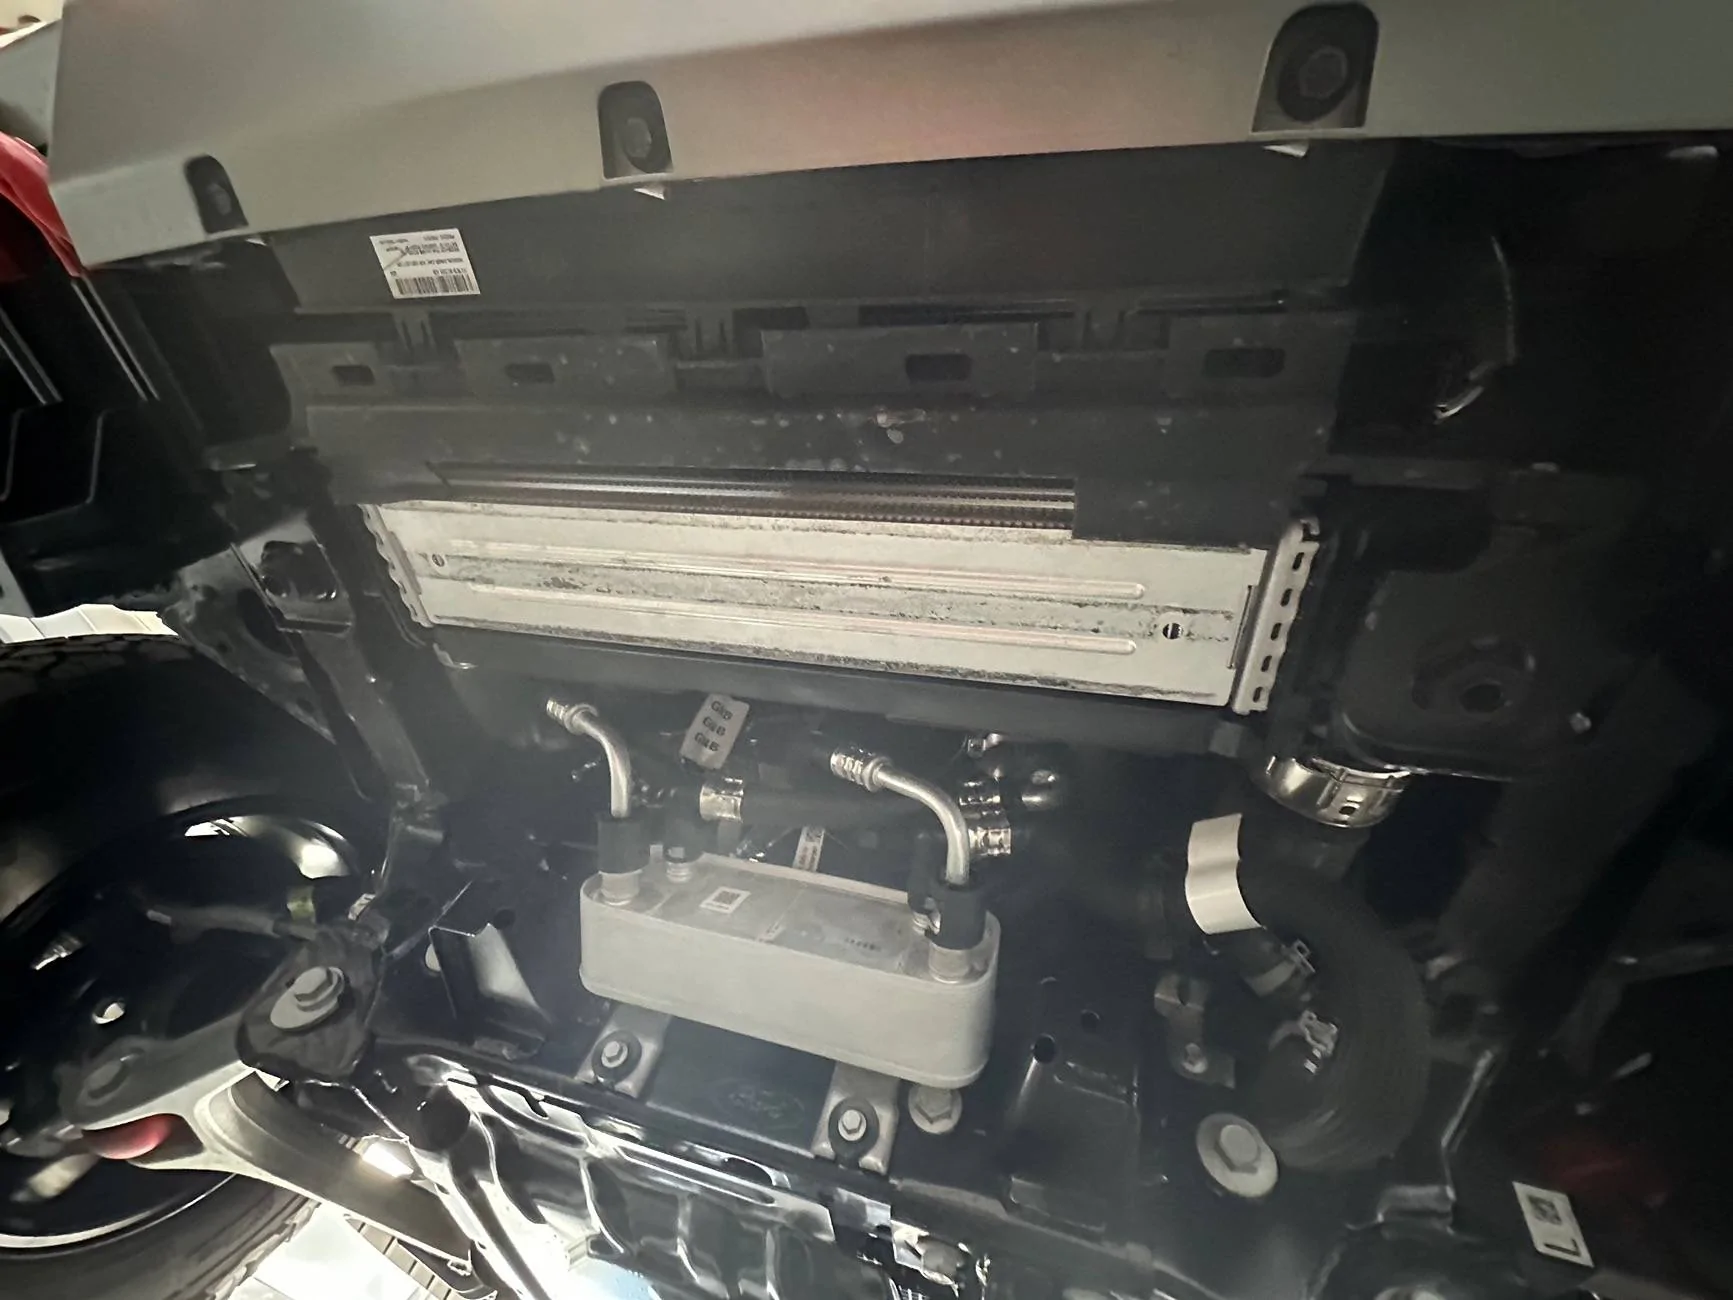
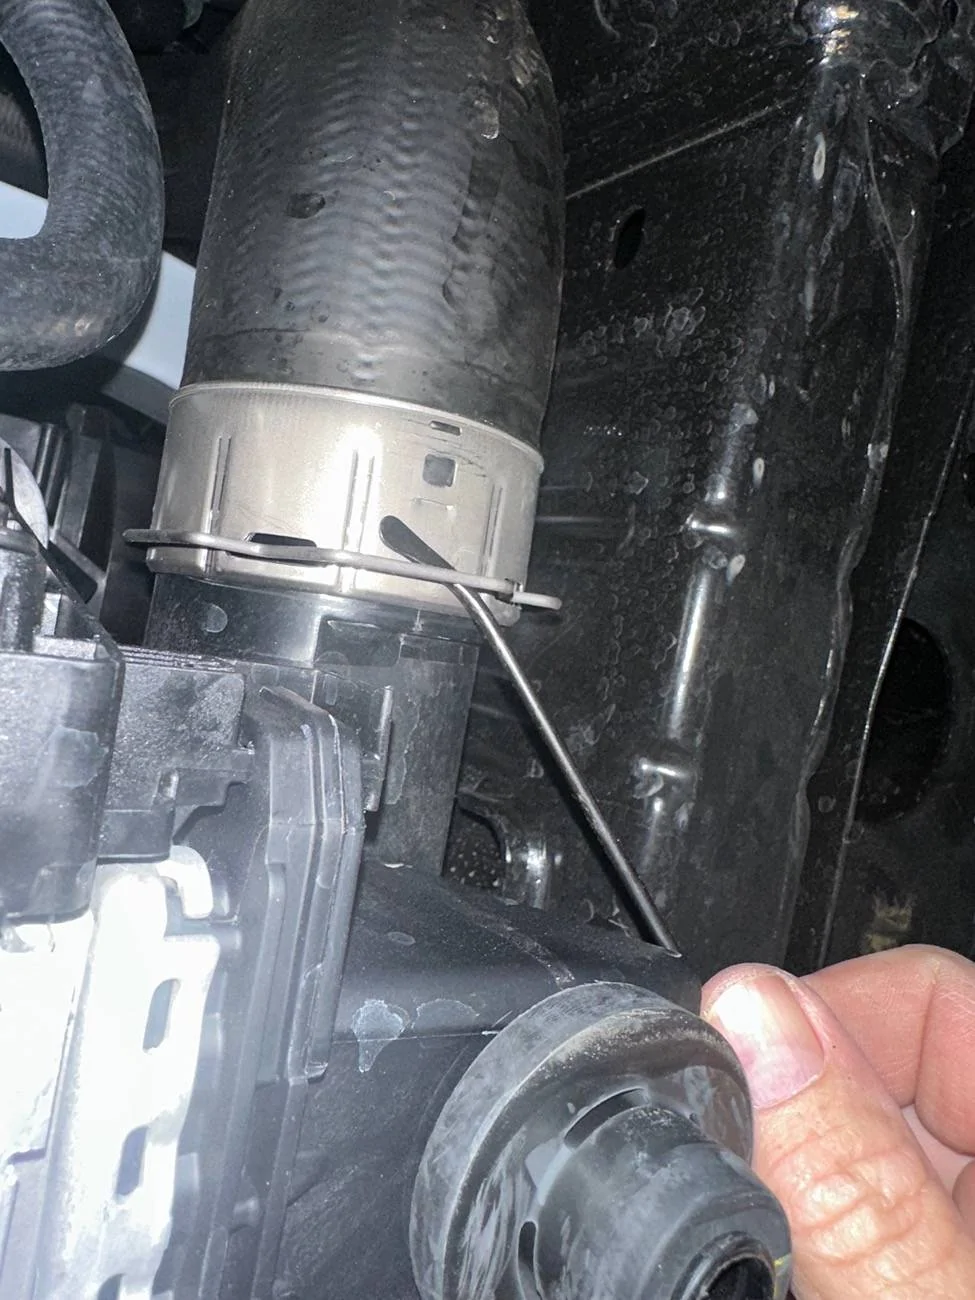
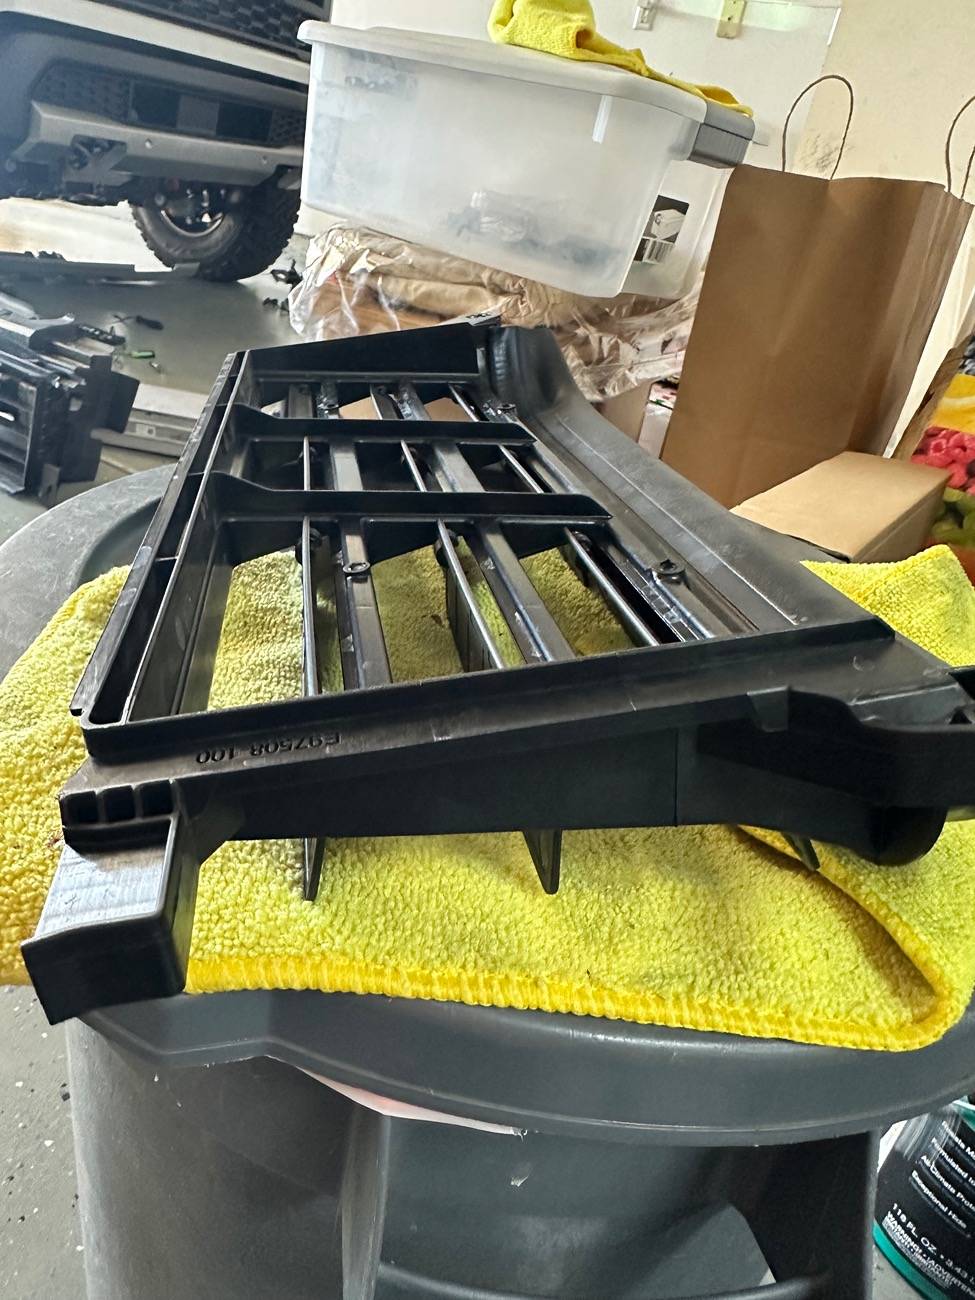
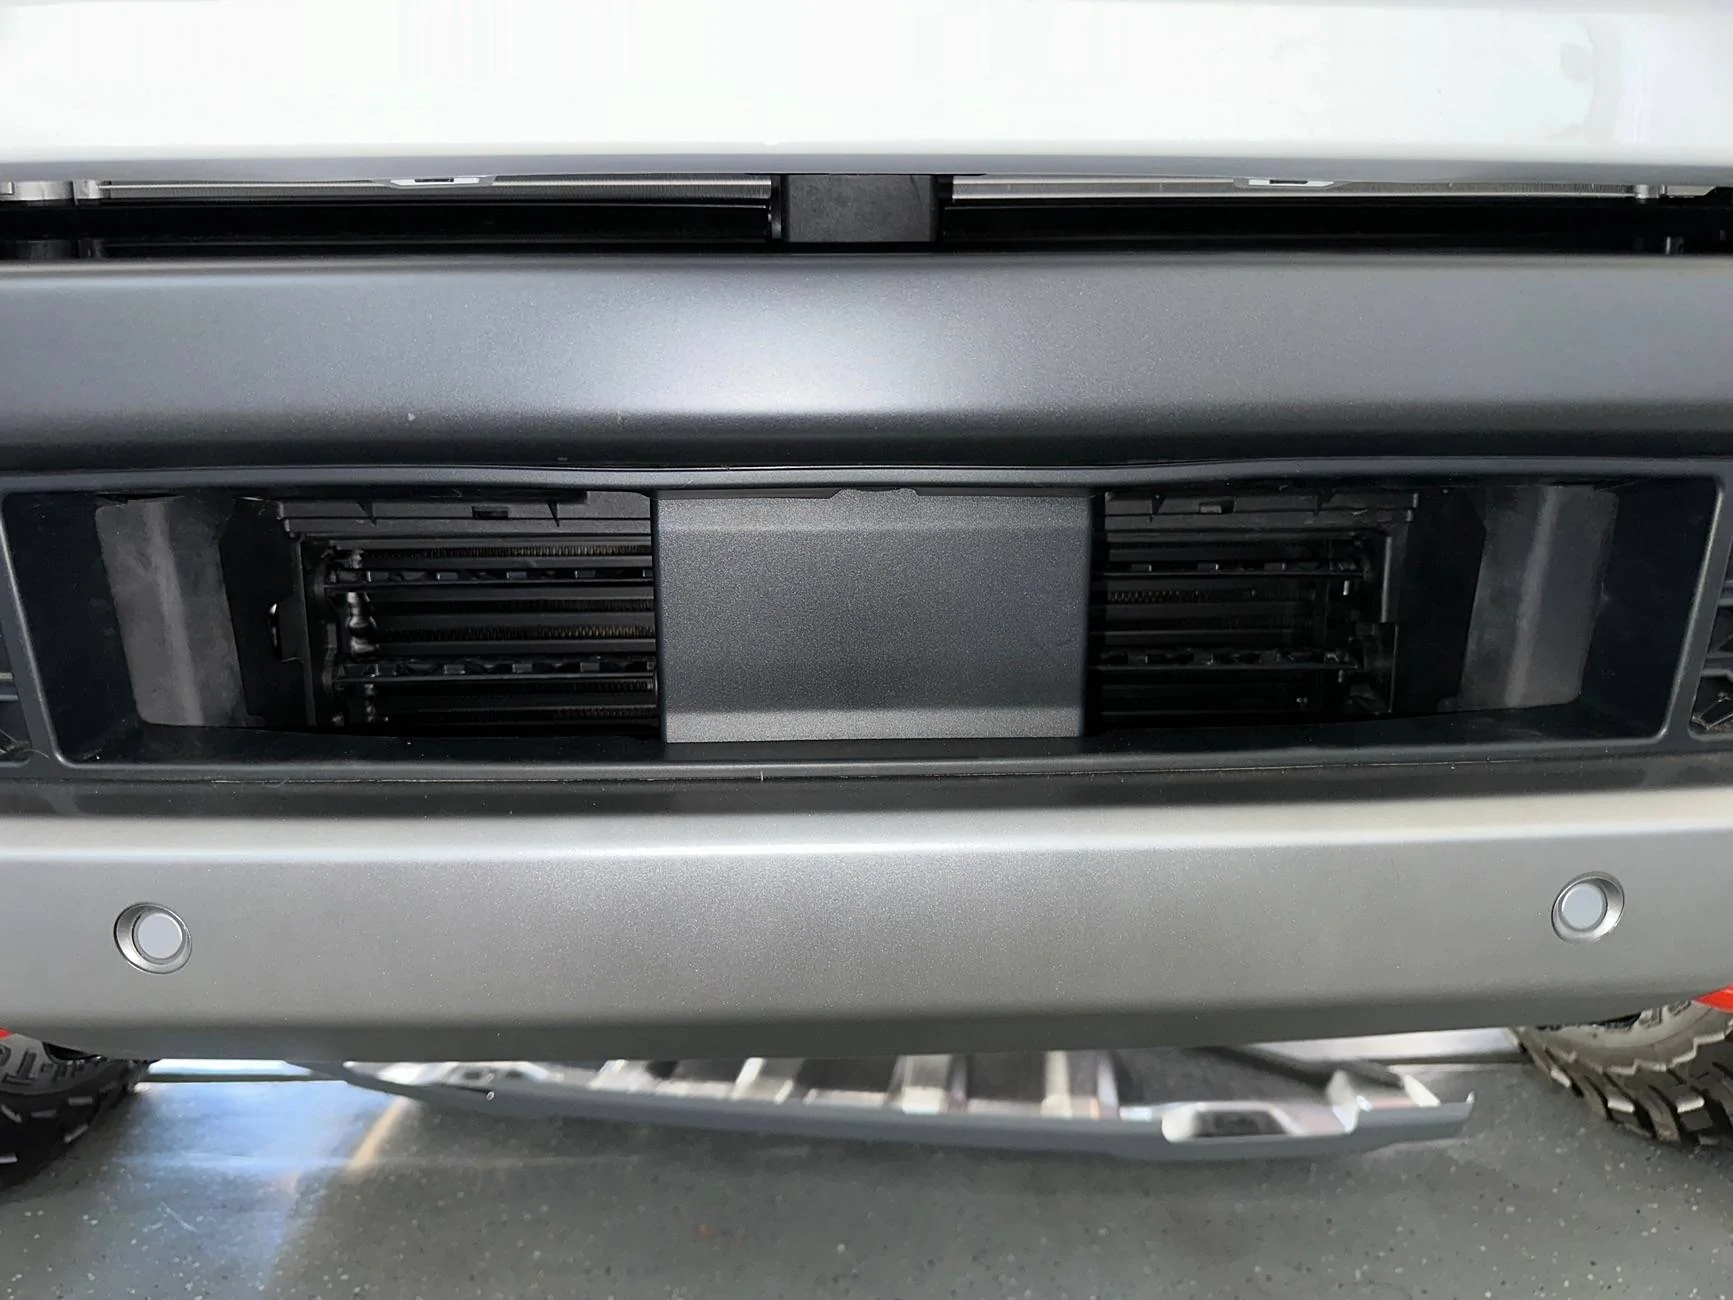
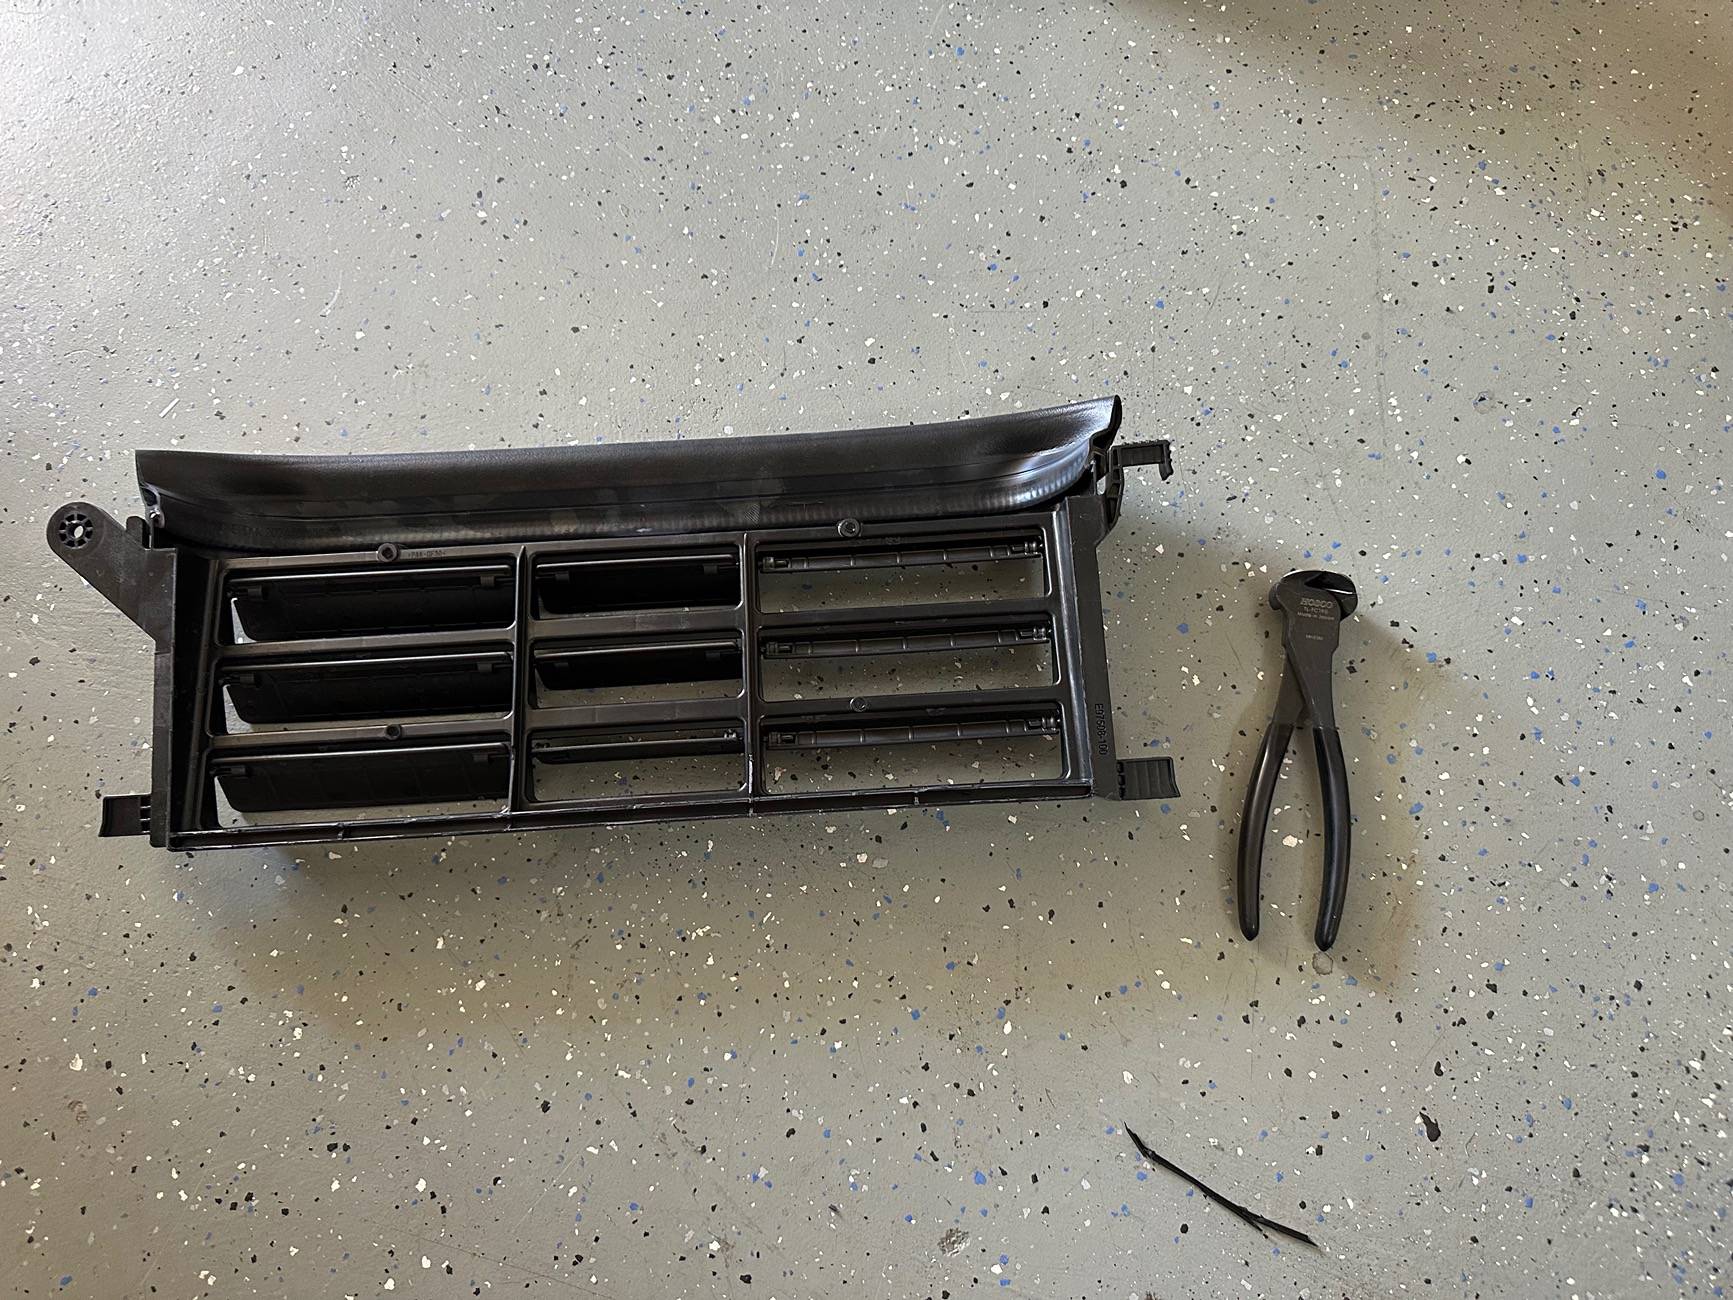
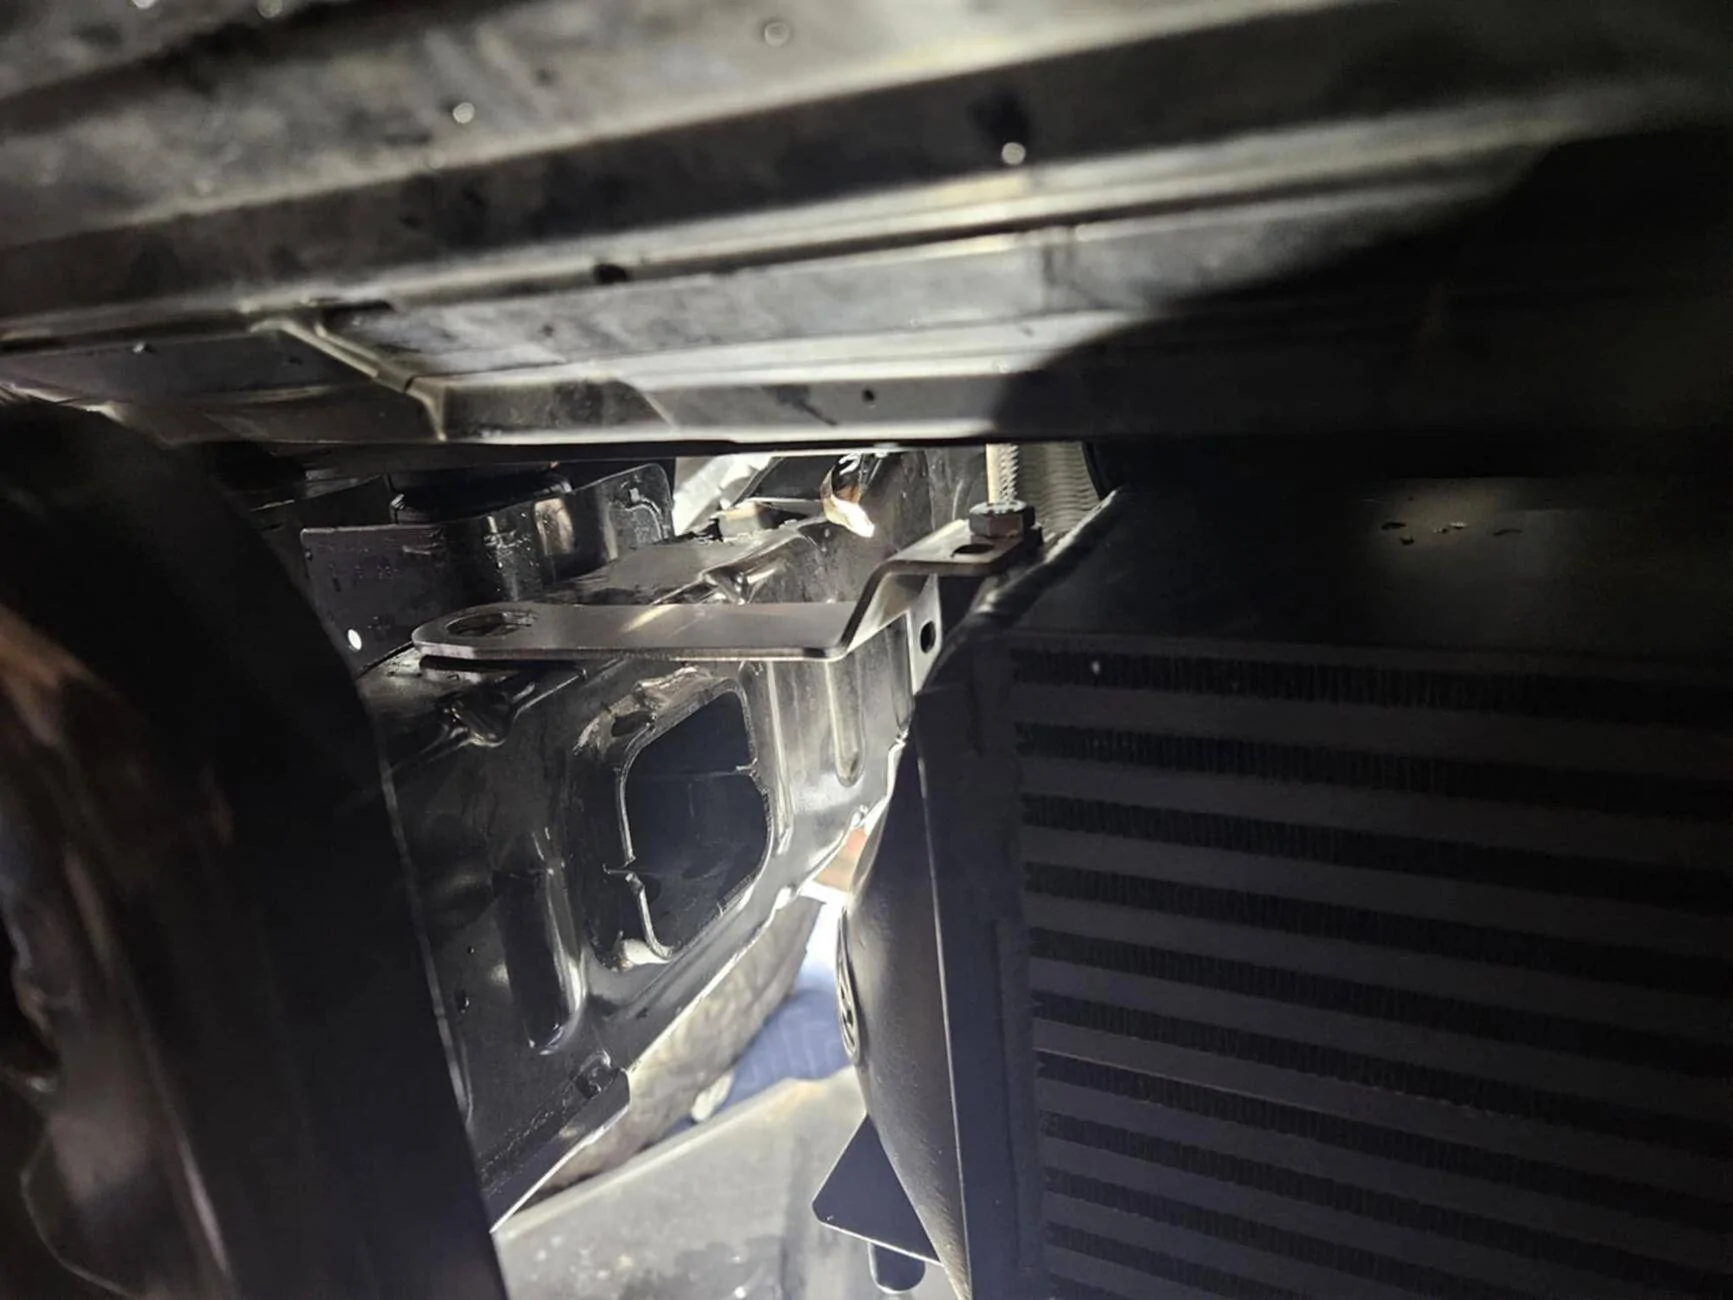
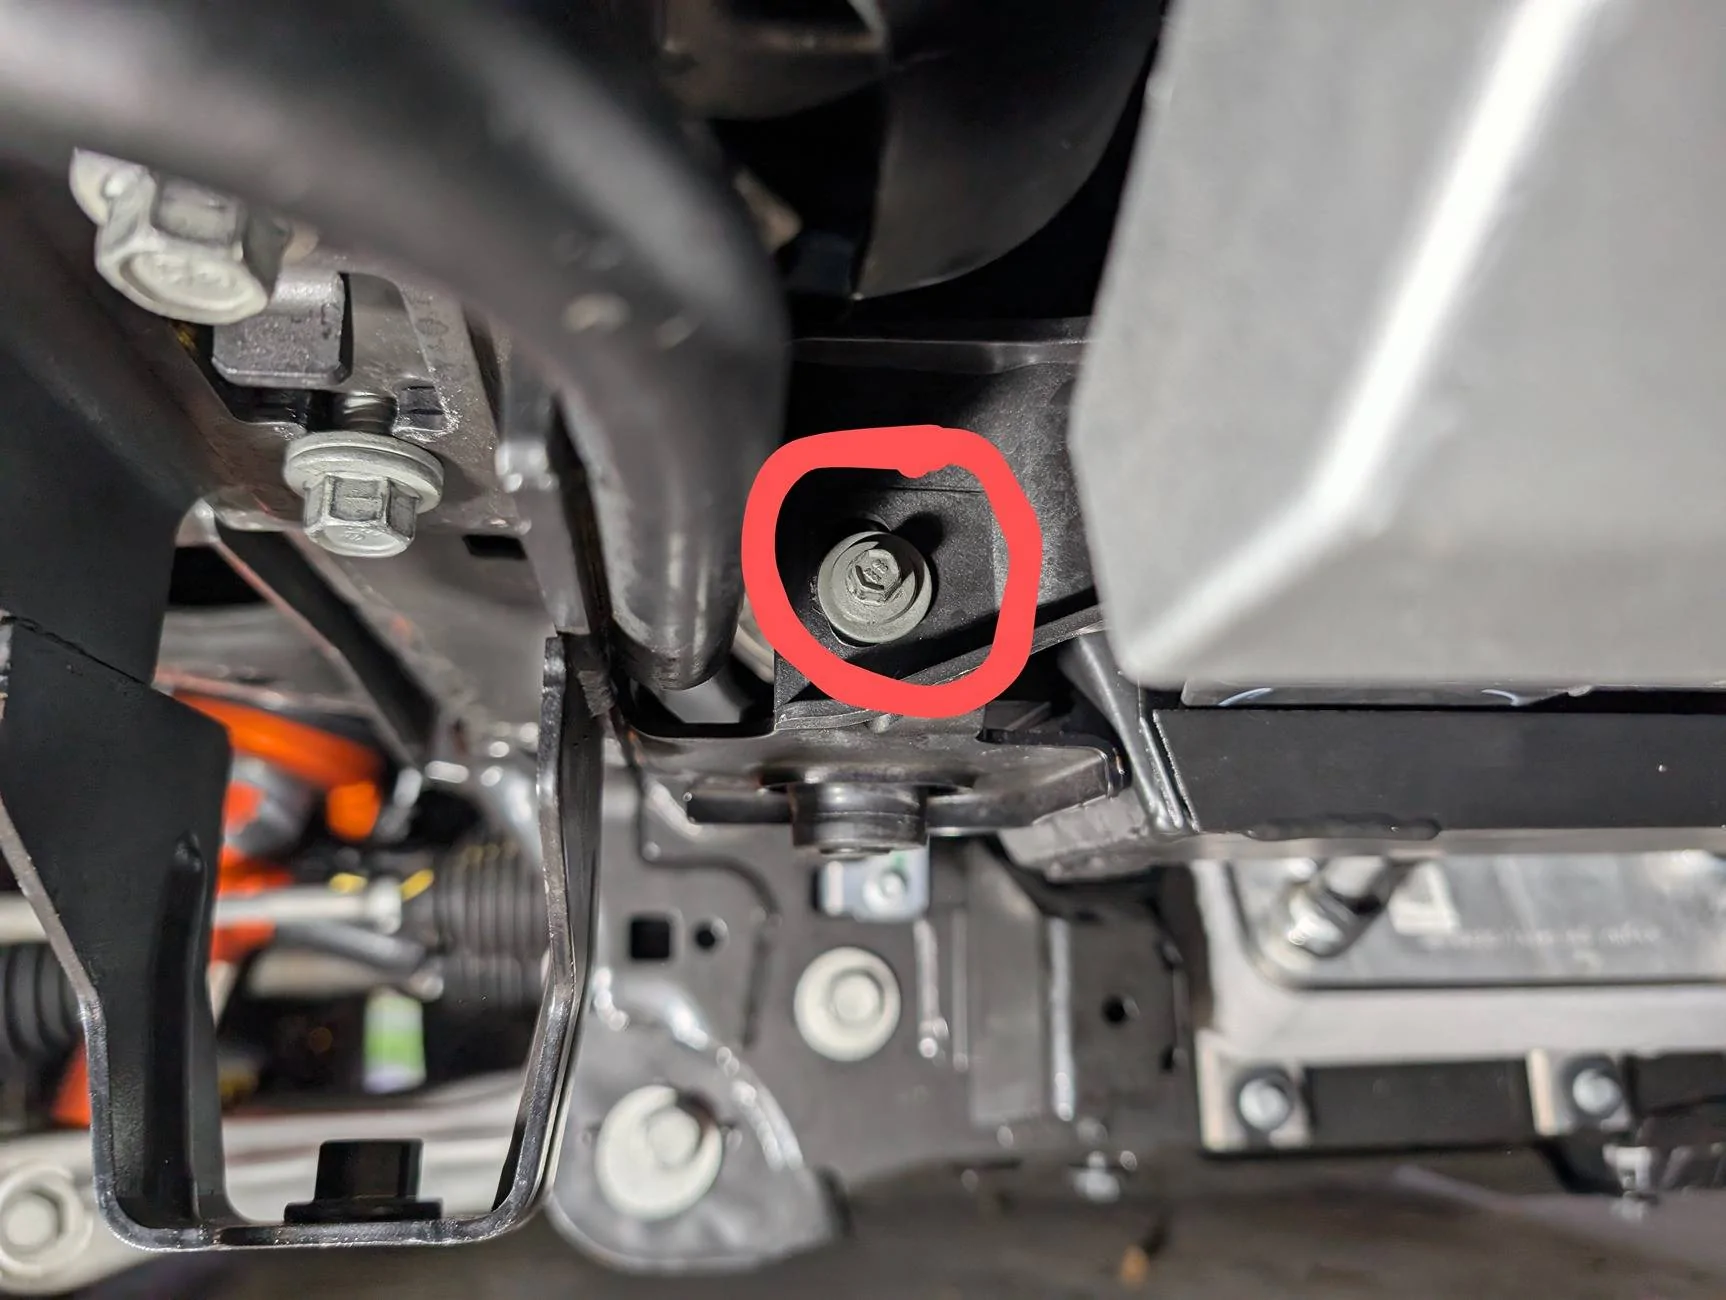
I didn't install the rear louvers, I should have clarified. Front part remained with the motor harness connected.
Sponsored


Mad_Motorhead

Well-Known Member
First Name
Chad
Joined
May 29, 2024
Threads
4
Messages
106
Reaction score
105
Location
SC
Vehicle(s)
2024 Ranger Raptor
Ok, finally had the time to attempt this again. Found the two screws that were holding me up the first time (see picture). Literally got it done in a half hour. I did not install the louvers or the top brackets. No lights on the dash after startup.

PXL_20241211_171030587~2.jpg
See easy peezy
 

Tshern

Member
Joined
Aug 12, 2024
Threads
0
Messages
7
Reaction score
2
Location
Semo
Vehicle(s)
24 Ranger Raptor
Ok just finished my Wagner intercooler, the directions are garabge. Doing this from memory so bear with me.

Remove skid plate, 2bolts in the front, 2 rear, these can be taken loose and the skid plate has a slotted hole.

5 bolts across the chin spoiler that need to come out (10 mm), remove license plate if you have one, remove the 5 push clips from the plastic insert in bumper. After this carefully pop the plastic piece out. It has push clip fasteners, I couldn't get to the backside so I pulled my plastic piece out and the clips stayed in the bumper. Unplug the wire to this and set aside

6 bolts (15mm) hold the bumper on, 3 each side. I ended up just pivoting it to the side and propping the drivers side up with all the wires.

Remove tow hooks, 2 15 mm bolts and a 10 mm bolt each side, the 15mm is to the frame the 10 is to the shroud. Remove the 2 10mm bolts from the top of the shroud that go into a cross brace.

Remove the intercooler lines (i just wiggled with a screw driver and popped off)

intercooler should now fall out. Remove cross brace across top of frame that has the 2 eye holes the intercooler sat in (2 13mm bolts).

Install brackets on the wagner intercooler, the orientation is the one that puts the intercooler most toward the front of the truck. Wiggle it in over the bumper mounting plate. Reinstall 13mm bolts where the old bracket was and the wagner brace goes.


I missed a step in there somewhere,you have to remove the plastic piece from that back of the factory intercooler and trim it, mount it back to the wagner, they give you foam tape to take the slack up.

Reinstall in reverse order. Hope this helps someone. Their directions sucked and where I was at I didn't have cell services so this is just me figuring it out. Took me about 3 hours. Most of that was getting the damn clips back on the plastic insert piece.
 
OP
OP
HyperM3

HyperM3

Well-Known Member
First Name
Alex
Joined
Jan 11, 2024
Threads
27
Messages
551
Reaction score
494
Location
Lawrenceville, NJ
Vehicle(s)
2024 Ranger Raptor Velocity Blue
Ok just finished my Wagner intercooler, the directions are garabge. Doing this from memory so bear with me.

Remove skid plate, 2bolts in the front, 2 rear, these can be taken loose and the skid plate has a slotted hole.

5 bolts across the chin spoiler that need to come out (10 mm), remove license plate if you have one, remove the 5 push clips from the plastic insert in bumper. After this carefully pop the plastic piece out. It has push clip fasteners, I couldn't get to the backside so I pulled my plastic piece out and the clips stayed in the bumper. Unplug the wire to this and set aside

6 bolts (15mm) hold the bumper on, 3 each side. I ended up just pivoting it to the side and propping the drivers side up with all the wires.

Remove tow hooks, 2 15 mm bolts and a 10 mm bolt each side, the 15mm is to the frame the 10 is to the shroud. Remove the 2 10mm bolts from the top of the shroud that go into a cross brace.

Remove the intercooler lines (i just wiggled with a screw driver and popped off)

intercooler should now fall out. Remove cross brace across top of frame that has the 2 eye holes the intercooler sat in (2 13mm bolts).

Install brackets on the wagner intercooler, the orientation is the one that puts the intercooler most toward the front of the truck. Wiggle it in over the bumper mounting plate. Reinstall 13mm bolts where the old bracket was and the wagner brace goes.


I missed a step in there somewhere,you have to remove the plastic piece from that back of the factory intercooler and trim it, mount it back to the wagner, they give you foam tape to take the slack up.

Reinstall in reverse order. Hope this helps someone. Their directions sucked and where I was at I didn't have cell services so this is just me figuring it out. Took me about 3 hours. Most of that was getting the damn clips back on the plastic insert piece.
Great write up. I ended up not removing the lower bumper. Just removed the skid plate and the two tow hooks. Took the intercooler out and just put the Wagner up in there without rear plastic attached. Not even sure why that's important, those shutters aren't even active.
 

wapta

Member
Joined
Oct 10, 2024
Threads
0
Messages
20
Reaction score
12
Location
Around
Vehicle(s)
P703N Raptor
Not even sure why that's important, those shutters aren't even active.
Fits and seals against the cooling fan shroud and allows the fans to pull air through all of the components and not suck in air from the engine bay. The rear shutters open under enough air pressure.

Its why the process west kit includes a fan shroud seal plate.
 

Sponsored
OP
OP
HyperM3

HyperM3

Well-Known Member
First Name
Alex
Joined
Jan 11, 2024
Threads
27
Messages
551
Reaction score
494
Location
Lawrenceville, NJ
Vehicle(s)
2024 Ranger Raptor Velocity Blue
Fits and seals against the cooling fan shroud and allows the fans to pull air through all of the components and not suck in air from the engine bay. The rear shutters open under enough air pressure.

Its why the process west kit includes a fan shroud seal plate.
That doesn't make sense though. I can't imagine that much air pressure behind it to suck open the shutters. It's not like it's sealed at the bottom 🤷🏼‍♂️.
 

wapta

Member
Joined
Oct 10, 2024
Threads
0
Messages
20
Reaction score
12
Location
Around
Vehicle(s)
P703N Raptor
That doesn't make sense though. I can't imagine that much air pressure behind it to suck open the shutters. It's not like it's sealed at the bottom 🤷🏼‍♂️.
They suck closed, not open when the fan is active and the vehicle is at a stop. Thats why they pivot away from cooler. Thus the fan aids in cooling it at a stop.

Wagner has mounting points on it to reuse and provides additional foam sealing in step 7
As for the instructions not having the two bolts you couldn't find it looks like one is visible in the bottom corner of step 3 photo and both in step 9
https://www.wagner-tuning.com/img/products/docs/200001217_Installation Instruction Intercooler Kit Ford Ranger Raptor 3.0 V6.pdf
 

805 Ranger Raptor

Well-Known Member
First Name
Jeff
Joined
Nov 20, 2024
Threads
4
Messages
61
Reaction score
111
Location
CA
Vehicle(s)
2024 Ford Ranger Raptor
Installed my Wagner today was one of the easiest intercoolers I have ever installed I install the rear flaps and removed the front ones as the instructions said but you could leave the front flaps on if you wanted they clear I just think more air all the time would be better I’m Sure Wagner agrees.
I installed the Pro Tune today too that was quick and EZ too
Ford Ranger Has anyone installed a new intercooler on their own yet? IMG_7526
Ford Ranger Has anyone installed a new intercooler on their own yet? IMG_7531
Ford Ranger Has anyone installed a new intercooler on their own yet? IMG_7544
 

pablo94sc

Well-Known Member
Joined
Oct 27, 2023
Threads
19
Messages
561
Reaction score
497
Location
TN
Vehicle(s)
Focus
This is a very good and informational thread. Post more pictures as you guys install them.
 

Sponsored
OP
OP
HyperM3

HyperM3

Well-Known Member
First Name
Alex
Joined
Jan 11, 2024
Threads
27
Messages
551
Reaction score
494
Location
Lawrenceville, NJ
Vehicle(s)
2024 Ranger Raptor Velocity Blue
Installed my Wagner today was one of the easiest intercoolers I have ever installed I install the rear flaps and removed the front ones as the instructions said but you could leave the front flaps on if you wanted they clear I just think more air all the time would be better I’m Sure Wagner agrees.
I installed the Pro Tune today too that was quick and EZ too
IMG_7526.jpeg
IMG_7531.jpeg
IMG_7544.jpeg
What did you use to trim the plastic off of the louvers on the back so it would fit on the Wagner?

What was needed to be removed in order to get the front louvers out?
 

805 Ranger Raptor

Well-Known Member
First Name
Jeff
Joined
Nov 20, 2024
Threads
4
Messages
61
Reaction score
111
Location
CA
Vehicle(s)
2024 Ford Ranger Raptor
What did you use to trim the plastic off of the louvers on the back so it would fit on the Wagner?


What was needed to be removed in order to get the front louvers out?
I Used Hosco Fret cutters they are sharp and cut flush easier than grinding


I left mine in to see if they worked with the Wagner and they did but seemed to be closed most of the time when I got out & looked at them so I removed them take the center clips that connected all the flaps then I just pushed in the middle to curve them and they will come out
Ford Ranger Has anyone installed a new intercooler on their own yet? IMG_7519
Ford Ranger Has anyone installed a new intercooler on their own yet? IMG_7534
Ford Ranger Has anyone installed a new intercooler on their own yet? IMG_7521
 

Tshern

Member
Joined
Aug 12, 2024
Threads
0
Messages
7
Reaction score
2
Location
Semo
Vehicle(s)
24 Ranger Raptor
Installed my Wagner today was one of the easiest intercoolers I have ever installed I install the rear flaps and removed the front ones as the instructions said but you could leave the front flaps on if you wanted they clear I just think more air all the time would be better I’m Sure Wagner agrees.
I installed the Pro Tune today too that was quick and EZ too
IMG_7526.jpeg
IMG_7531.jpeg
IMG_7544.jpeg
Did yours come with the foam tape you put on top of the IC? Mine came with some real thin stuff and I thought was to go between the fins and that back plastic piece?

Also did you reuse and of the front plastic shroud? I took the entire thing out but wondering if I could of reused part of it.
 

Tshern

Member
Joined
Aug 12, 2024
Threads
0
Messages
7
Reaction score
2
Location
Semo
Vehicle(s)
24 Ranger Raptor
Ford Ranger Has anyone installed a new intercooler on their own yet? 1734360522339-x

I think this is the only image we are missing from a full wagnar install. This is the bracket from the IC to the frame. I think I have it on the wrong side in this pic, I flipped it later. The orientation is the one that puts the IC closest to the front of the truck.


Also I did install that other bolt I left one out and it loose to slide it around if needed. The bolts on the IC are SUPER close, I couldn't use a ratchet on it.
On the drivers side one of my holes wasn't tapped right and had to retap, otherwise everything else was super good quality.
 
OP
OP
HyperM3

HyperM3

Well-Known Member
First Name
Alex
Joined
Jan 11, 2024
Threads
27
Messages
551
Reaction score
494
Location
Lawrenceville, NJ
Vehicle(s)
2024 Ranger Raptor Velocity Blue
1734360522339-xg.jpg

I think this is the only image we are missing from a full wagnar install. This is the bracket from the IC to the frame. I think I have it on the wrong side in this pic, I flipped it later. The orientation is the one that puts the IC closest to the front of the truck.


Also I did install that other bolt I left one out and it loose to slide it around if needed. The bolts on the IC are SUPER close, I couldn't use a ratchet on it.
On the drivers side one of my holes wasn't tapped right and had to retap, otherwise everything else was super good quality.
Yeah, I couldnt fit the IC up there with the brackets attached. So I just used the tow hook brackets to keep it mounted in place.
Sponsored


Top