OP
OP
AdventureLab
Diamond Sponsor
- First Name
- Brit
- Joined
- Mar 14, 2025
- Threads
- 48
- Messages
- 864
- Reaction score
- 1,246
- Location
- St George, UT
- Vehicle(s)
- '24 RR
- Thread starter
- #76
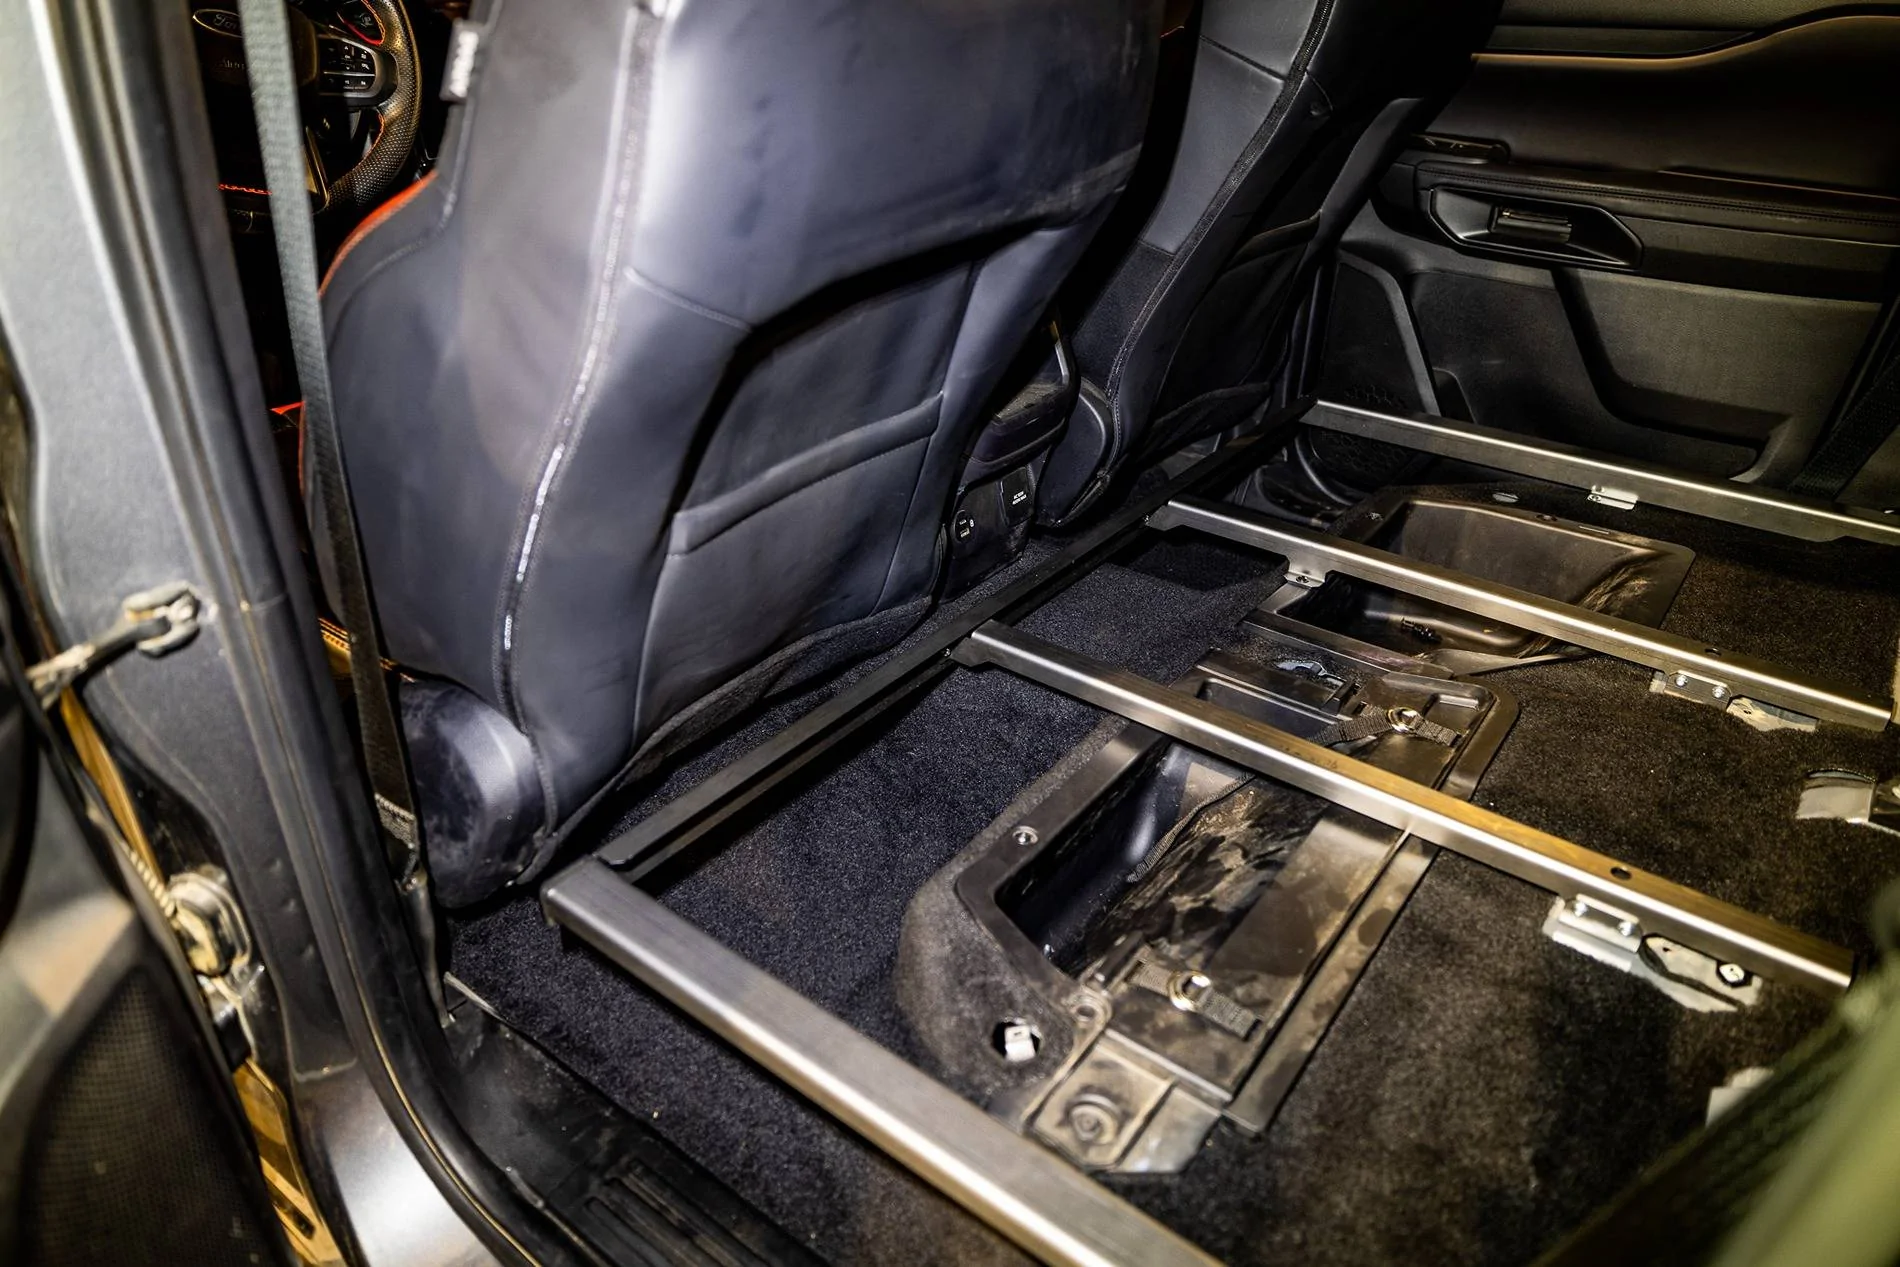
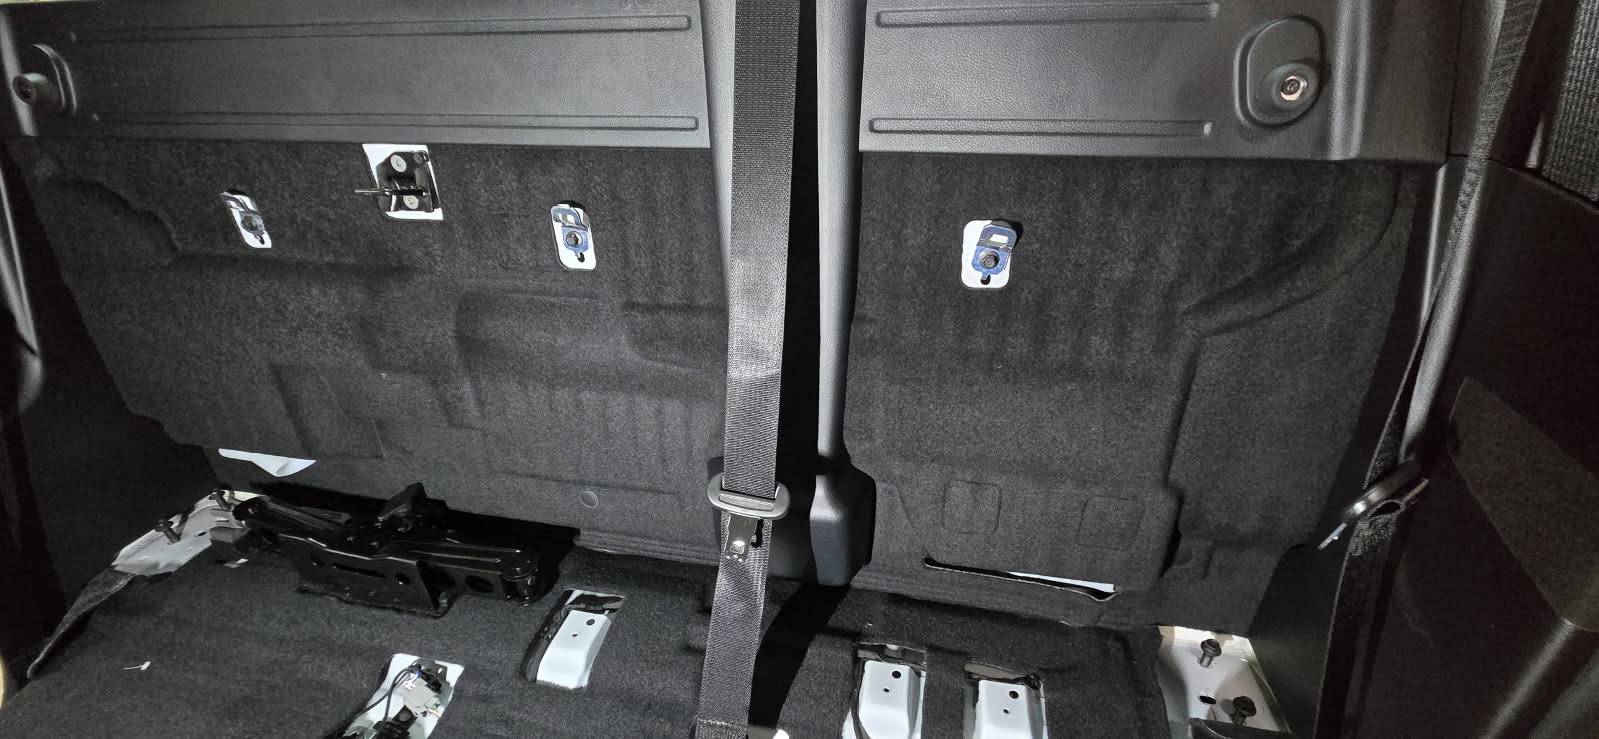
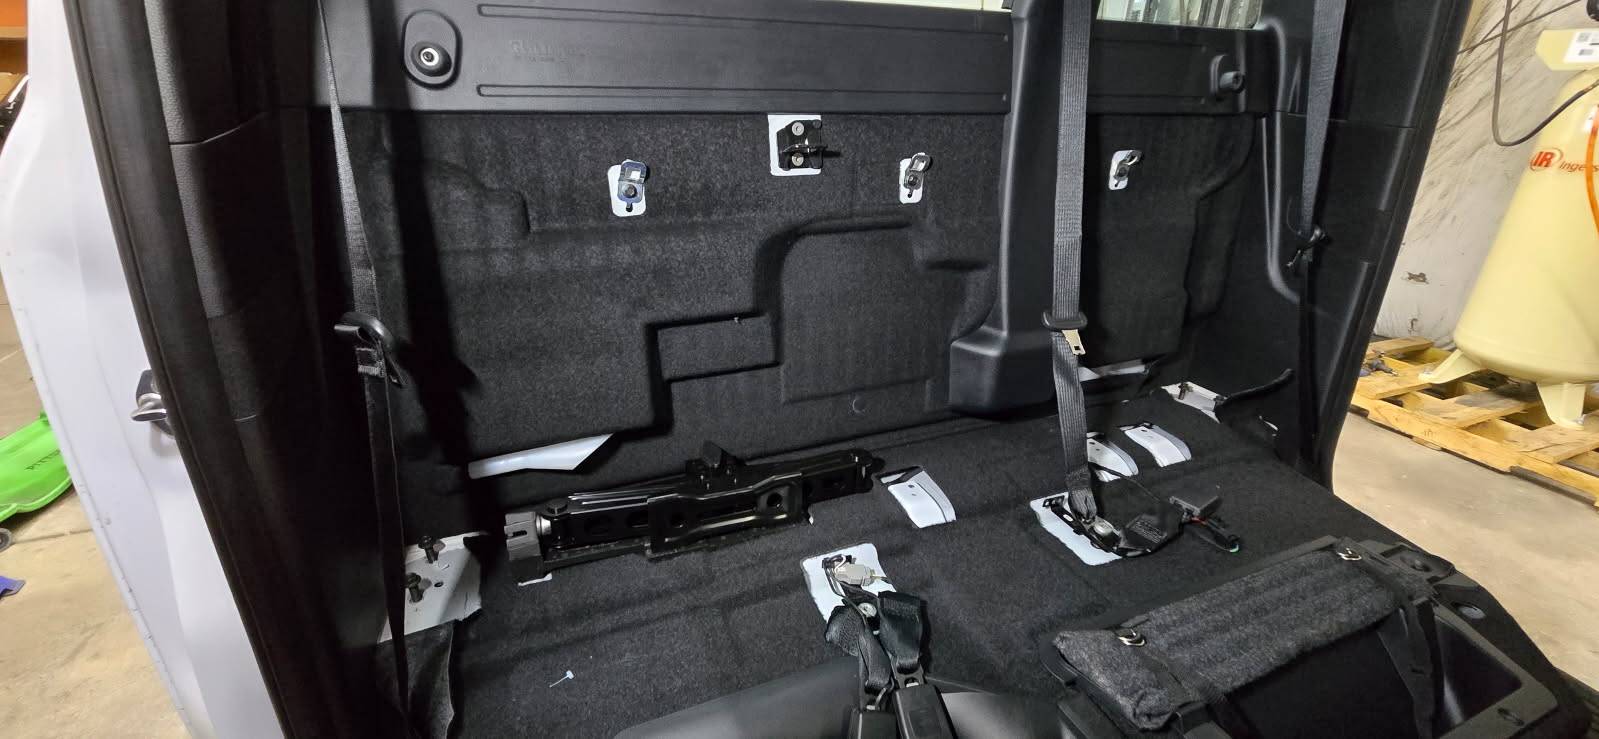
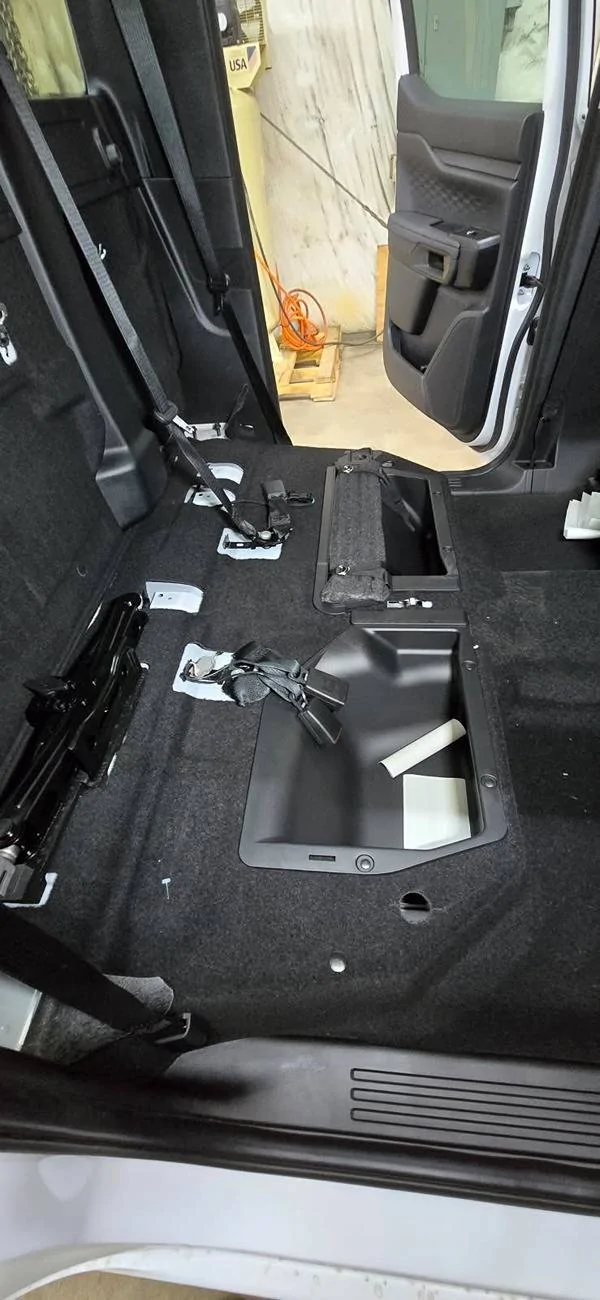
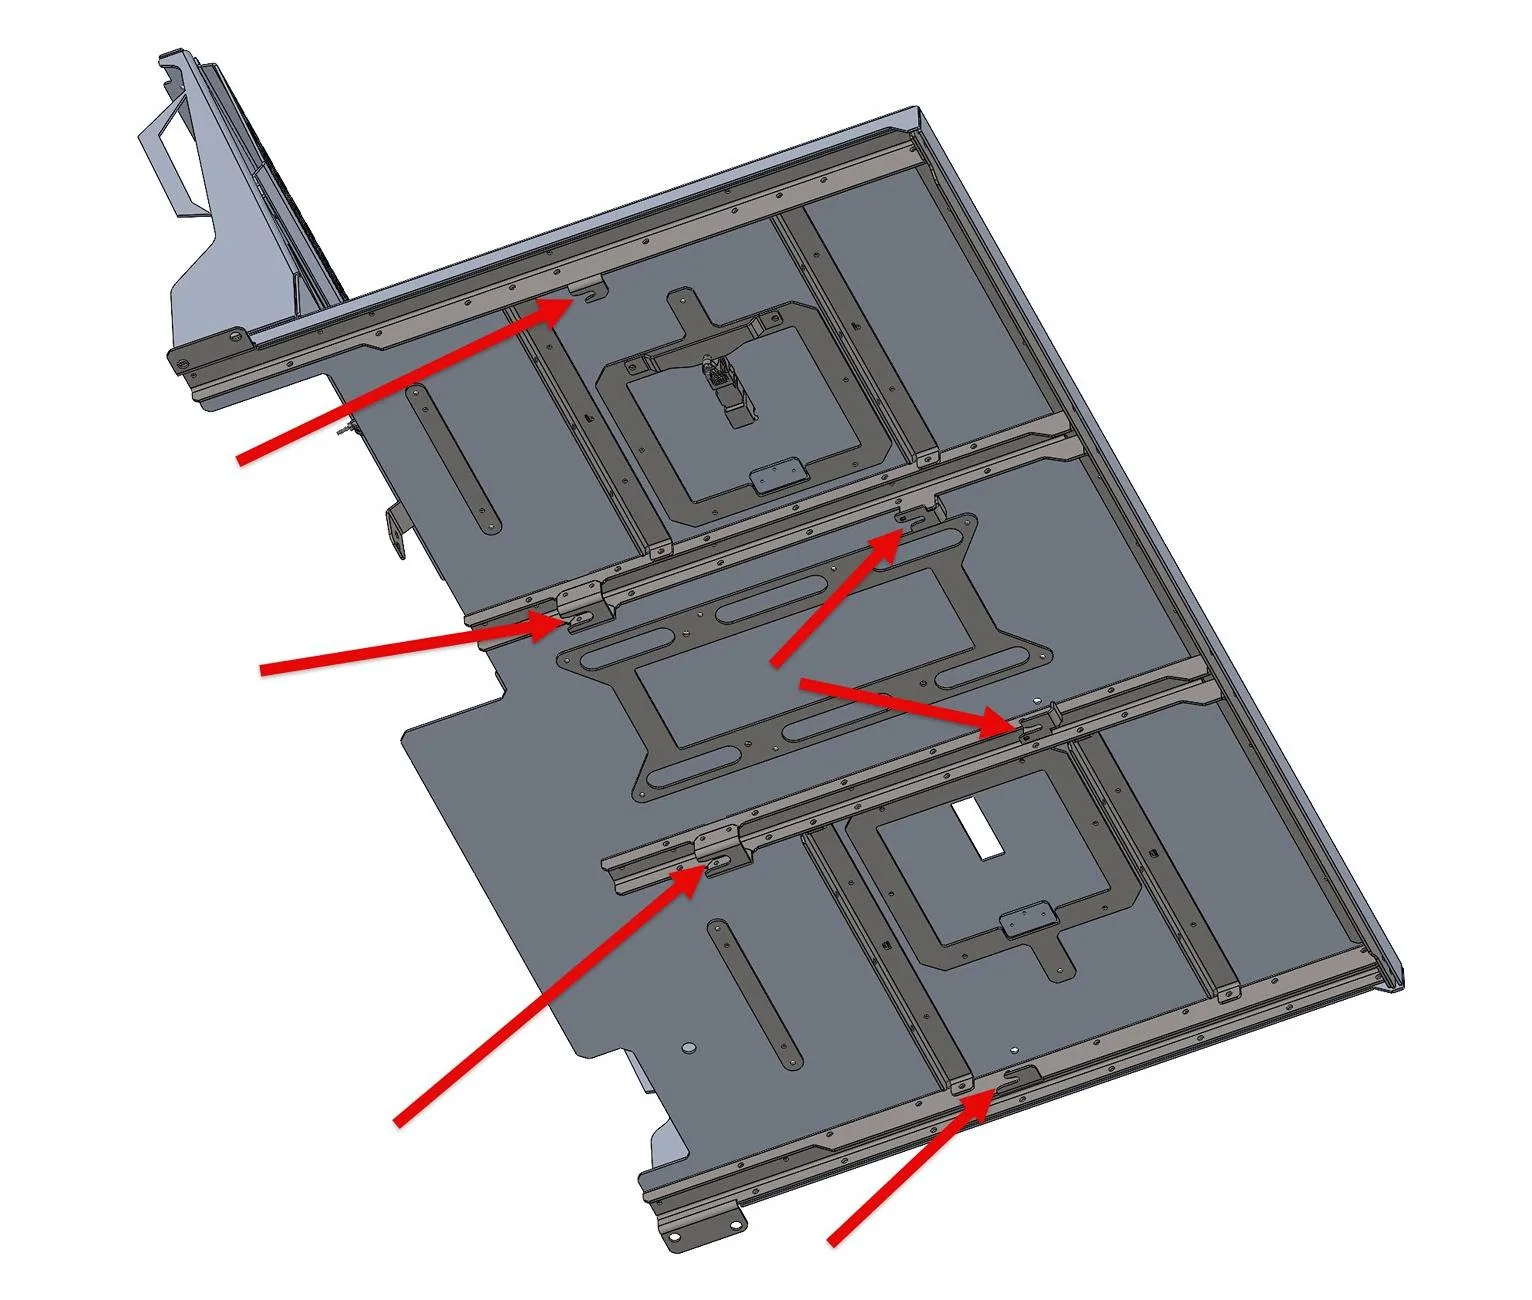
I'll get replies to the questions and comments soon, but short on time and wanted to share this update with you guys.
Sponsored