Wolfman00
Well-Known Member
- First Name
- matt
- Joined
- Aug 5, 2024
- Threads
- 14
- Messages
- 140
- Reaction score
- 85
- Location
- crofton md
- Vehicle(s)
- 2024 xlt
how much is the drivers side trim? did we find that? if ya did, i clearly missed it
Sponsored

I ordered it last Friday. Waiting for it to ship.how much is the drivers side trim? did we find that? if ya did, i clearly missed it

 and trying to find the LED plug from the truck side, which was nowhere to be seen. Only issue i had was on install, one of the 2 little pointers missed it's hole, an screw holes didn't line up, but was smart enough to remove and reinstall correctly. No problem with the look of the leather pad, I like it. Only 2 screws held the inner panel in on mine. Pimp Mod!!!
 ")
It was a satisfying job. Question about the LED plug, did you find it? I was under the impression that there was not going to be a corresponding connection on the XLT. I didn’t even look.Got mine in yesterday, decided to do the install today. Thanks to Aberk25 for doing the heavy lifting and taking a chance, it took me all of 15 mins to remove and install, and 10 mins of that was looking for where i put the box down ?

Update: Tracking says drivers side trim should be here Tuesday.I ordered it last Friday. Waiting for it to ship.

After spending some time in eCat, there are at least 20 different versions of the main wiring harness. There are then some accessory feeds that match up with the upper trim levels but it doesn't look like you will find anything existing in the lower trims. Of course this doesn't mean you couldn't build it out to work through an open circuit, I suppose.It was a satisfying job. Question about the LED plug, did you find it? I was under the impression that there was not going to be a corresponding connection on the XLT. I didn’t even look.
No. i thought i looked pretty throughly. Took the glove box out, shined i light up there, couldn't see any pigtails.It was a satisfying job. Question about the LED plug, did you find it? I was under the impression that there was not going to be a corresponding connection on the XLT. I didn’t even look.
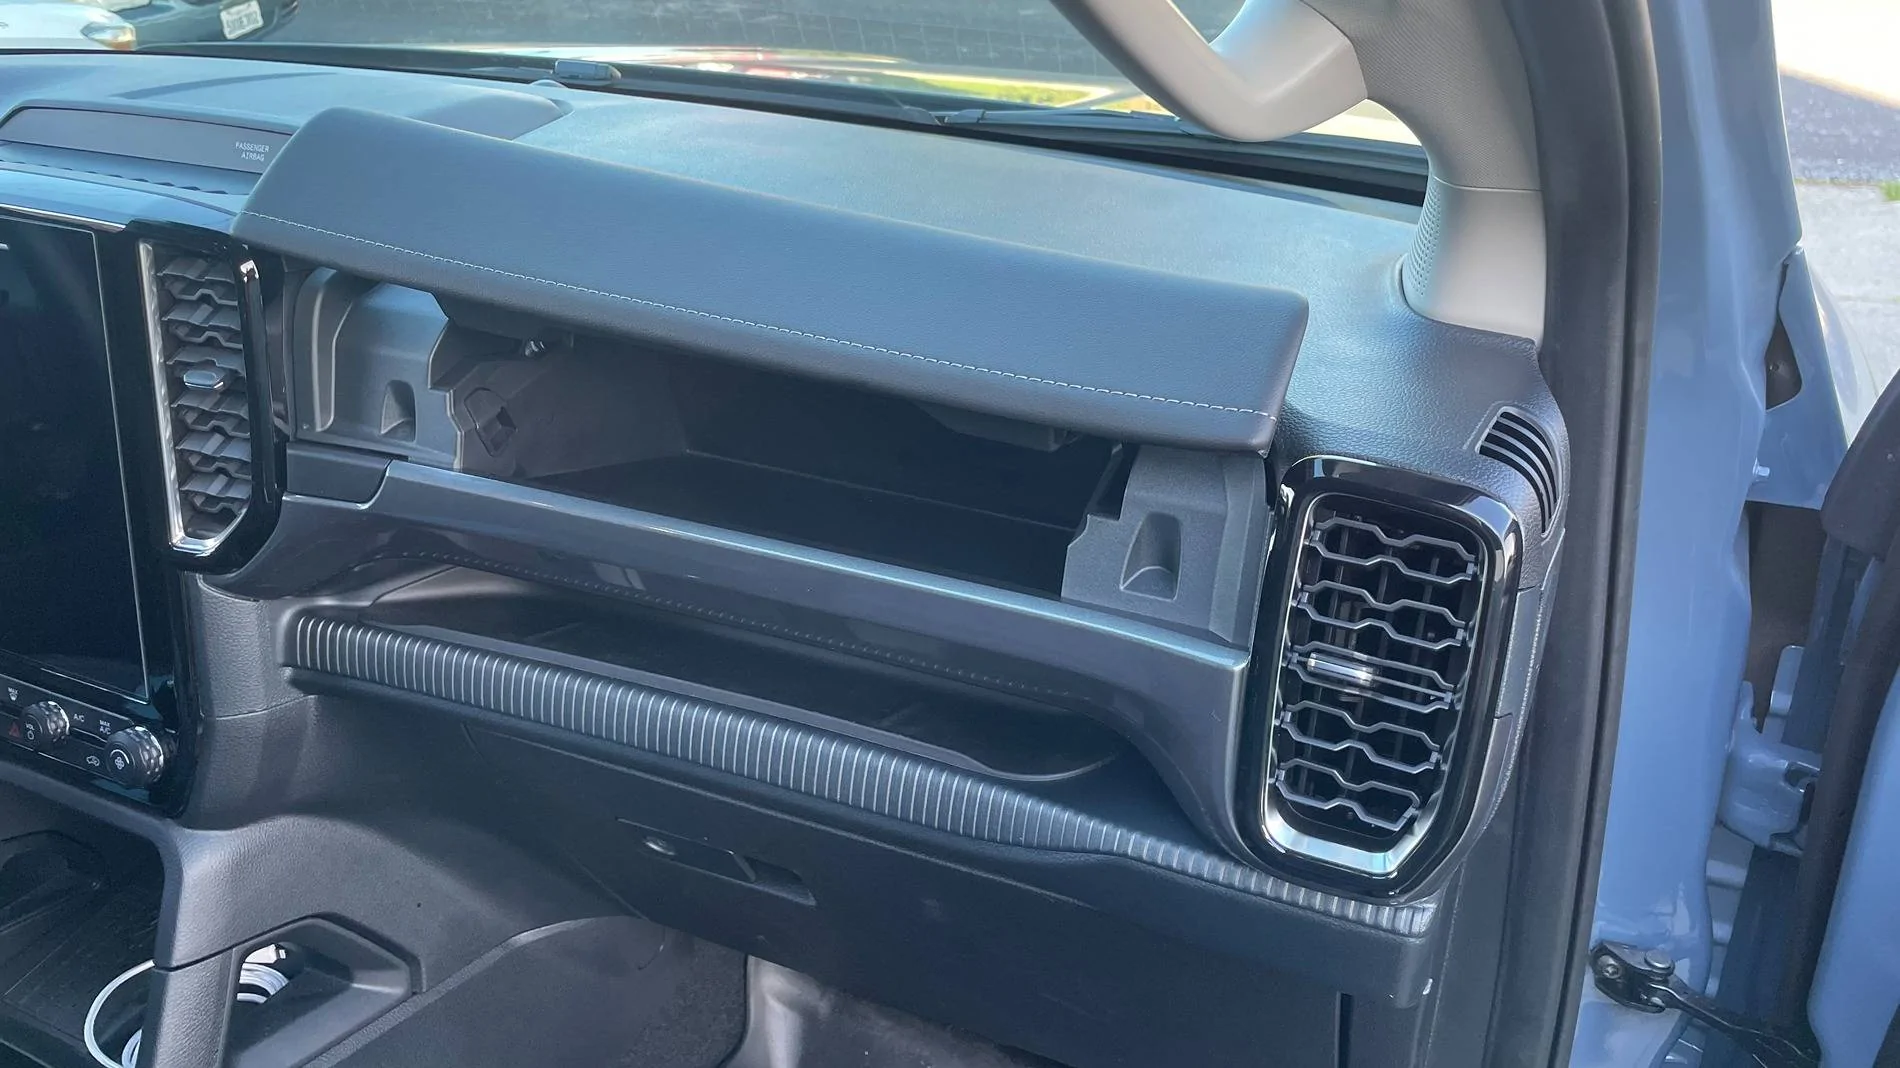
What was your method for removing the stock trim piece? Where did you start?Got mine in yesterday, decided to do the install today. Thanks to Aberk25 for doing the heavy lifting and taking a chance, it took me all of 15 mins to remove and install, and 10 mins of that was looking for where i put the box down ?
What was your method for removing the stock trim piece? Where did you start?
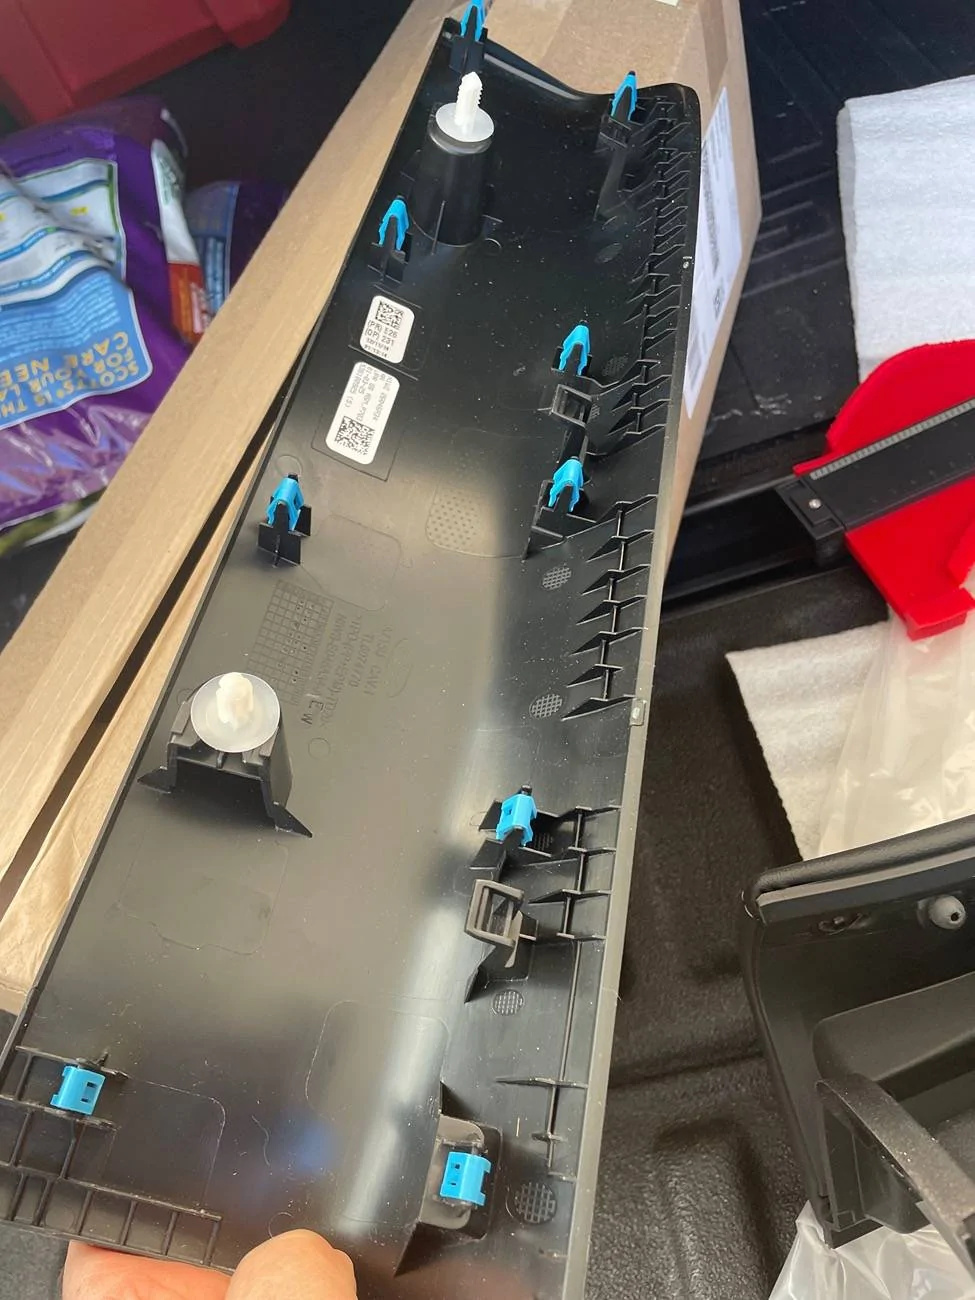
Did you start top or bottom? Any rattles since replacing?I used a nylon trim tool to pry around the edges. Trying to be careful and knowing where the clips were, I still broke most of them. Here is a picture of the bottom of the trim piece, you can see where the clips are. The 2 white posts are on the bottom.
Top, dead quietDid you start top or bottom? Any rattles since replacing?
at the right hand, lower edge, and then I moved to the upper edge with the hooked plastic trim tool pulling it backwards, there's two rows of clips basically one along the top edge of the trim piece and one along the middle-ish lower. That's for the dimple front piece, after that, the two mini bolts and then just pull straight backwards on the main piece, came right out. Watch the two guide pins on the new piece, I missed one my first try but no damage done fortunately. you'll leave a few of the blue clips behind, you can take them out and stick them back on the old trim piece, they're not broken.What was your method for removing the stock trim piece? Where did you start?