
camocustom
Well-Known Member
- First Name
- Dan
- Joined
- Jan 31, 2020
- Threads
- 3
- Messages
- 49
- Reaction score
- 52
- Location
- Port Richey
- Vehicle(s)
- 2025 XLT 4x4 (Sport)
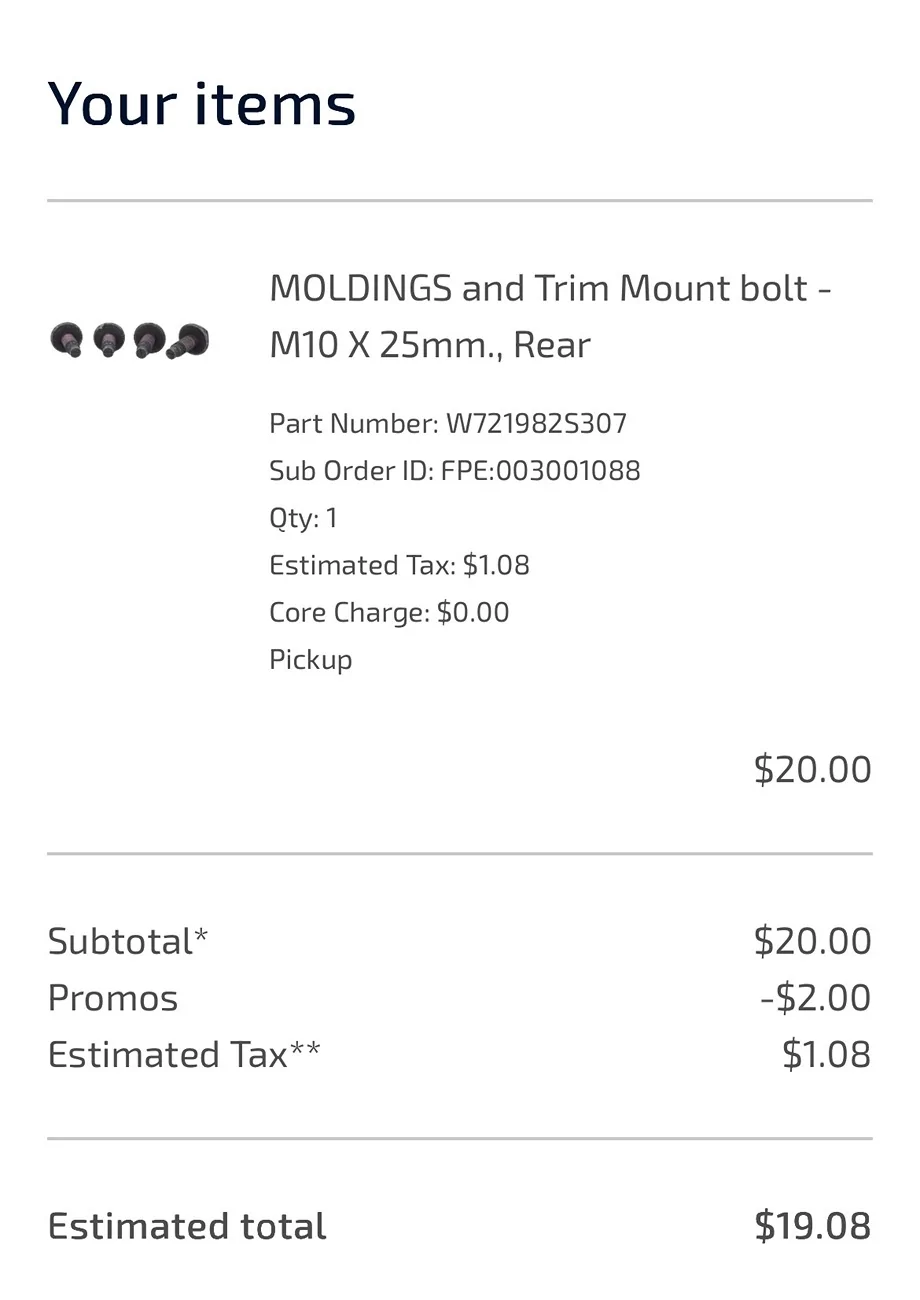
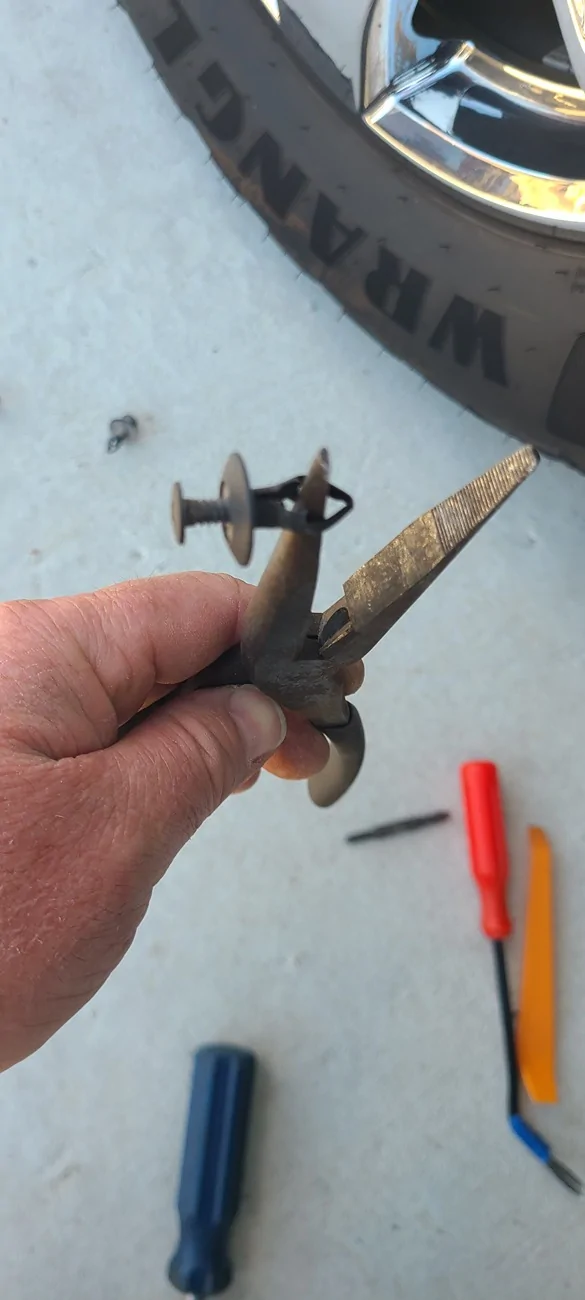
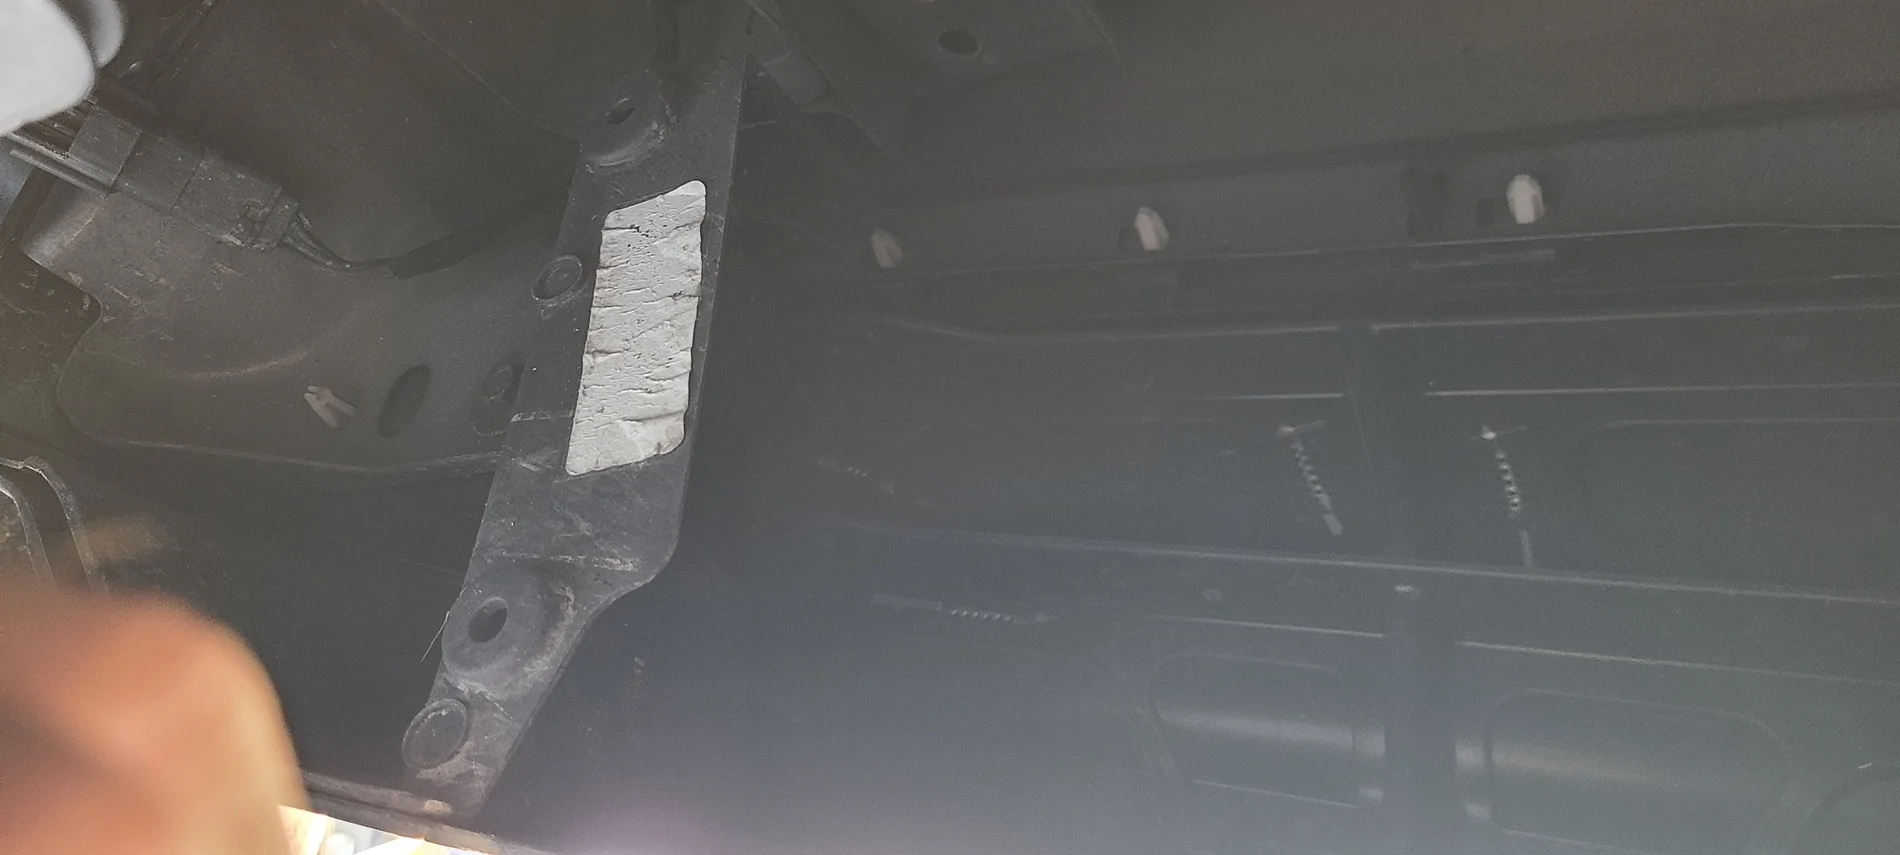
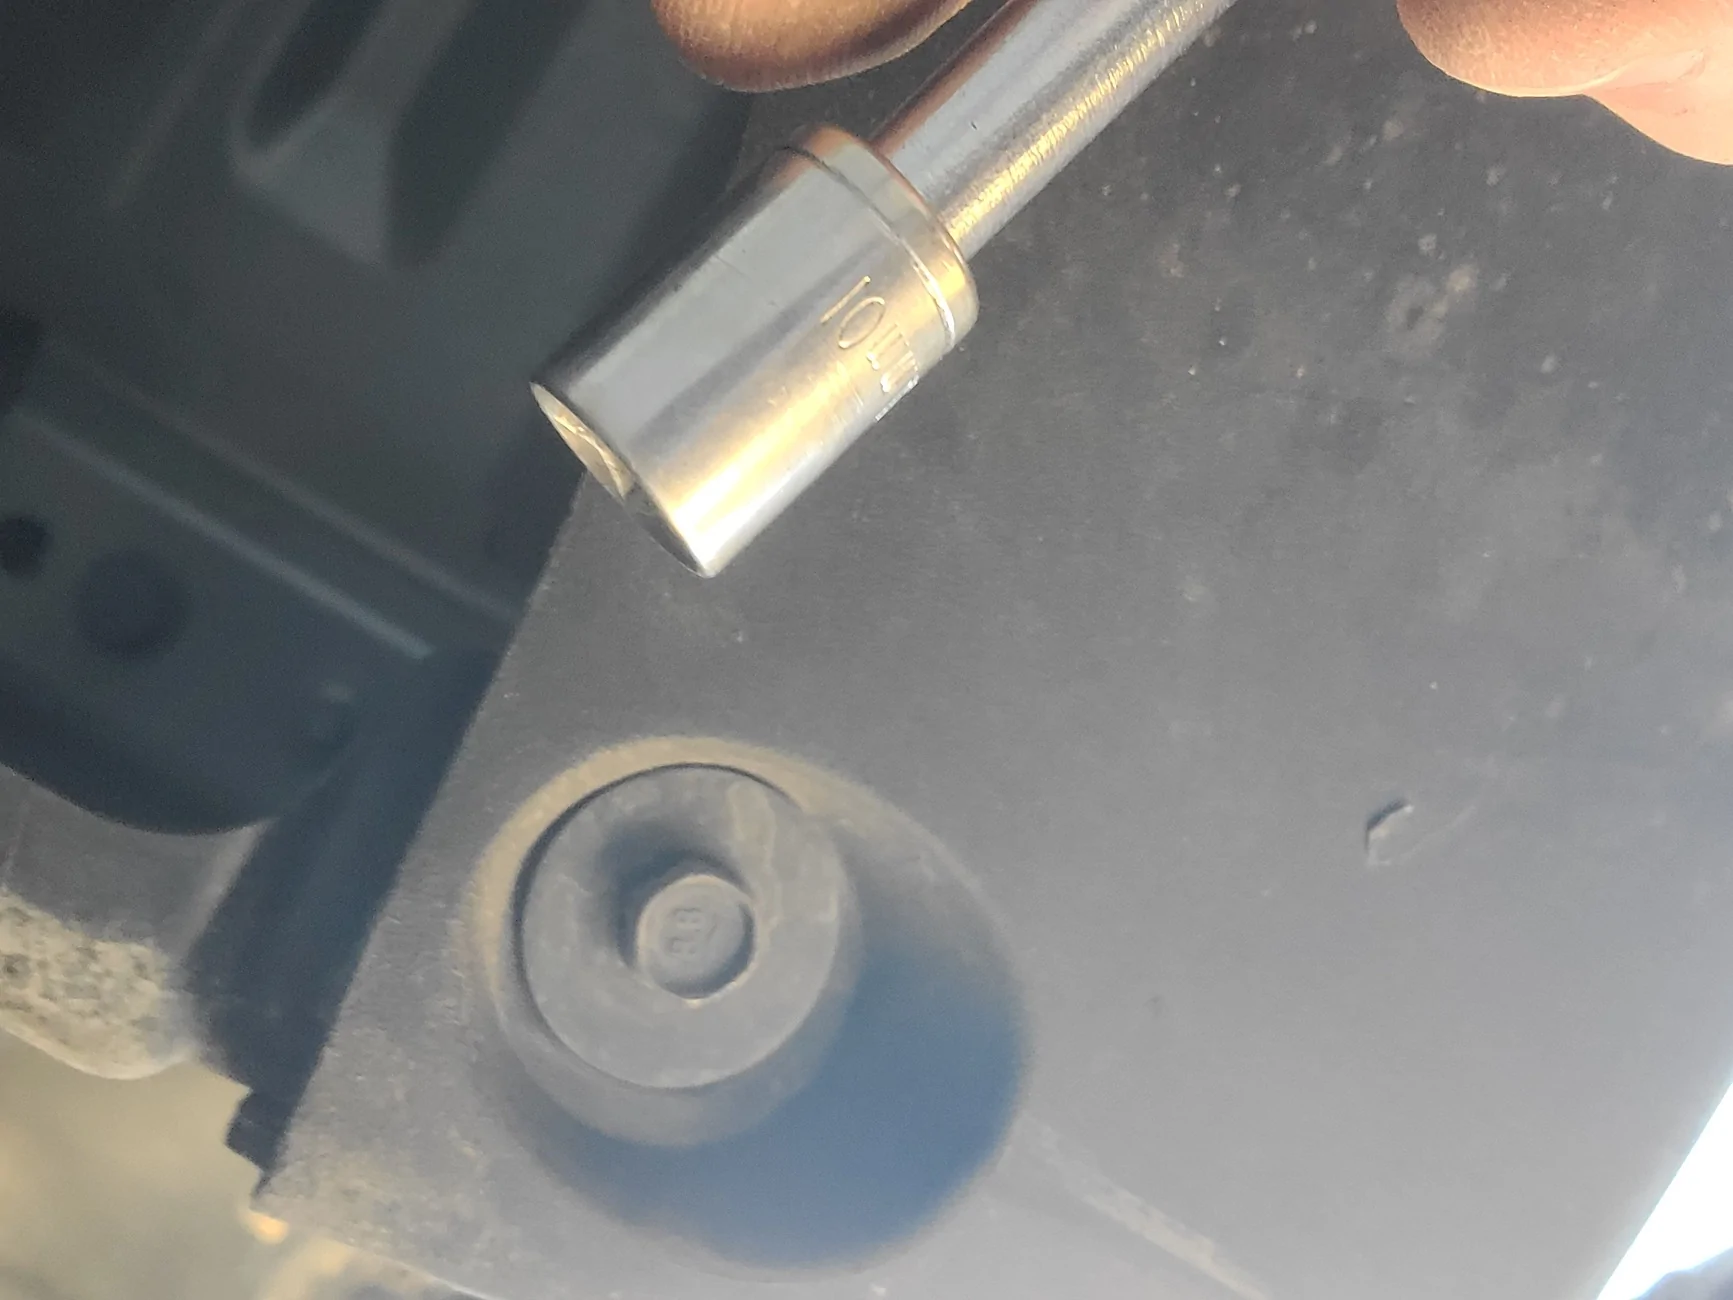
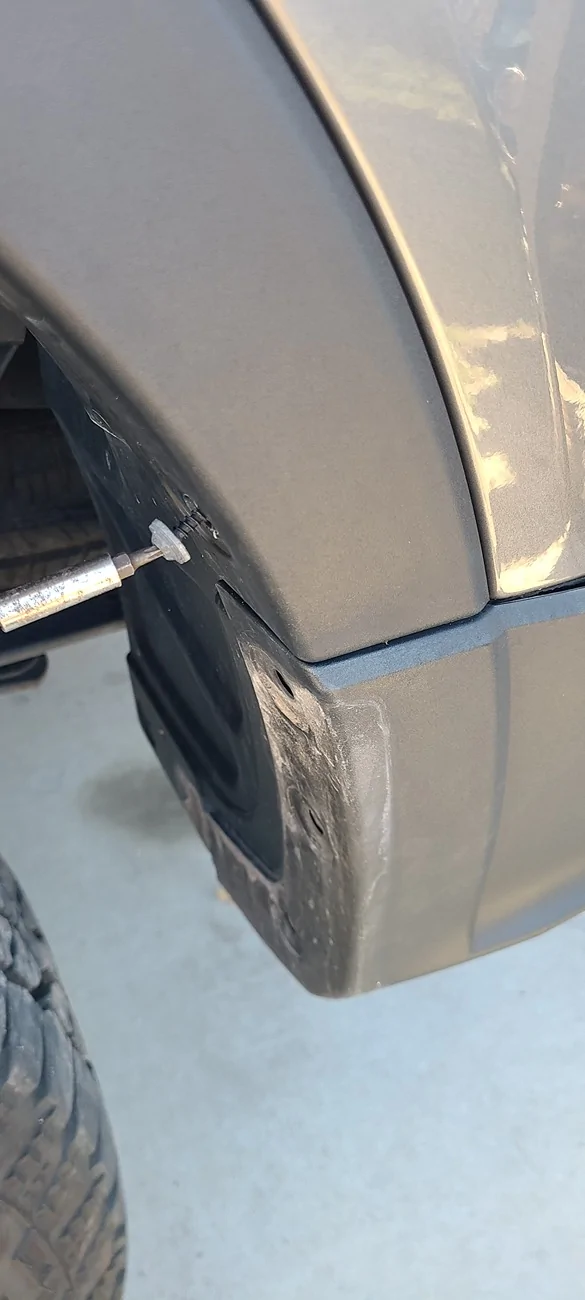
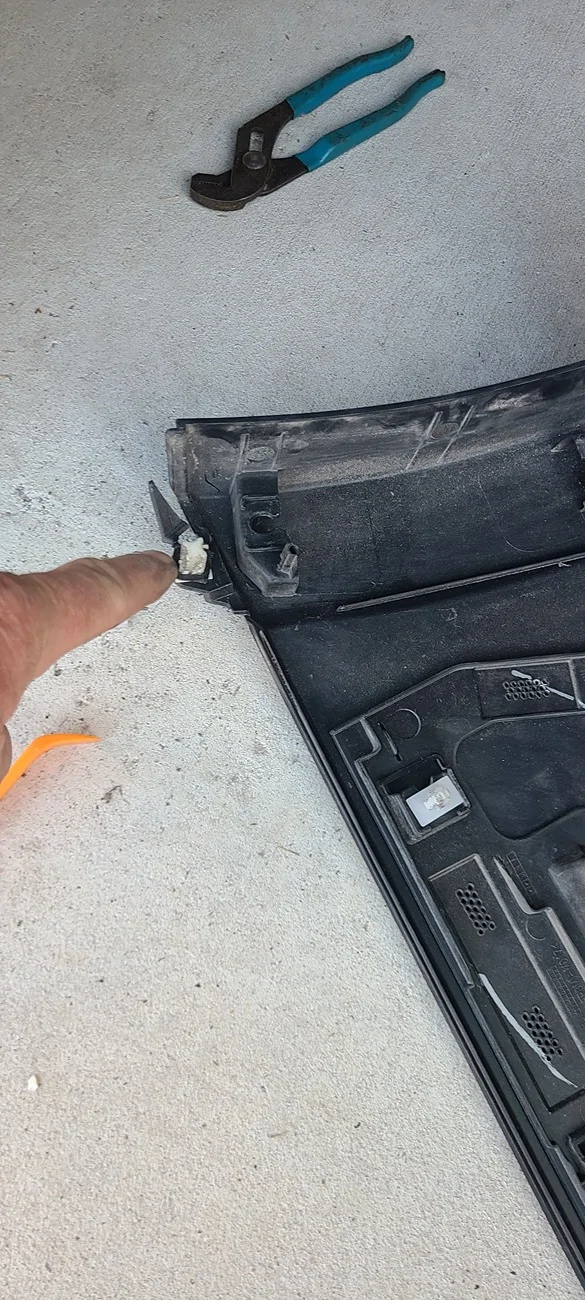
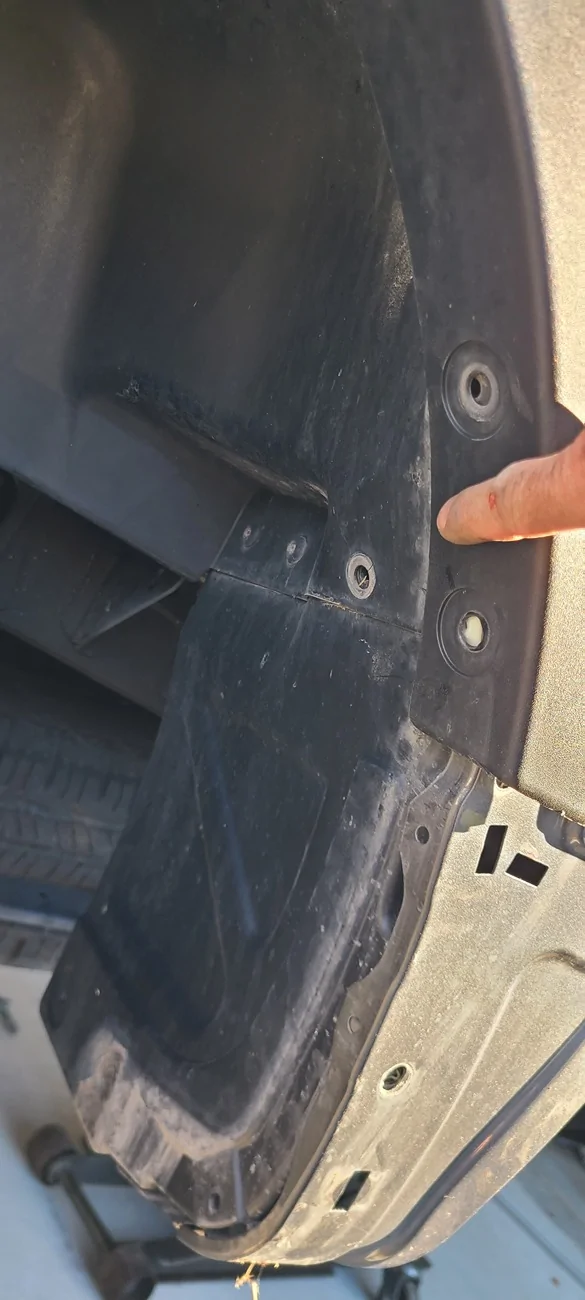
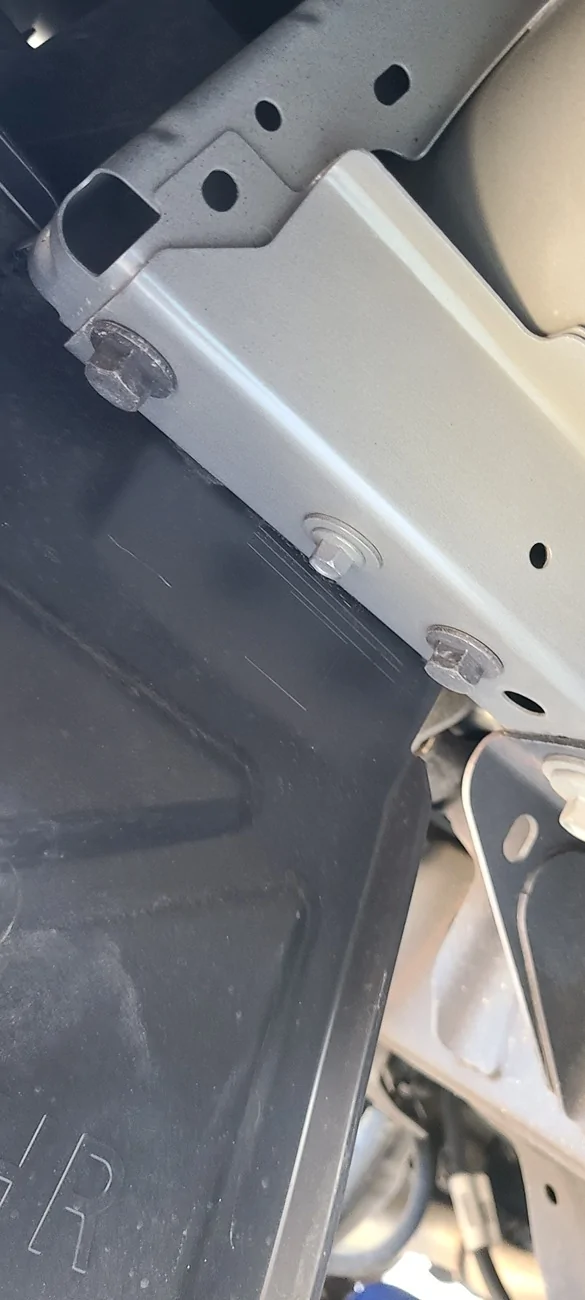
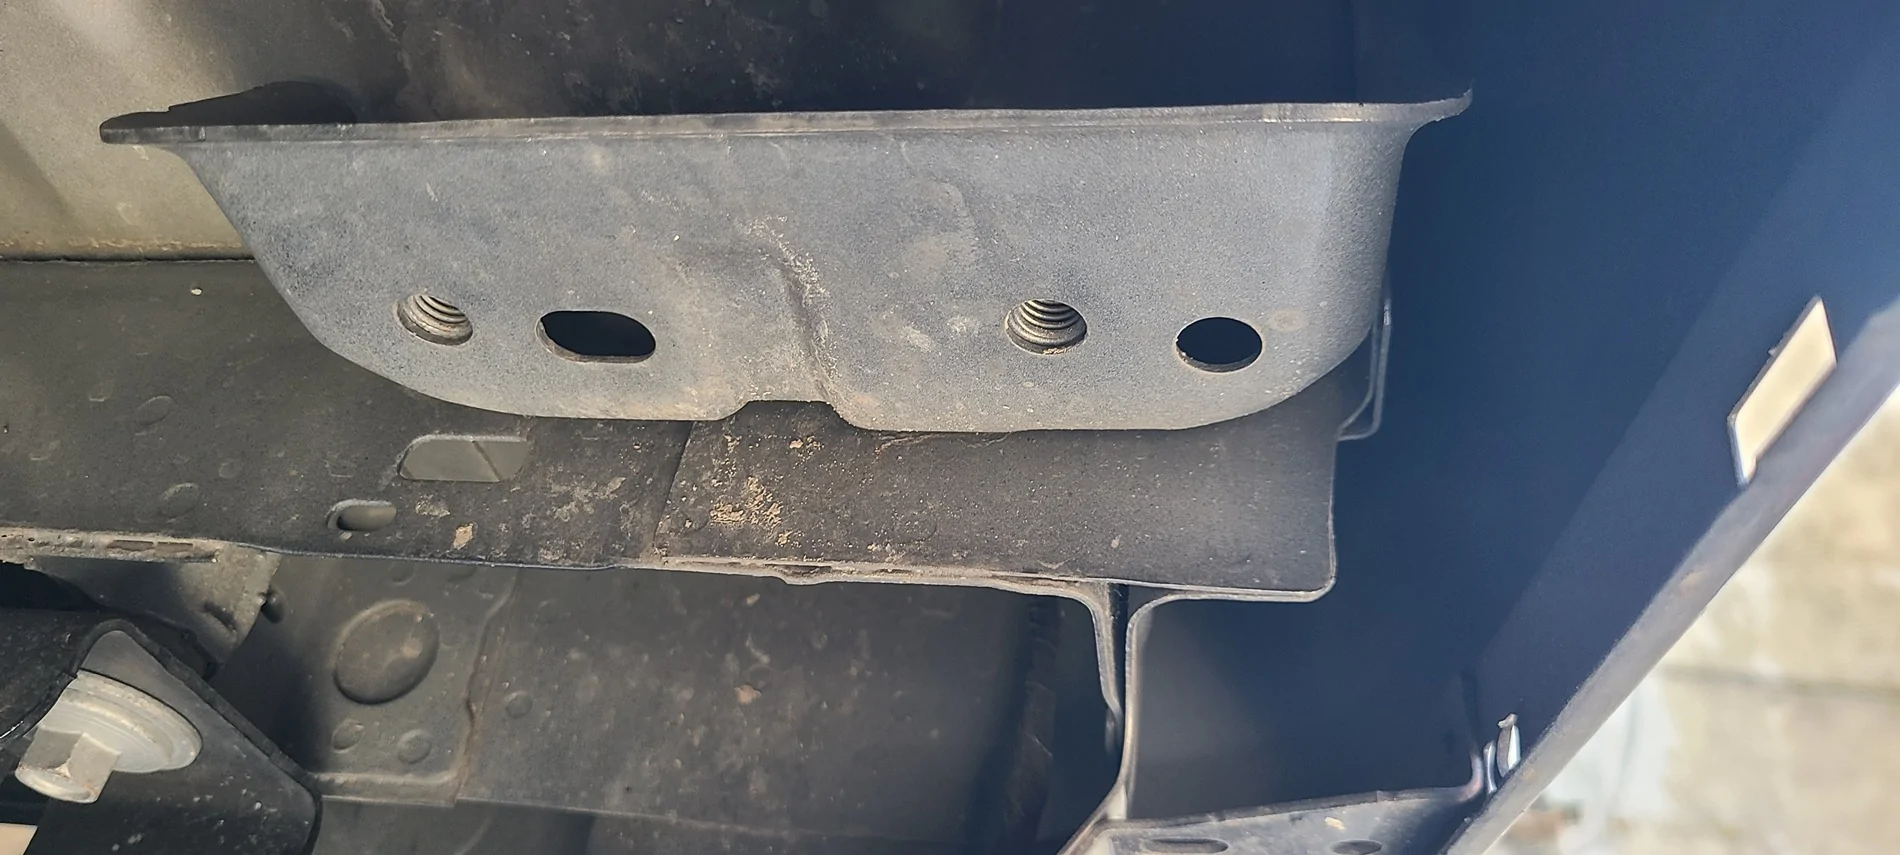
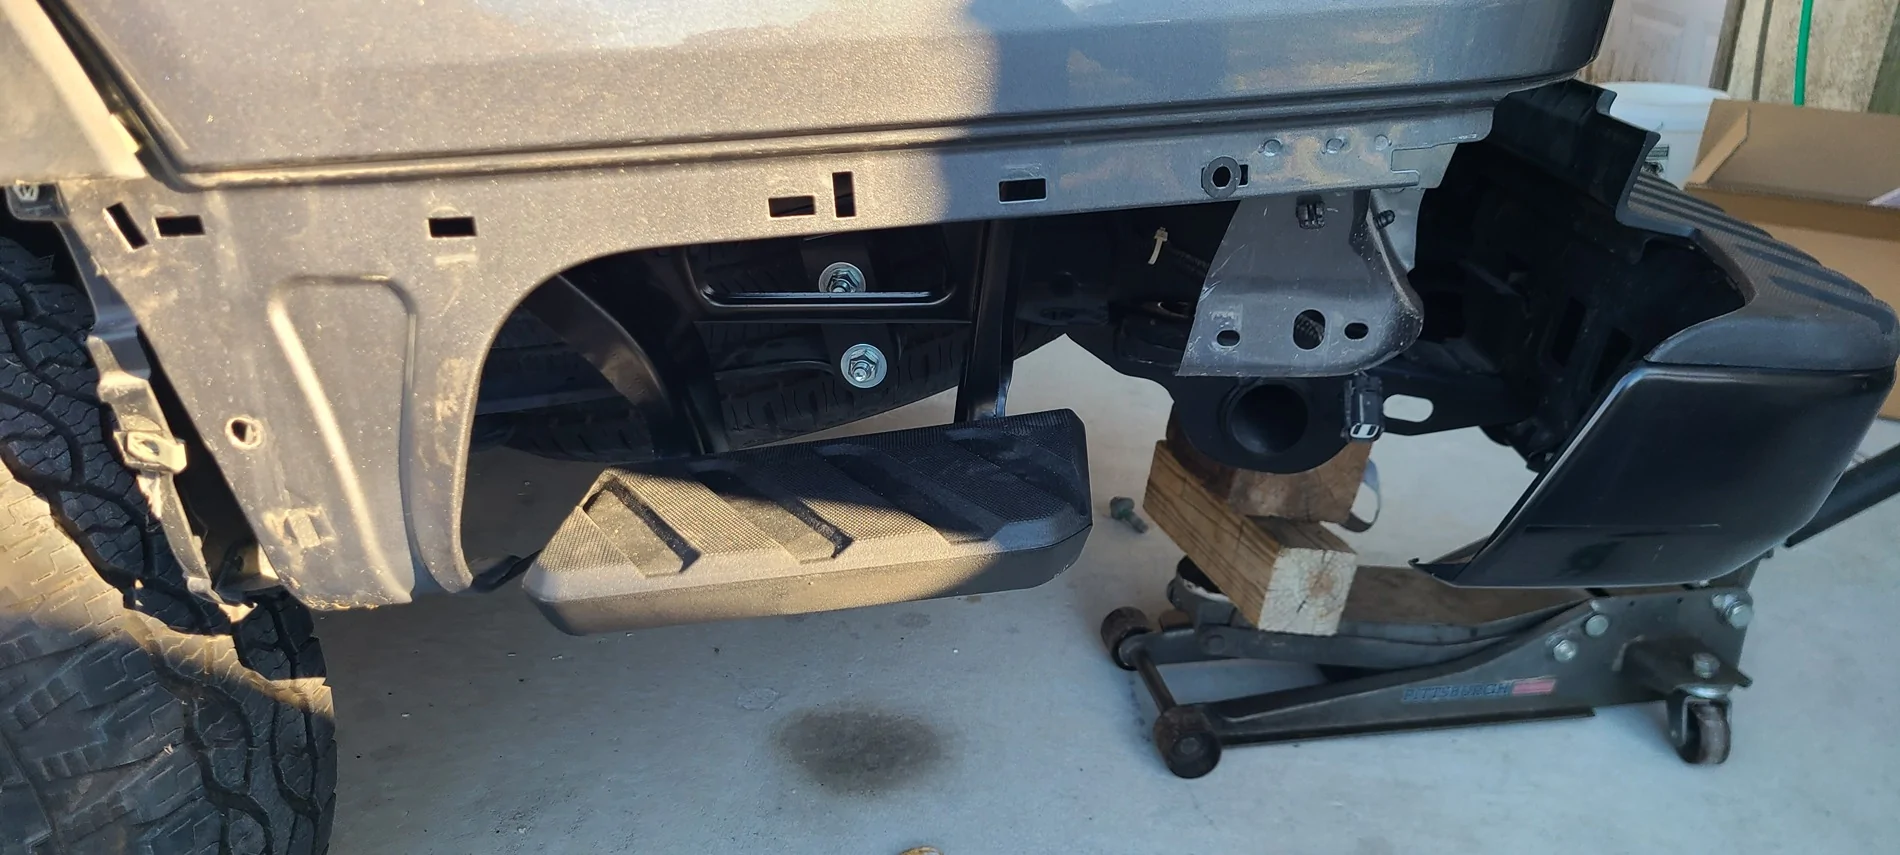
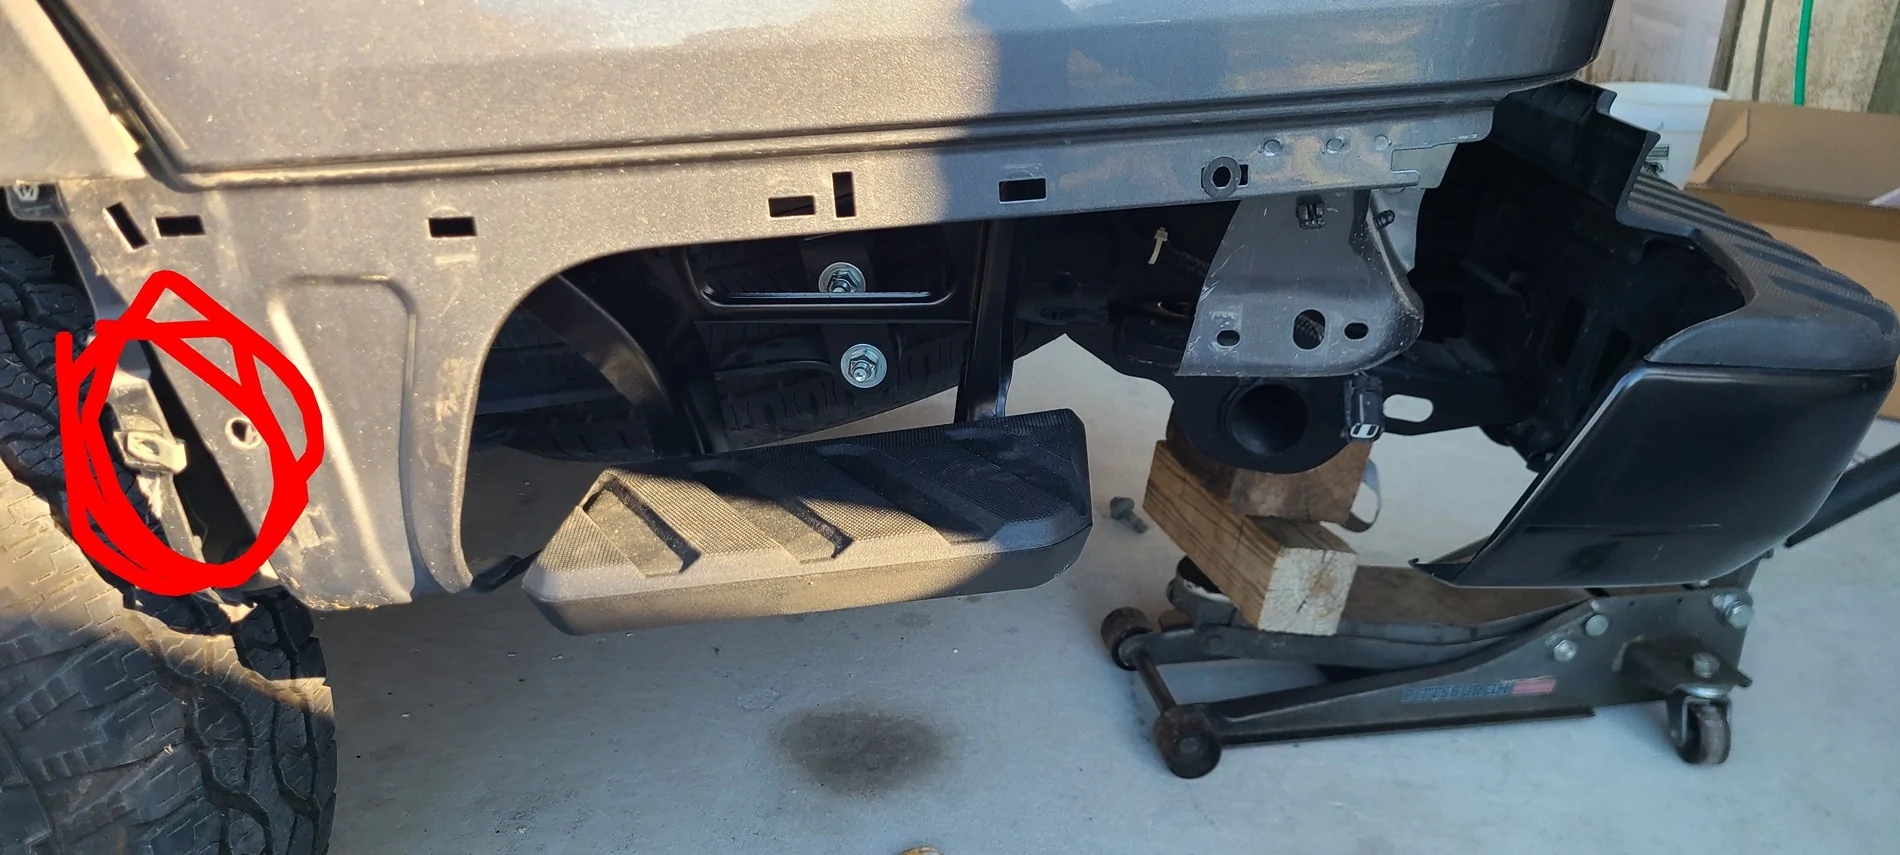
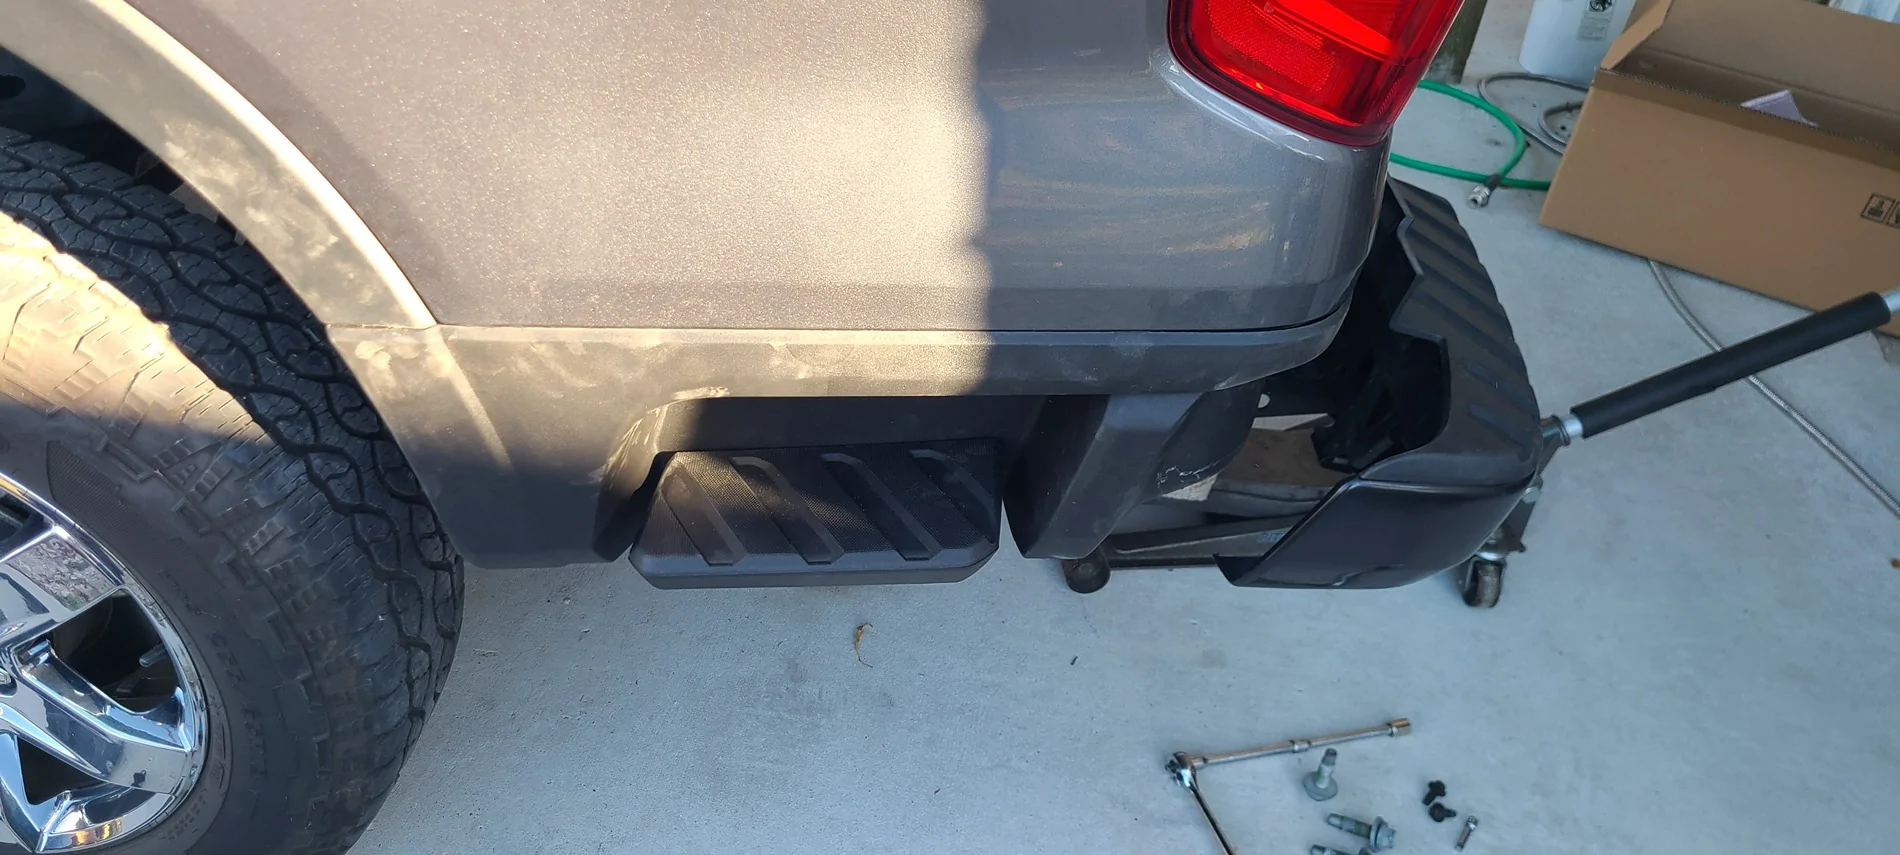
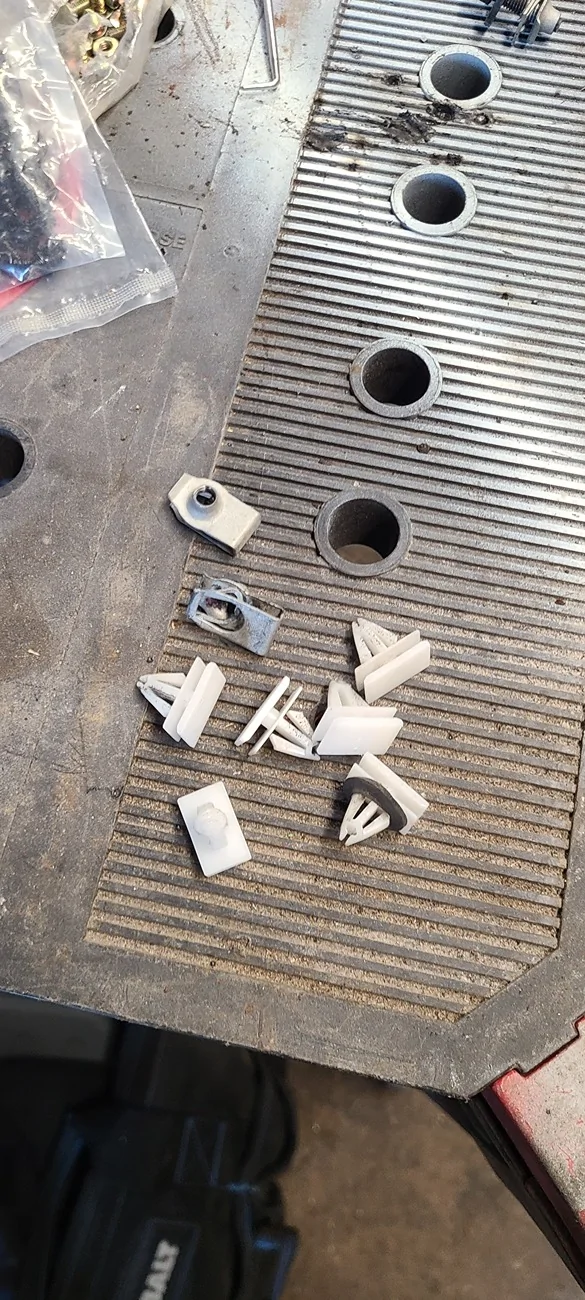
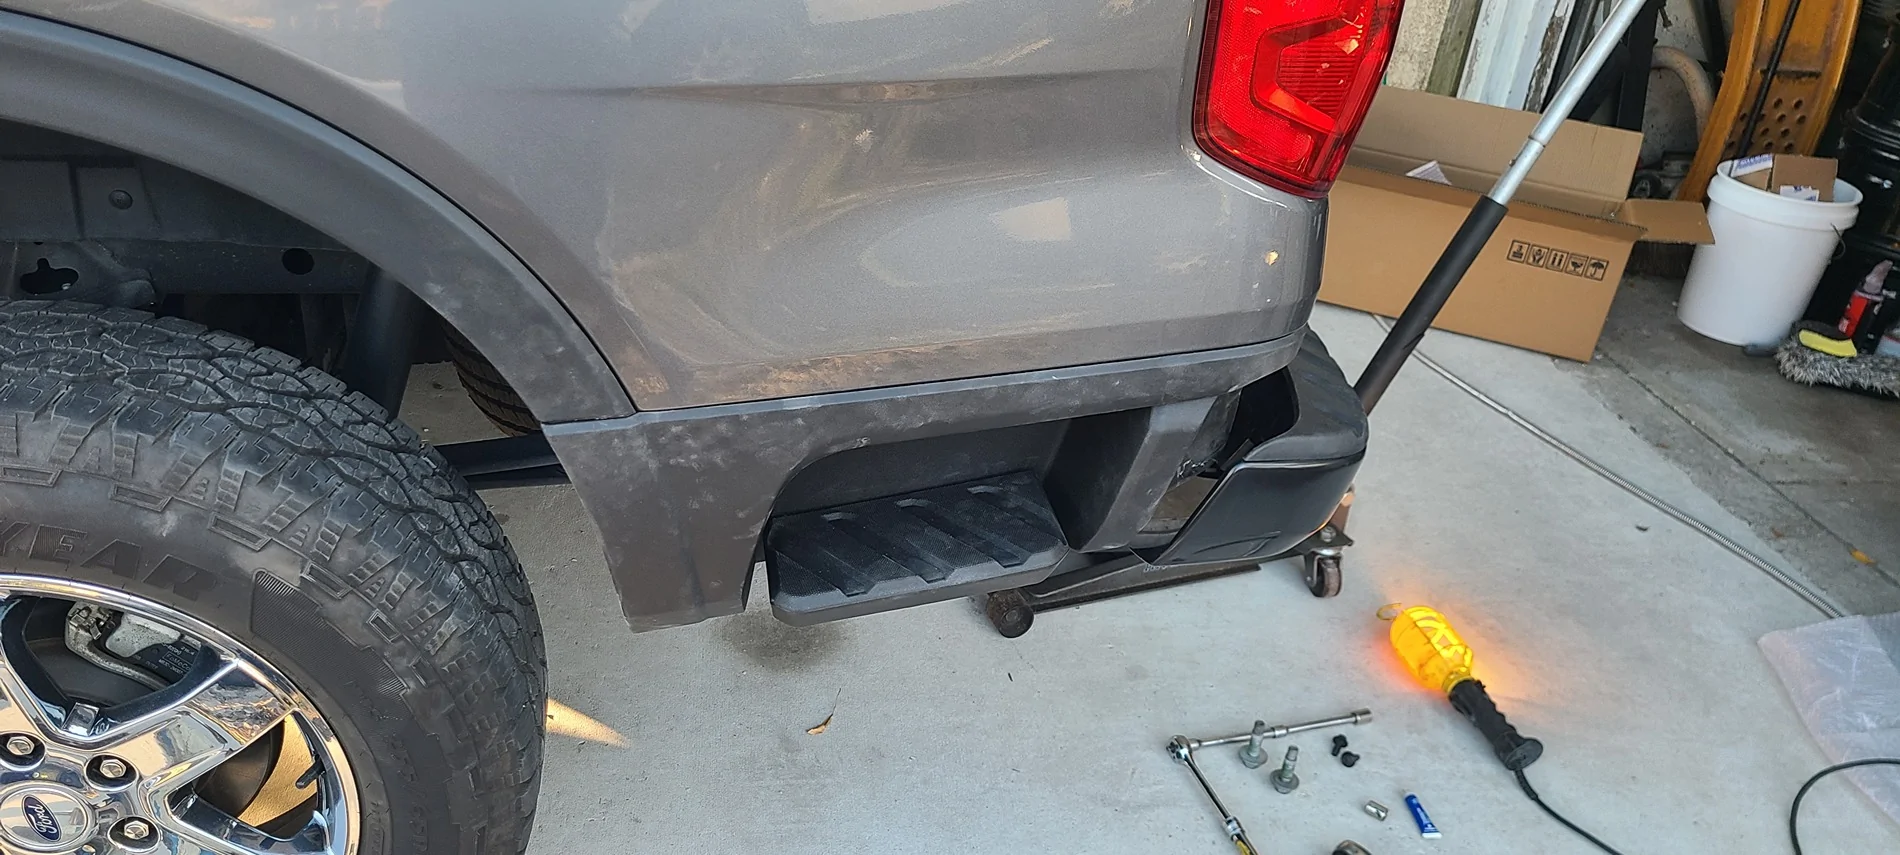
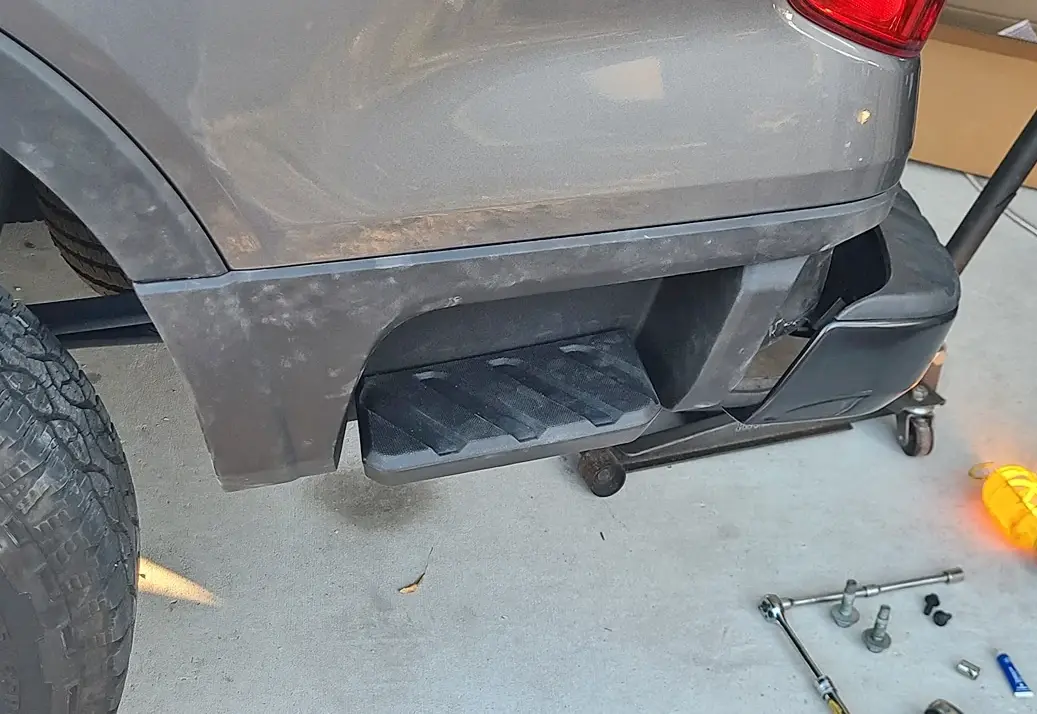
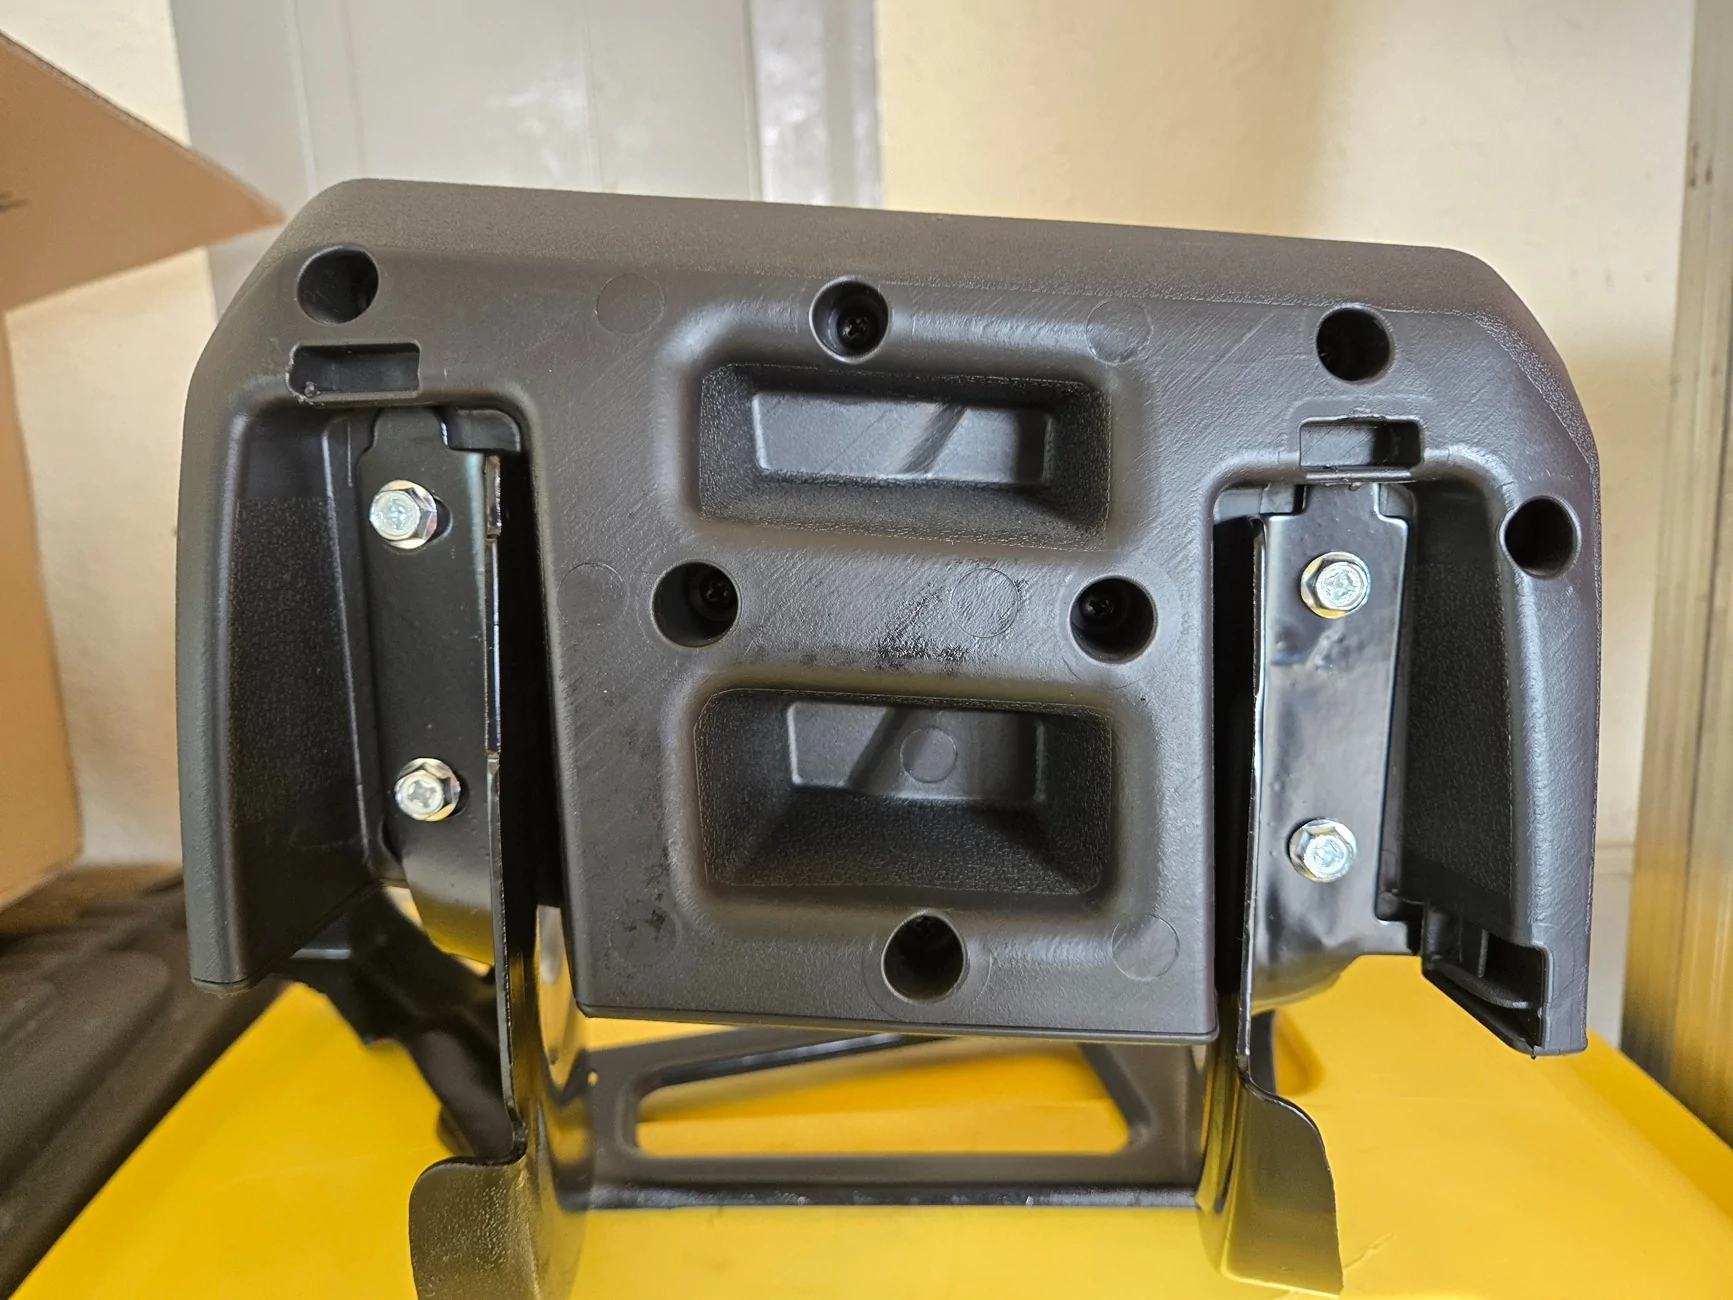
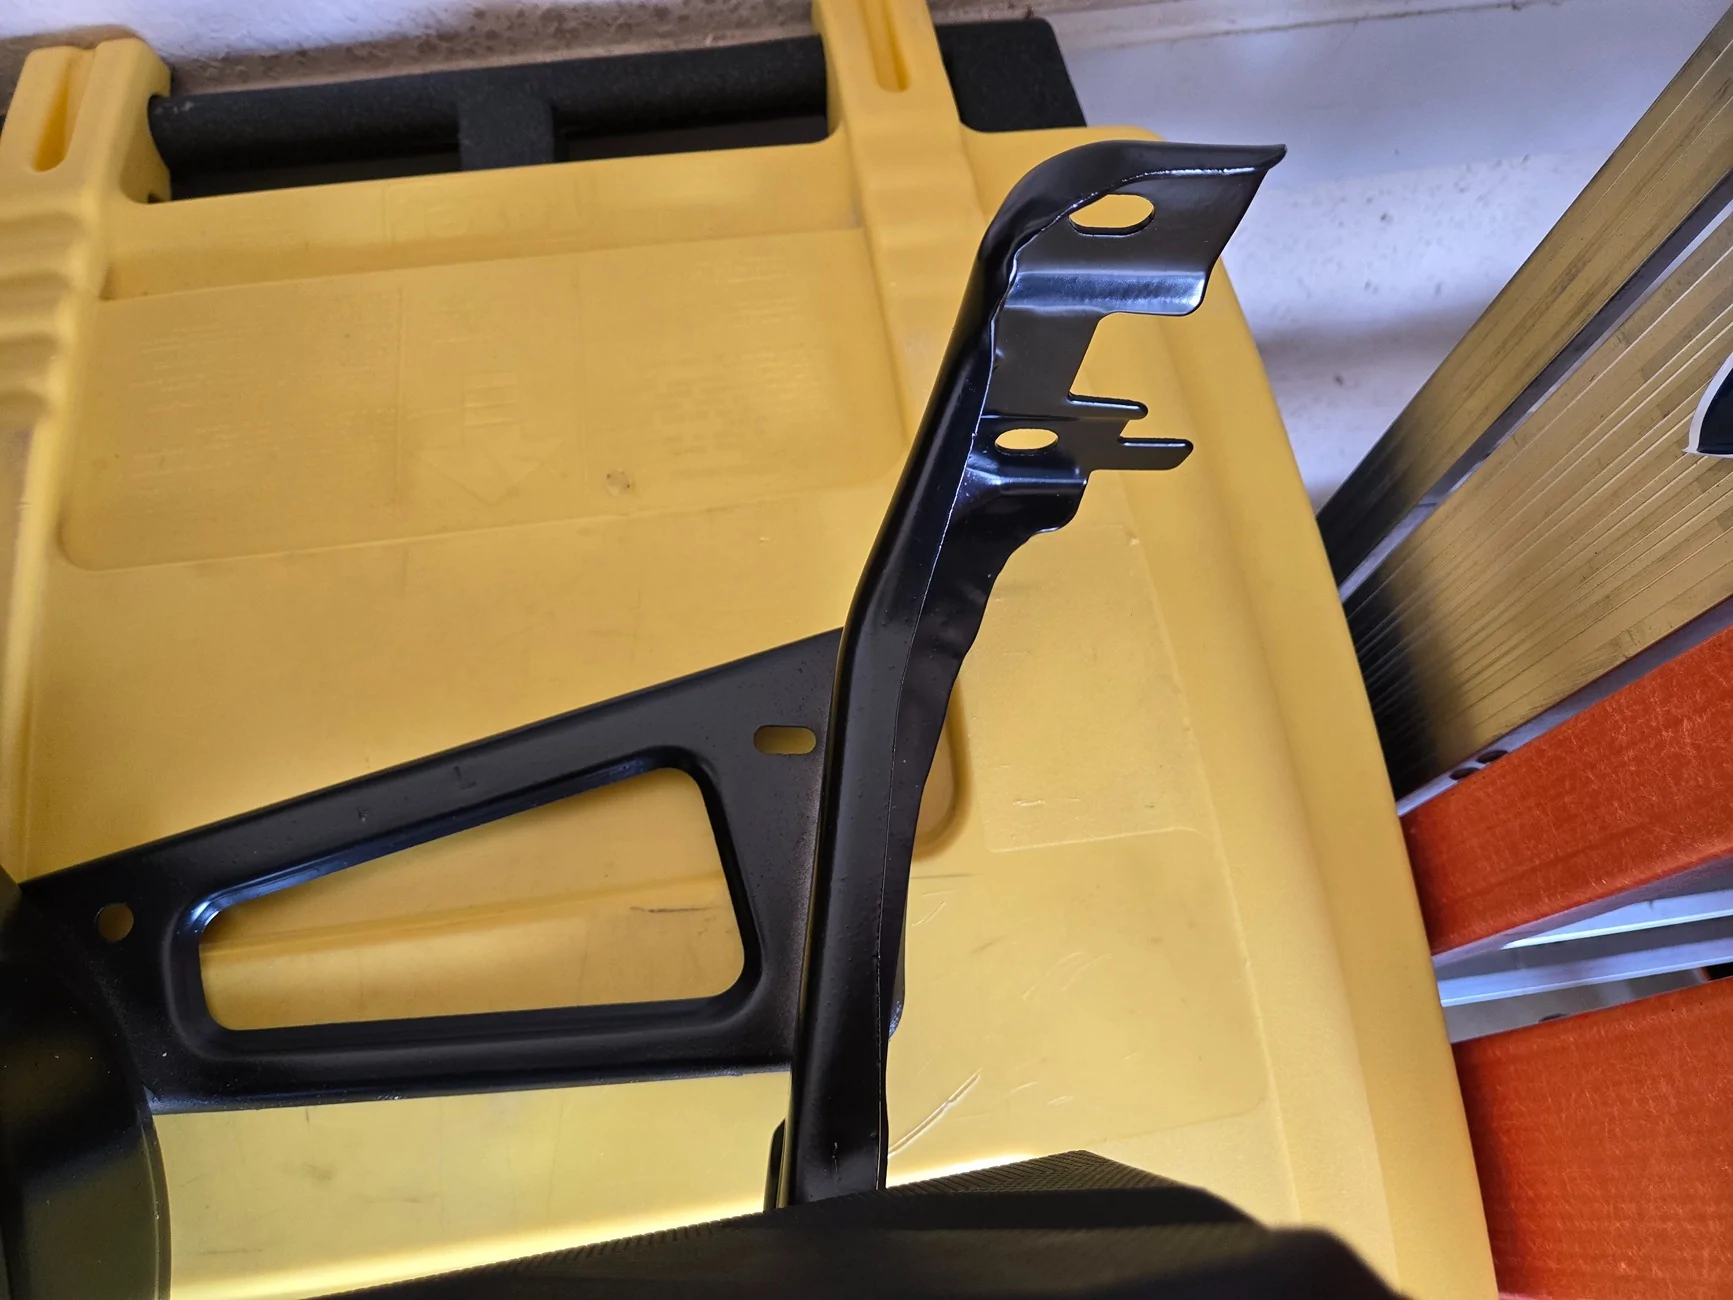
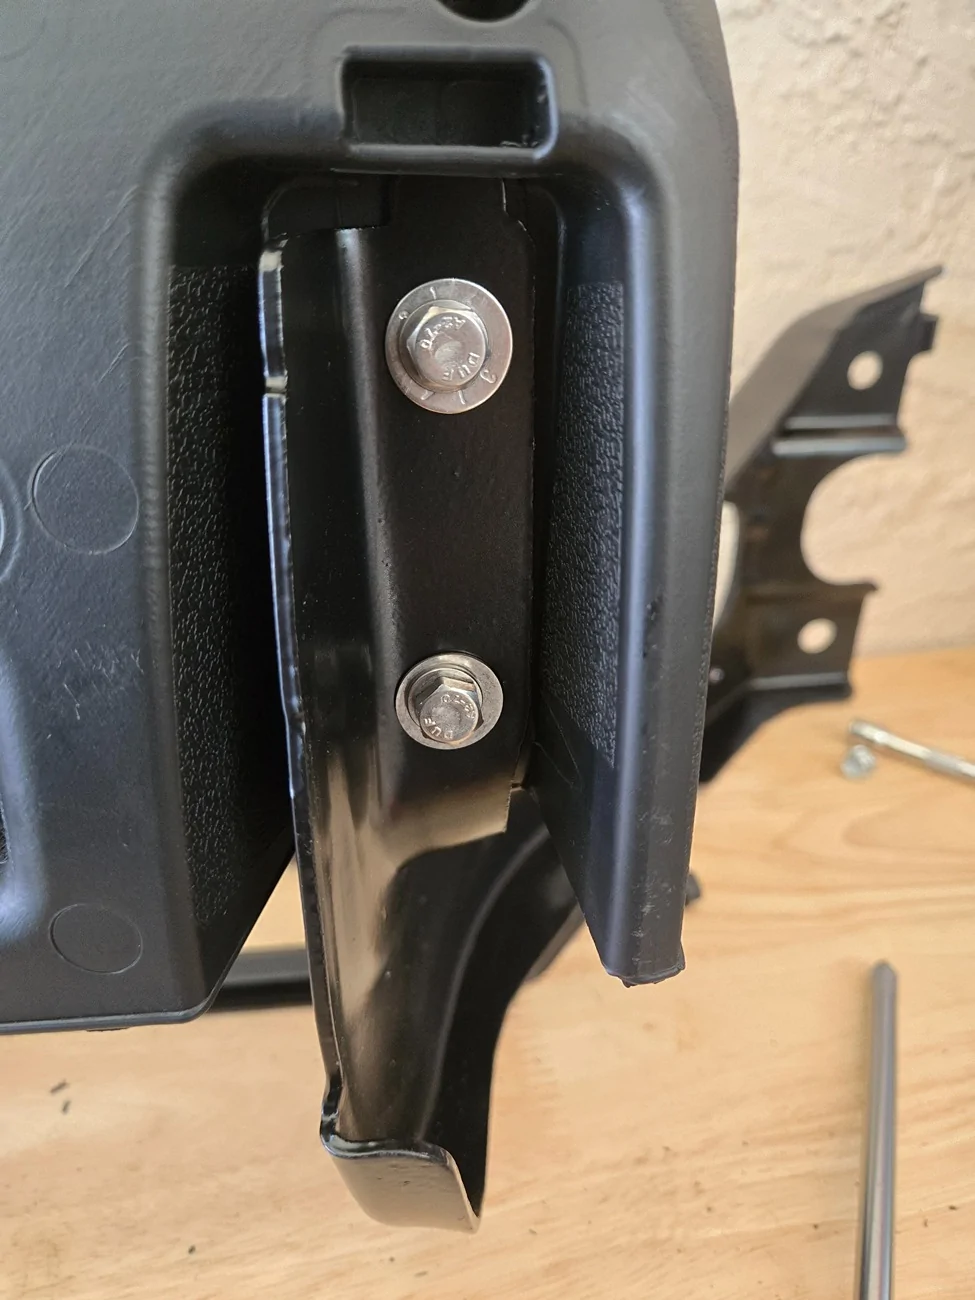
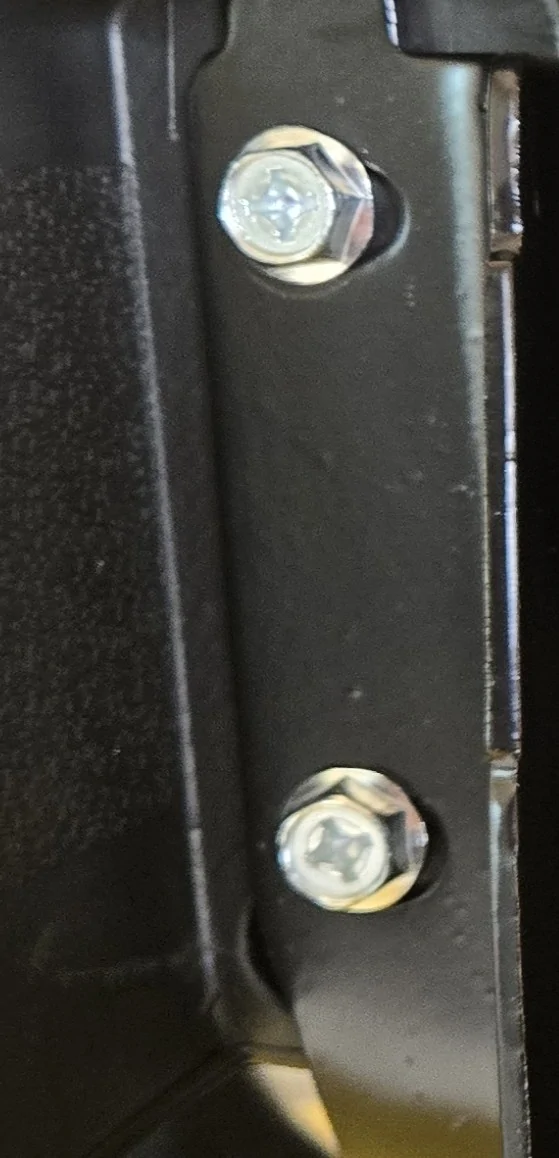
No, 10mm head. but i also didn't get them from fordare they a 14mm head? thats what mine were
Sponsored


")
