superj
Well-Known Member
- First Name
- Jason
- Joined
- Feb 8, 2025
- Threads
- 42
- Messages
- 3,685
- Reaction score
- 3,477
- Location
- Corpus christi texas
- Vehicle(s)
- 2024 ford ranger, 2019 wrangler, 2018 mazda3
- Occupation
- Retired
- Thread starter
- #1
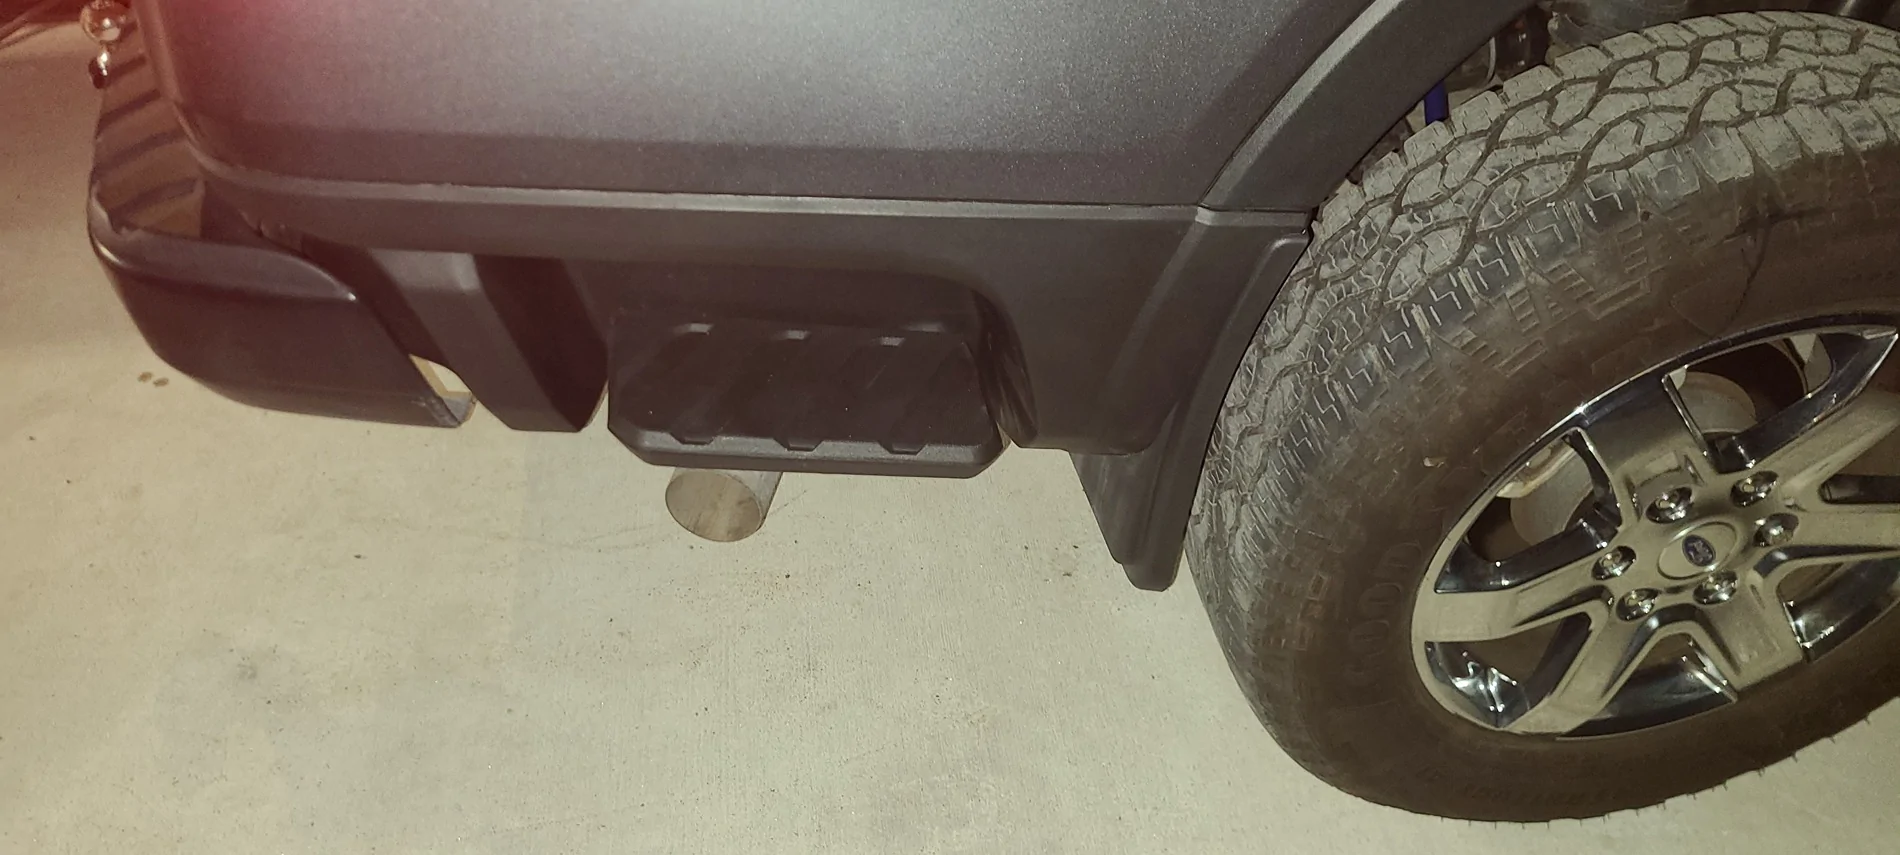
If you dont have the steps behind the rear wheels and you happen to come across a good deal getting them, they are very easy to install so dont pass up in them. They are a nice addition to the looks of the truck and the accessability of the bed. They are worth purchasing.
It takes about an hour per side to take the original smooth sided back panels off and you wont break any of those white clips. Not that you have to save the clips because the new parts should have them.
I did the driver side 3 (three!!!!) times because i was excited to put them on and forgot to put bolts back in place and found them after completly done with that side and still only took 4.5 hours and thats taking pics for this post, also.
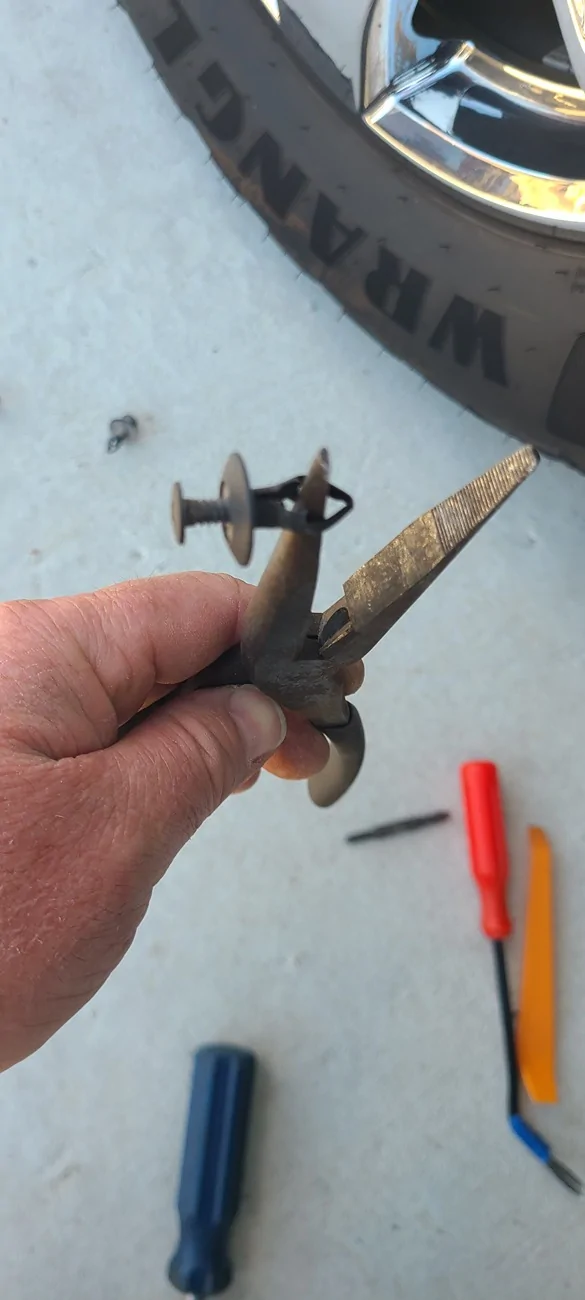
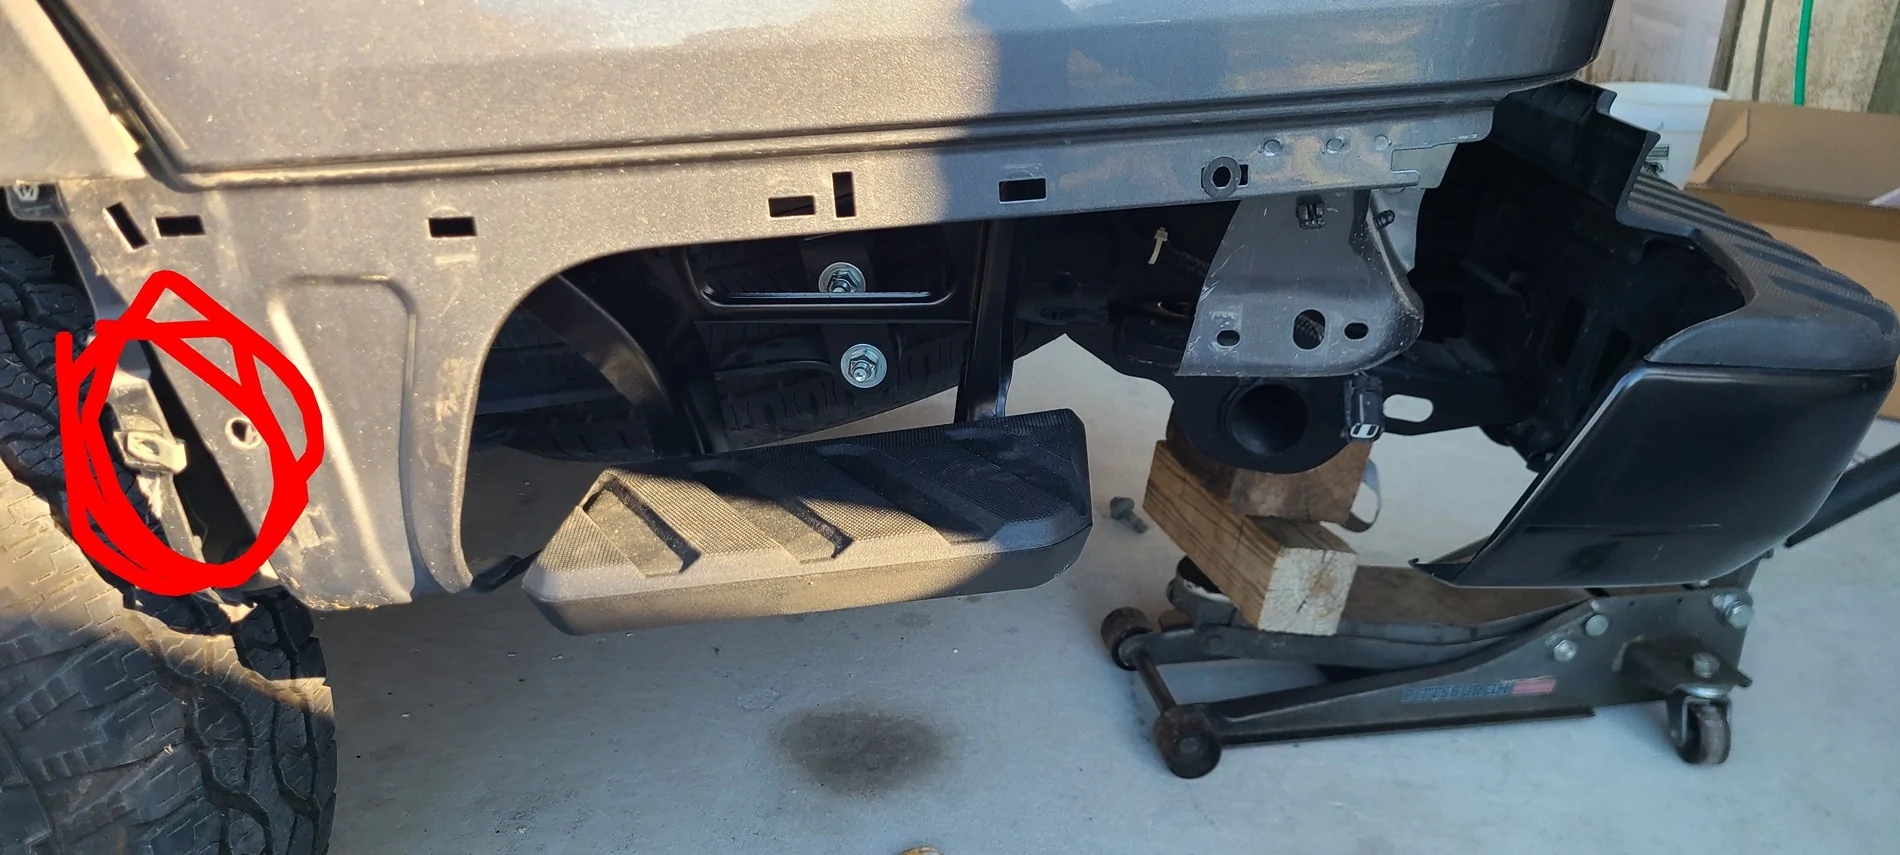
Before you start tearing up your truck, as noted in other posts about installing these, you will be short 2 bolts per side. They are the bolts in this picture, or the same size as your step board mounting bolts. I dont know the size but i pulled out a bolt from under the back and dug around and turned out, i had the same bolts in the garage from another build.

These two darker bolts are 14mm head (i think). Pull one out and check your stash or go buy some before you start.
Start by taking off your mud flaps. Pop the center tab out with a small screwdriver and the body will pull out easily.
If you cant get the center to pull out, you can stick a needle nose plier in the back to apply pressure and the center will come out.
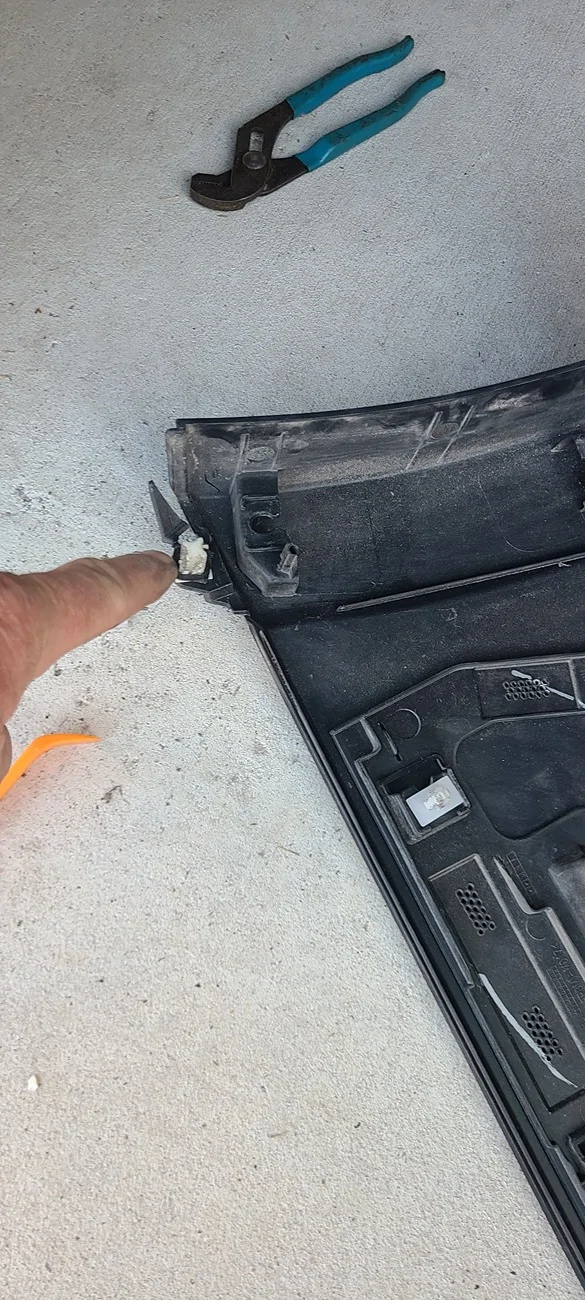
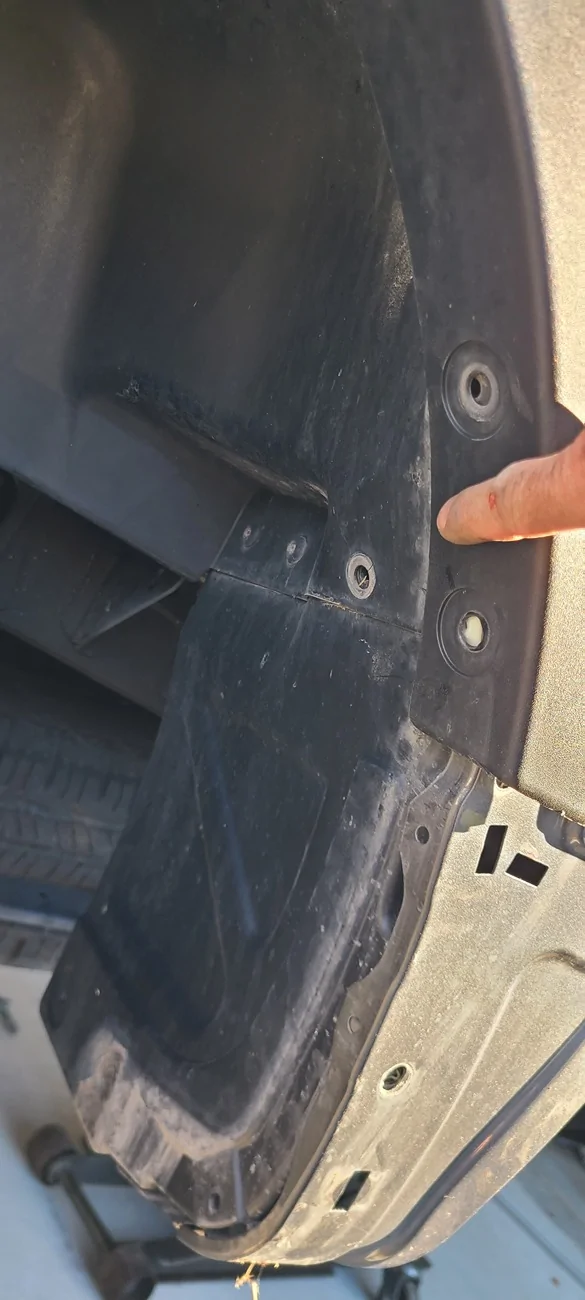
These white clips are the ones that seem to give people trouble. What i found is you can squeeze them with your finger tips while pushing the part you are removing and they will pop out unbroken

These are the white clips actually under the truck.
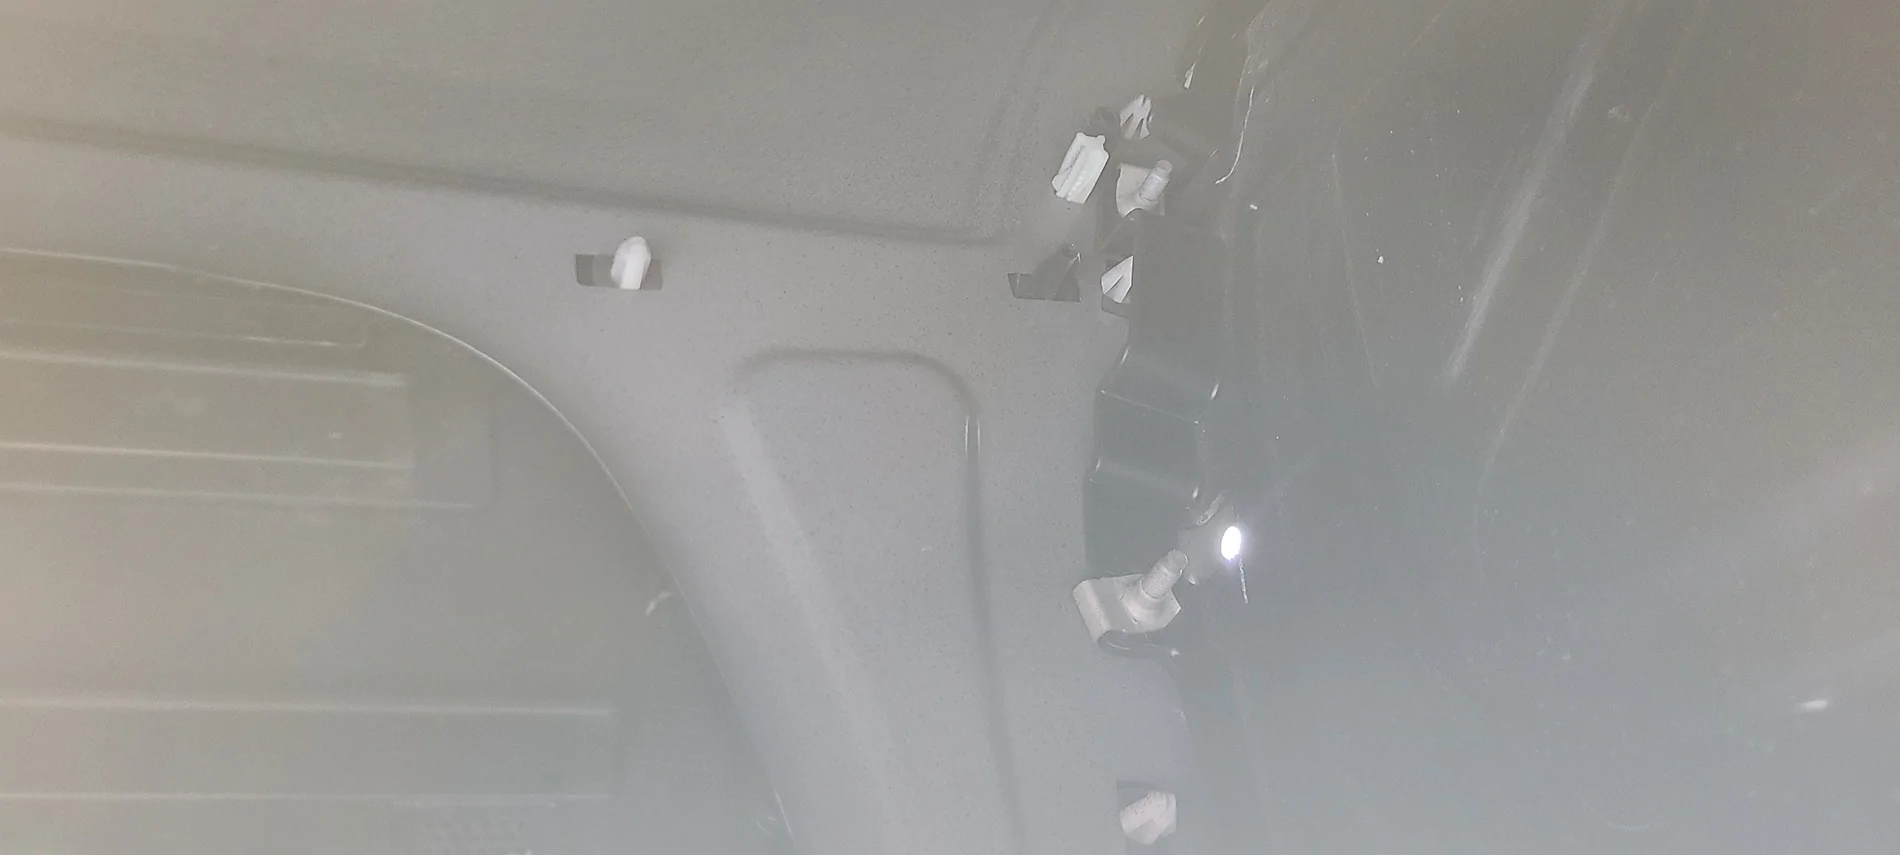
These are the white clips no longer under the truck. See how they have those legs that stick out? When pushed through the body, they stick out and act like an anchor. you can squeeze the legs back in and push the clip back through the hole and then you are free.

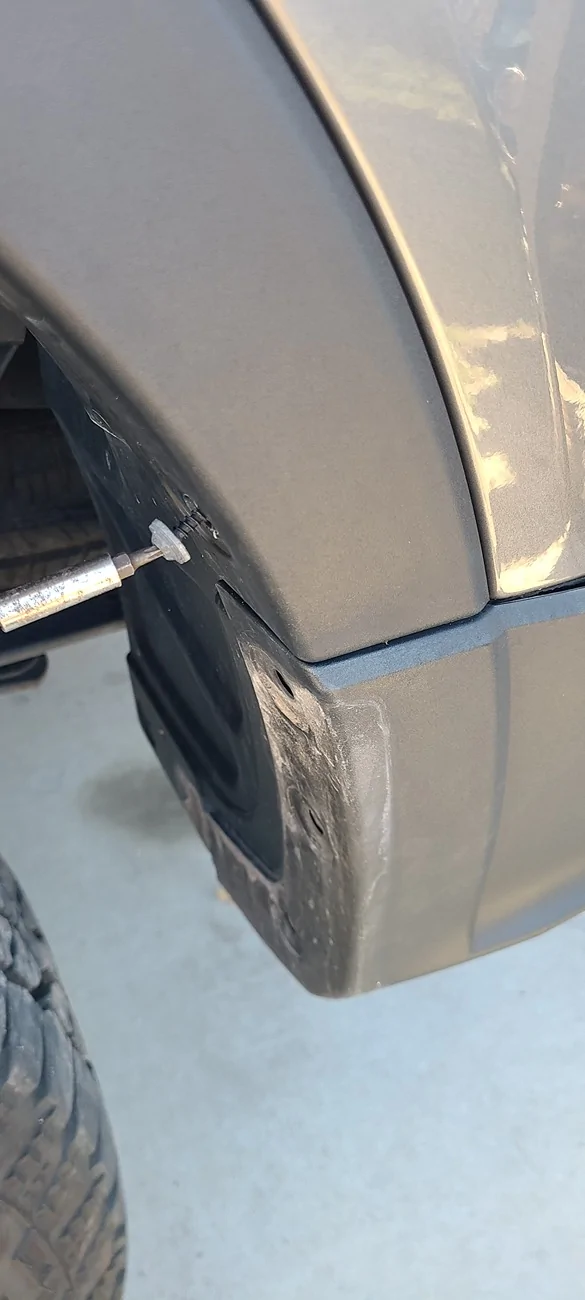
You also need your 10mm socket and a ratchet to get out three bolts. One is threaded straight up at the bottom of the fender liner behind the wheel.
The other two are back towards the bumper and accessed from behind and outside from the edge of the spare tire. Near where the bumper bolts thread in. There is a harness plug right beneath one of the bolt heads that is kind of in the way so just unplug it for now and it will be easier to get the socket and turn the ratchet fully. Hopefully yours come out easily and dont tear because then you have to hold the clip with a plier and turn bolt out afterwards.
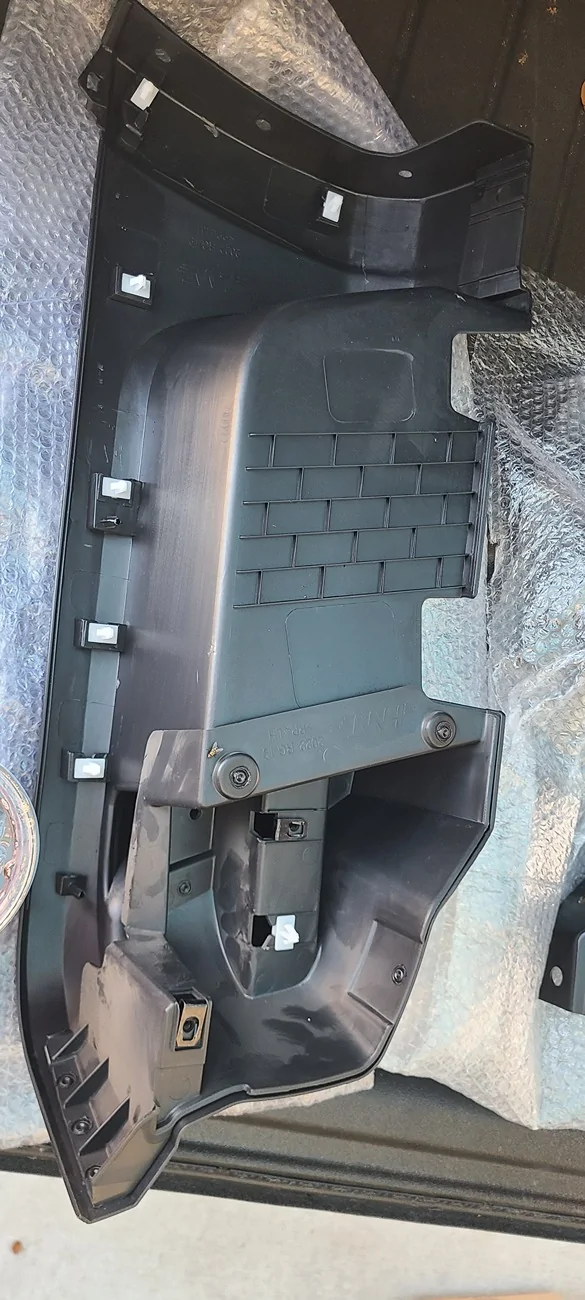
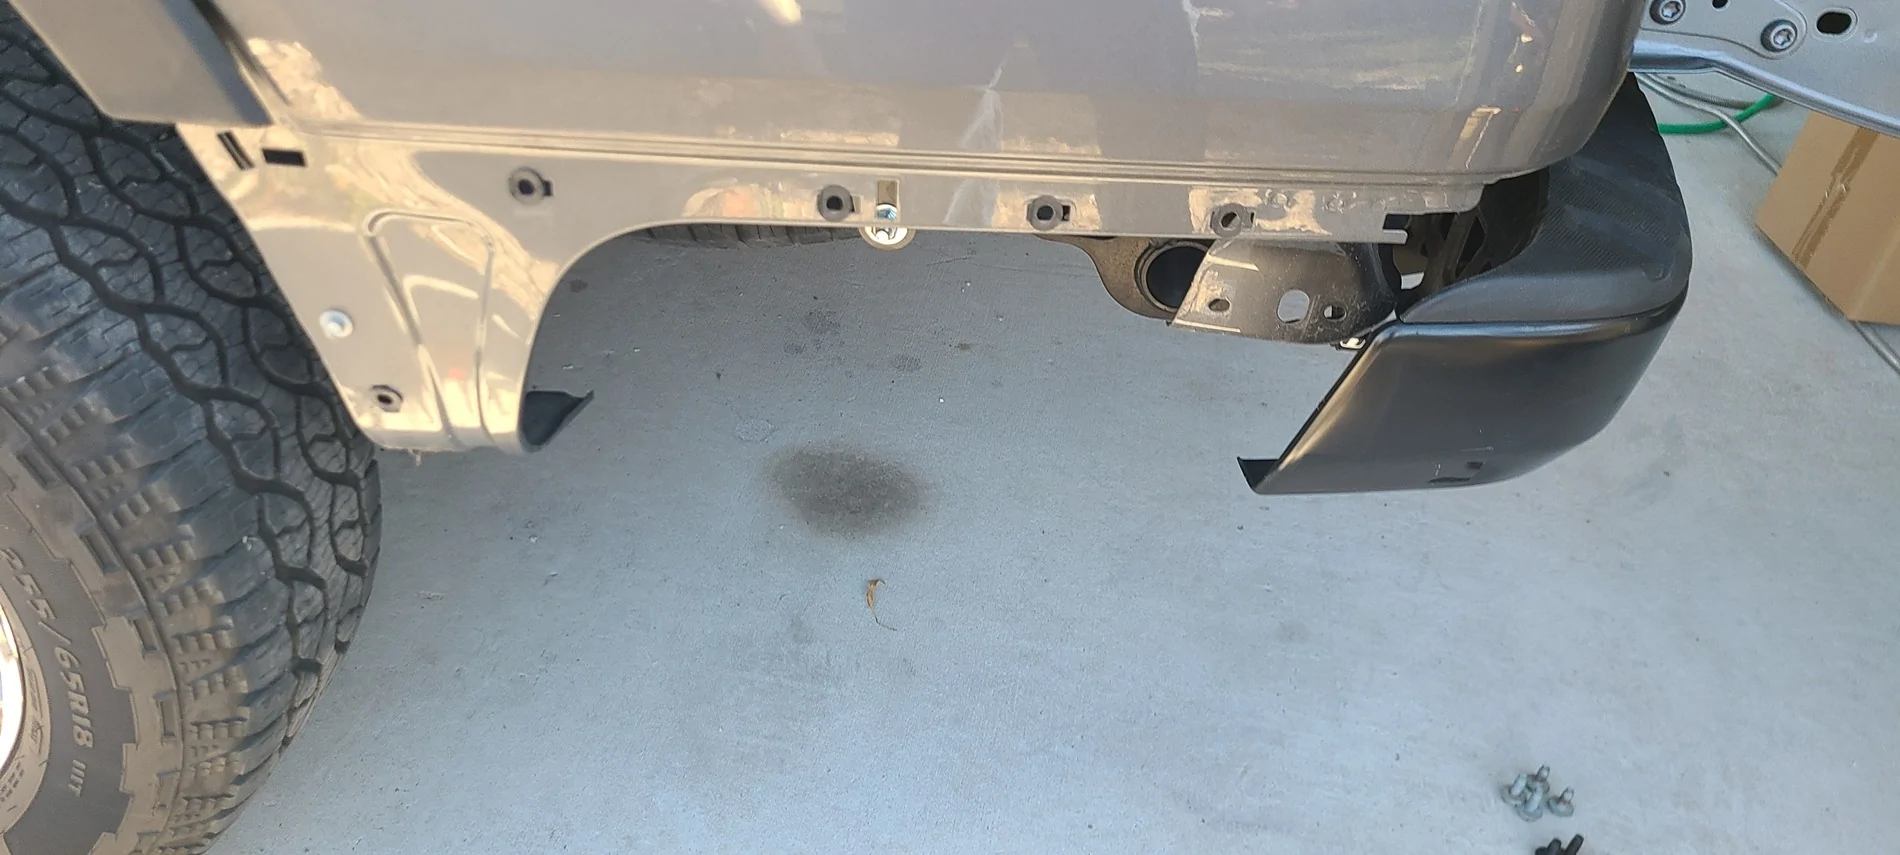
So now the white clips are undone and three 10mm bolts are unscrewed and you are looking like this (with the panel popped out but unable to actually pull it off).
Take this star screw out of the fender liner because you will have to pull the liner out to put the step in.
There a secret screw you need to take off that is hiding under the edge of the rear wheel well plastic surround trim. This is what it screws into, visible from the back. Don't try to pull the white thick block out, it is just for the hidden screw to thread onto but i want you guys to note where it is so you know where the screw head is on the other side. Its another star screw, surprise!!
This is where the above mentioned sta screw goes through the panel and into that white block. Since i am not using those panels again, i just tear that tab off the panel so i have easy access to that hidden star screw that is under the trim piece.
Here is where that hidden screw sits. You need to go back under the truck and sqeeze two more white clips so you can pull this trim up and get that star screw
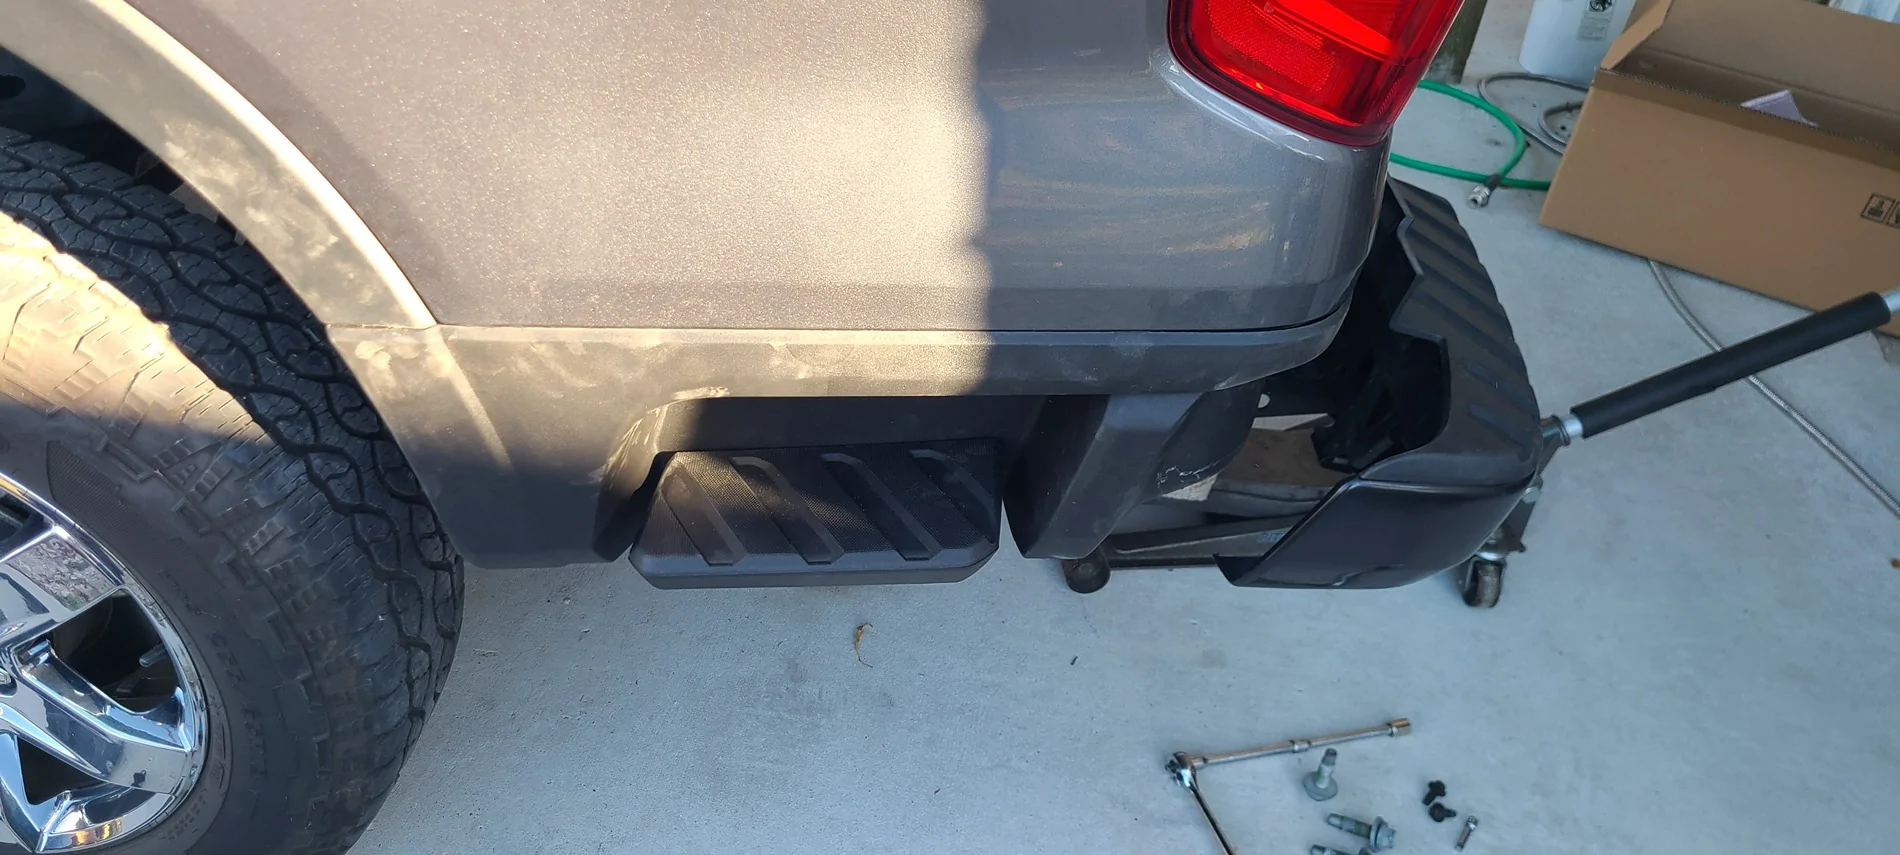
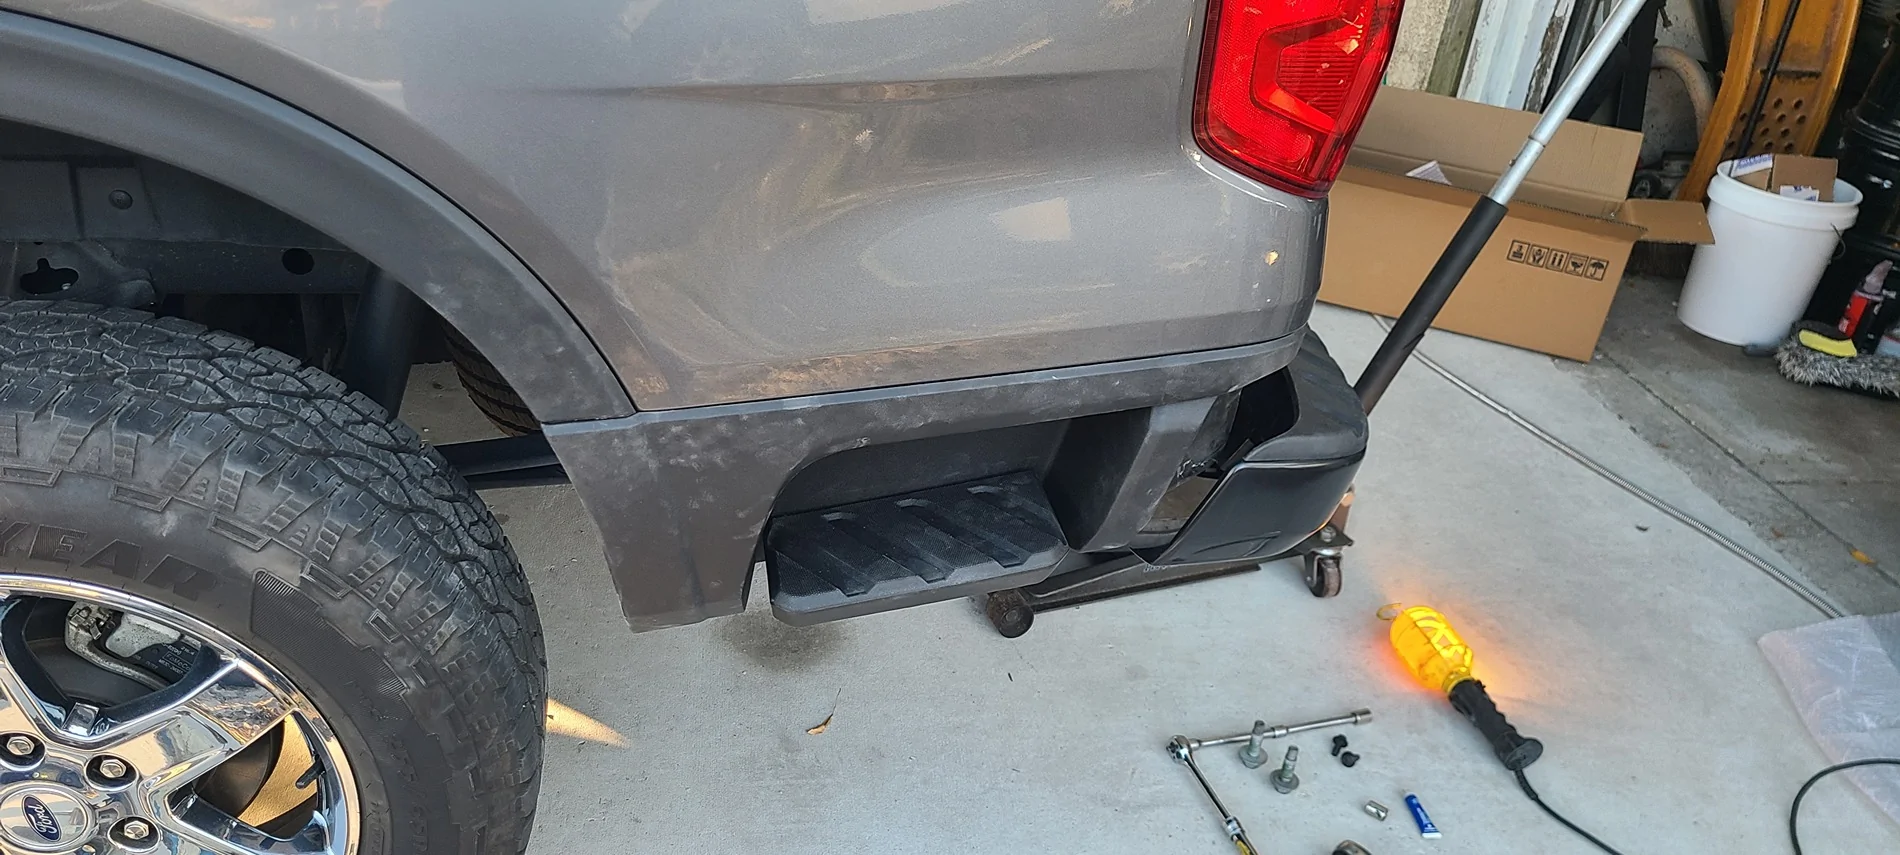
Take out the rear most two of the three bumper bolts on the opposite side of the truck you are working on. Loosen the foreward most bumper bolt on that opppsite side and unthread it about half an inch. Put a jack under the hitch with a 4x4 on it to hold the bumper up because on the side you are working, you will take out all three bumper mount bolts that go upward into the frame. You can now swing the bumper out a little bit and have room to remove the panel.
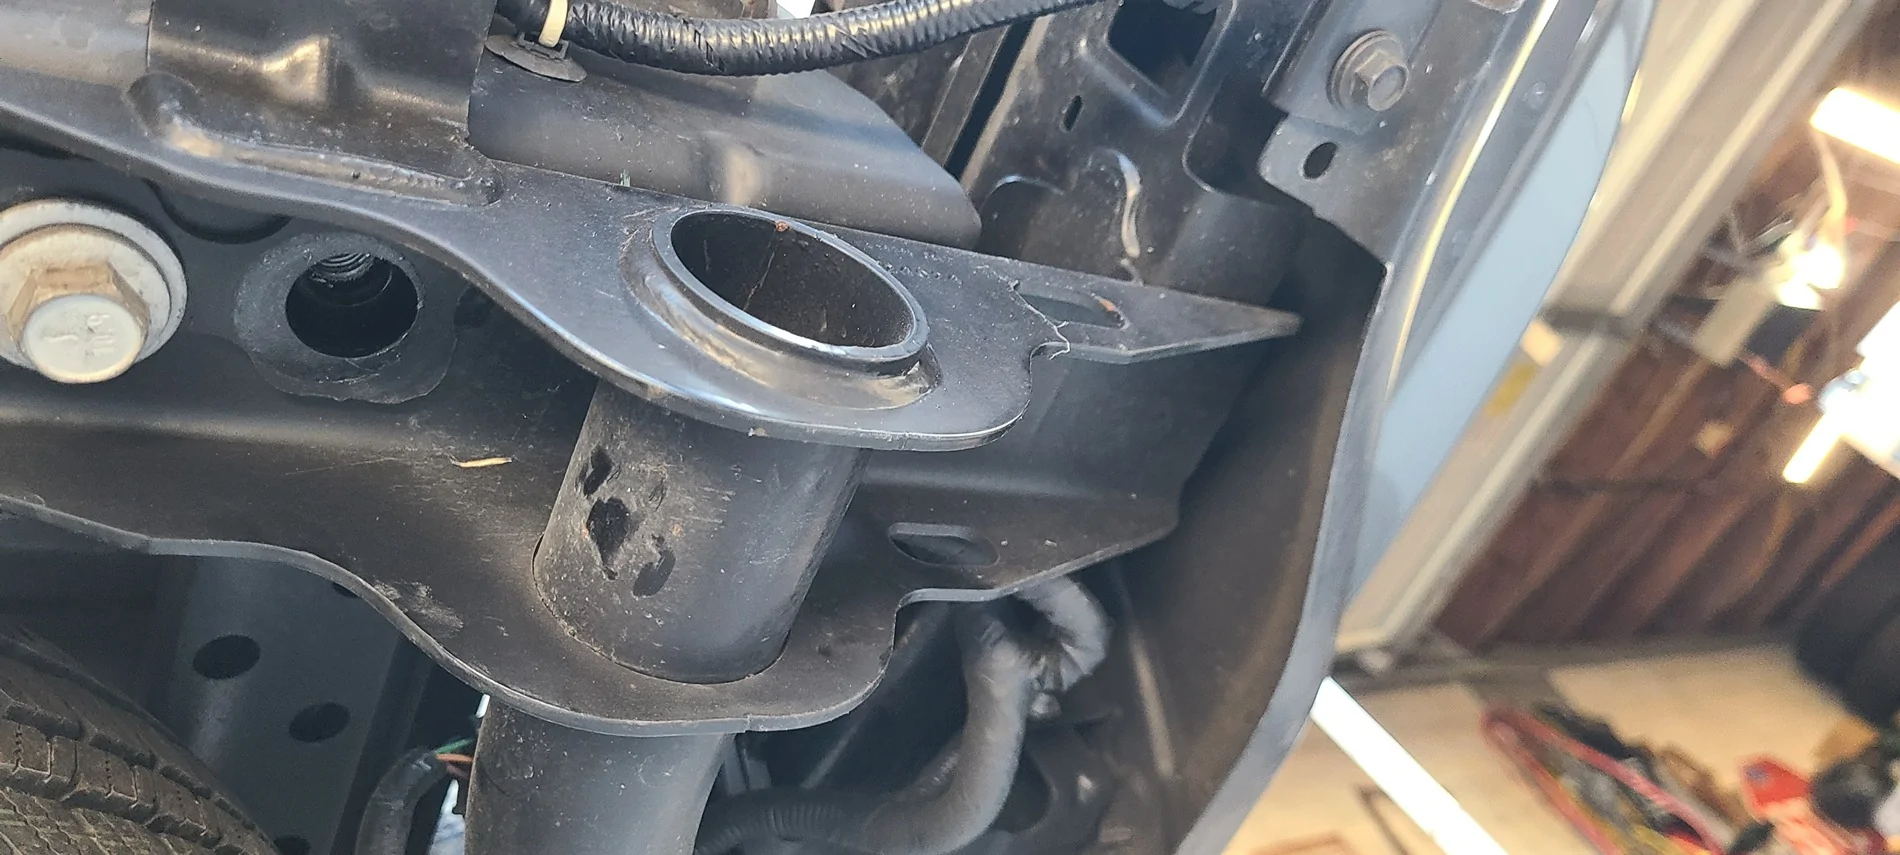
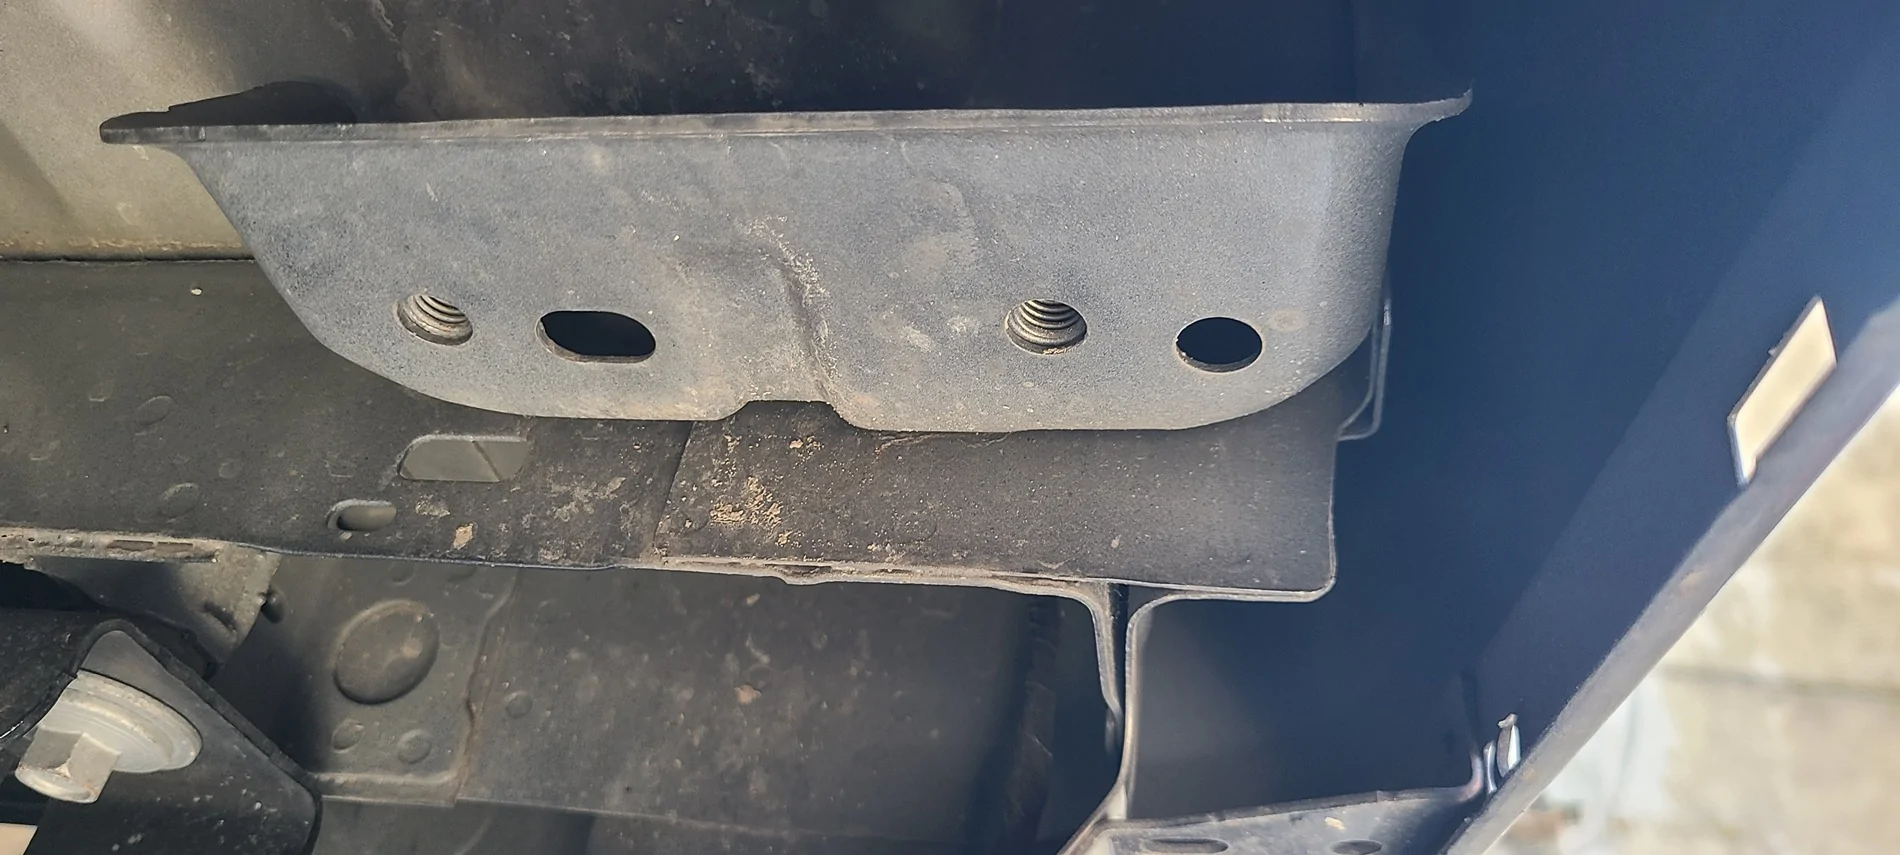
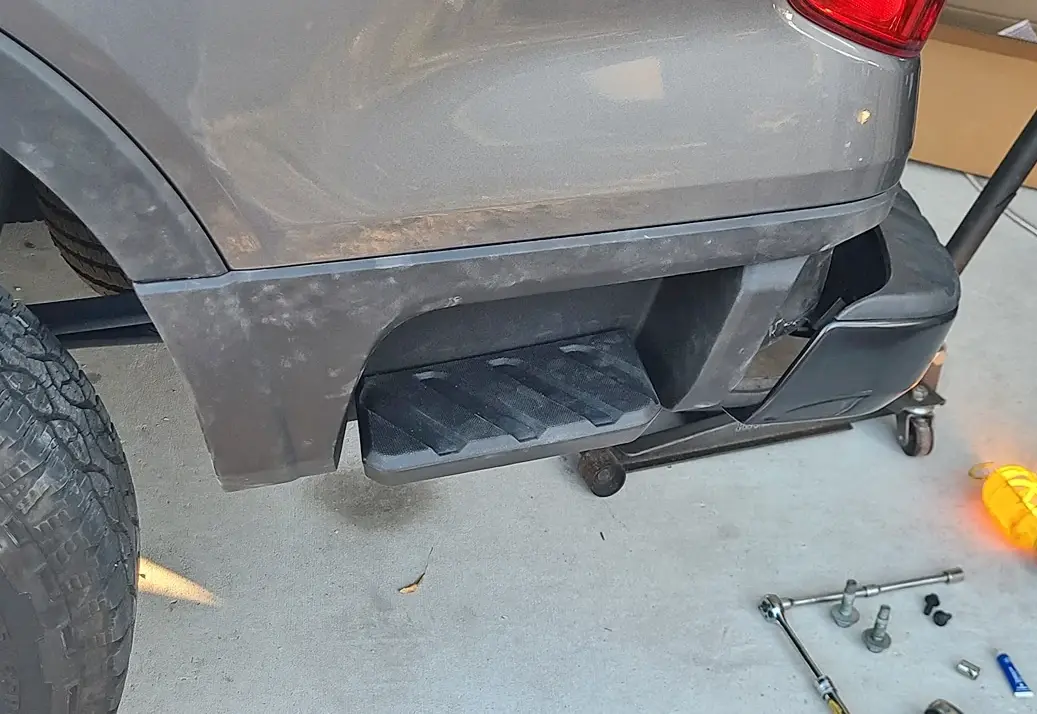
After you get that star screw out, the panel pops off the reveal this.
I hope you took this push screw out of the fender liner. If not, do it now.
Now those bolts you bought and the two you unscrew will be used to hold your step up. I failed to take a picture but there is a tab on the step at the rear mount that slides into a slot on the truck. You can see the slot in the pic where the two empty bolt holes are. There is a locating pin that sticks off the forward mount that needs to be slid between the fender liner and the will hold the step up while you tighten the bolts. That is why you took the last push clip out of the fender liner in that pic above.
With the bolts tightened, you will be here now. See how the fender liner is still sticking out from when you popped it forward a little to put the step alignment pin in? Well, put that back in properly before you put the new plastic panel on or you are going to get more practice undoing those damn white clips from earlier. That will add some time.
And also don't forget to put the silver star head screw in the when you reseat the fender liner because if you fail to notice it until you are getting ready to do the other side of the truck, you will get super pissed off because you will have to start at step one and redo everything to put that damn screw in since it goes under the plastic panel, under the wheel well trim. You will probably want to throw some stuff and just trade the freaking truck in for a truck with the steps on it already. I know, thats what i did and how i felt.
*****So make sure to put the silver screw in***
Now you can align the new panel clips into the holes in the bed's sheet metal from the previous pic with no panel attached
Do the other side in about 45 minutes now that you know what to do.
Take these pieces off the old panels so you can put them in your spare parts bin. You will actually have double the amount when done with both. And i broke one clip when i got mad the second time i forgot to put a bolt in so one white.clip is missing.
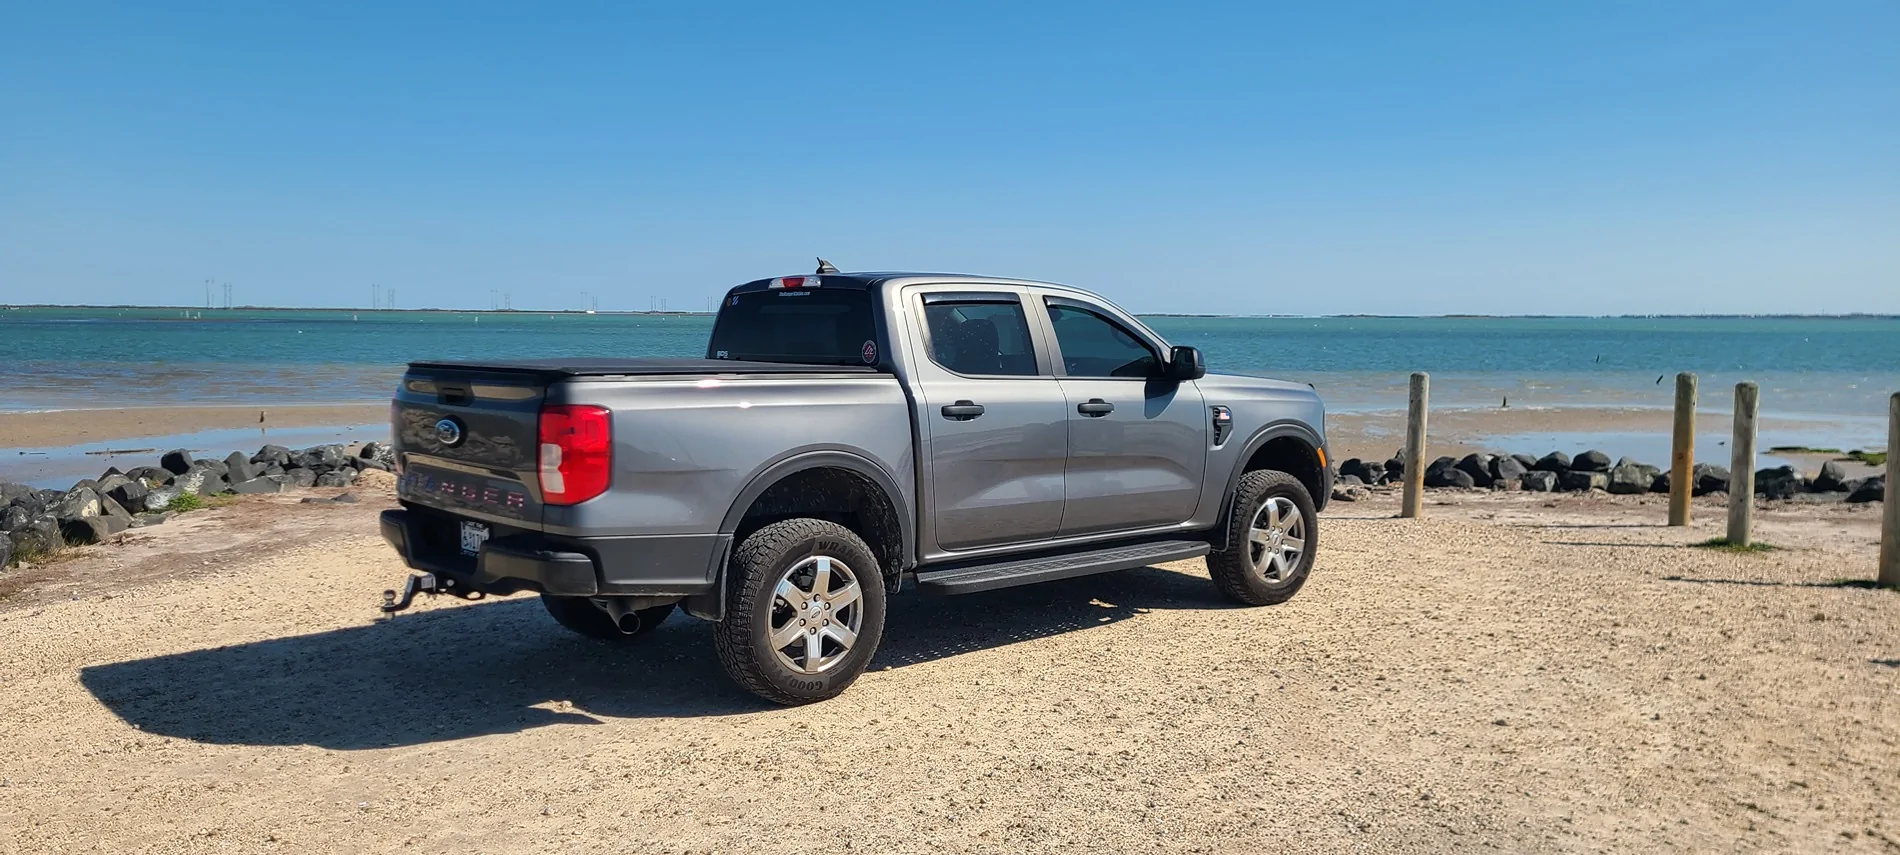
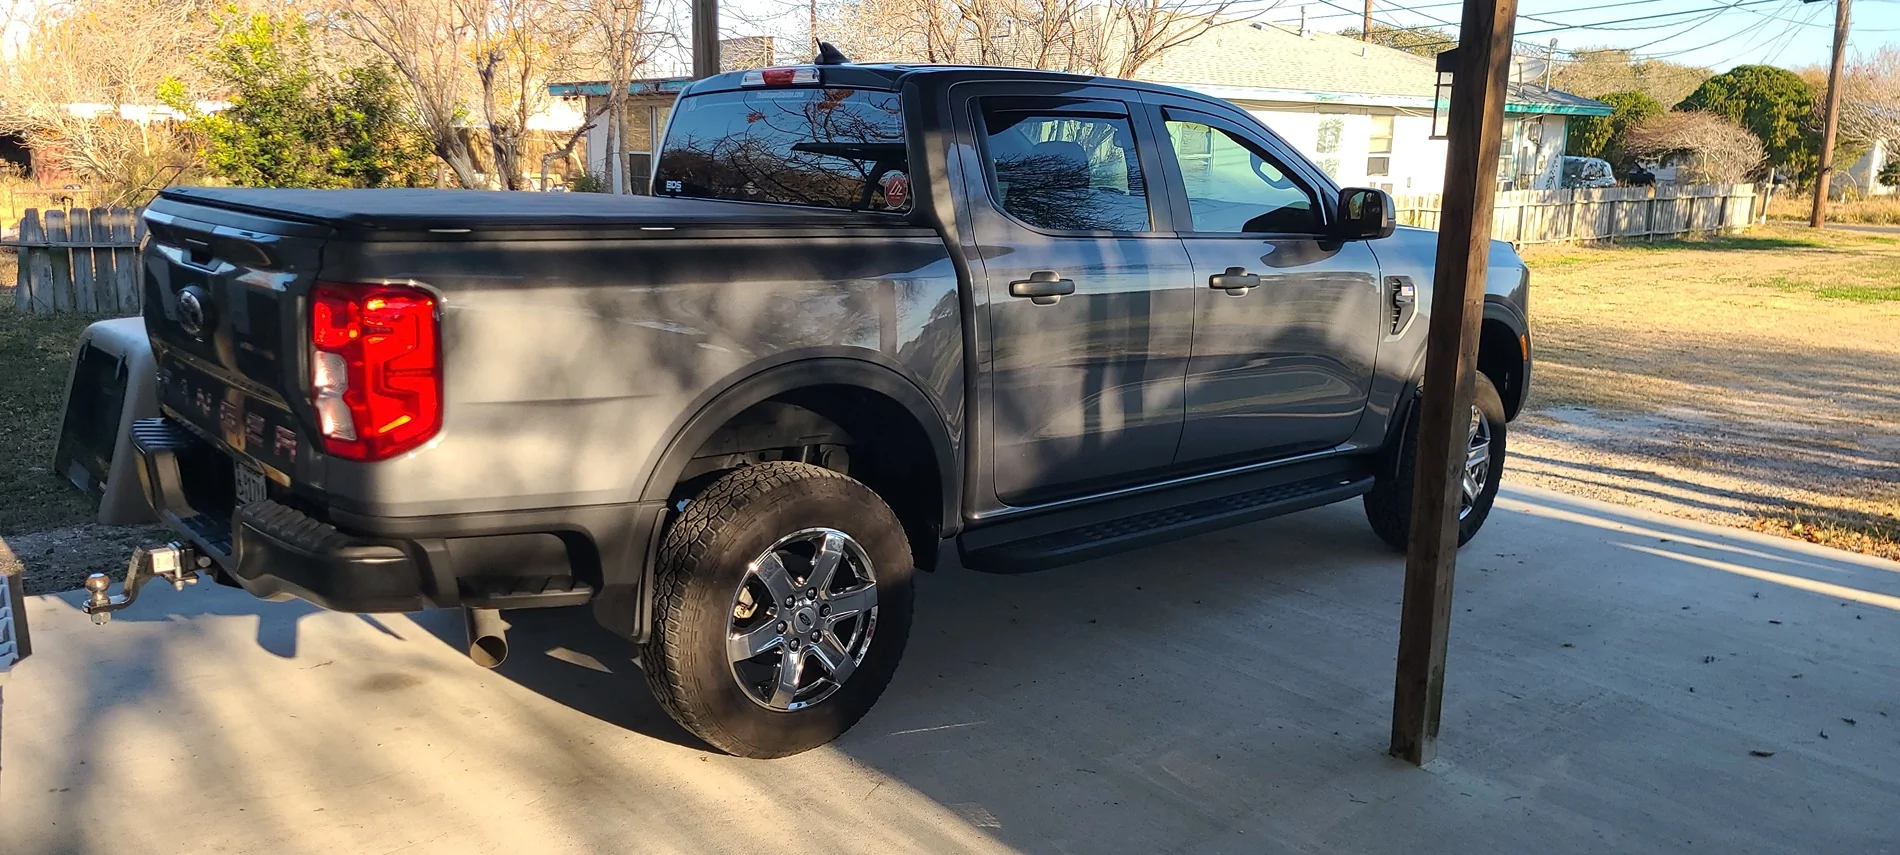
I also forgot installed full truck pics so tomorrow i will get a pic of the truck with the steps on it.

It takes about an hour per side to take the original smooth sided back panels off and you wont break any of those white clips. Not that you have to save the clips because the new parts should have them.
I did the driver side 3 (three!!!!) times because i was excited to put them on and forgot to put bolts back in place and found them after completly done with that side and still only took 4.5 hours and thats taking pics for this post, also.
Before you start tearing up your truck, as noted in other posts about installing these, you will be short 2 bolts per side. They are the bolts in this picture, or the same size as your step board mounting bolts. I dont know the size but i pulled out a bolt from under the back and dug around and turned out, i had the same bolts in the garage from another build.

These two darker bolts are 14mm head (i think). Pull one out and check your stash or go buy some before you start.
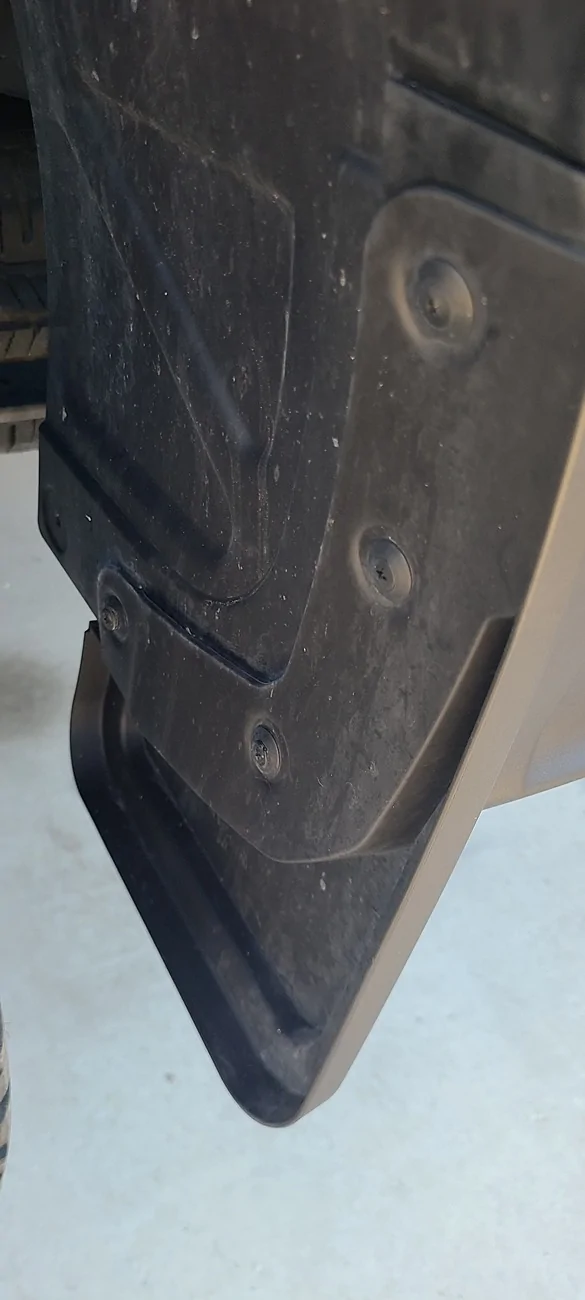
Start by taking off your mud flaps. Pop the center tab out with a small screwdriver and the body will pull out easily.
If you cant get the center to pull out, you can stick a needle nose plier in the back to apply pressure and the center will come out.
These white clips are the ones that seem to give people trouble. What i found is you can squeeze them with your finger tips while pushing the part you are removing and they will pop out unbroken
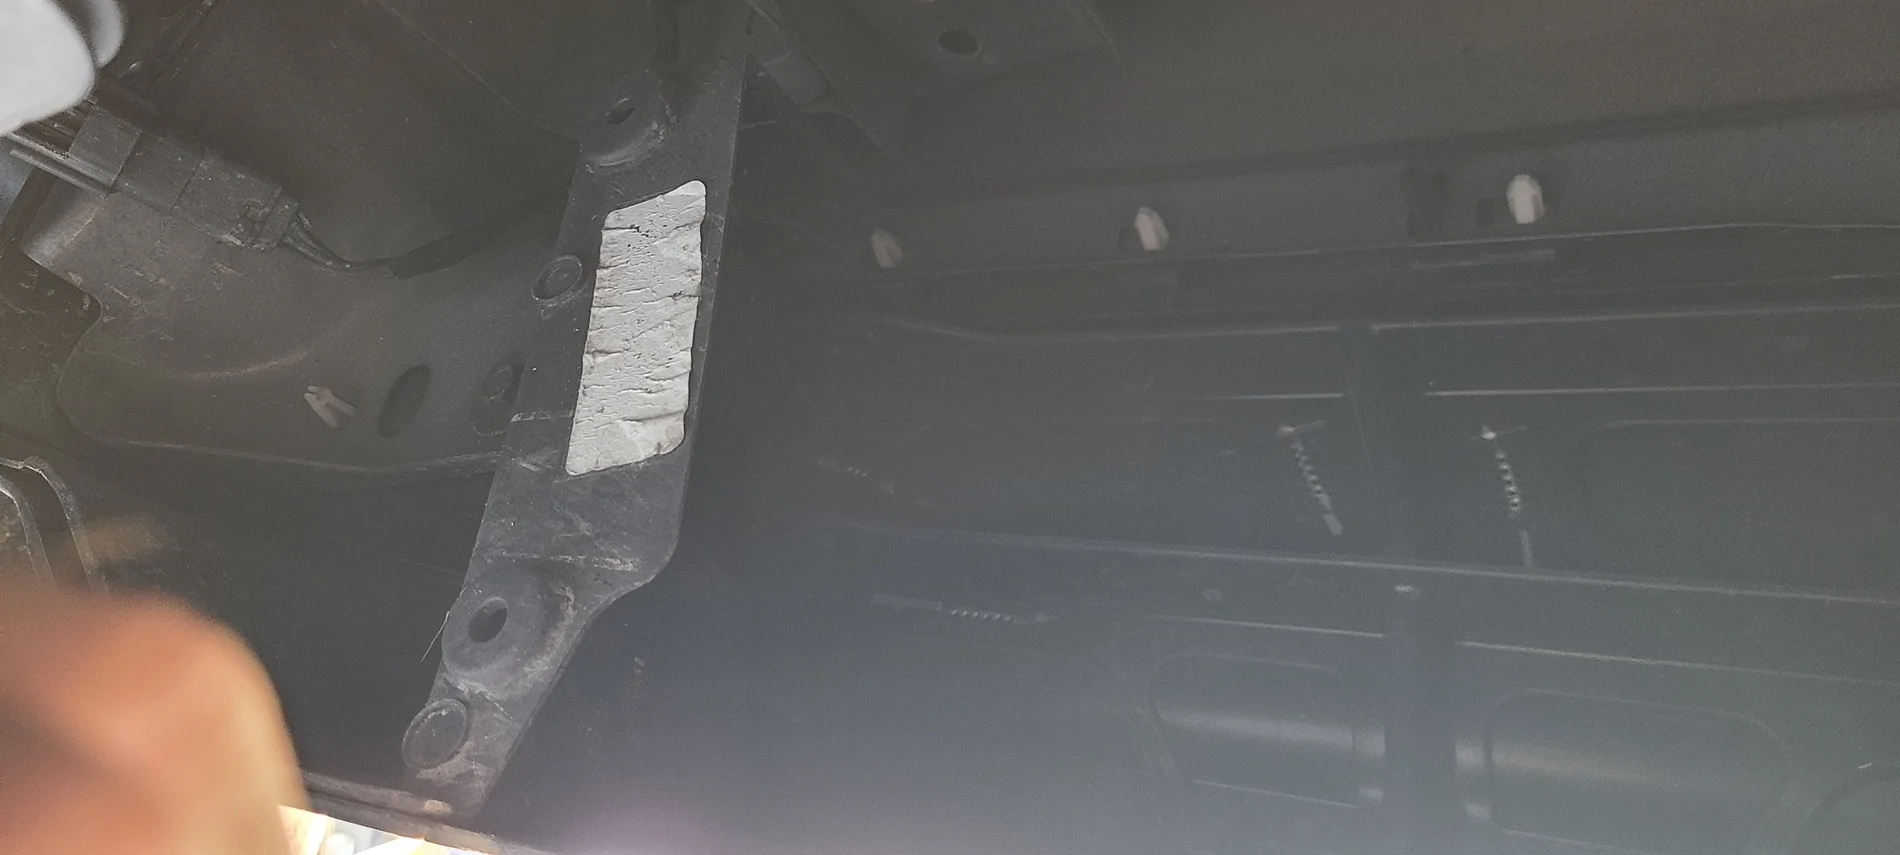
These are the white clips actually under the truck.

These are the white clips no longer under the truck. See how they have those legs that stick out? When pushed through the body, they stick out and act like an anchor. you can squeeze the legs back in and push the clip back through the hole and then you are free.
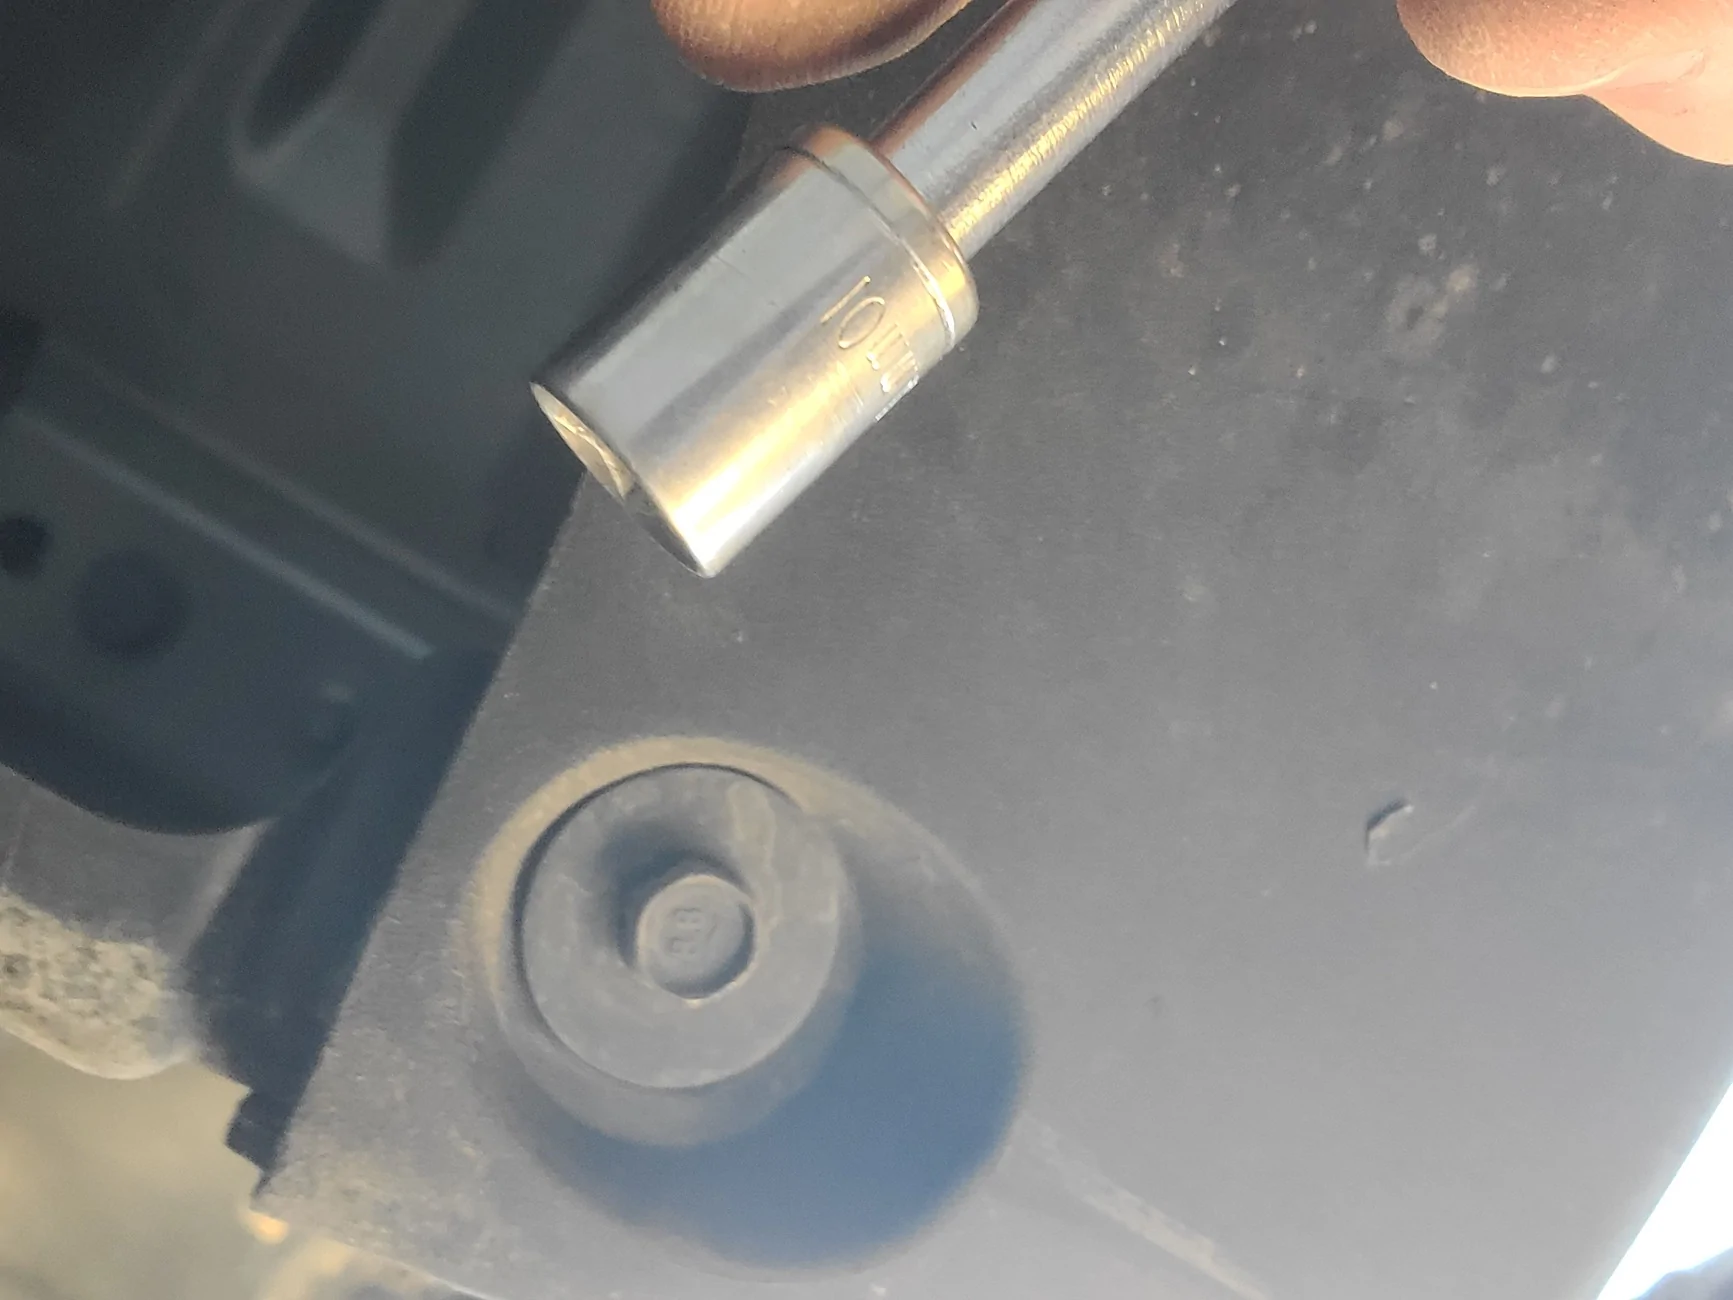
You also need your 10mm socket and a ratchet to get out three bolts. One is threaded straight up at the bottom of the fender liner behind the wheel.

The other two are back towards the bumper and accessed from behind and outside from the edge of the spare tire. Near where the bumper bolts thread in. There is a harness plug right beneath one of the bolt heads that is kind of in the way so just unplug it for now and it will be easier to get the socket and turn the ratchet fully. Hopefully yours come out easily and dont tear because then you have to hold the clip with a plier and turn bolt out afterwards.
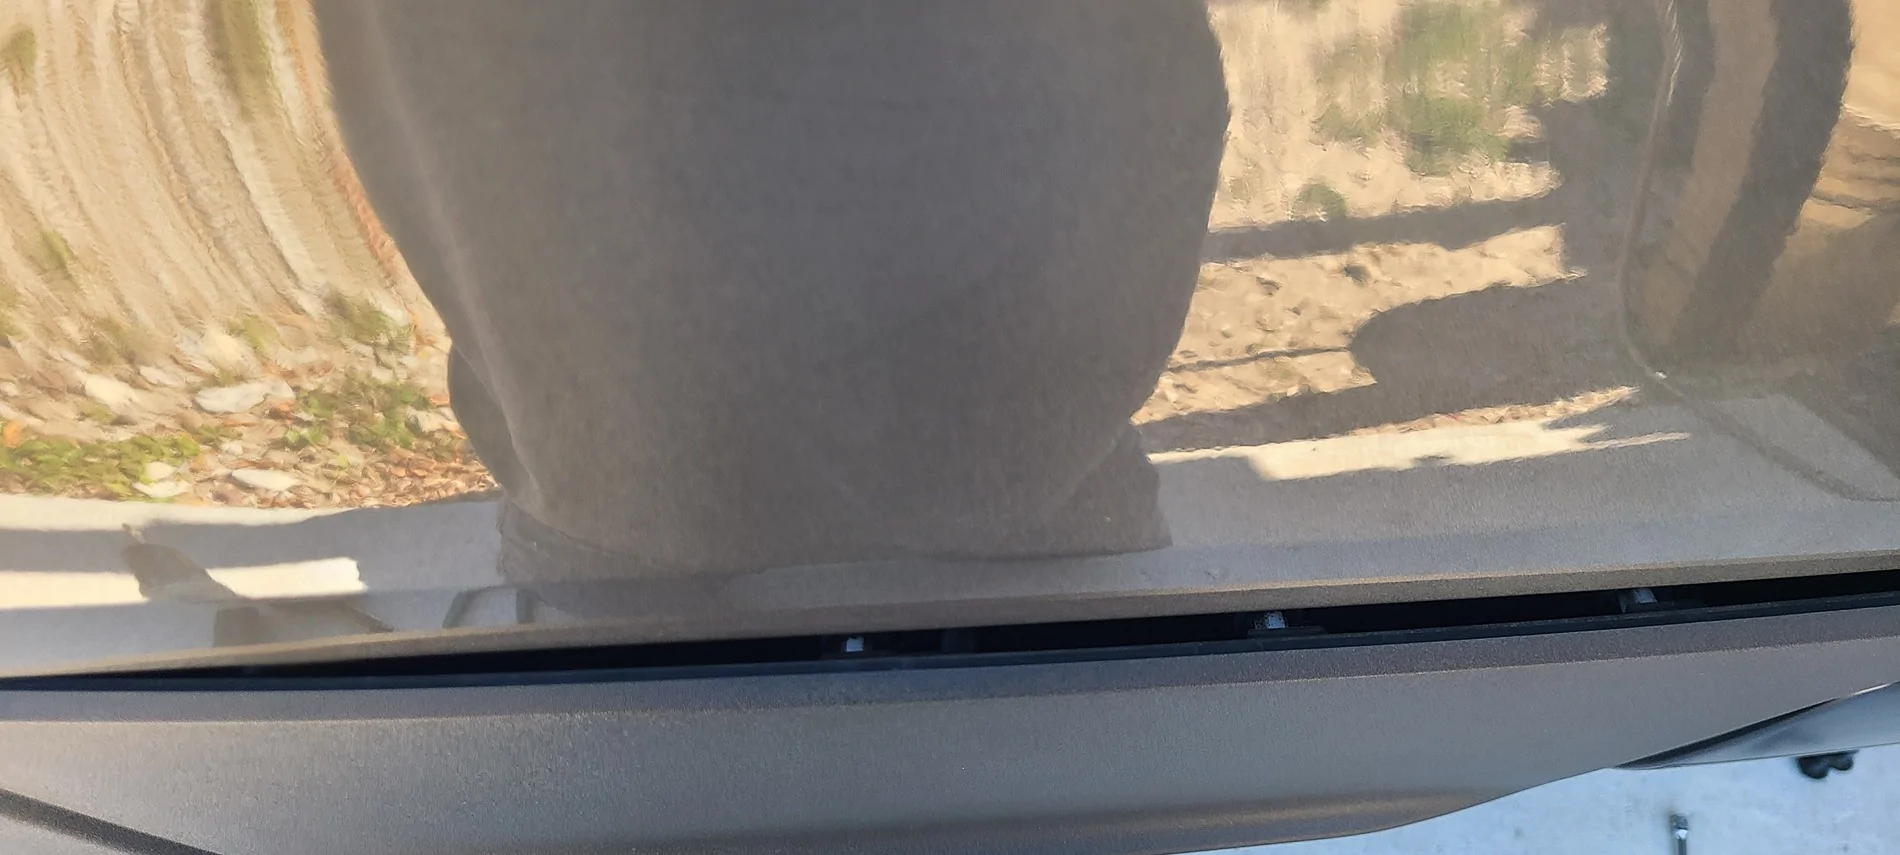
So now the white clips are undone and three 10mm bolts are unscrewed and you are looking like this (with the panel popped out but unable to actually pull it off).
Take this star screw out of the fender liner because you will have to pull the liner out to put the step in.

There a secret screw you need to take off that is hiding under the edge of the rear wheel well plastic surround trim. This is what it screws into, visible from the back. Don't try to pull the white thick block out, it is just for the hidden screw to thread onto but i want you guys to note where it is so you know where the screw head is on the other side. Its another star screw, surprise!!
This is where the above mentioned sta screw goes through the panel and into that white block. Since i am not using those panels again, i just tear that tab off the panel so i have easy access to that hidden star screw that is under the trim piece.

Here is where that hidden screw sits. You need to go back under the truck and sqeeze two more white clips so you can pull this trim up and get that star screw
Take out the rear most two of the three bumper bolts on the opposite side of the truck you are working on. Loosen the foreward most bumper bolt on that opppsite side and unthread it about half an inch. Put a jack under the hitch with a 4x4 on it to hold the bumper up because on the side you are working, you will take out all three bumper mount bolts that go upward into the frame. You can now swing the bumper out a little bit and have room to remove the panel.
After you get that star screw out, the panel pops off the reveal this.
I hope you took this push screw out of the fender liner. If not, do it now.
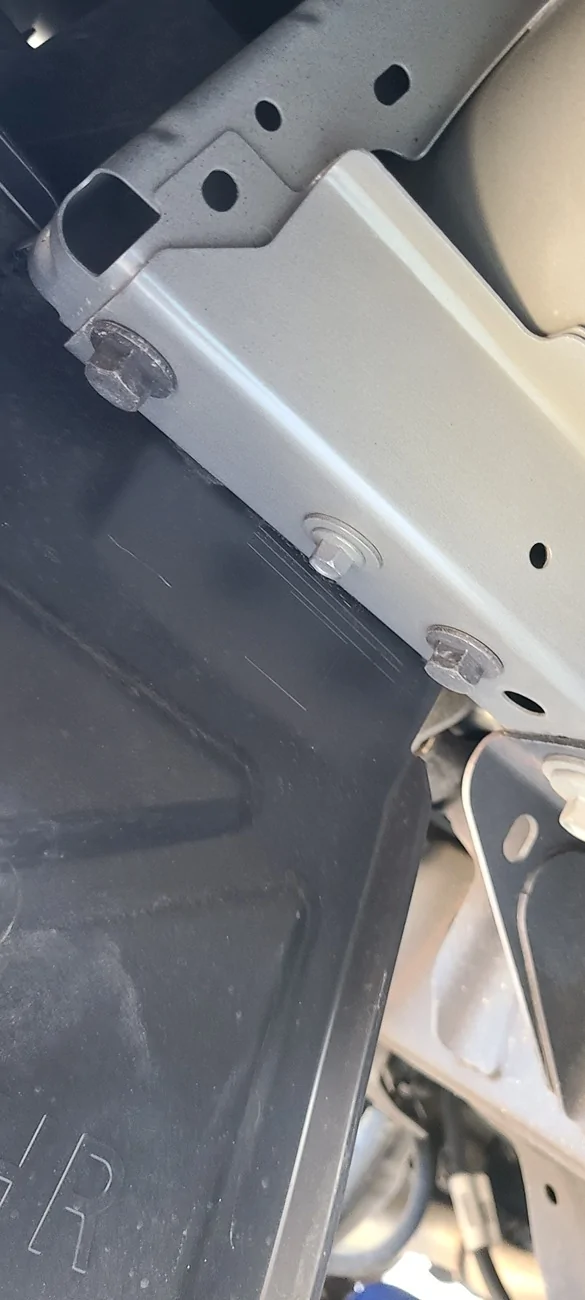
Now those bolts you bought and the two you unscrew will be used to hold your step up. I failed to take a picture but there is a tab on the step at the rear mount that slides into a slot on the truck. You can see the slot in the pic where the two empty bolt holes are. There is a locating pin that sticks off the forward mount that needs to be slid between the fender liner and the will hold the step up while you tighten the bolts. That is why you took the last push clip out of the fender liner in that pic above.
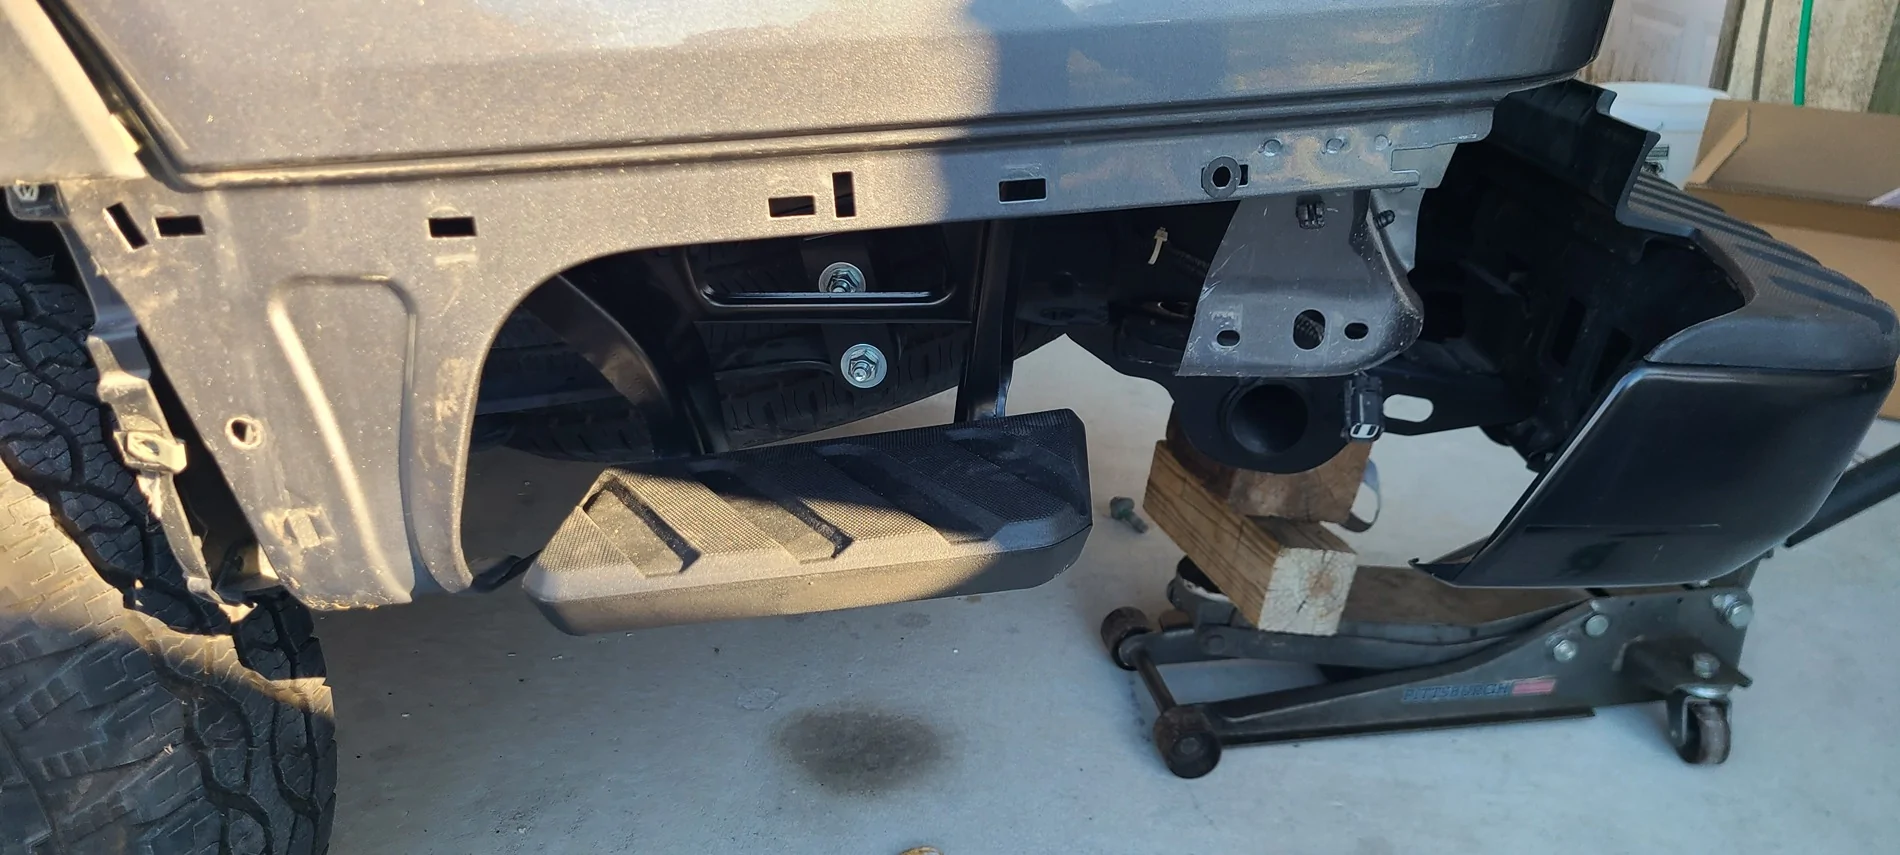
With the bolts tightened, you will be here now. See how the fender liner is still sticking out from when you popped it forward a little to put the step alignment pin in? Well, put that back in properly before you put the new plastic panel on or you are going to get more practice undoing those damn white clips from earlier. That will add some time.
And also don't forget to put the silver star head screw in the when you reseat the fender liner because if you fail to notice it until you are getting ready to do the other side of the truck, you will get super pissed off because you will have to start at step one and redo everything to put that damn screw in since it goes under the plastic panel, under the wheel well trim. You will probably want to throw some stuff and just trade the freaking truck in for a truck with the steps on it already. I know, thats what i did and how i felt.
*****So make sure to put the silver screw in***
Now you can align the new panel clips into the holes in the bed's sheet metal from the previous pic with no panel attached
Do the other side in about 45 minutes now that you know what to do.
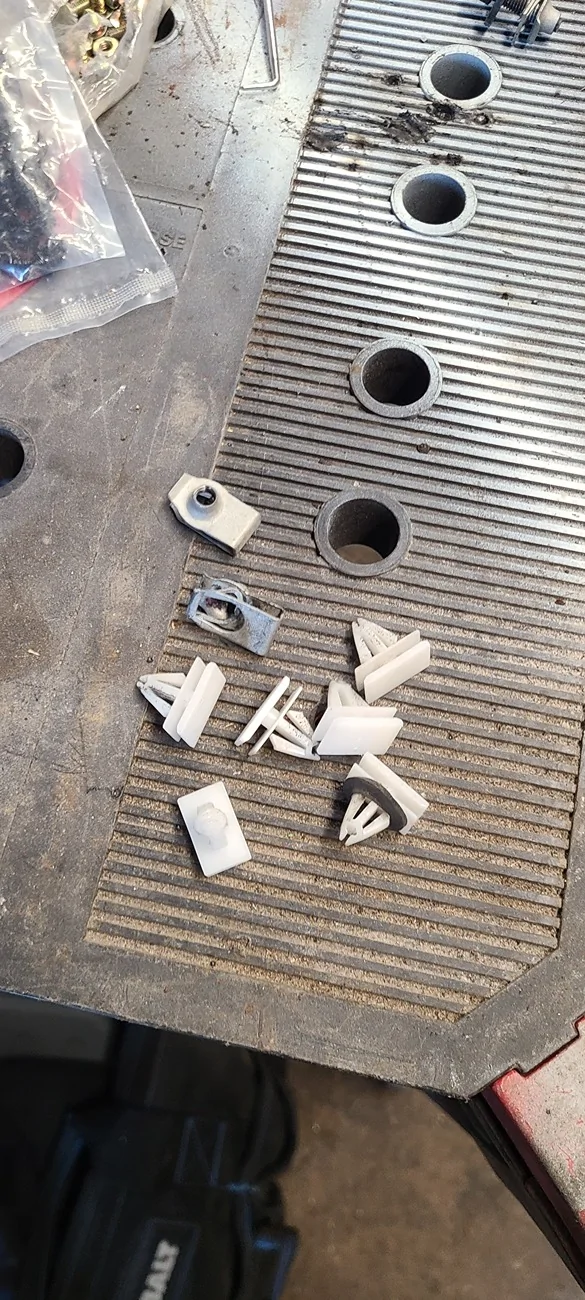
Take these pieces off the old panels so you can put them in your spare parts bin. You will actually have double the amount when done with both. And i broke one clip when i got mad the second time i forgot to put a bolt in so one white.clip is missing.
I also forgot installed full truck pics so tomorrow i will get a pic of the truck with the steps on it.

Sponsored
Last edited: