rocsteady
Well-Known Member
- First Name
- Dave
- Joined
- Apr 10, 2024
- Threads
- 29
- Messages
- 440
- Reaction score
- 665
- Location
- New Jersey
- Vehicle(s)
- 2024 Ranger Raptor
- Occupation
- Federal LEO
I have to start by thanking you guys who did it already and recommended 1) the flexible tool/ratchet extension and 2) to take off the three fender bolts/move the fender out a bit, that allowed me to just barely get my hand into the space created. I have absolutely no idea how you guys could have done this without those two pieces of information ahead of time.
Driver side, although a pain, was a little easier for me as I was able to get a sight line to see the bottom torx screw. Passenger side I did completely from the top. I put a piece of gorilla tape over the bottom hole on the passenger side housing before reinstallation, then poked the torx screw in just enough to hold it in place so when I put the housing back into place I only needed the tool to actually turn/tighten the screw, not anything there to hold it. (I hope that makes sense. I wasn't sure any of it was going to work so didn't take pictures during).
So it was really helpful (again thanks to you guys) to know to have the trim tool, T15 torx bit, 7mm, 10mm, and 13mm sockets all lined up and ready to go and especially that lovely, wonderful flexible extension. I would strongly recommend a strong light source if you do it outside as my biggest annoyance was not being able to see in the driver side wheel well and then on the passenger side looking from the engine bay into that little space.
I did manage to break the OEM driver side circuit board as I made a tragically bad move trying to disconnect the wiring harness and instead disconnected the connector side from the board. So I guess I'm stuck with the amber, can't go back if I wanted to.
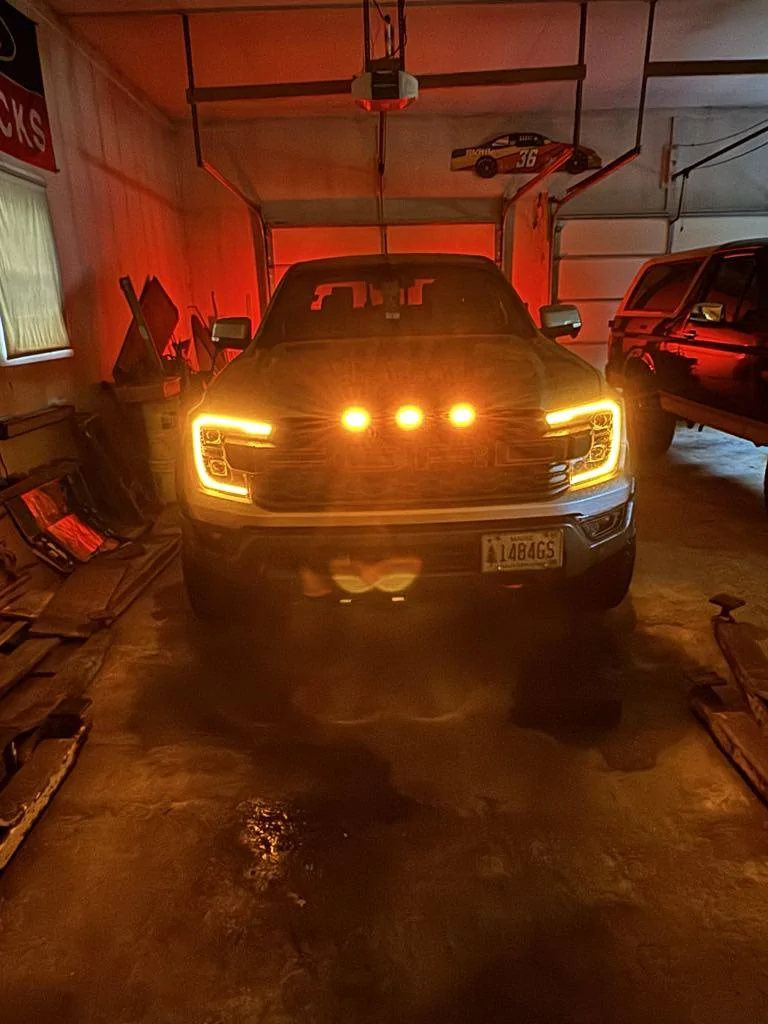
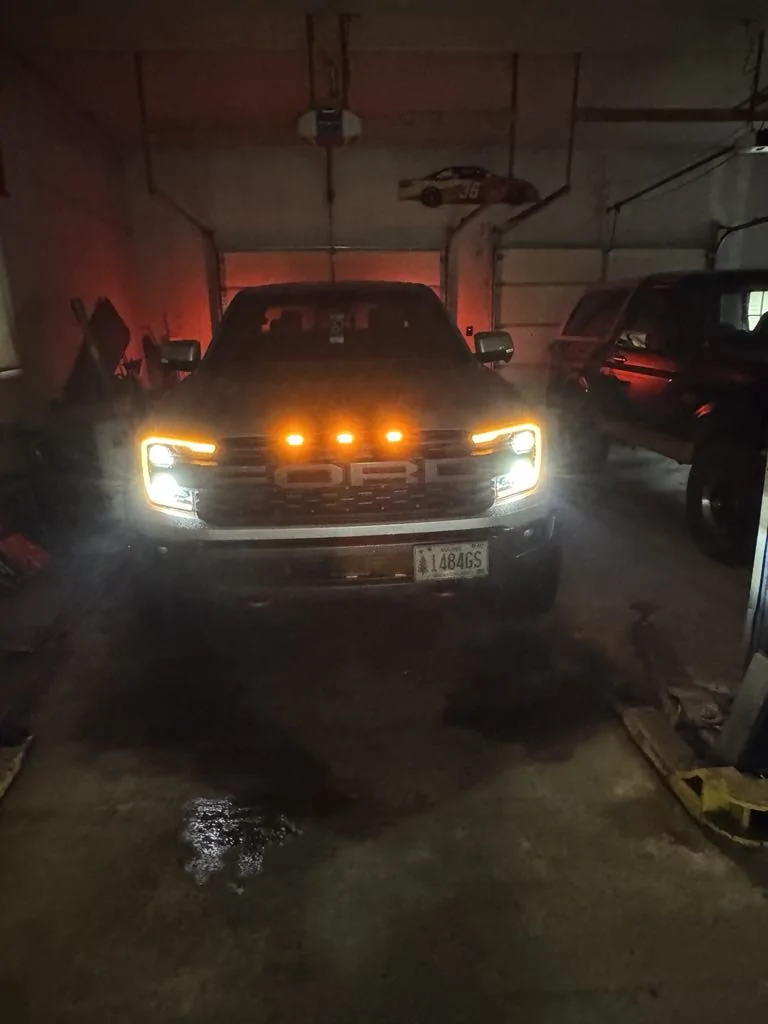
All in all, well worth the effort as I have wanted those lights to be amber/orange from the first time I saw my first Ranger Raptor.

Driver side, although a pain, was a little easier for me as I was able to get a sight line to see the bottom torx screw. Passenger side I did completely from the top. I put a piece of gorilla tape over the bottom hole on the passenger side housing before reinstallation, then poked the torx screw in just enough to hold it in place so when I put the housing back into place I only needed the tool to actually turn/tighten the screw, not anything there to hold it. (I hope that makes sense. I wasn't sure any of it was going to work so didn't take pictures during).
So it was really helpful (again thanks to you guys) to know to have the trim tool, T15 torx bit, 7mm, 10mm, and 13mm sockets all lined up and ready to go and especially that lovely, wonderful flexible extension. I would strongly recommend a strong light source if you do it outside as my biggest annoyance was not being able to see in the driver side wheel well and then on the passenger side looking from the engine bay into that little space.
I did manage to break the OEM driver side circuit board as I made a tragically bad move trying to disconnect the wiring harness and instead disconnected the connector side from the board. So I guess I'm stuck with the amber, can't go back if I wanted to.
All in all, well worth the effort as I have wanted those lights to be amber/orange from the first time I saw my first Ranger Raptor.
Sponsored
Last edited: